Disclosure: I am a member of the core blogger program with DecoArt. I received compensation and product for this post. All ideas and opinions are 100% my own.
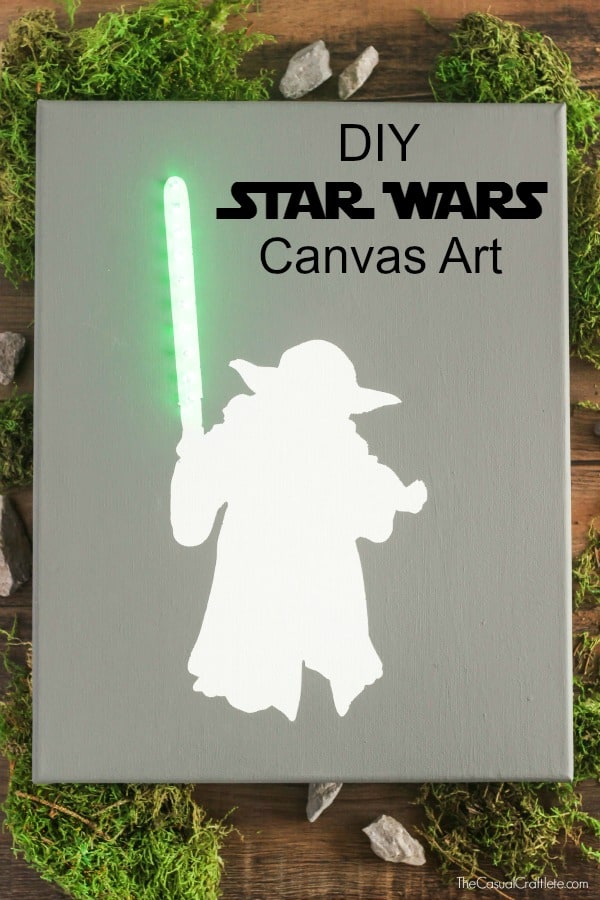
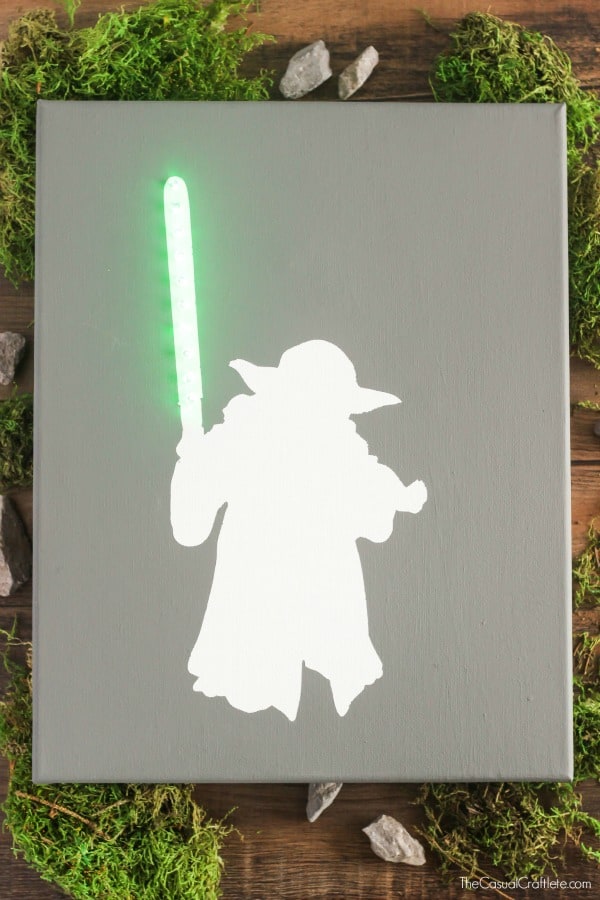
Create a DIY Star Wars Lighted Canvas Art that is super cool! It’s great for kids rooms, man caves, and movie rooms. You can make your own just in time before the new Star Wars movie comes to theaters.
Hello there! Today I am super excited to share how I made this awesome DIY Star Wars Lighted Canvas Art. I am a kid of the eighties, so of course I grew up watching the original Star Wars movies. I had an older male cousin who was way into Star Wars. When he came to visit my grandparents, he made the rest of us cousins watch the movies with him. Yoda was always my favorite. I mean, how could you not like the wise green teacher? So, I thought it would be fun to create a silhouette of Yoda with a lighted green lightsaber. I totally love this DIY!
Materials: (May contain affiliate links. Thanks for supporting The Casual Craftlete!)
- 11 inch by 14 inch Stretched Canvas
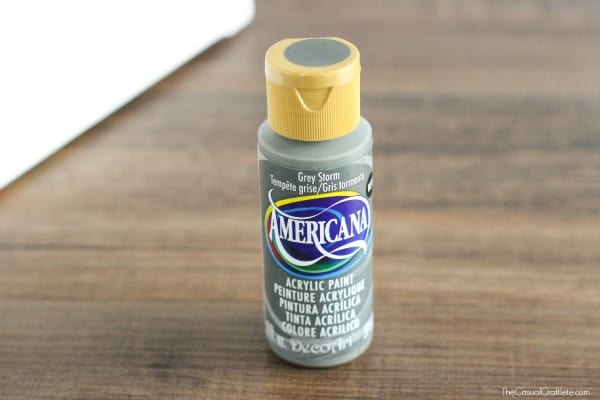
- Americana Acrylics – Grey Storm – 2 oz
- Yoda silhouette cut file
- Electronic cutting machine
- Weeding tool
- Transfer paper
- X-acto knife
- Battery operated mini string lights – multi color
- Paint brush
Instructions:
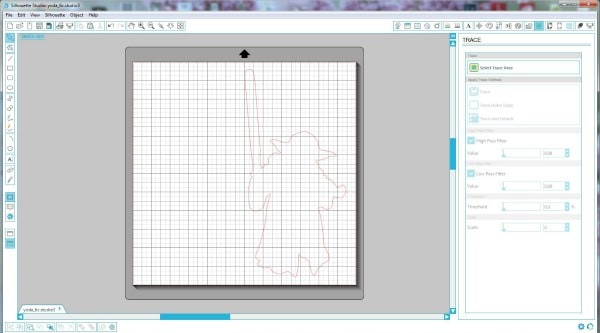
To make the Yoda Canvas Art I first found an image by googling “Yoda with lightsaber”. I chose one that had the general shape that I liked and then used Silhouette studio to make a cut file. After saving the file you like use the “open” button to put the image in Silhouette Studio. After pressing “select trace area”, I had to turn up the high pass filter in the trace dialogue to get the program to see the outside of the shape. It takes some experimentation to get the outline right. I pressed “trace outer edge” to create a line for the stencil. The original image can then be dragged out of the way, revealing the cut pattern. I used a piece of white vinyl and sized it to the canvas in Silhouette Studio and then cut the stencil. You can use mine or make your own using these instructions.
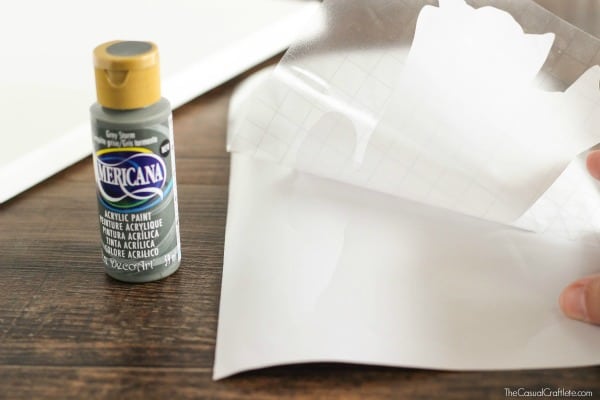
Then, I applied a piece of transfer paper tape on top of the Yoda vinyl cut out stencil. I removed the paper backing from the vinyl and gently placed the stencil on the center of the canvas. Once I was happy with the placement, I used a popsicle stick to gently go over the transfer paper. You could also use a bone file. Just make sure to firmly press down so the design adheres to the canvas, then gently remove the transfer paper.
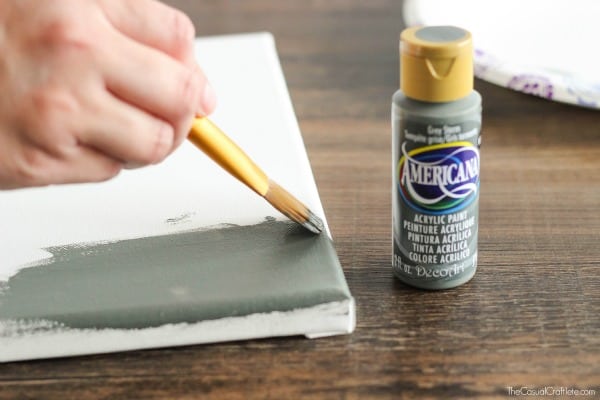
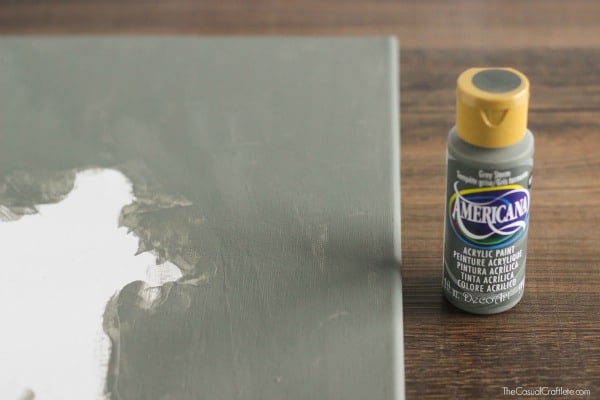
I added one coat of Americana Acrylic in Grey Storm. I love this color of grey and thought the name was fitting for this Star Wars craft. You want to be very careful painting around the edges of the stencil to make sure the paint doesn’t seep under the stencil.
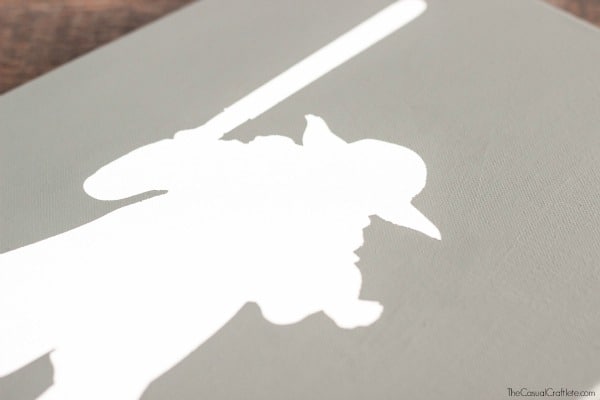
After the first coat of paint was dry, I applied a second coat. Then once that was dry, I carefully peeled the vinyl stencil off. I use a weeding tool to get under the vinyl to lift it up.
You could stop at this point if you wanted, but I wanted to add some green lights to make Yoda’s lightsaber really shine.
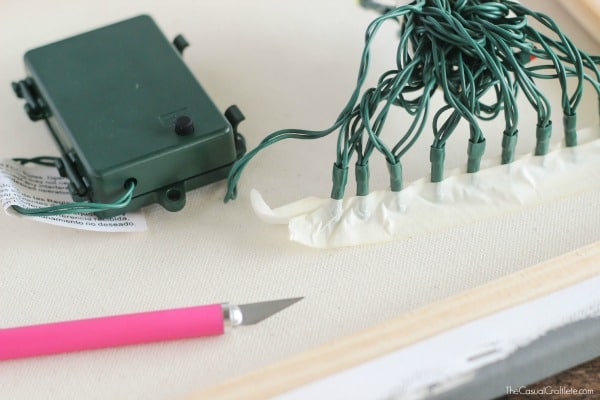
I chose a multi color battery led light set. I made small pencil marks along the blade of the lightsaber that were spaced equally apart for the number of lights I wanted to use. Then, I used the X-acto knife to make a small x that was about the size of the light. I then pushed the lights through the holes and taped them in place to secure them.
You guys! How awesome is this DIY Star Wars Lighted Canvas Art?! I love the simplicity of this piece. And that lighted green lightsaber, come on. Are you excited for the new Star Wars movie to come out? Who is your favorite character?
May the Force be with you.
YOU MIGHT ALSO LIKE:
I know some little boys who will love this. Pinned
This is totally cool! Star wars fans young and old will love this!