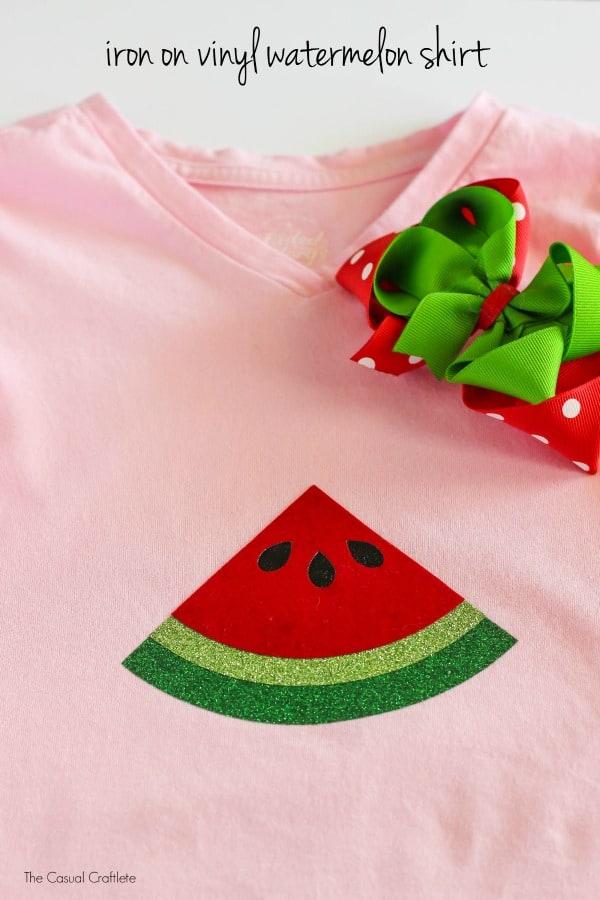
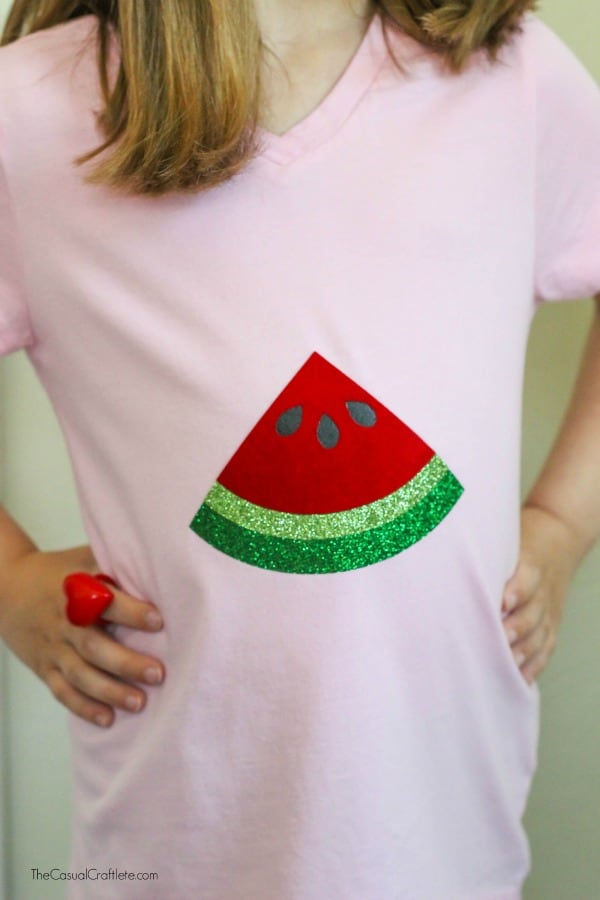
Multi Layer Iron On Vinyl Watermelon Shirt – create an adorable watermelon shirt perfect for summer by layering iron on vinyl. SO easy and cute!
Disclosure: This is a sponsored post on behalf of Cricut. I received product for this post. All ideas and opinions are 100% my own.
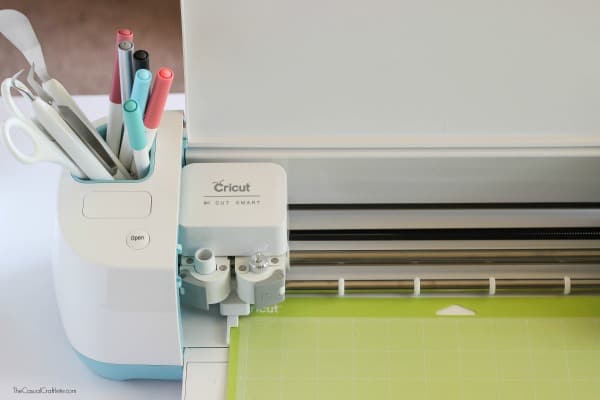
Hello there! Oh my goodness…I am so excited to share my first project using the Cricut Explore Air! I created this darling Multi Layer Iron On Vinyl Watermelon Shirt for my daughter to wear this summer. This was such a fun and easy project using glitter, flocked, and regular iron on vinyl. It’s the perfect shirt for summertime!
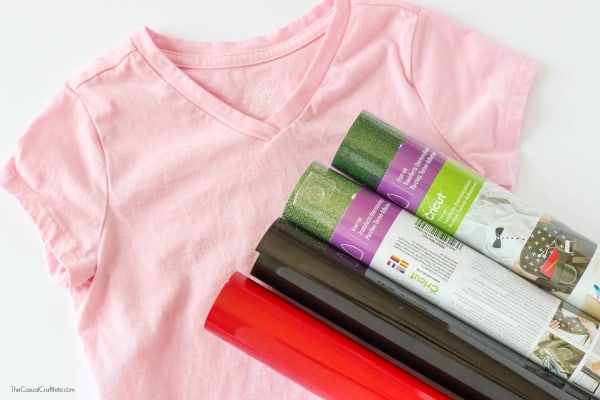
Supplies: (affiliate links)
- Cricut Explore Air + Tools & Mat Set
- Cricut Watermelon Image
- Flocked Iron On Vinyl – Ruby
- Iron On Vinyl – Black
- Glitter Iron On Vinyl – Kiwi
- Glitter Iron On Vinyl – Kelly
- Shirt
- Iron
- Towel
Instructions:
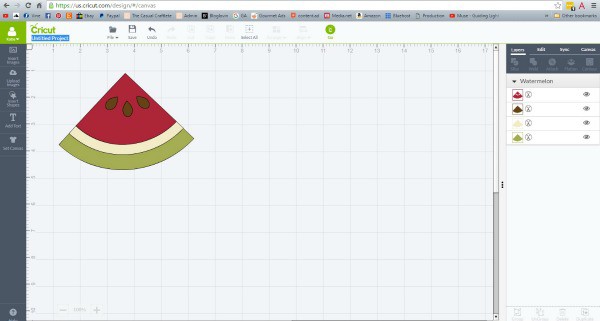
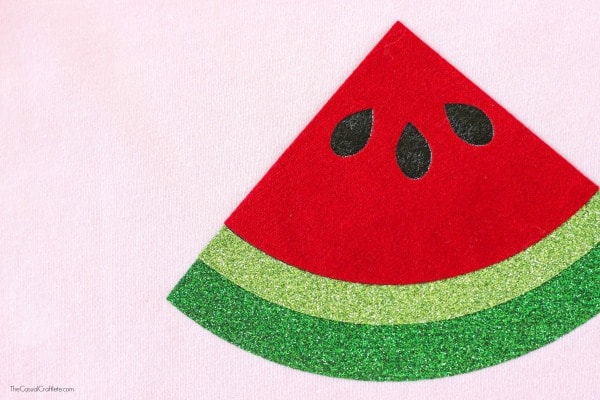
Start by downloading the Cricut Watermelon Image, which you can find in the Cricut Design Space here. This watermelon image has 4 separate layers, the watermelon, seeds, and two rinds. Open the image in a new design space and size the image. For my daughter’s size 6 shirt, I am sizing the image at 5 inches wide, which will make the height 3.58 inches. I placed the image in the top left corner of the mat.
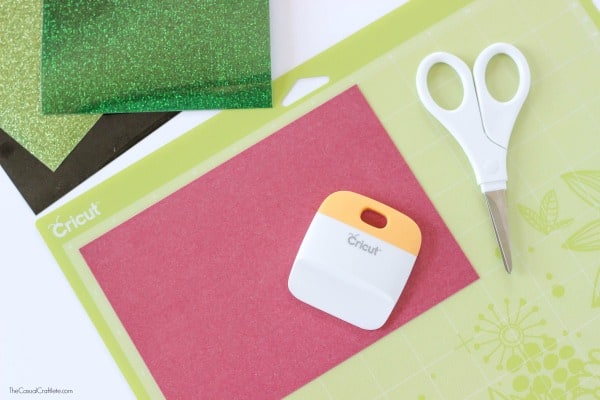
Cut each of the four pieces of vinyl, 7 inches wide by 5 inches tall. Place each piece on the cutting mat shiny side down. Use the scraper to smooth the vinyl. Repeat this set for each of the four pieces of vinyl.
Before cutting out the individual images, adjust the dial setting to Iron-On. When reviewing the cut settings in Design Space, select “mirror image”. This option is used for iron on vinyl. Select each layer one at a time and use the vinyl that matches with the image being cut-out. Example: for the seeds image I used the black iron on vinyl. Load the mat with the vinyl and cut-out each layer.
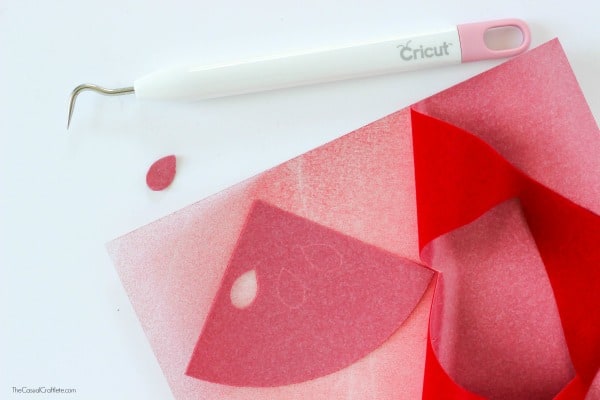
Remove the extra vinyl from the transfer paper. The only image in the watermelon that needs weeding is the red watermelon vinyl. Use the weeding tool to remove the three seeds. It’s super easy! That is why this is a great first project.
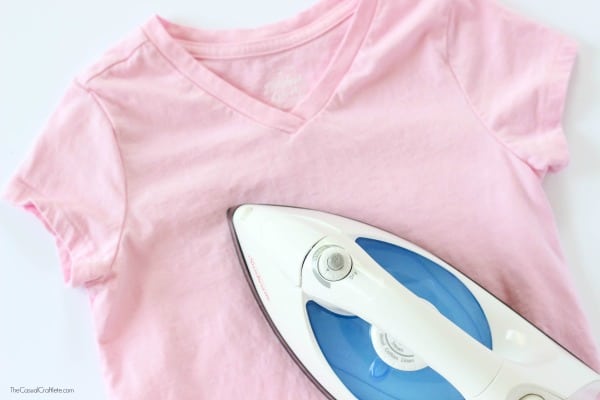
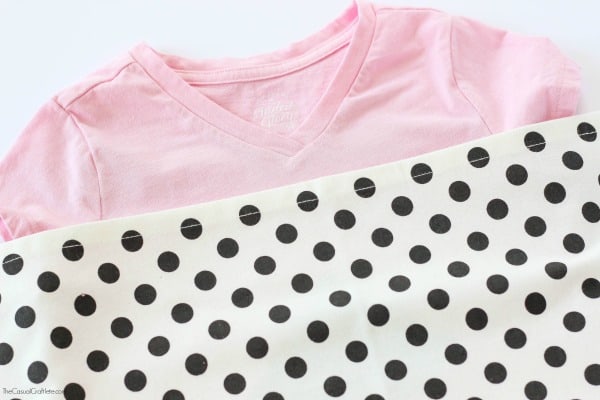
Wash, dry, and iron the shirt first before placing the vinyl.
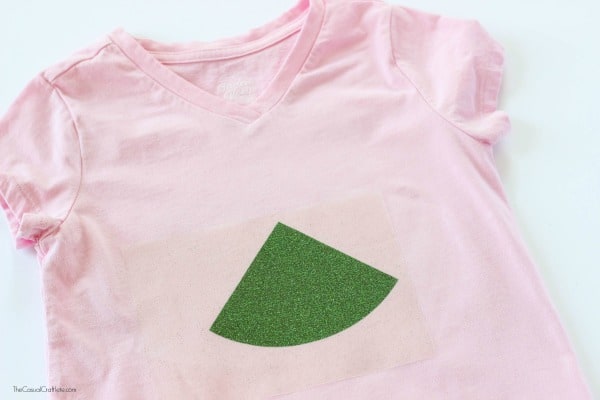
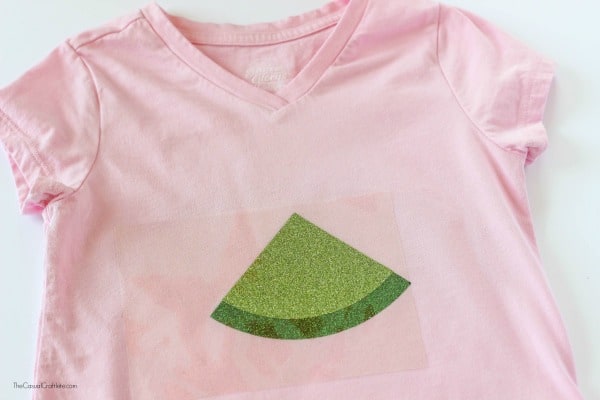
Start with the largest cut-out which is the darker rind. Place the vinyl shiny side up with the transfer paper on top.
Place a towel over the vinyl and hold the iron over it for about 20 seconds, making sure to apply pressure over the entire design. Remove the towel and flip the shirt to the back side. Iron the back of the shirt over the vinyl image for another 20 seconds. Remove the transfer sheet.
Layer the next piece of vinyl lining up the top and edges. Repeat the same process for iron mentioned above.
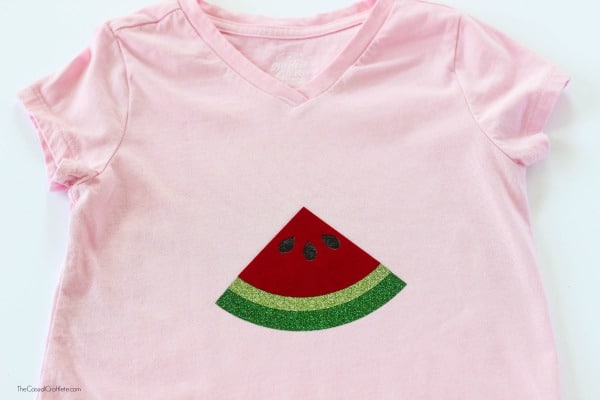
Repeat the process until all four pieces of vinyl are ironed on.
I love the different textures of vinyl! When you wash the shirt after wearing, fold it inside out.
My daughter loves her Multi Layer Iron On Vinyl Watermelon Shirt. She gets tons of compliments every time she wears it. This is the perfect shirt for summer!
This is cute for summer. I need to whip out my Cricut. It’s been a while.