Create an easy Custom Stamped Favor Bag for a fun back to school gift idea for teachers and students.
Disclosure: This is a sponsored post on behalf of SilhouetteAmerica.com. I received product for this post. All ideas and opinions are 100% my own.
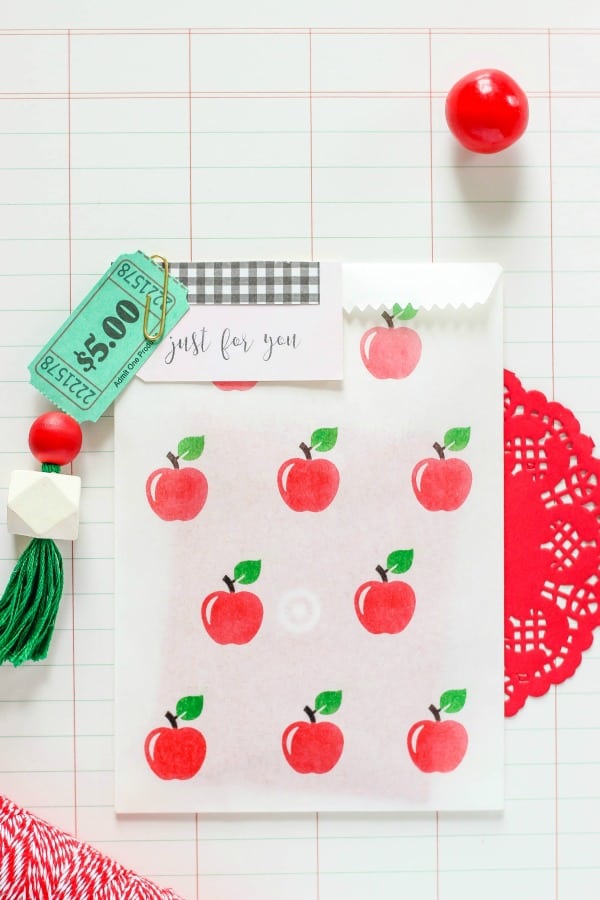
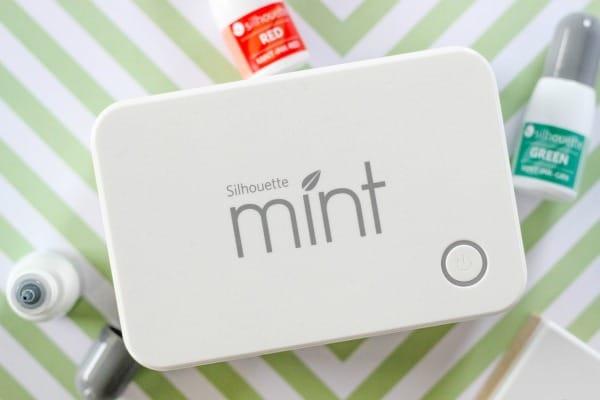
Hello there! Today I am excited to share how to make this Custom Stamped Favor Bag using the Silhouette Mint custom stamp machine. This apple stamped bag with a sentiment tag is the perfect gift wrap for back to school!
Supplies (affiliate links):
- Silhouette Mint Stamp Kit & Ink Bottles – HUGE SALE PRICE!
- Apple Design
- Just For You text
- Glassine Bag
- Embellishments
- Scrap Paper
Instructions:
Insert the Mint Studio CD into the CD drive on your computer. Drag and drop the application icon into the applications folder to install Mint Studio.
For this custom stamped favor bag, I made two different stamps. The first is an Apple Design that I purchased from the Silhouette Design Store. The second is a Just For Your text stamp. I just picked one of my favorite fonts to use for the text.
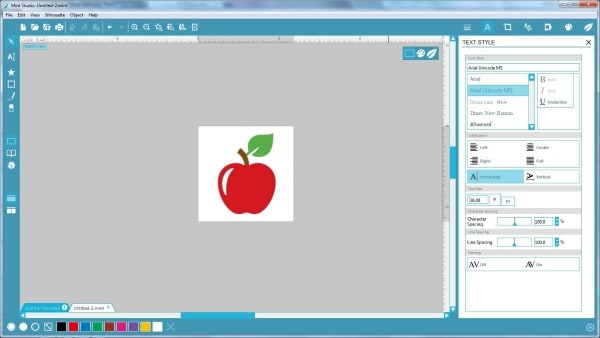
Start by opening the Silhouette Mint Studio. Go to the Design Store and purchase the Apple Design ID #65374 for $0.99.
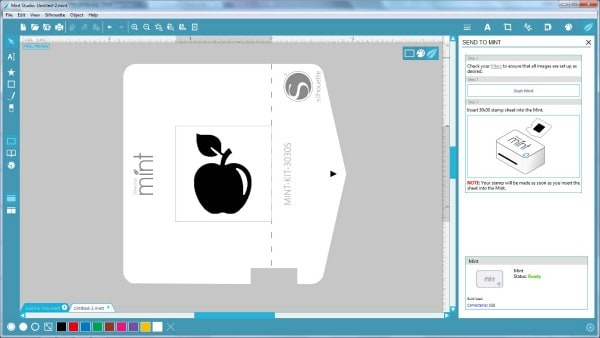
Go to FILE then NEW. Open up the Apple from your library. Next, click on the STAMP SETTINGS and choose 30 x 30. Resize the apple to fit in the center of the template. Then, click SEND TO MINT.
Load Silhouette Mint machine with a 30 x 30 stamp sheet. Click START MINT for the stamp to print. *The image automatically reverses.
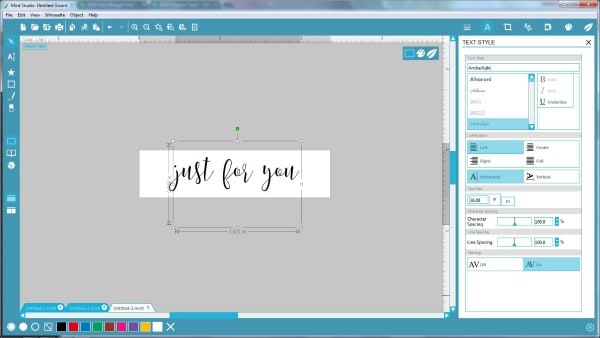
For the Just For You text, I opened a new file and choose 60 x 15 in the STAMP SETTINGS. Then, I went to TEXT and picked a font that I liked and already had downloaded on my computer. If you are interested, this font is called AMBERLIGHT. I centered the text in the template.
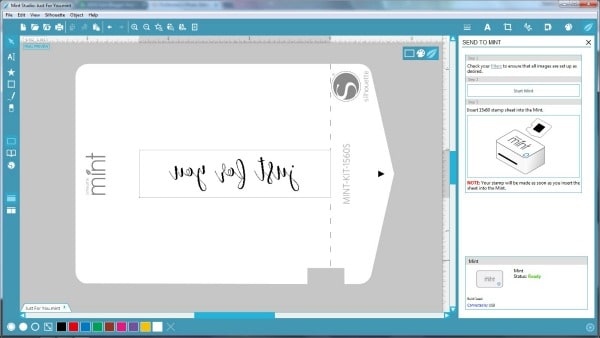
Click SEND TO MINT. Load Silhouette Mint machine with a 60 x 15 stamp sheet. Click START MINT for the stamp to print.
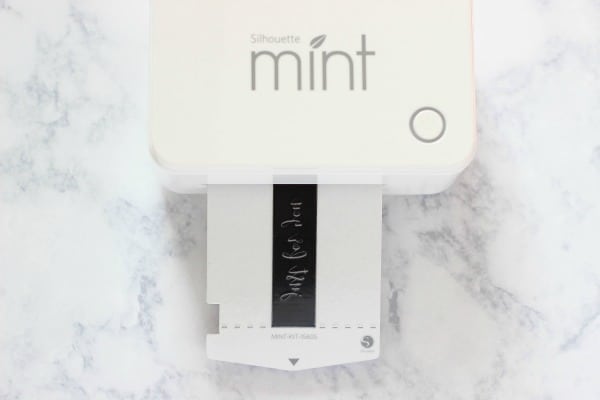
The custom rubber stamps will come out of the Mint just like this. Push the release button on the bottom of the Mint to eject the stamp.
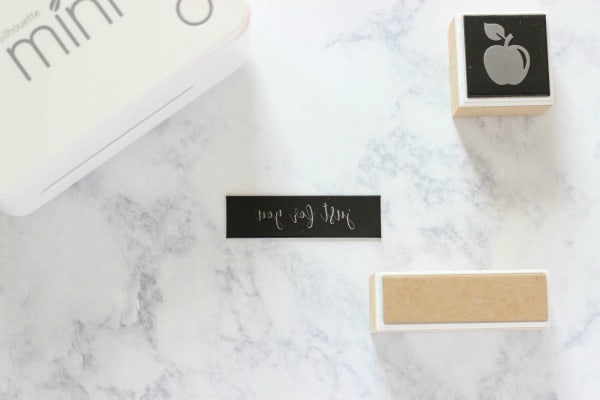
Peel back the paper stamp sheet to remove the rubber stamps. Slide the stamp mount on to the stamp base until it clicks into place.
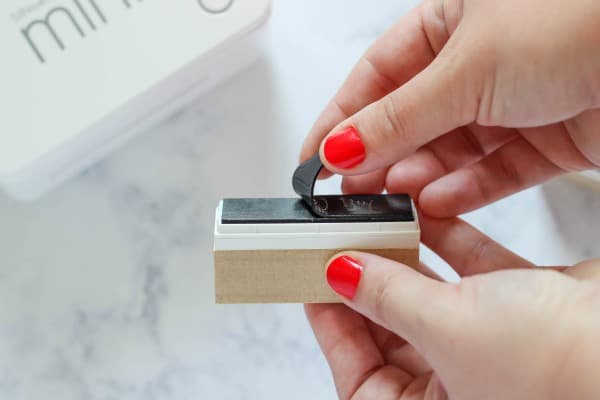
Remove the protective brown paper from the stamp mount and place the rubber stamp on to the correct sticky stamp mount.
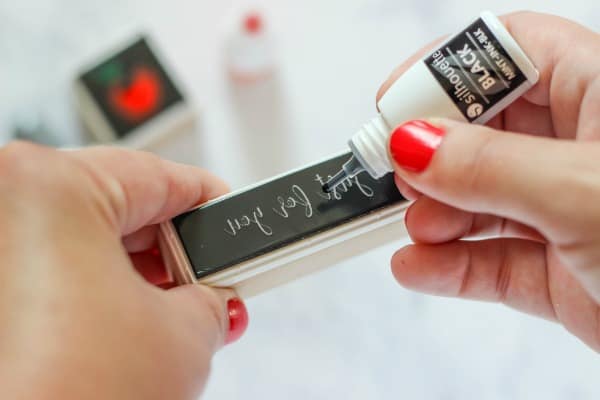
Apply Mint ink on top of the two designs using any color ink. I used black ink for the text stamp and red, green and black ink for the apple stamp. Wait at least 5 minutes to let the ink absorb into the stamp. It’s okay if you get some ink outside of the design area. The Mint Stamp Kit comes with black, blue, red, and yellow ink. I ordered the green ink bottle here.
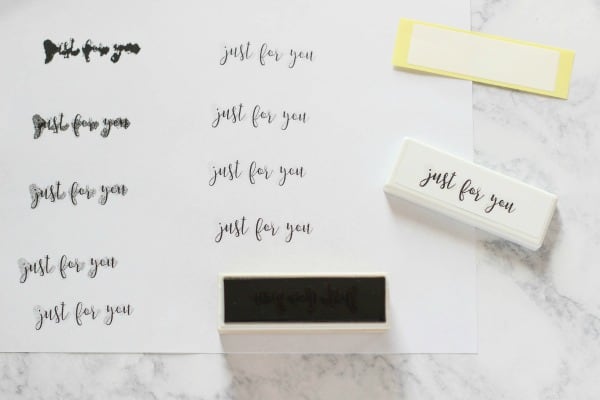
Use a scrap piece of paper to test the stamp. Make several stamps to remove excess ink. You can stamp the labels that comes with the Mint and then stick them to the stamp lids. I love how smooth and clean the stamps come out. Each stamp should last up to 50 applications before needing more ink.
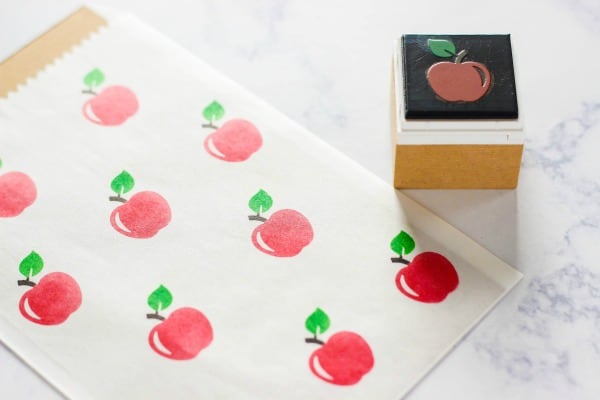
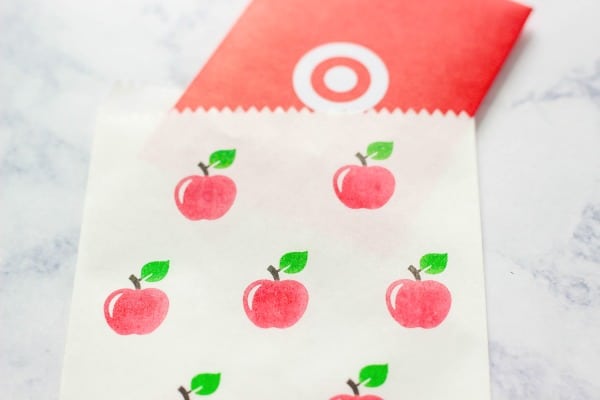
Place a piece of scrap paper inside the glassine favor bag. This will prevent the stamp from blending through. Use the apple stamp to stamp any pattern you would like on the bag.
Teacher’s love gift cards. This custom stamped favor bag is perfect for a red Target gift card 🙂
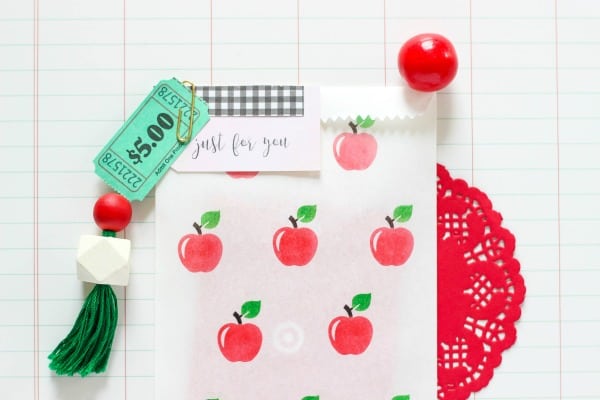
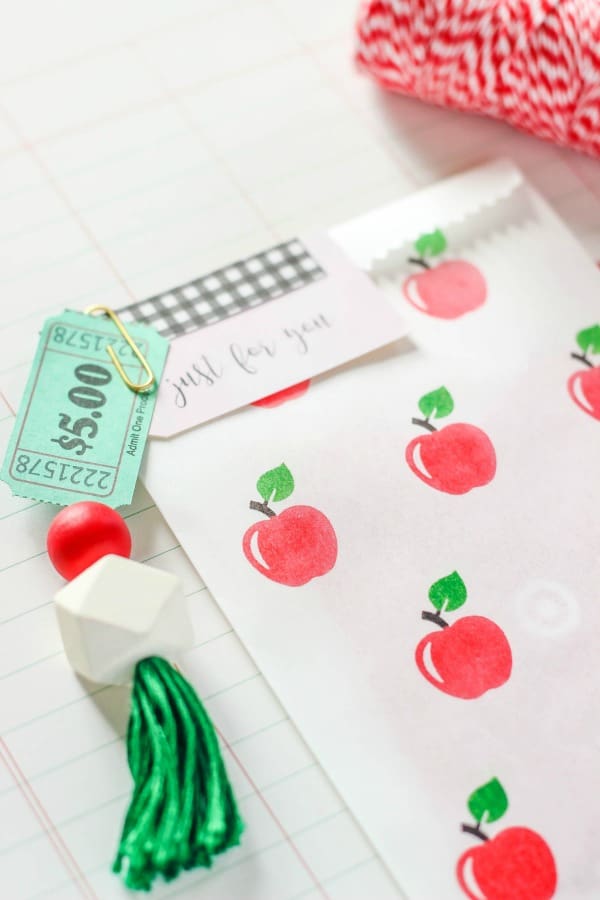
Add a “just for you” tag with embellishments for the finishing touches.
Now that is custom stamped favor bag is done and stuffed with a Target gift card, my daughter’s teacher gift is finished. Now to go buy school supplies. For more information and ideas, check out SilhouetteAmerica.com.
