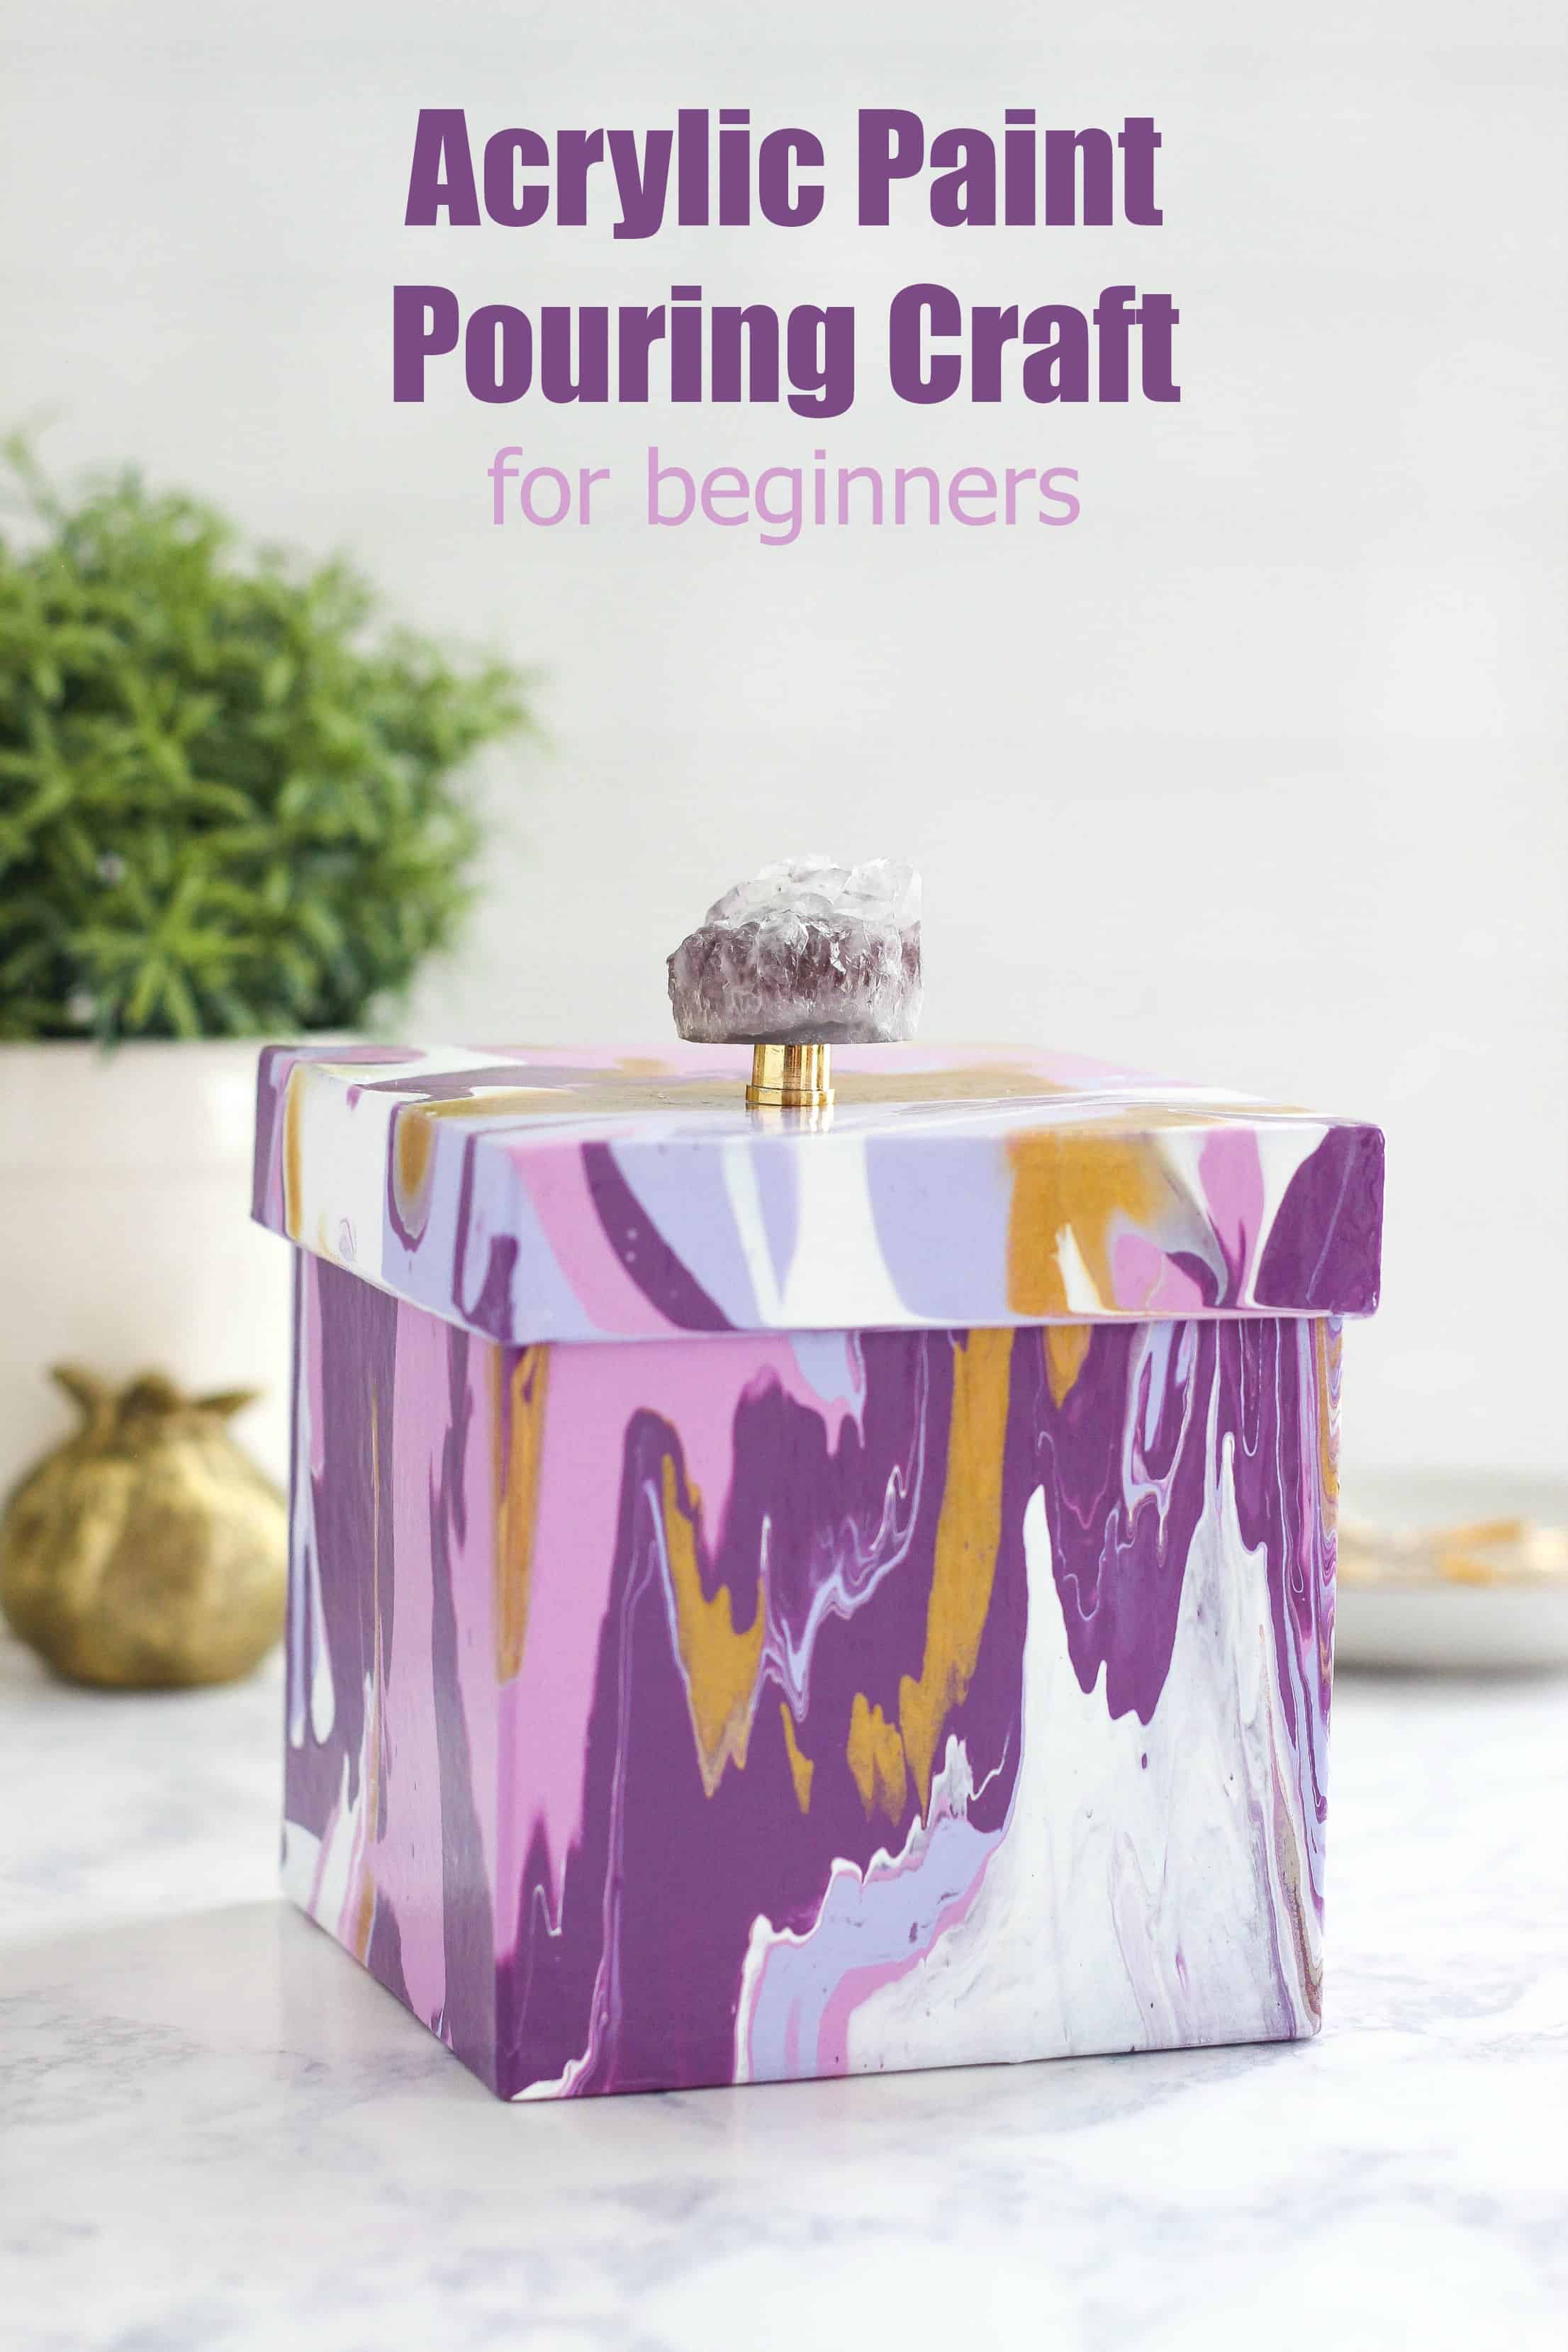
This Acrylic Paint Pouring Craft tutorial is great for beginners who are interested in learning the basics from scratch. Easy step-by-step instructions along with a video to help teach you paint pouring techniques.
This is a sponsored post written by me on behalf of DecoArt. I received compensation and product for this post. All ideas and opinions are 100% my own.
Today I am so excited to share a new technique with you. This was my first time doing a paint pouring and I have to tell you that it was so much fun and I love the final result. You do not need to have any prior knowledge of paint pouring before starting this process. Let me show how easy this Acrylic Paint Pouring Craft for beginners is!
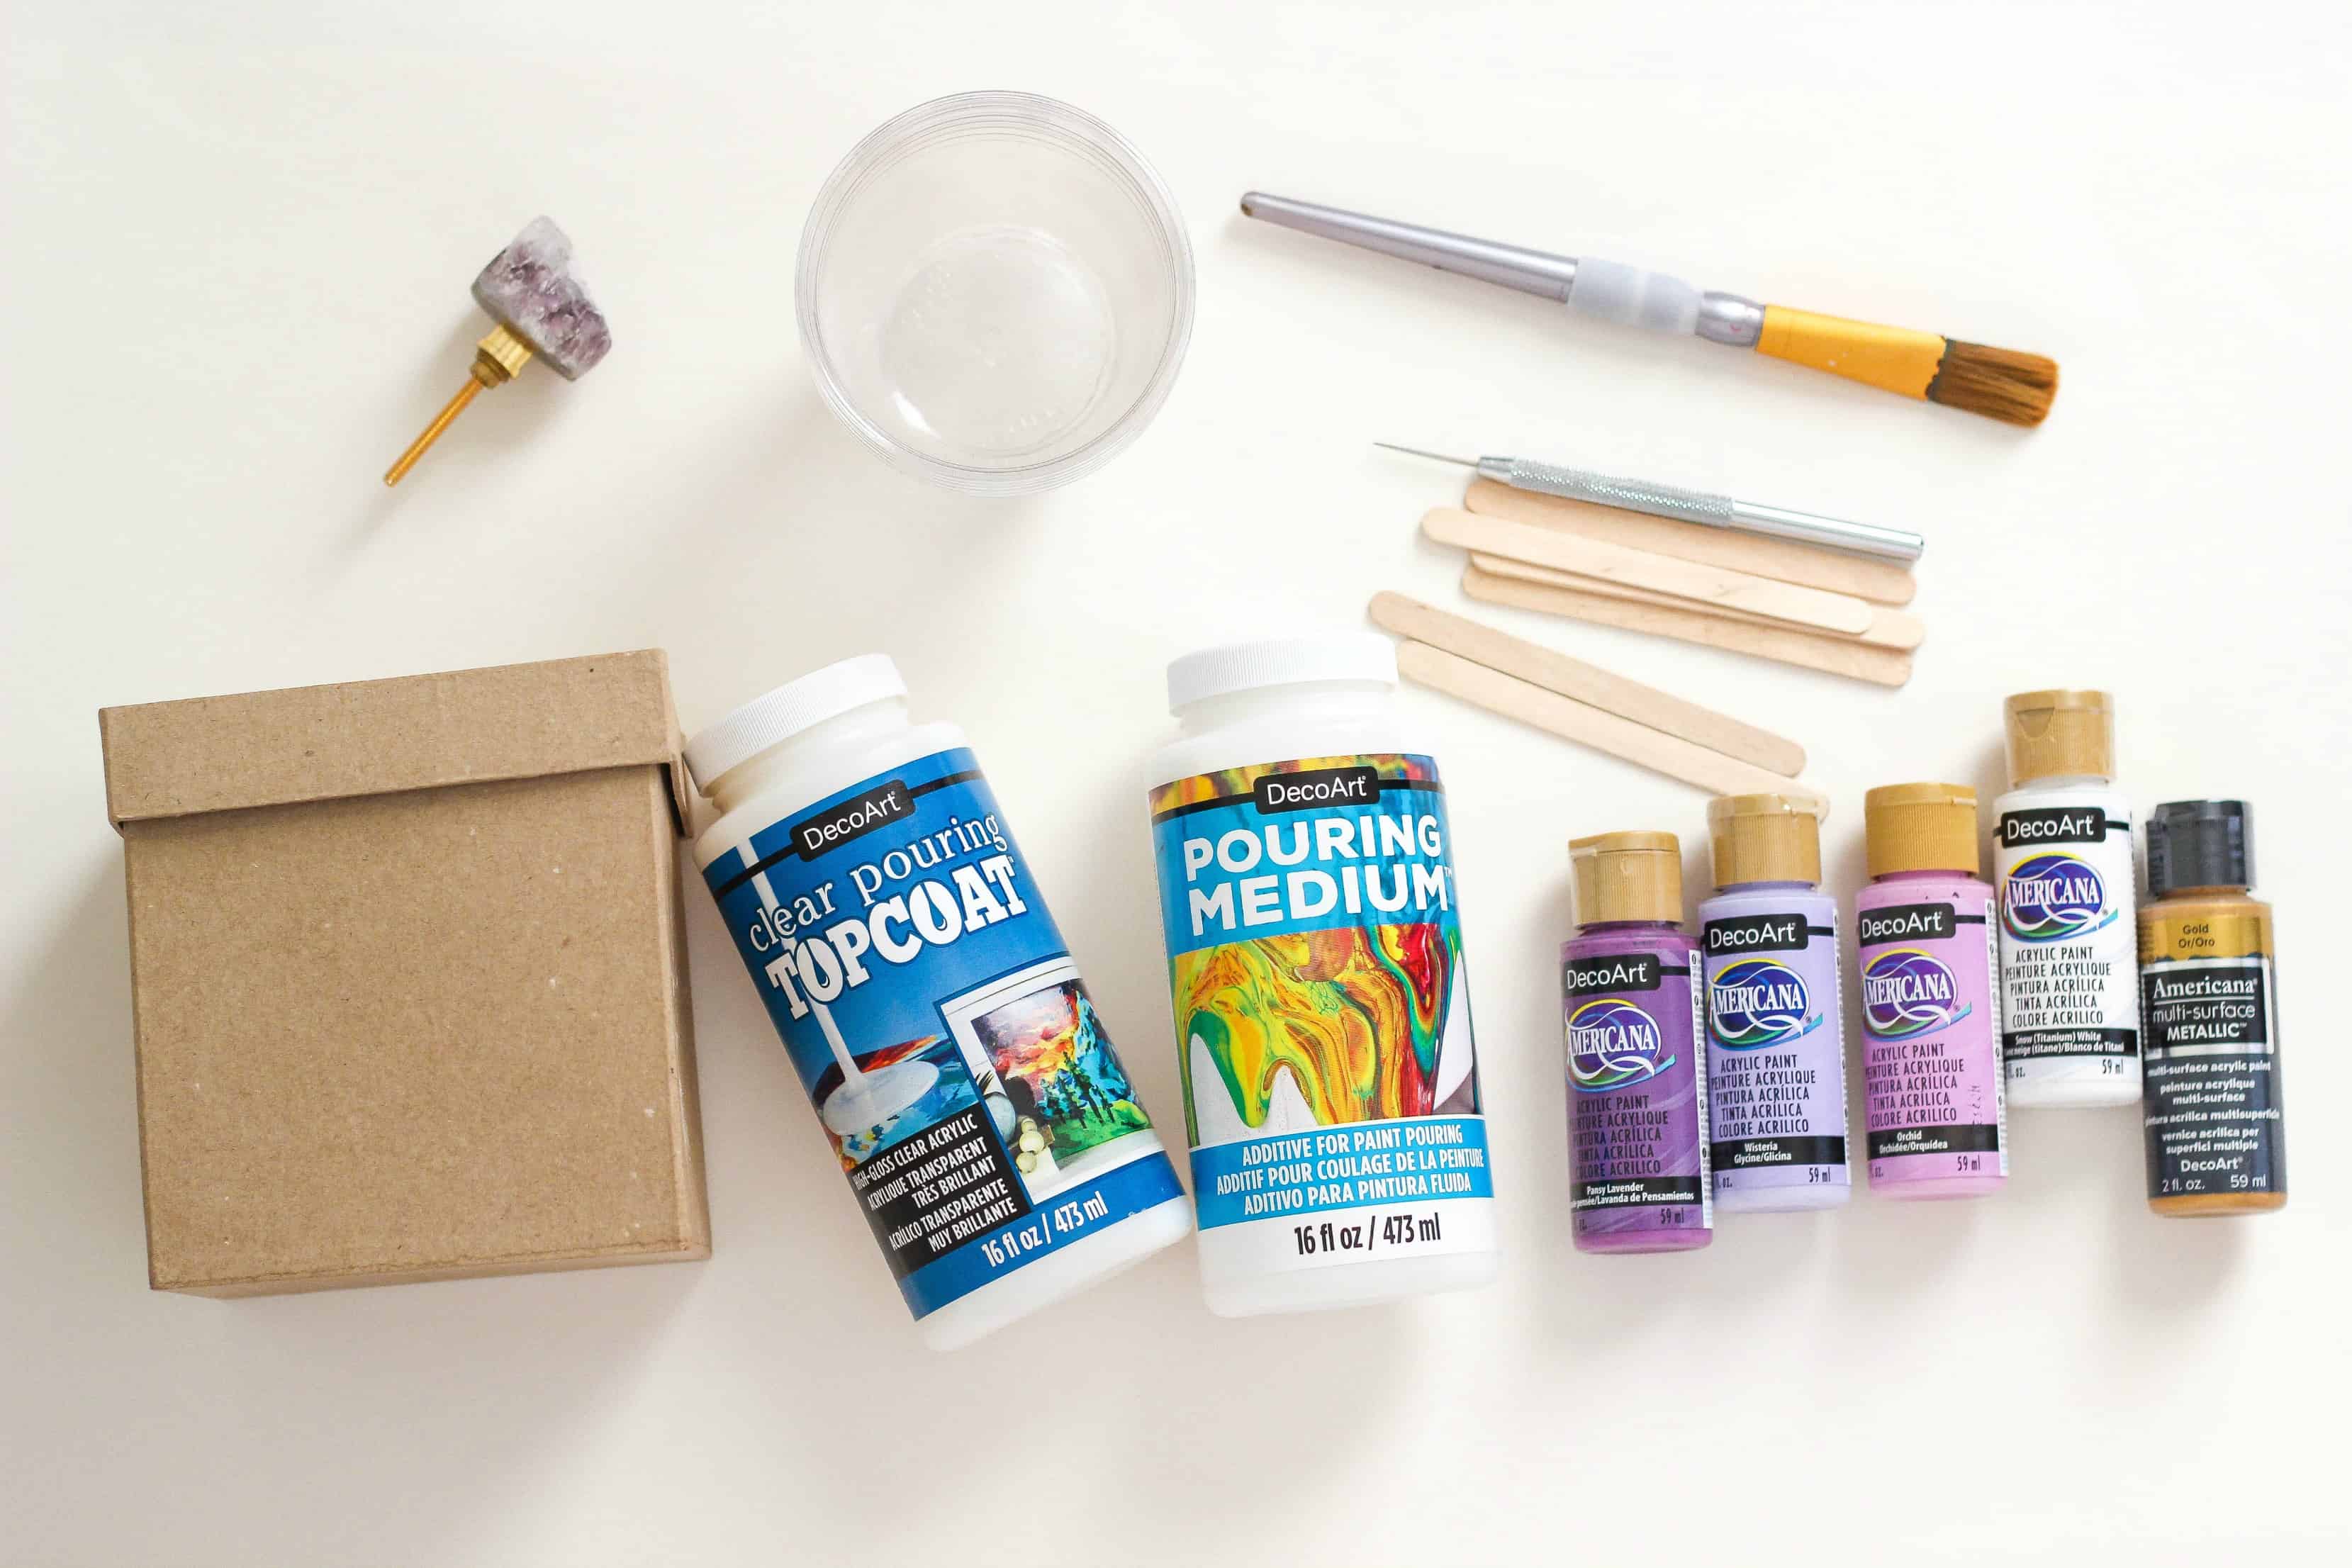
Acrylic Pouring Supplies (affiliate links):
- Americana Acrylic Paints
- DecoArt Pouring Medium
- DecoArt Clear Pouring Topcoat
- Cardboard Box (I bought mine at Hobby Lobby)
- Plastic Disposable Cups
- Stirs (I used popsicle sticks)
- Paint Brush
- Geode Knob (optional – Hobby Lobby)
Acrylic Paint Pouring Craft for beginners (instructions):
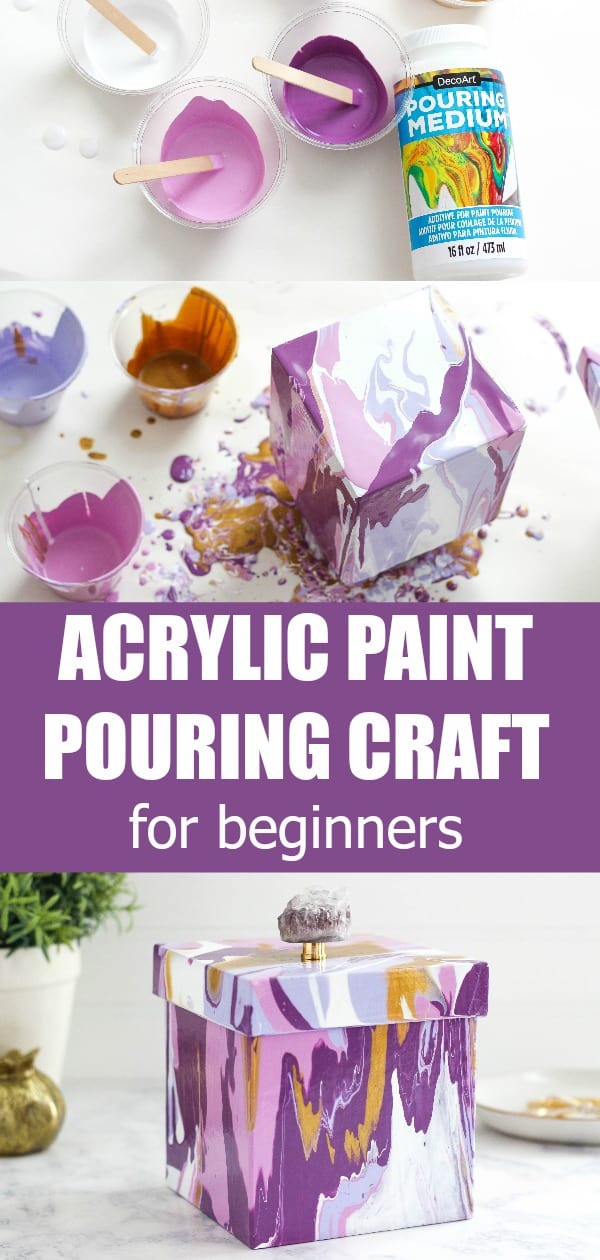
You want to prepare a work space for protection and easy clean up. I am using several sheets of heavy paper from a roll but you can also use an aluminum baking pan to catch the paint. You will also need paper towels and gloves.
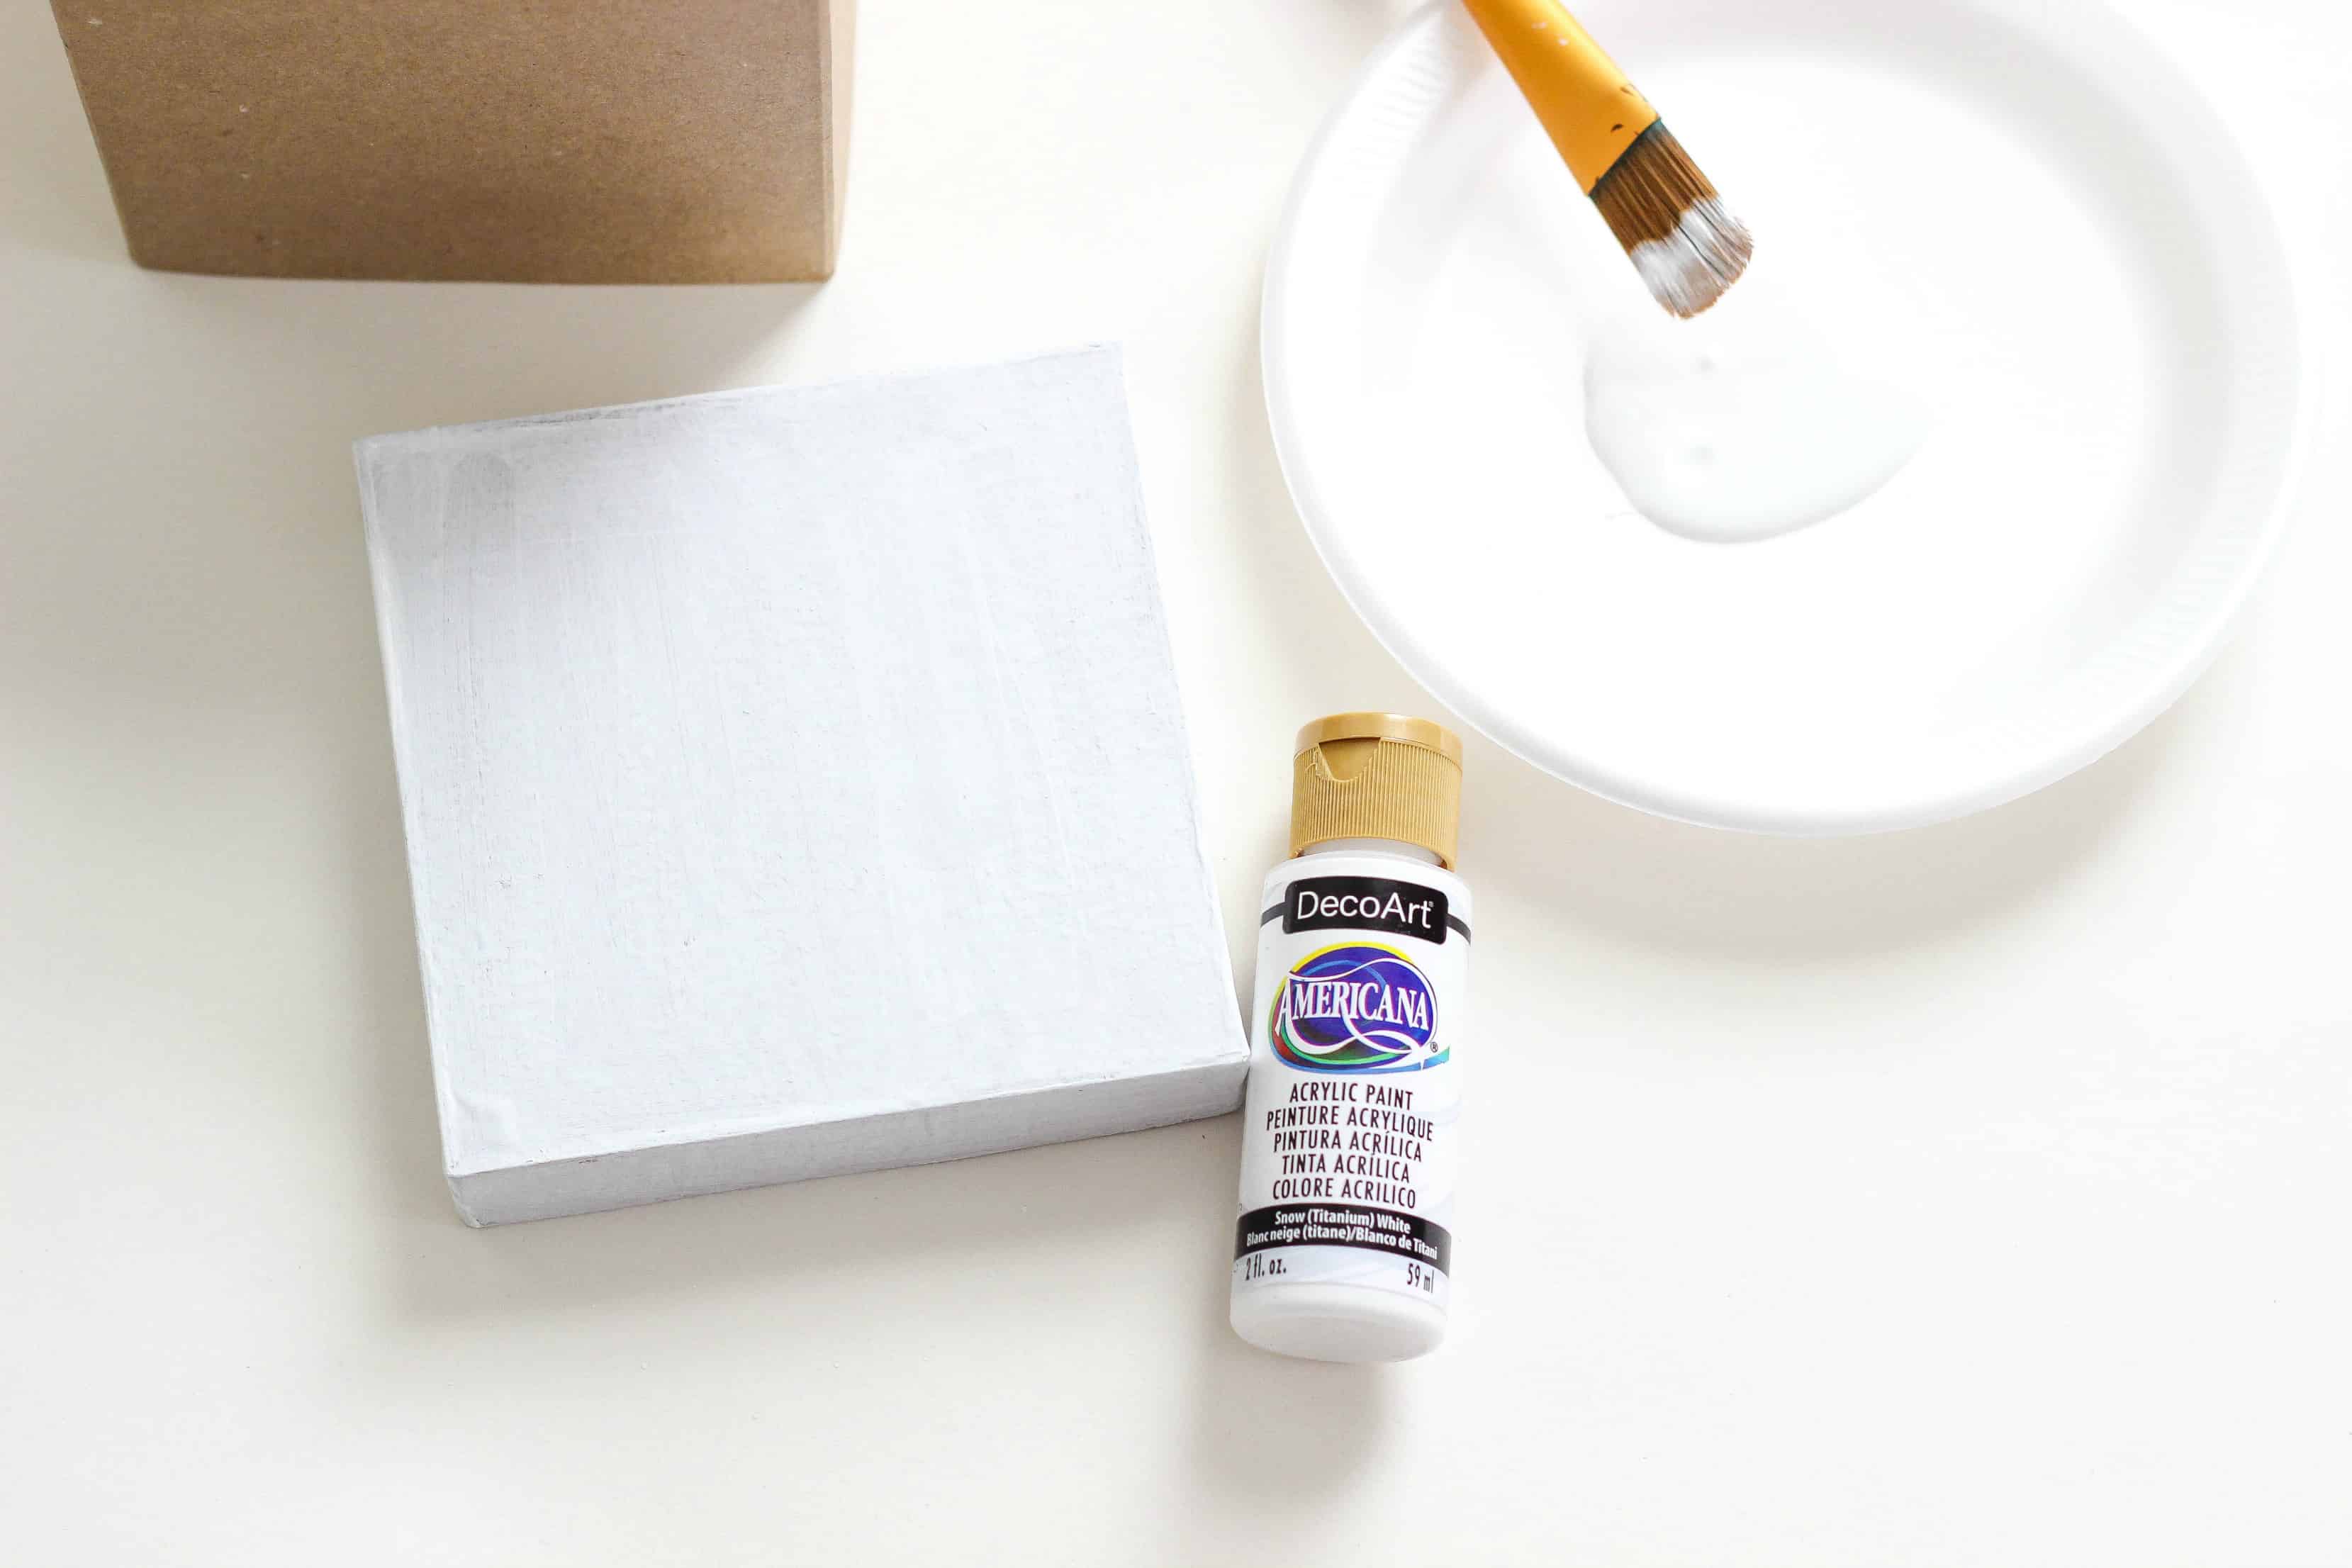
I started by painting the cardboard box with acrylic paint in the color snow white. I did this because I wanted to work with a smooth surface and to ensure the cardboard box would be completely covered up. Set the box aside to let dry.
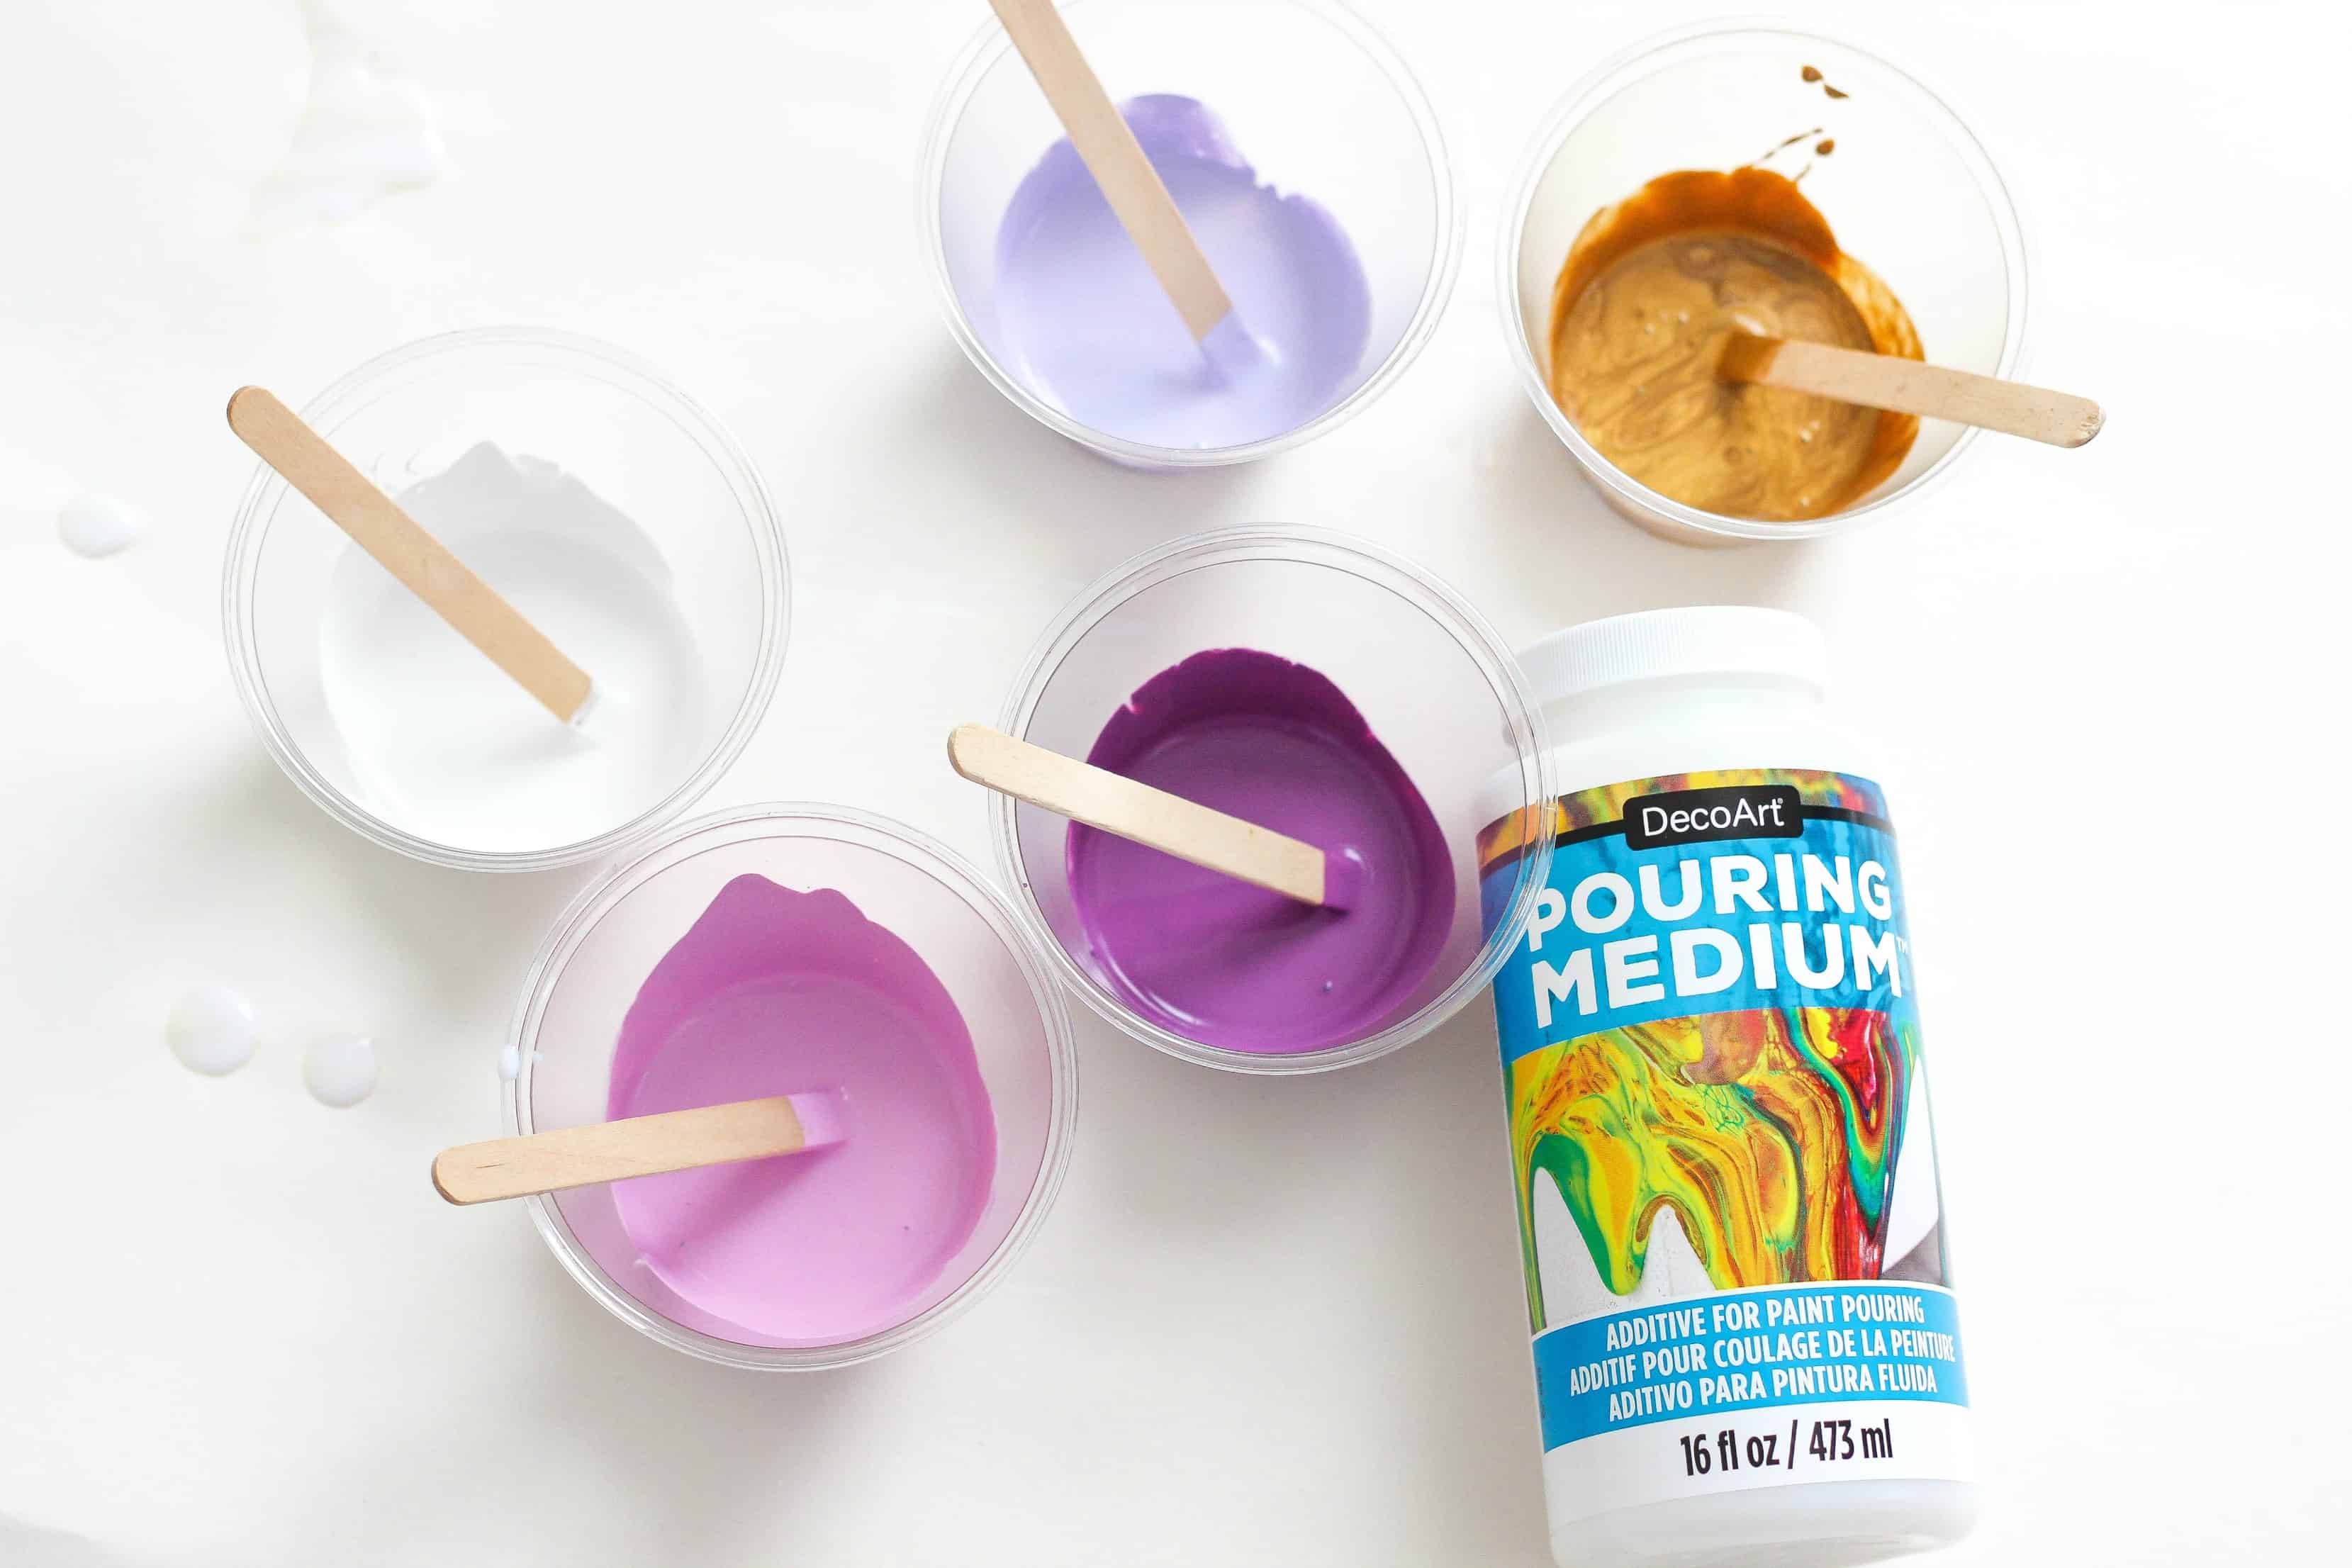
I am using 5 different colors of Americana Acrylics but you can use as many as you would like. Use at least 3 complementary colors for a nice craft. I pour a good amount of each acrylic paint into a separate disposable cups. Next, I add the pouring medium to each cup. The ratio is 2:1 paint to pouring medium. DecoArt Pouring Medium is a fluid additive specially formulated to enable paint to flow easily across a surface. The pouring medium is very thin and watery. Use a stir stick to mix the paint and medium together.
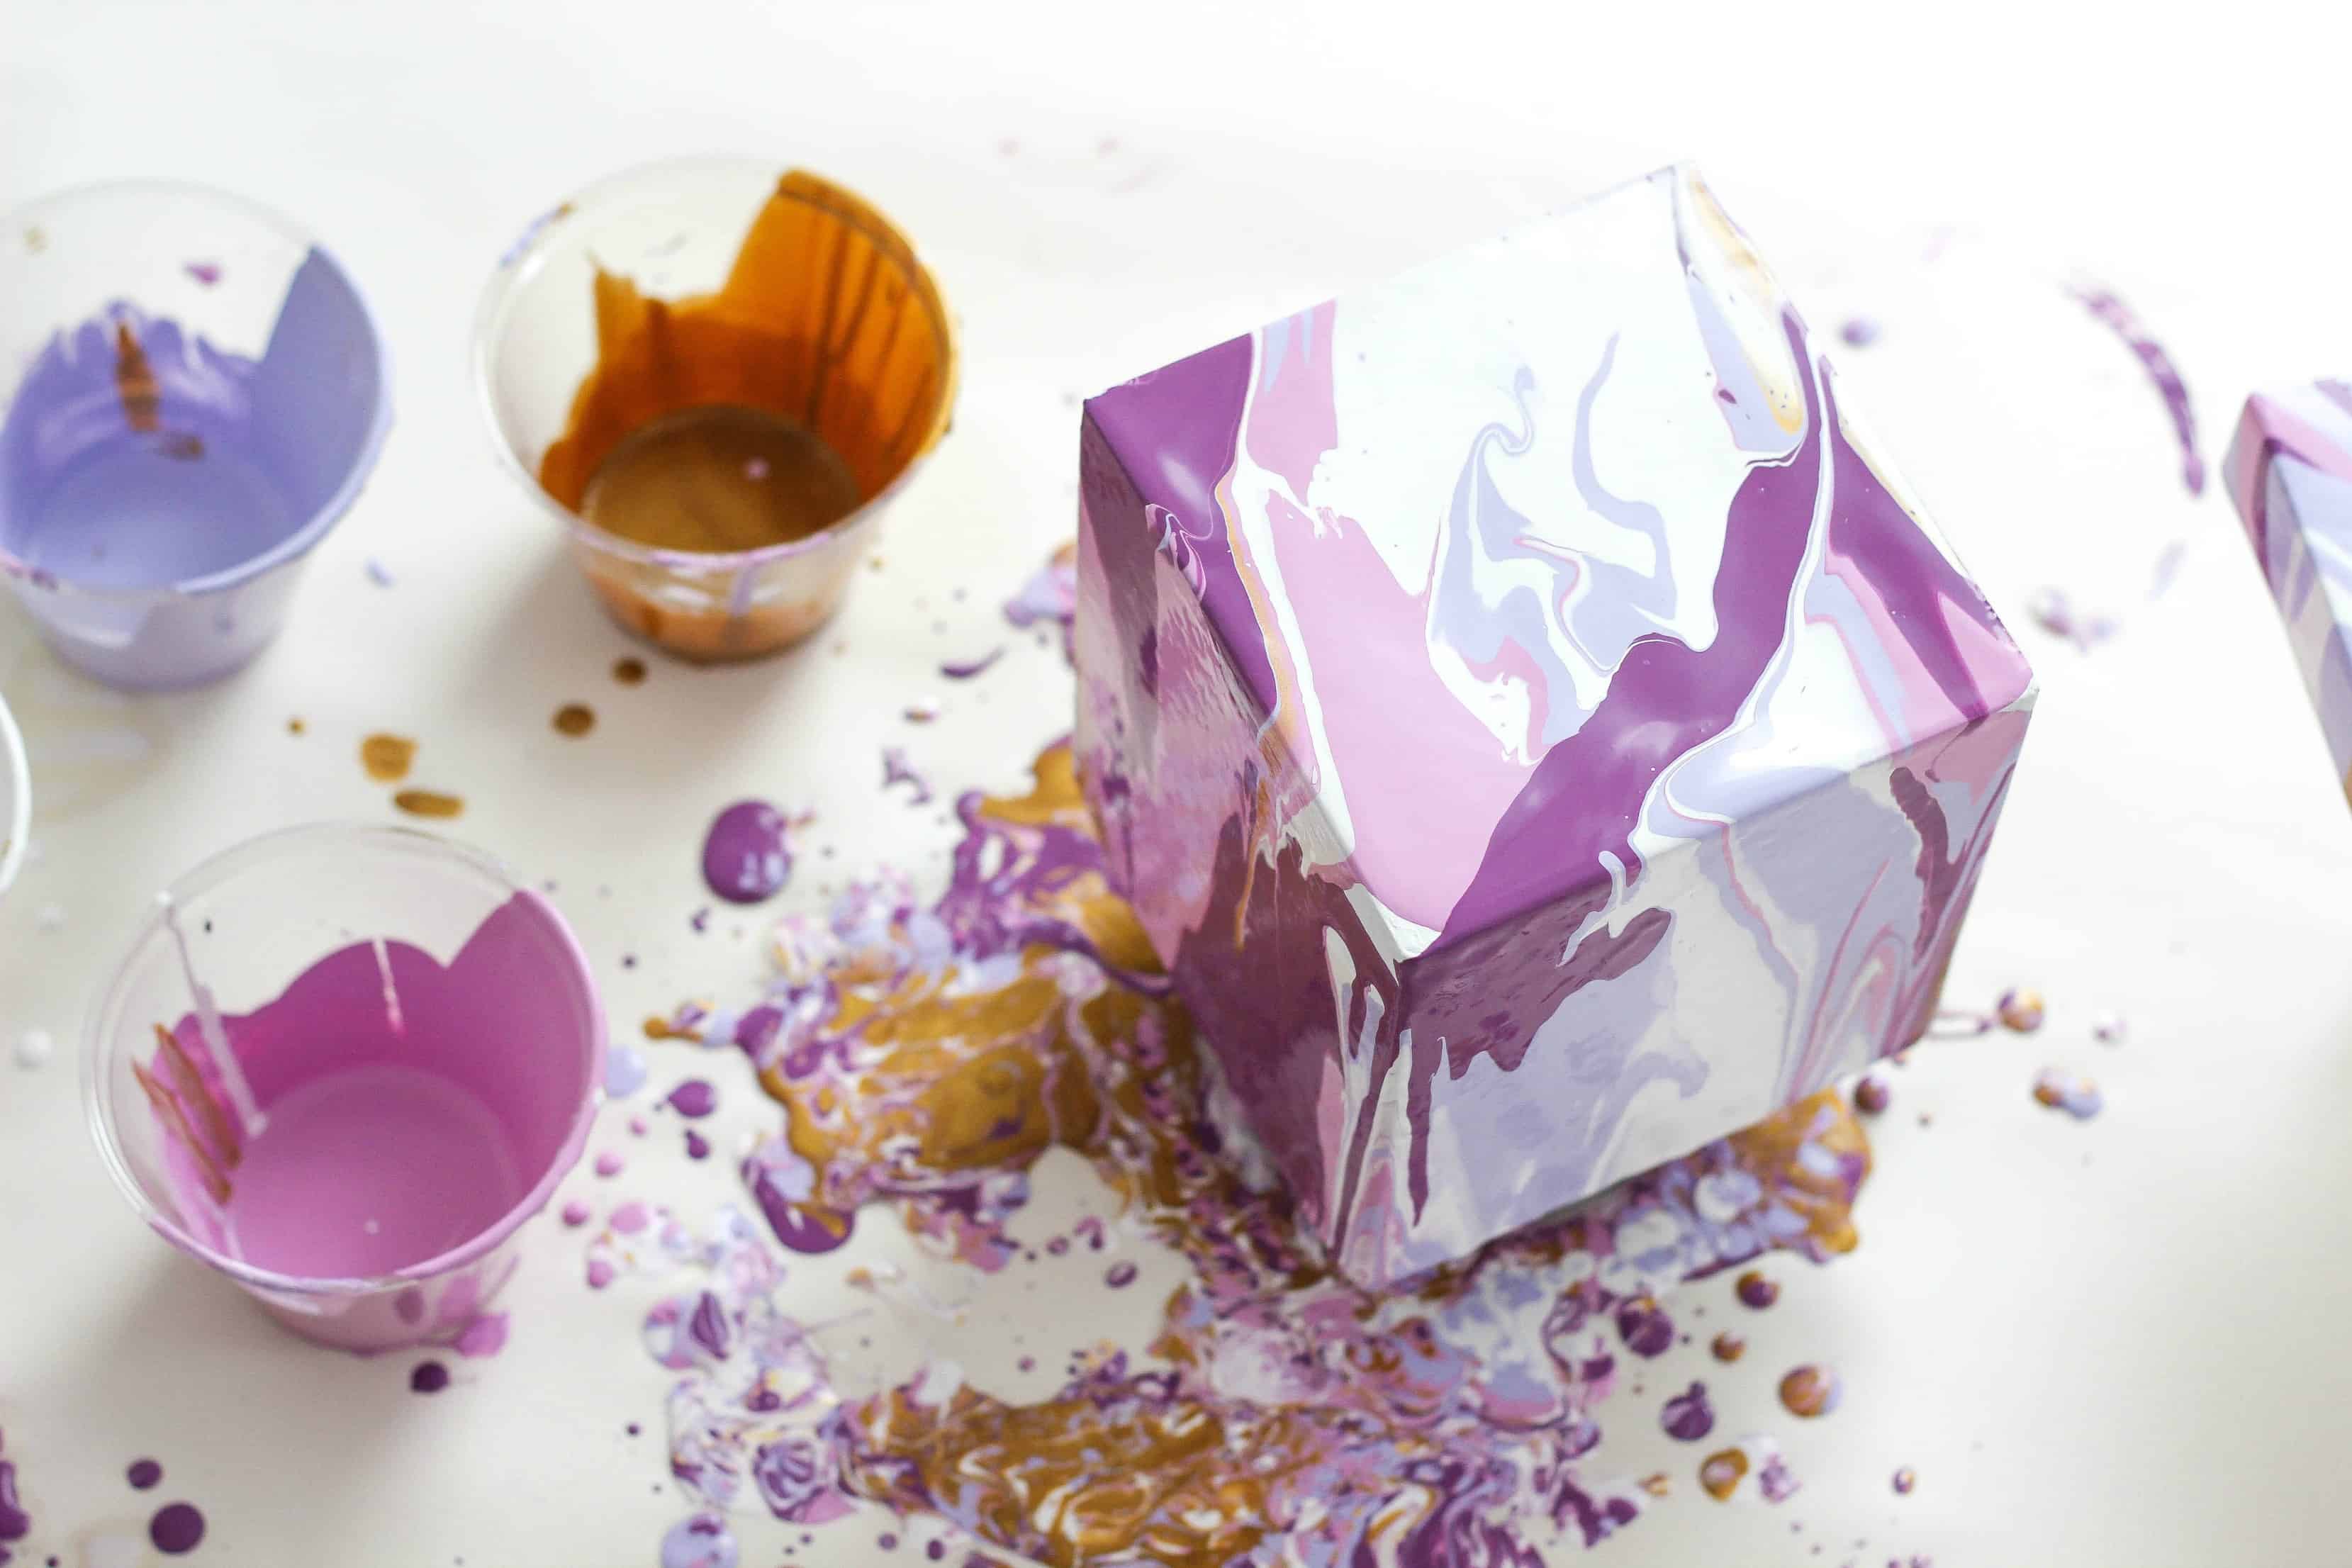
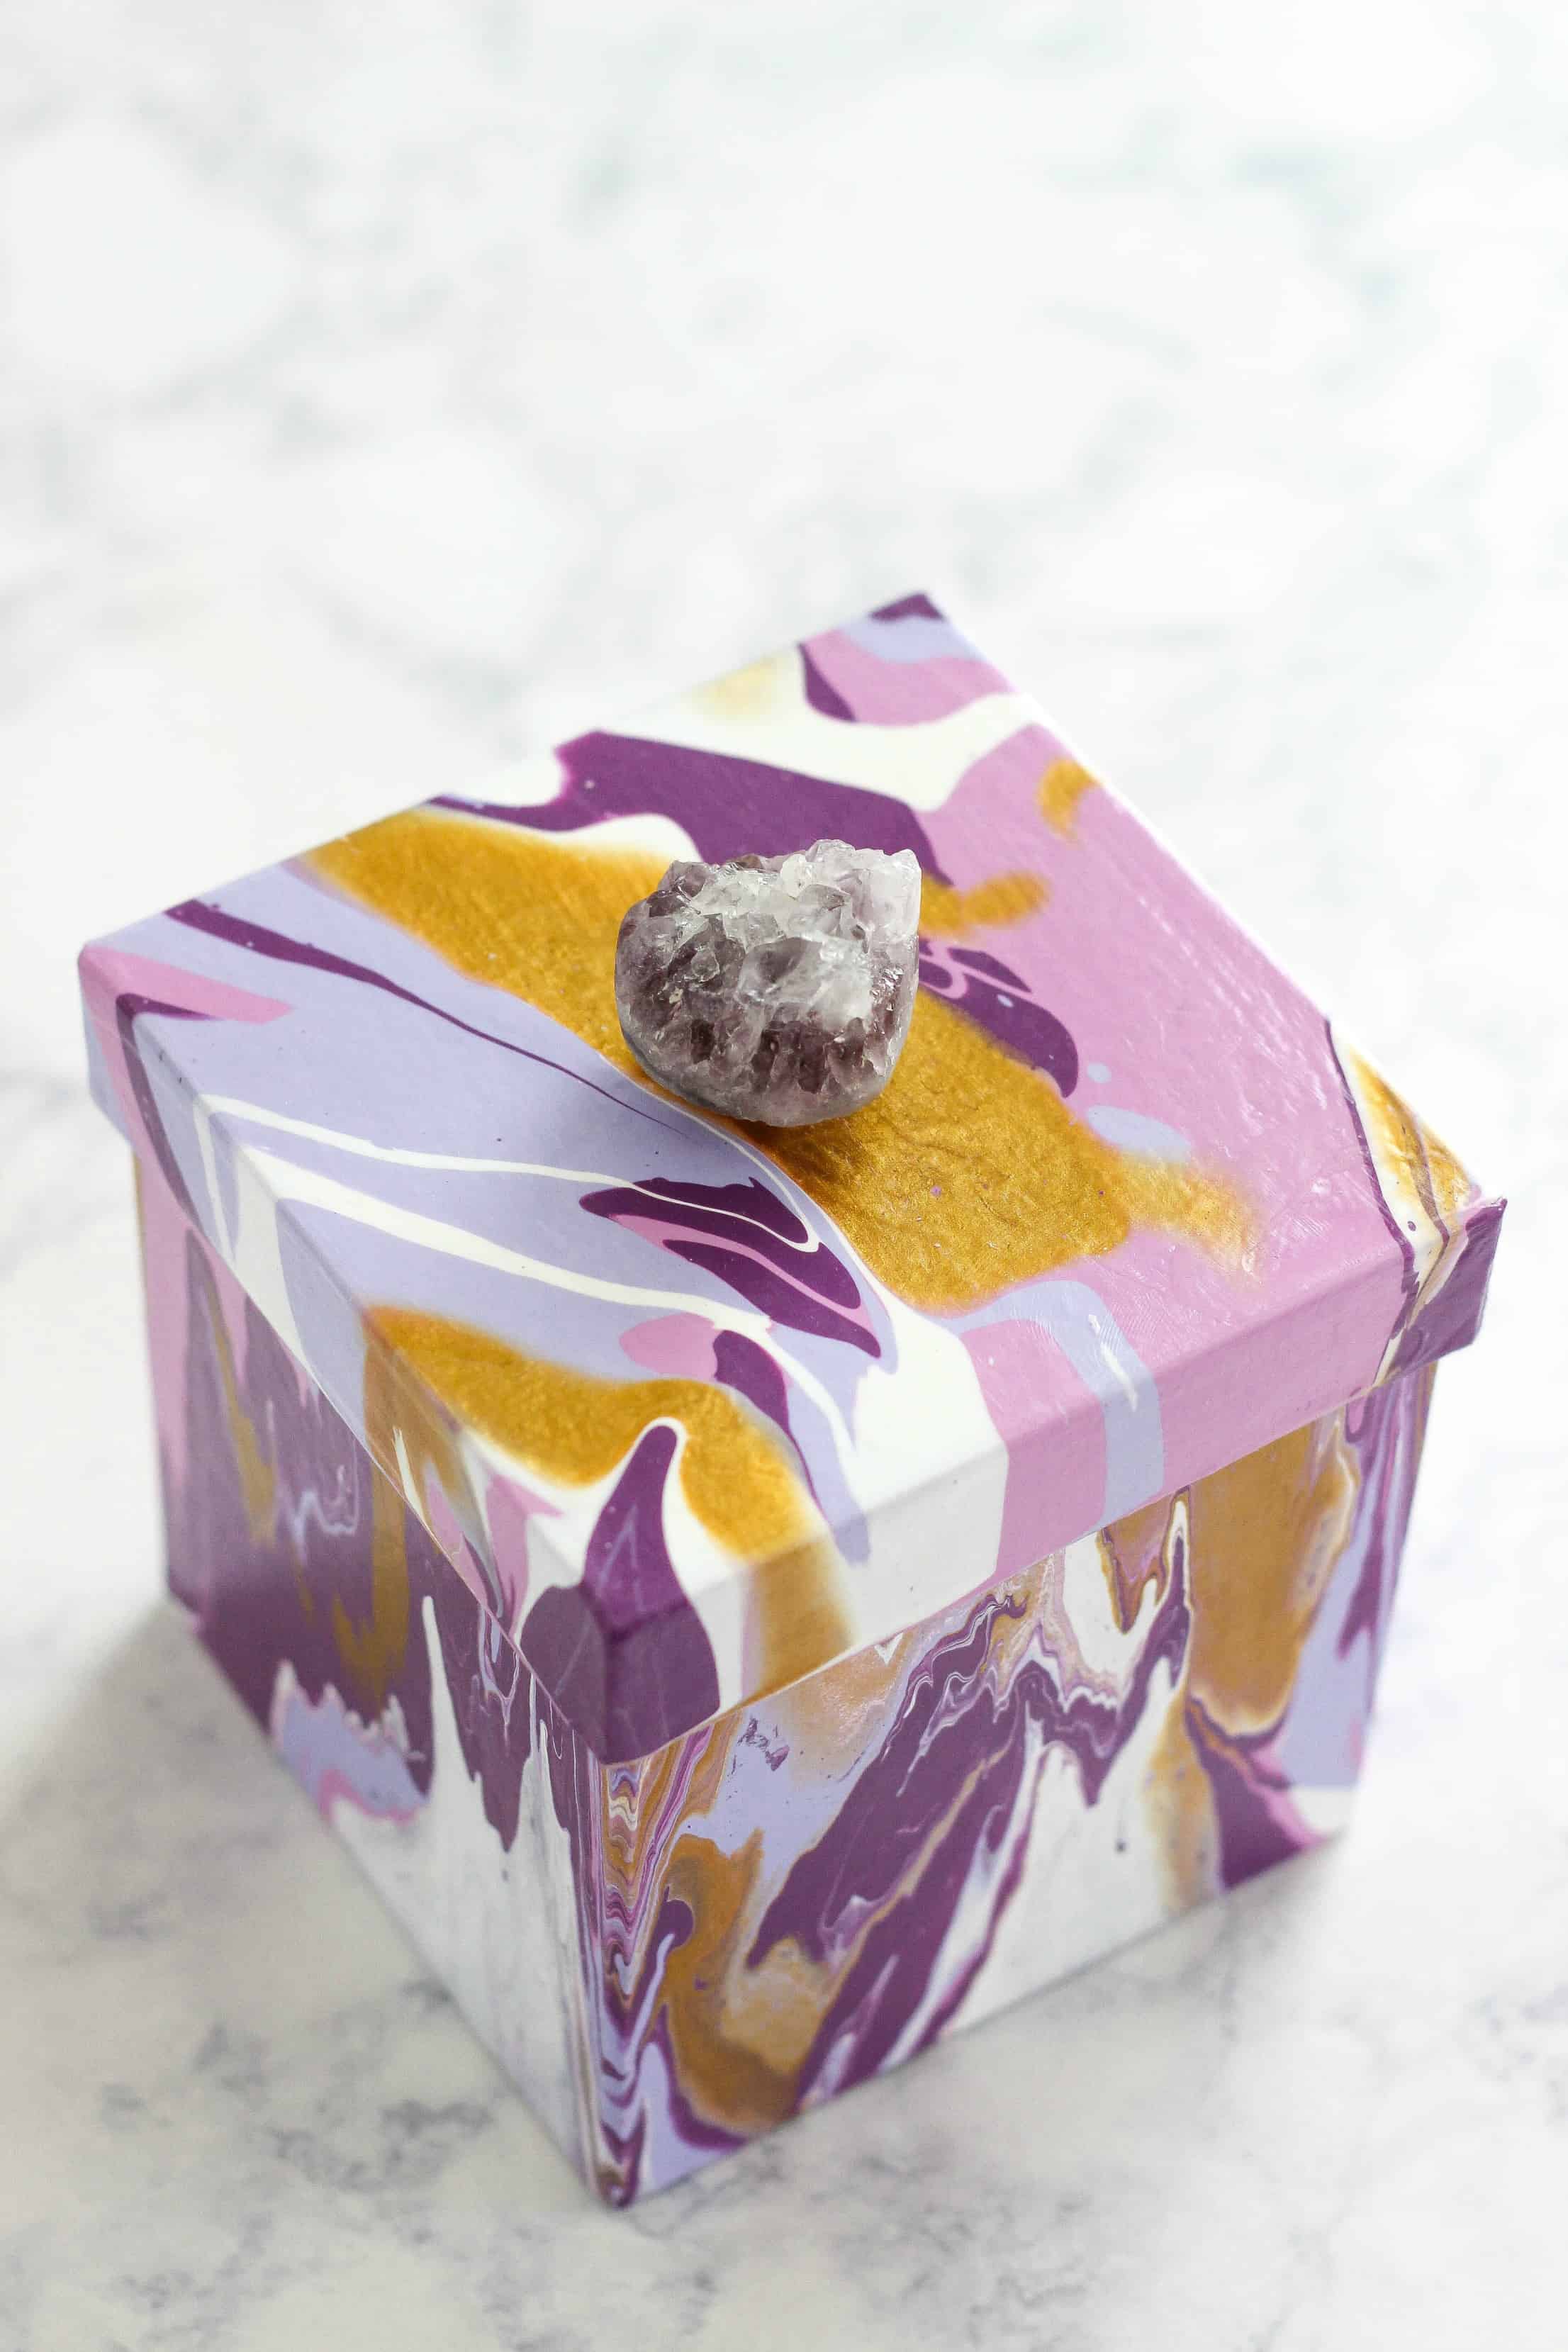
The paint pour technique I am using is a single cup pour or dirty pour. I poured a small amount of each paint color onto the bottom and sides of the box and lid, overlapping and mixing the colors. Tilt box and lid until all the surfaces are covered. I placed the box and lid over some disposable cups to allow the paint to drip and dry. I love this acrylic pouring recipe because it is so easy and the end result turns outs amazing.
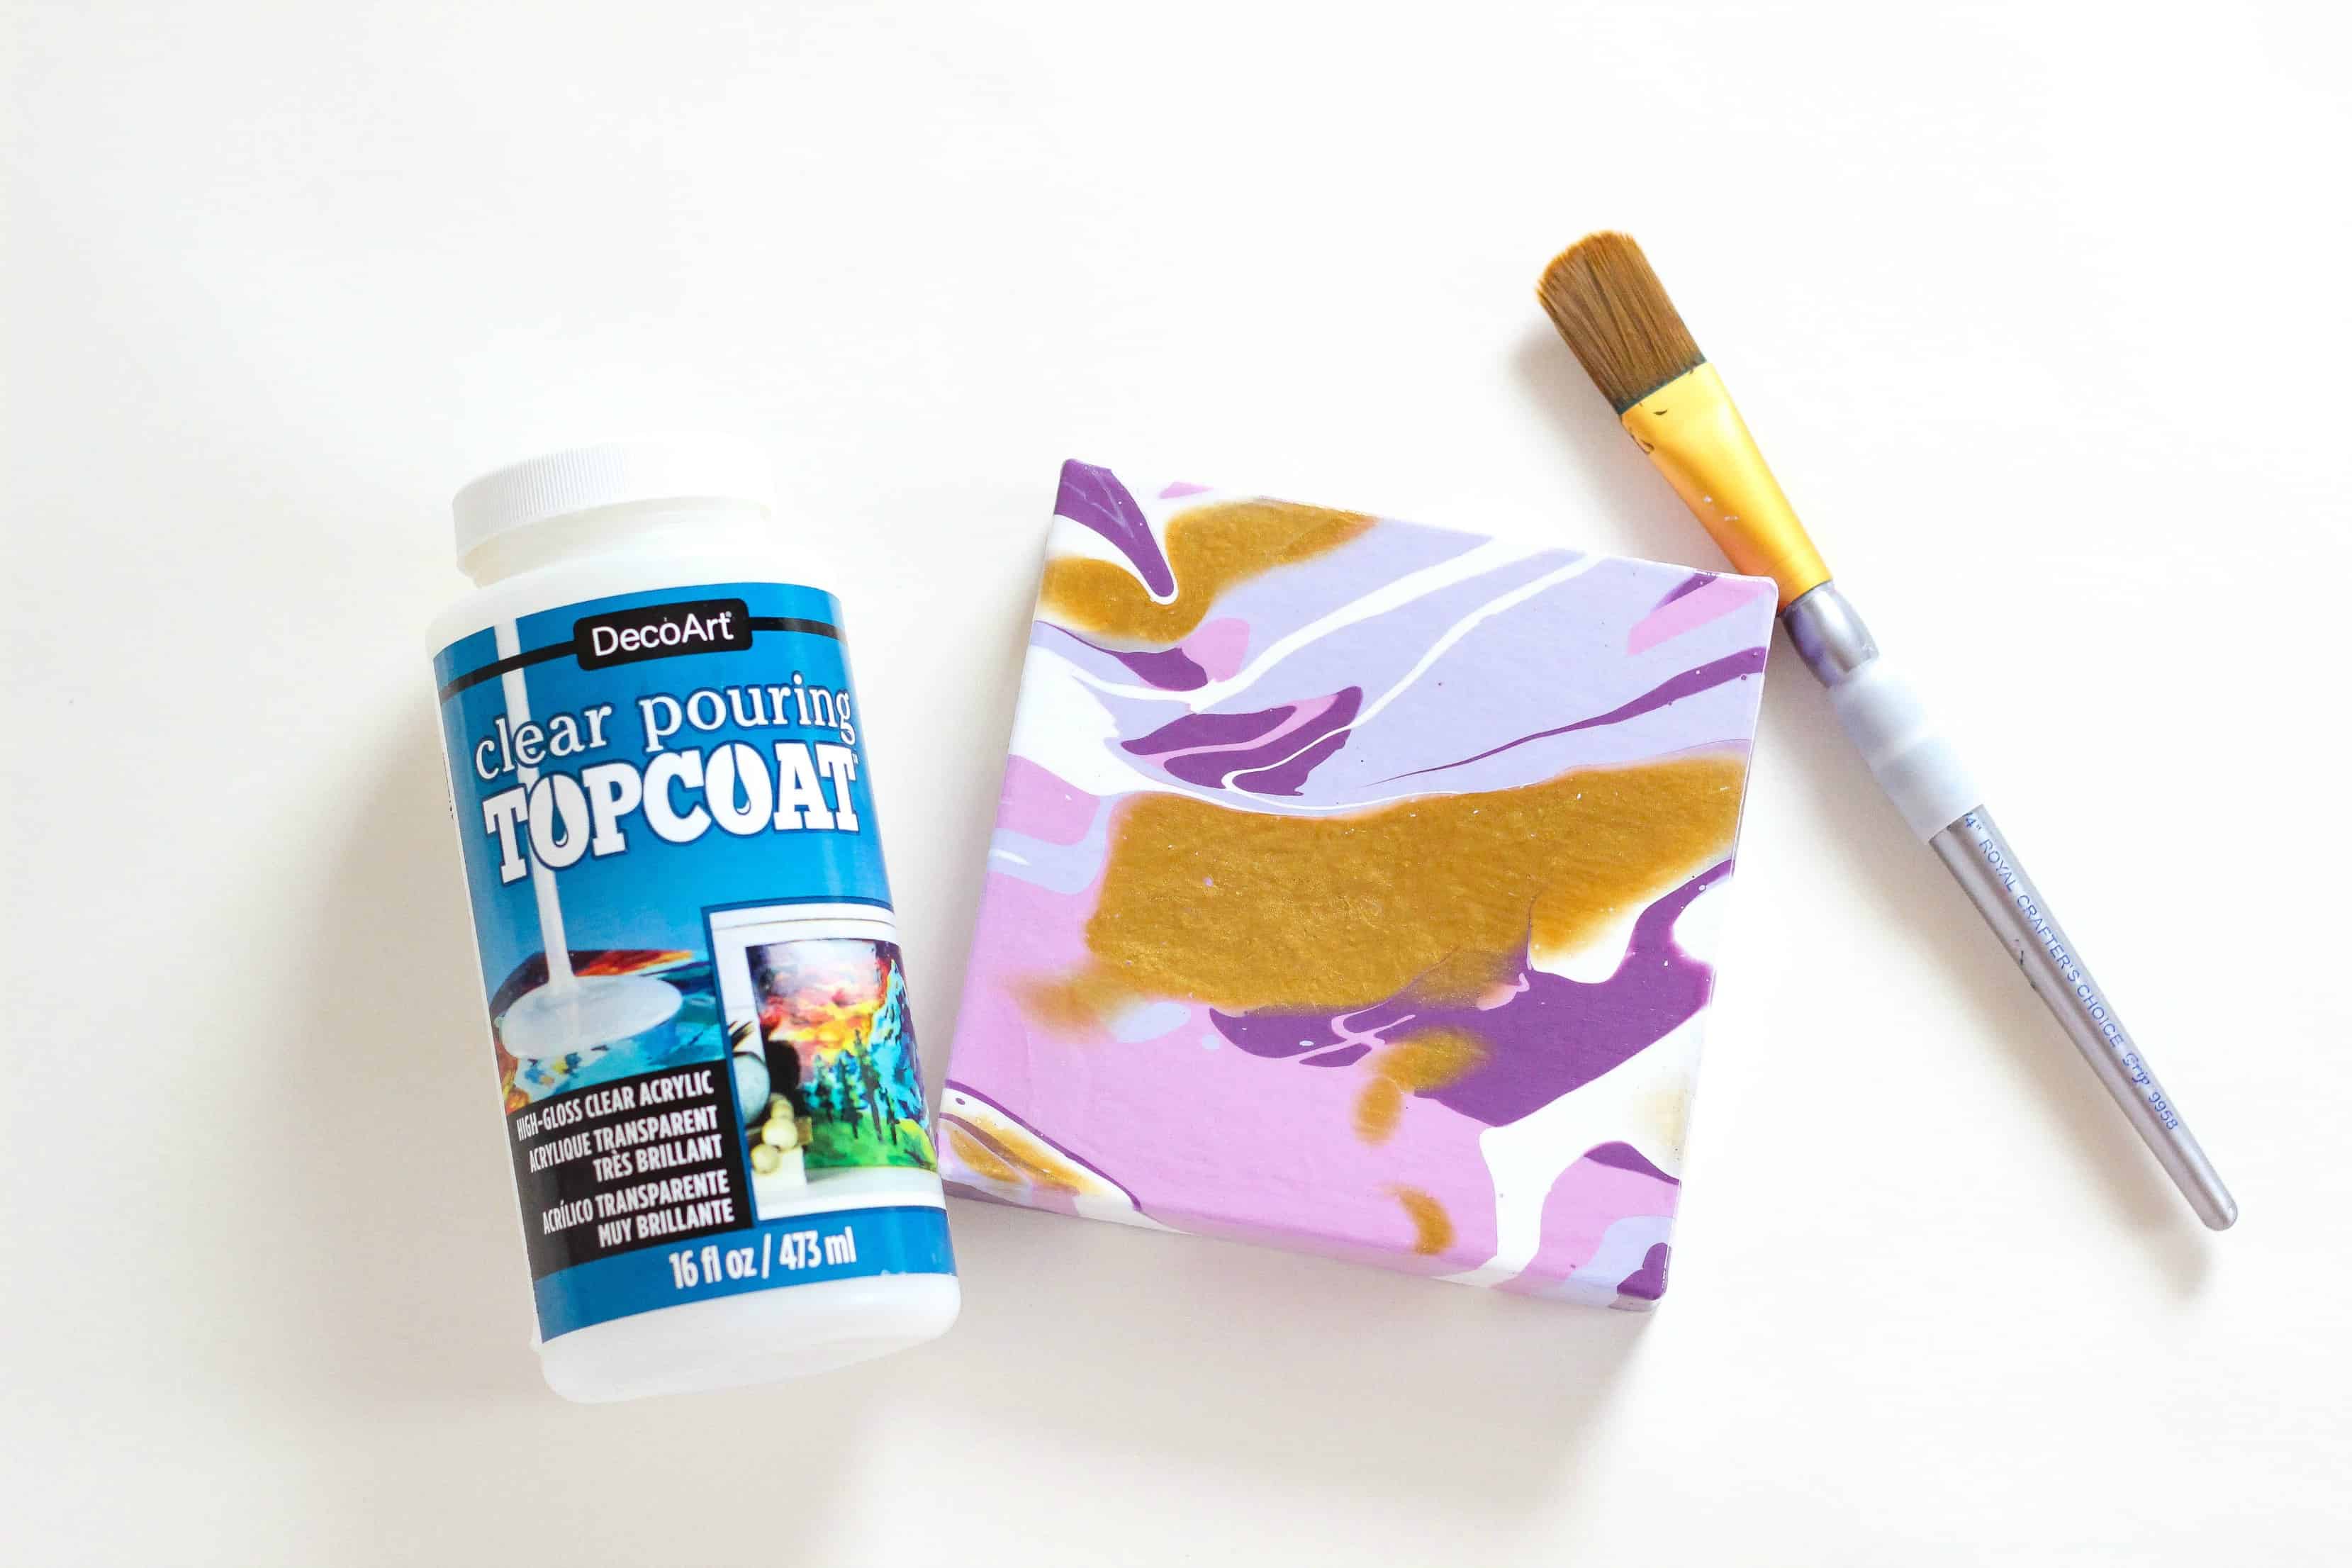
For a high-end finished looked I applied the clear pouring topcoat over the entire box surface. The topcoat is clear and smooth and makes the surface shine. I found that using a paint brush to apply the topcoat was much easier than pouring it on since we are using a 3 dimensional surface. If you were using a flat canvas, then you can just pour the topcoat on like the pouring medium.
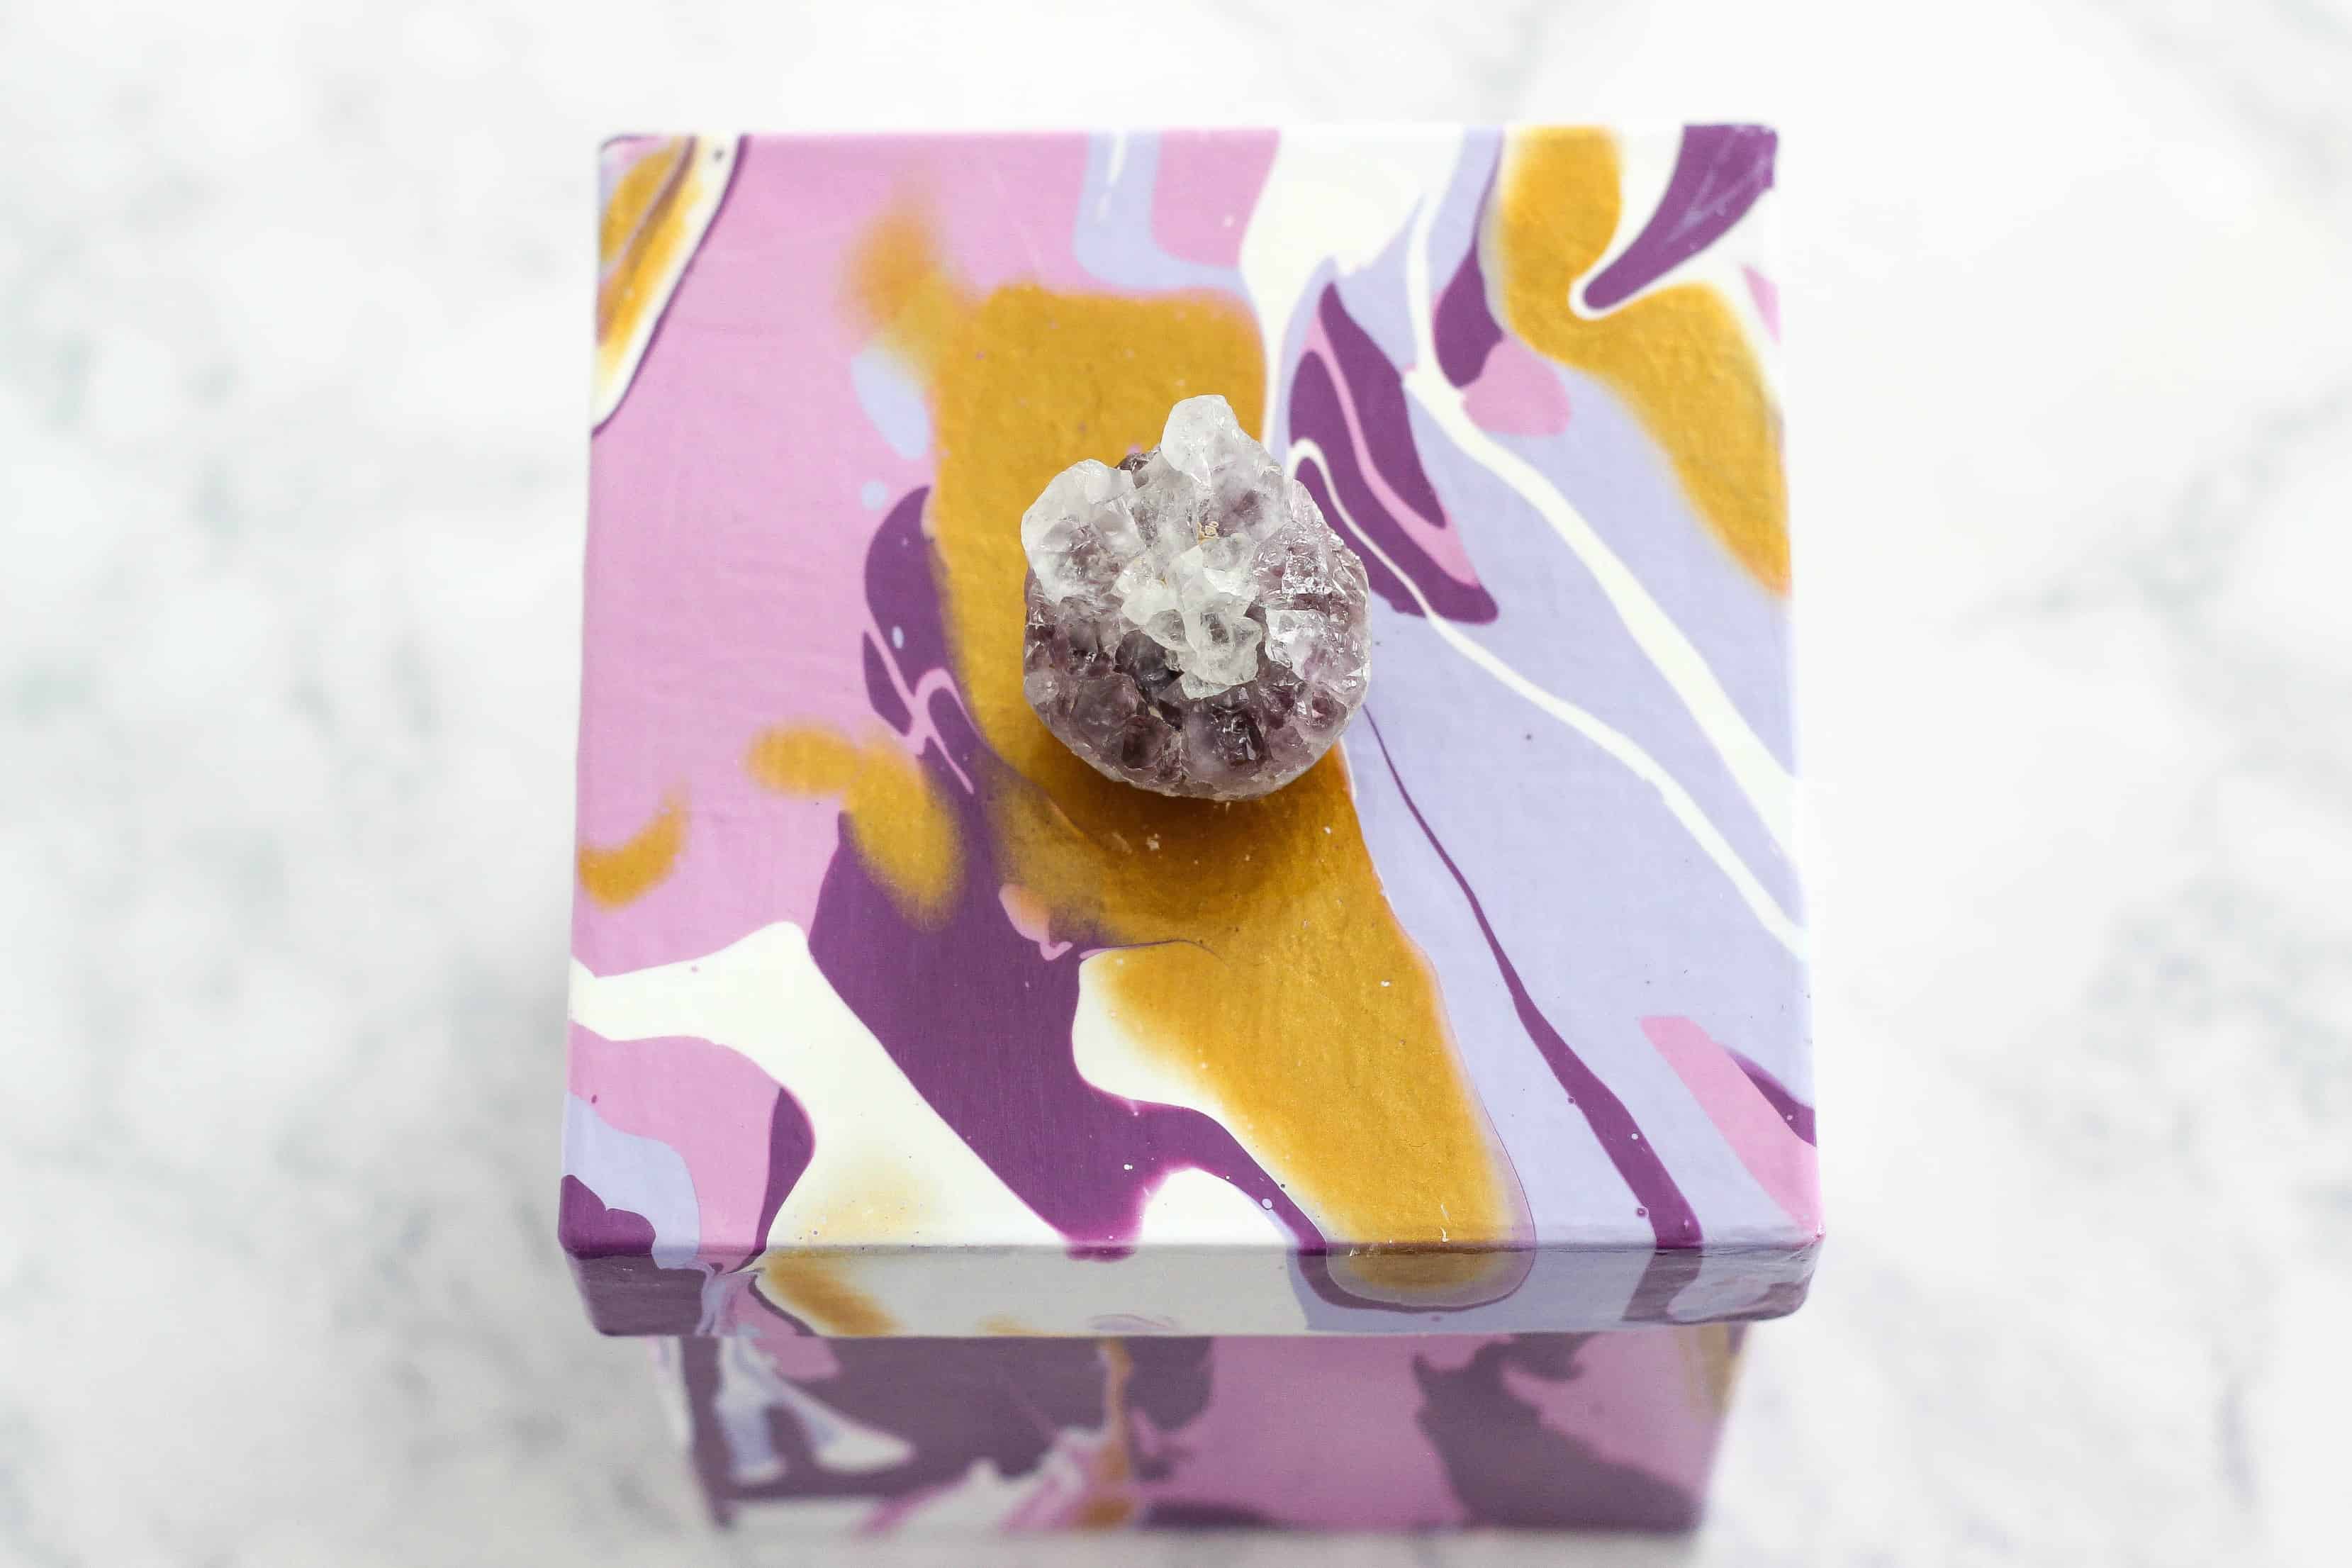
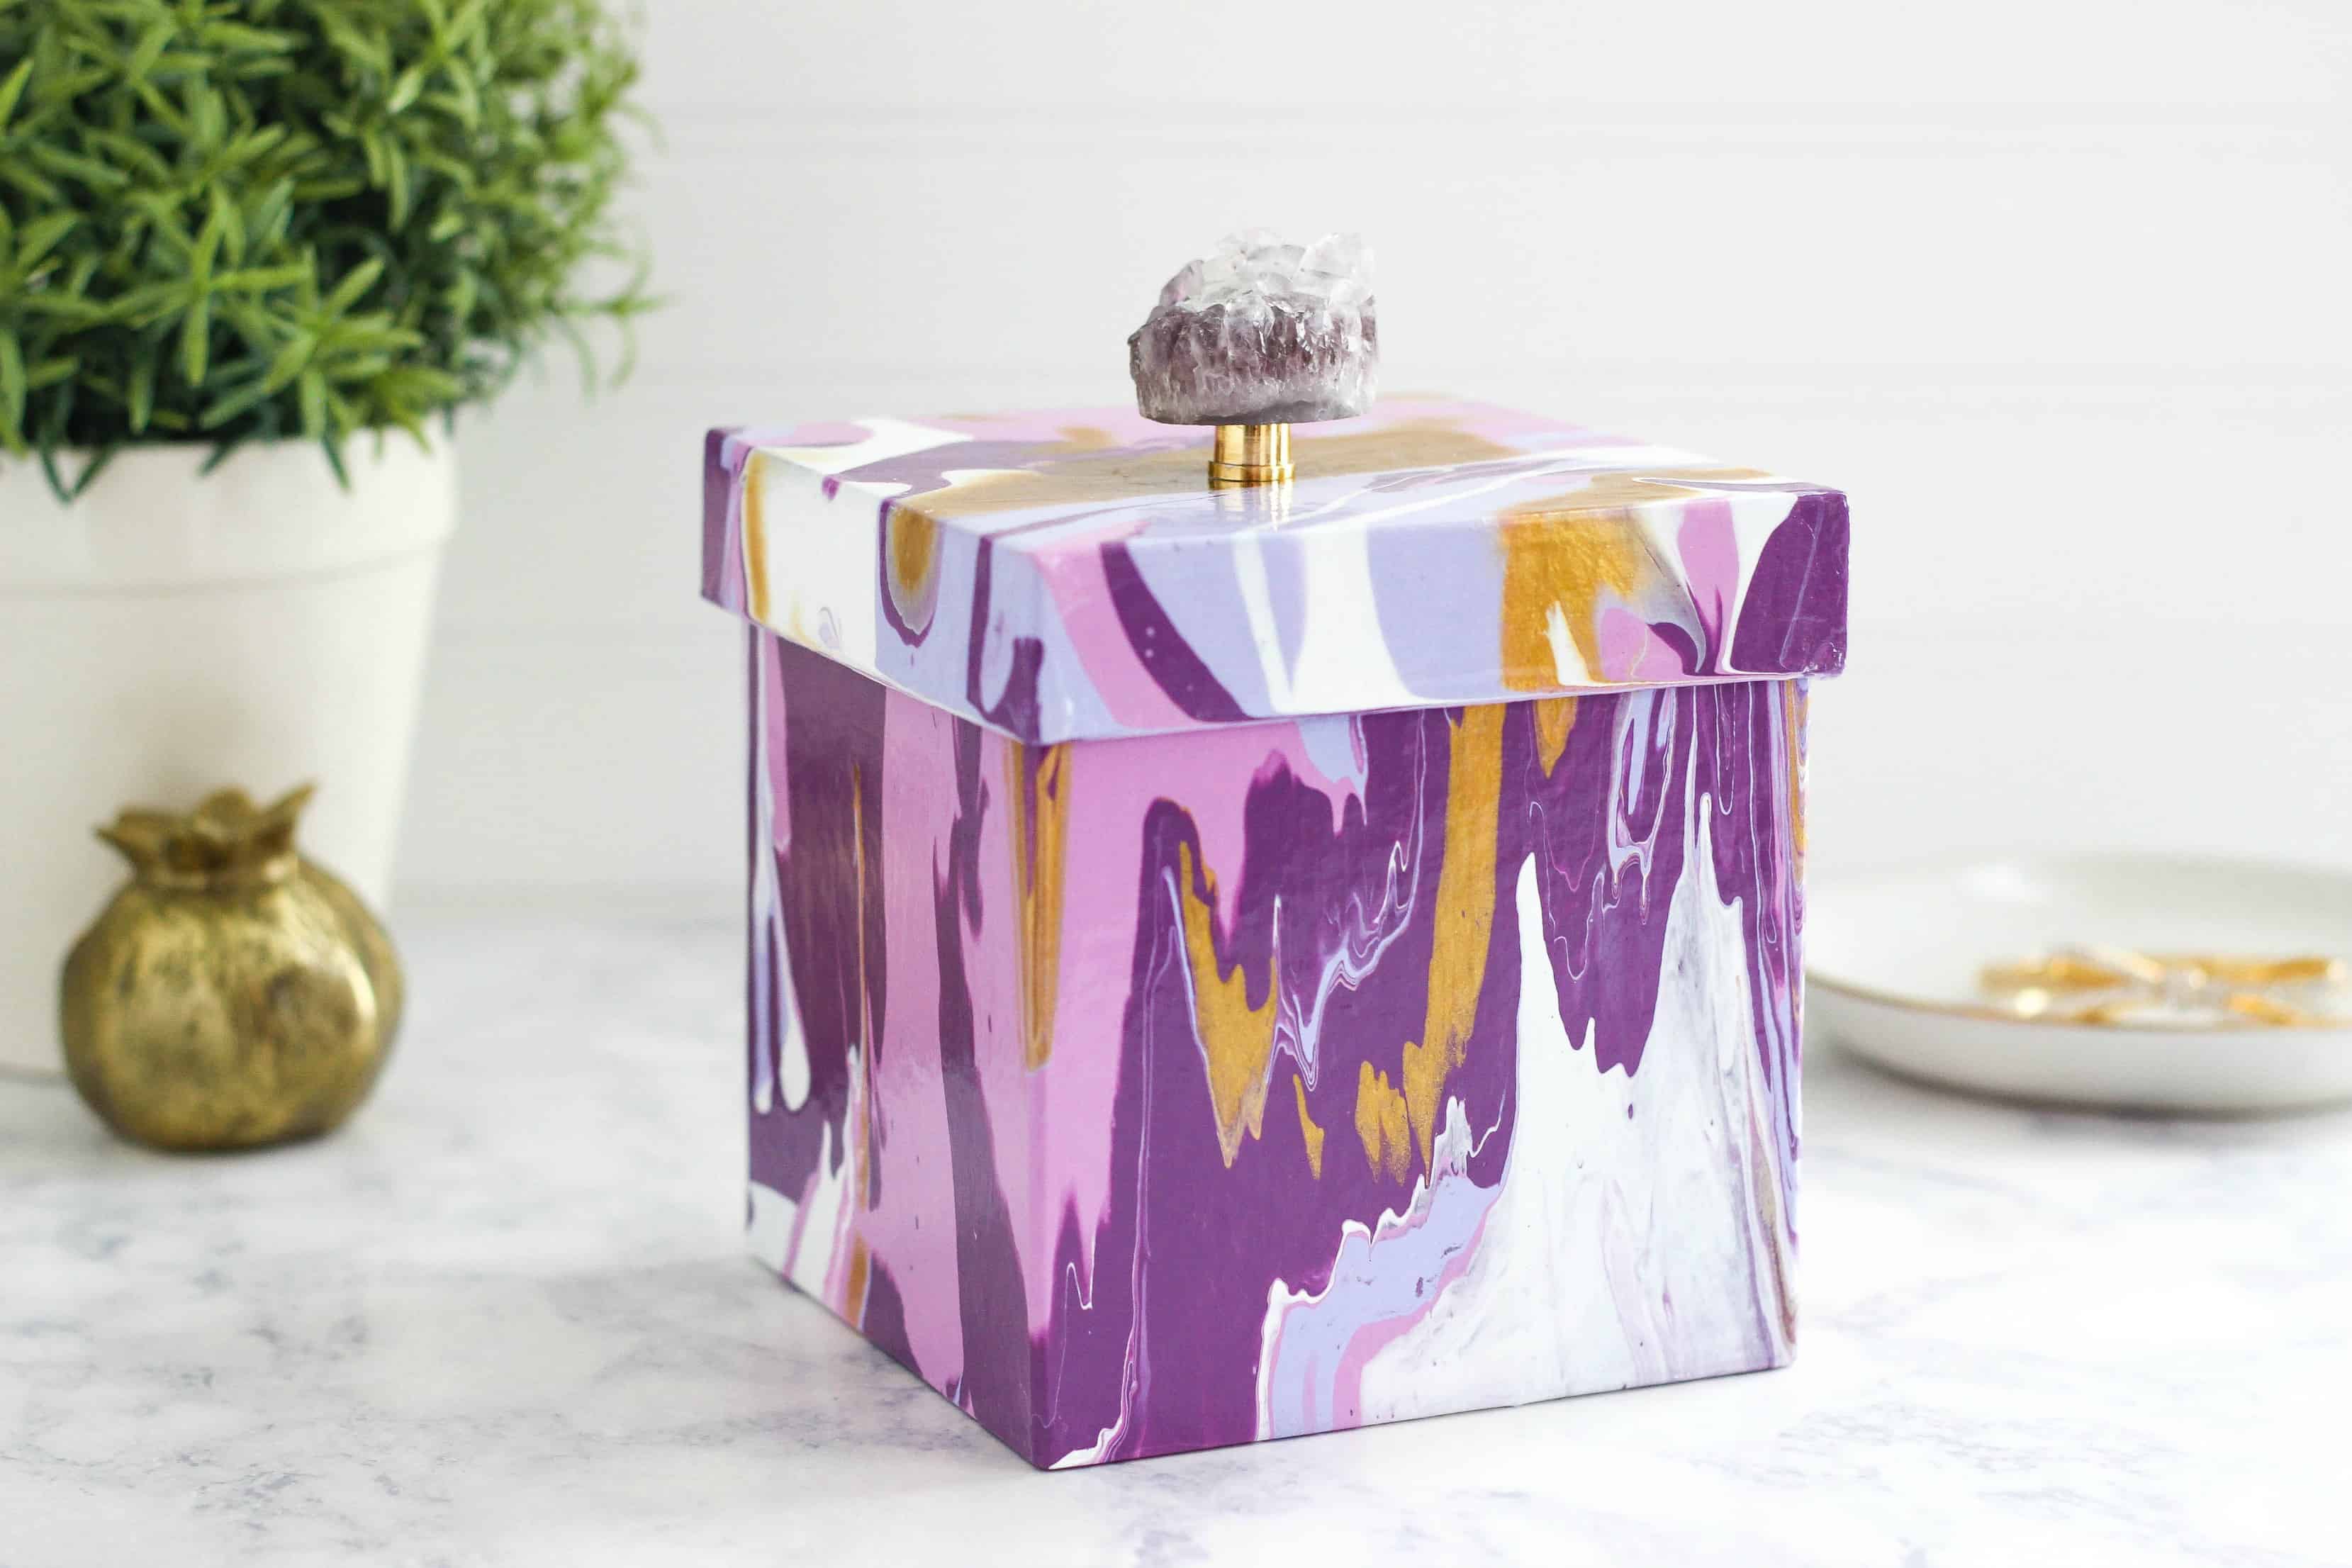
Finally, I added a geode knob to the top of the lid for a marble crystal look. This box can be used for a gift, office storage, jewelry holder and more! My daughter said that she wanted to use it next year for her Valentine box.
This Acrylic Paint Pouring Craft for beginners was just a fun project. Just think of all the crafts you can make with these acrylic pour basics.
PIN FOR LATER:
Seriously beautiful pour! Love the idea of the box, and the geode on top! Will have to try this.
I just did a pour on a log slice, and I’m about to add resin on top.
Thank you! Have fun paint pouring!!!
The end results are quite beautiful! I love the color combination!!!
Thank you! I am loving purples right now.
This is beautiful!!! I really want to learn paint pouring. Amazing job!!! Thank you for all the xetails and inspiration.
Loved the video showing you so “carefully” measuring out the amount of medium to add to the paints! 🙂 This is definitely my style!