DIY Cubby Organizer – Pottery Barn inspired wooden cubby. Great for organizing kitchen items, office supplies and displaying your favorite finds.
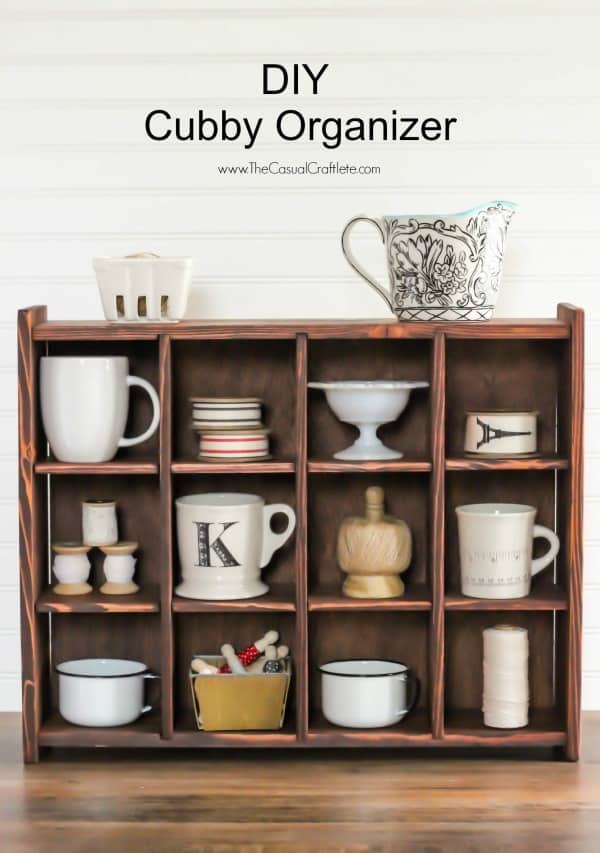 Hello there! Today I am sharing how I transformed a $5 old and outdated wooden cubby that I bought at an auction and turned into a Pottery Barn inspired DIY Cubby Organizer for a fraction of the cost. With just a few simple supplies and steps, you can turn a garage sale find into an expensive looking piece of furniture.
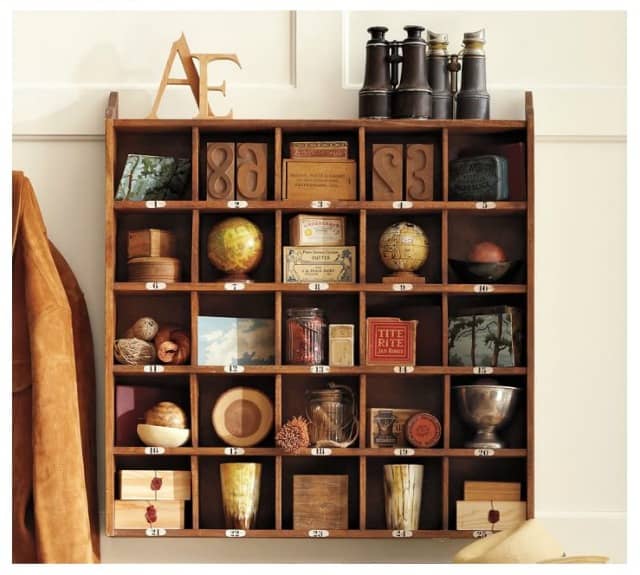 The inspiration for this DIY cubby organizer transformation came from Pottery Barn’s cubby organizer pictured above. I have had this Pottery Barn piece saved on my Pinterest board for months now. I just LOVE it, but not the price. The original price of the Pottery Barn’s cubby organizer which is crafted of solid mahogany and hand distressed and stained was $206. Glup! There’s no way I would ever pay that much. So, when a pine cubby came up at an auction, I placed a bid and was the highest bidder at $5. I knew that I could transform that $5 pine cubby into a Pottery Barn inspired piece.
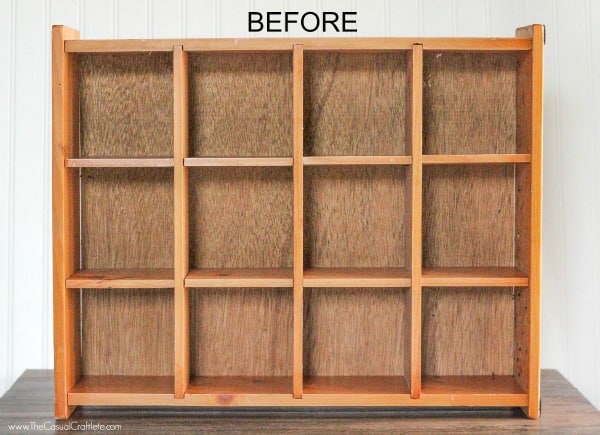 Here is the pine cubby I bought at the auction for $5. It was in pretty good shape. There were just a few dings and marker markings, but that was easily cleaned by using a magic eraser.
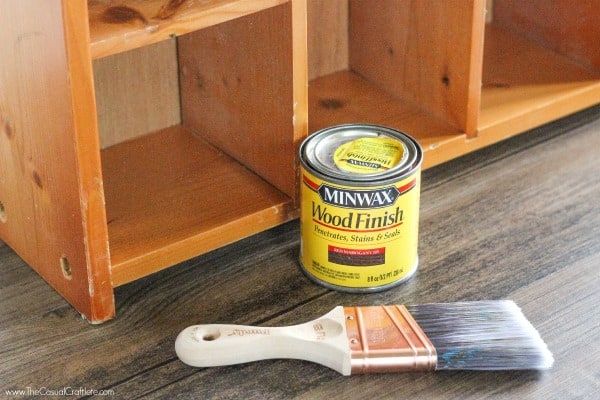
- Minwax 8 oz wood finish red mahogany oil-based interior stain
- Staining brush
- Hand sander using 120 sandpaper
- Rags to wipe stain
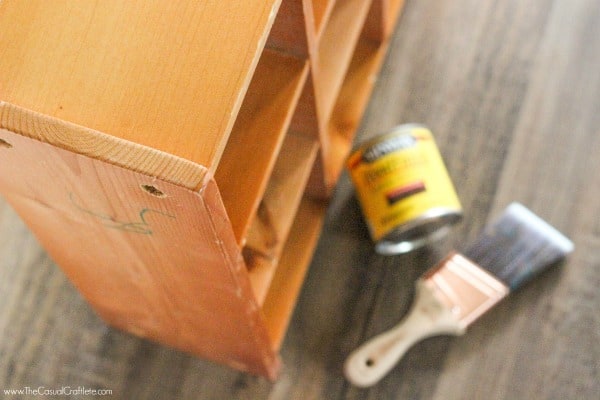 First, I started by cleaning the cubby using a Magic Eraser and soap and water. After it was cleaned, I had my husband disassemble the cubby to make it easier to sand and stain.
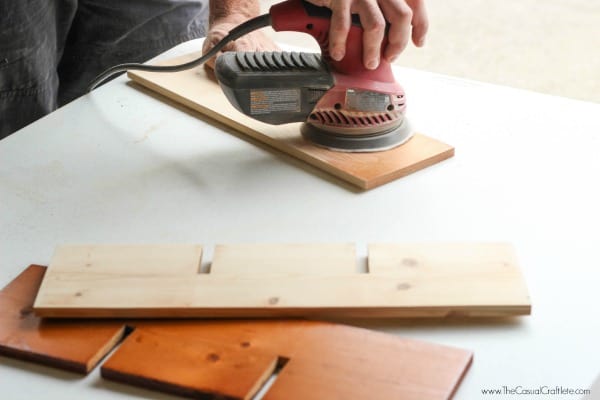 Since my husband likes to use tools (that’s his job), I had him sand down all the pieces of the pine cubby. The old finish actually came off very easily.
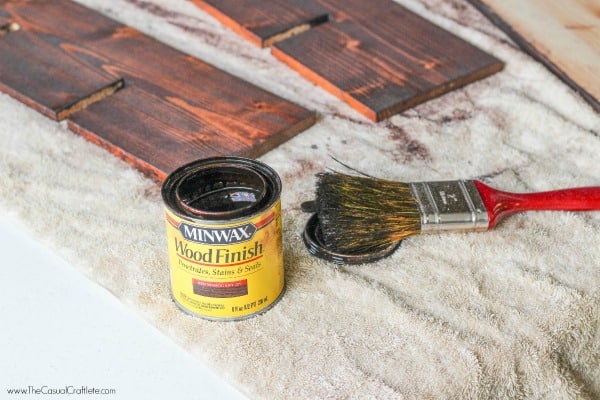 After all the sanding was done, I wiped each piece of wood using a dry cloth rag to clean the dust. Next, I used a staining brush to apply a red mahogany oil based wood stain on each piece of wood. I brushed the stain on and let it set approximately 5 minutes, then look a dry cloth rag and removed the stain. I stained all the sides of each piece just one time. You will have to adjust the time you leave the stain on depending on the darkness of the stain color you want to achieve. You can buy the 8 oz wood stain at your local hardware store for around $5. Just a note, I would recommended wearing gloves while staining. It gets pretty mess and you will want to protect your hands.
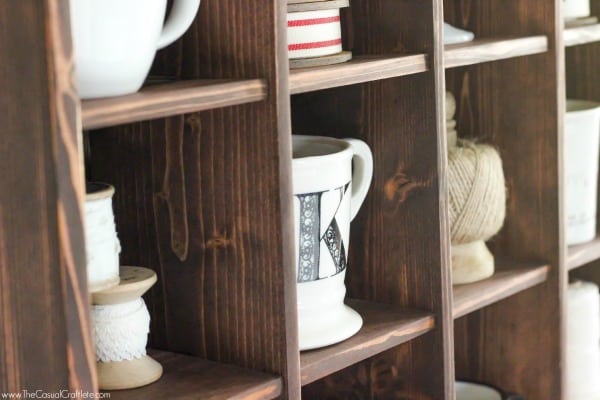
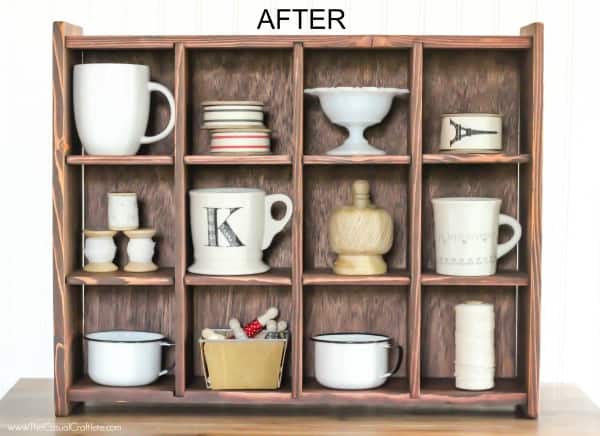 Here is the final piece. I personally love the color of the stain. Overall, this DIY upcycle project was pretty easy to do. It took my husband and I about 3 hours to complete the newly stained cubby.
 Are you ready for the cost breakdown of my piece? Here it is:
- Wood cubby – $5
- Stain – $5
- Brush – already had at home
- Rags – already had at home
- Sandpaper – already had at home
TOTAL PRICE: $10
That a savings of $196!
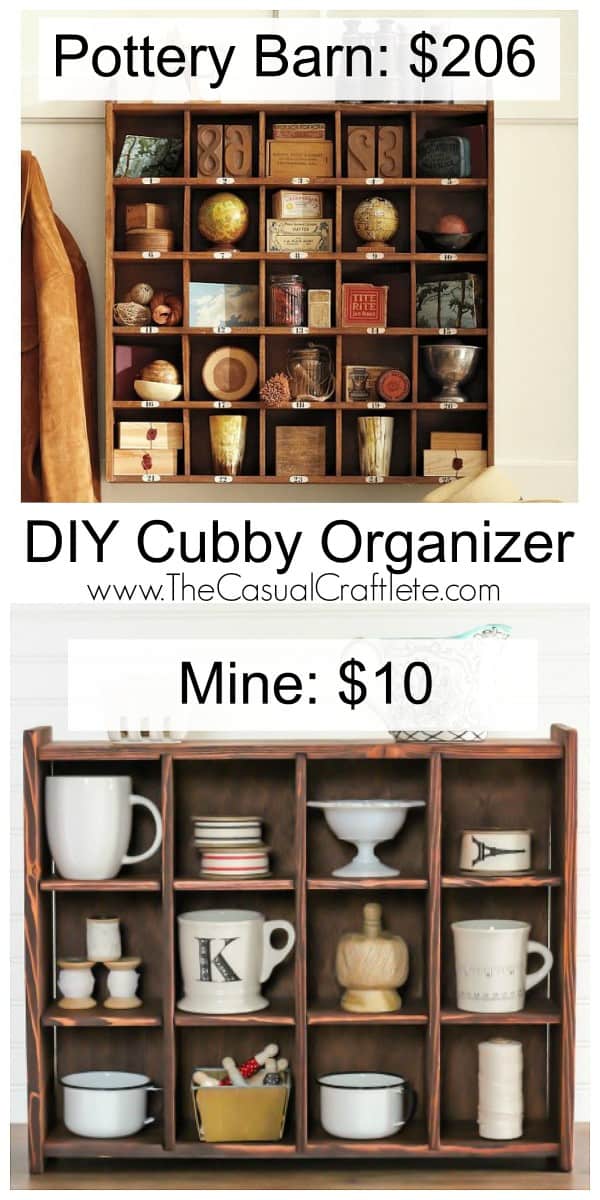 Even though my piece is not exact to Pottery Barn’s, I love how my DIY Cubby Organizer turned out! It fits perfectly in my kitchen and is displaying my white dishes. The white really pops off the mahogany. I hope I have inspired you to create your own upcycle piece!
Hi, Katie ~ I’m visiting from the Weekend Retreat Link Party. I love this project! I think I even like it better than the Pottery Barn version. It has such nice lines, and I love how you styled the cubbies. I don’t use a lot of stain in my DIYing, but I think it’s time I give it a try. Thanks so much for sharing! Have a nice day!
I’m in LOVE with this!!!! Gorgeous!! Thanks for sharing, PINNED! 🙂
Love this! I get so excited each week to see what you have been working on because it’s always AMAZING! Thank you for sharing this with us. Pinned and tweeted. I hope to see you on Monday at 7 pm, so we can party!!!! Lou Lou Girls
Adorable piece and for a great price! xo
Well done! Fantastic cubby organizer. Love this kind of organizers:-)
Greetings:-)
Thank you for the kind words, Anita! So glad you like my DIY 🙂