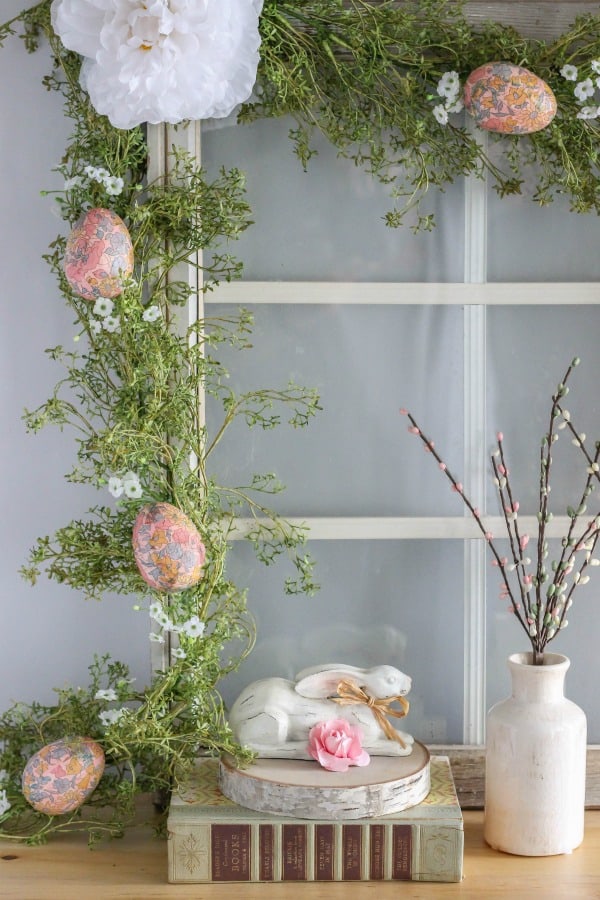
Create your own DIY Decoupage Easter Egg Garland using foam eggs and paper napkins. This beautiful garland can be displayed in your home for Easter and all spring long.
Disclosure: I am a member of the FloraCraft® Make It Fun® team. I received compensation and product for this post. All ideas and opinions are 100% my own.
Hello there! I don’t know about you but I am totally ready for spring. I am ready for the warm weather and for the flowers to start budding. Today, I am sharing the pretty DIY Decoupage Easter Egg Garland that is perfect for decorating your home. The colors and flowers have me longing for spring even more.
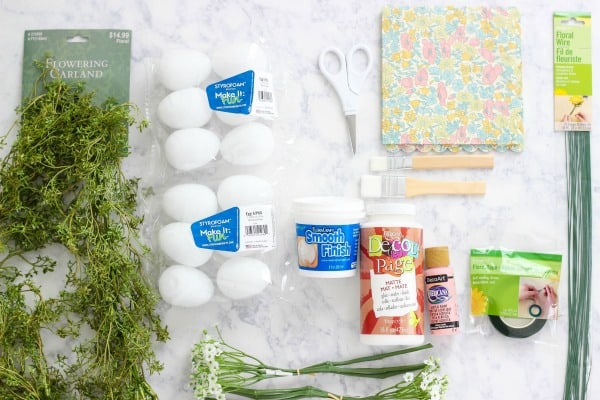
Supplies (affiliate links):
- FloraCraft® Make It Fun® Foam Eggs: 3″
- FloraCraft® Smooth Finish
- Design It:® Floral Tape – Green
- Design It:® Stem Wire- Green
- Decou-Page
- Acrylic Paint
- Paper Napkins
- Garland – Hobby Lobby
- Flowers – Walmart
- Paint Brushes
- Scissors
- Skewers
Instructions:
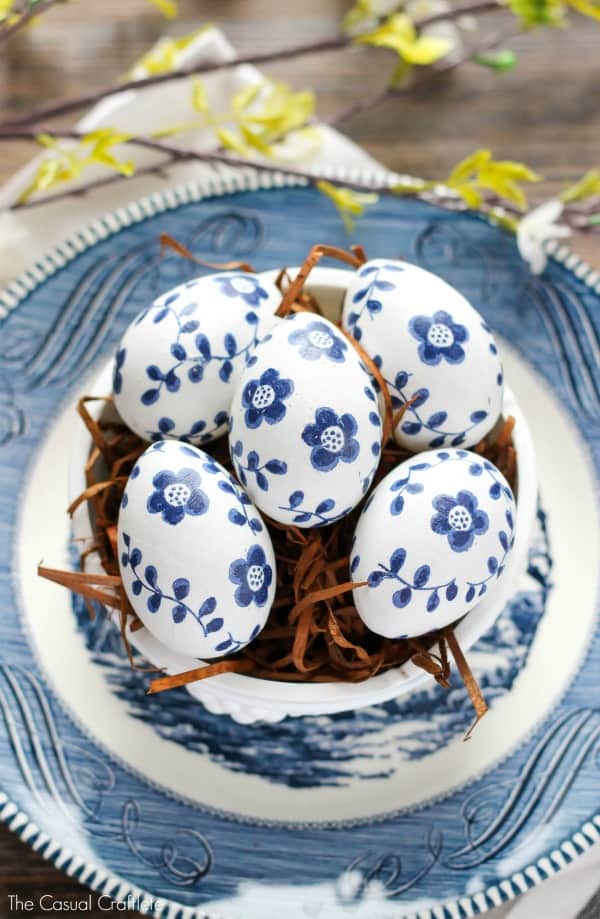
I decided to decoupage paper napkins to the eggs because I had such a great outcome last year with my Blue and White Paper Napkin Eggs. This garland turned out great too, so let’s get to the steps so you can make your own.
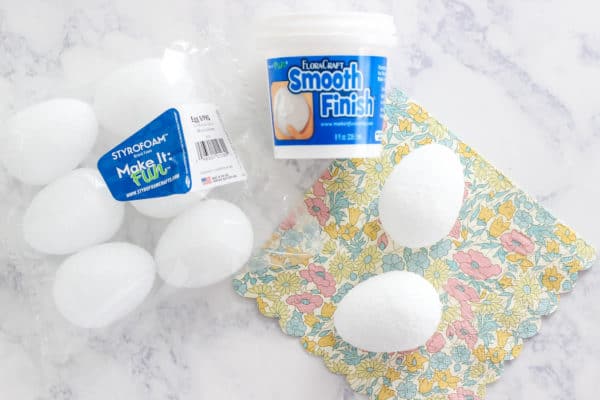
I started by applying a thick layer of FloraCraft® Smooth Finish® to each of the foam eggs. The putty-like material will get down inside the foam holes and act as a filler. I stuck a wooden skewer into each foam egg to hold it while it sets. Once the Smooth Finish drys completely, lightly sand with a fine grit sandpaper.
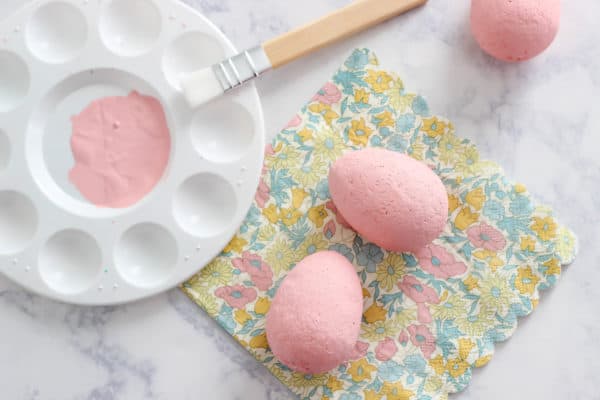
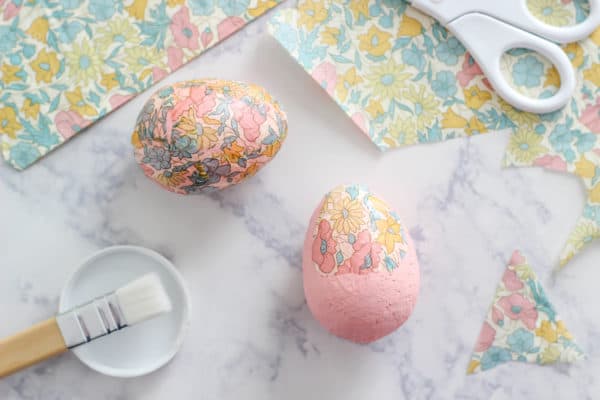
Once the eggs are prepared, I applied one coat of acrylic paint in Cotton Candy. I love this pink color and chose to paint the eggs to give them color since the napkins are pretty see through.
The paper napkin has three layers. Peel the top layer off that has the floral pattern on it. Cut small pieces of the paper napkin and glue to the foam eggs using decoupage and a paint brush by layering the napkin. By cutting small pieces of the pattern napkin, you will prevent bubbles and folds. I placed the foam balls back onto the skewers to let them dry completely.
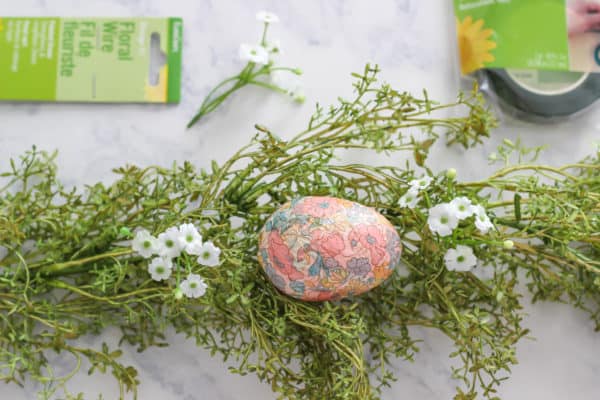
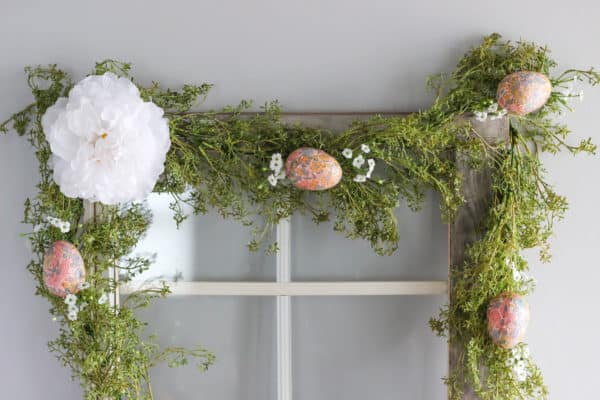
Finally, I used a combination of a hot glue, wire, and floral tape to secure the eggs onto the garland. I added some small white floral flowers for color and interest. I used 1 package of the foam eggs, which was six eggs total.
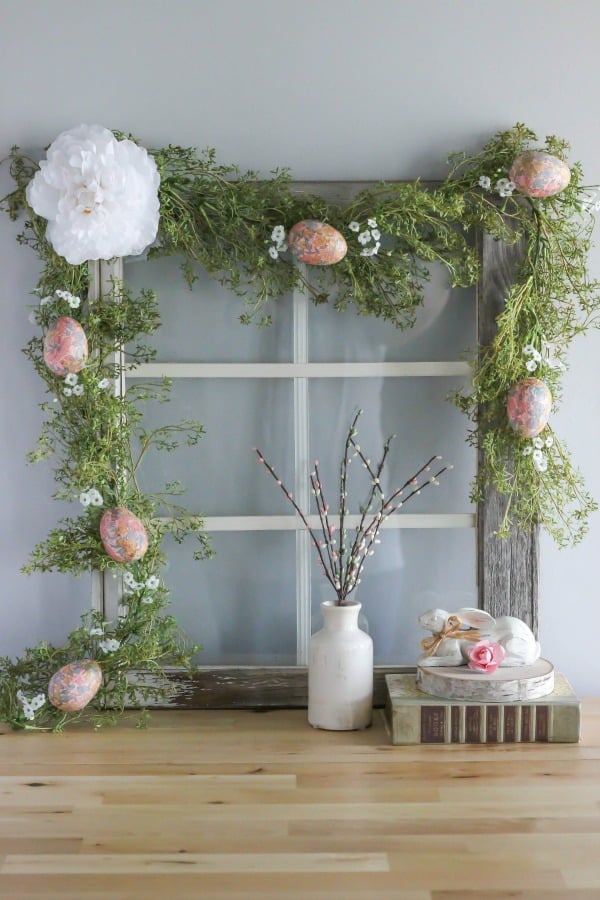
I placed the DIY Decoupage Easter Egg Garland on a old window that I had and added a few more Easter decorations to complete the decor.
Hope you enjoy my DIY Decoupage Easter Egg Garland! I am so ready for spring now!!
For more ideas and supplies, check out www.makeitfuncrafts.com.
Make sure you check out these 6 Easter Egg Craft Ideas that are easy to make!
YOU MIGHT ALSO LIKE:
Blue and White Paper Napkin Eggs
This is so pretty! Thank you for sharing it.
So sweet for spring!
Your Easter egg garland is so pretty! I love how you staged it with the old window frame and the flowers. I made a bunch of decoupage Easter eggs last year. I may try to stage them a little better this year. Thanks for the inspiration.