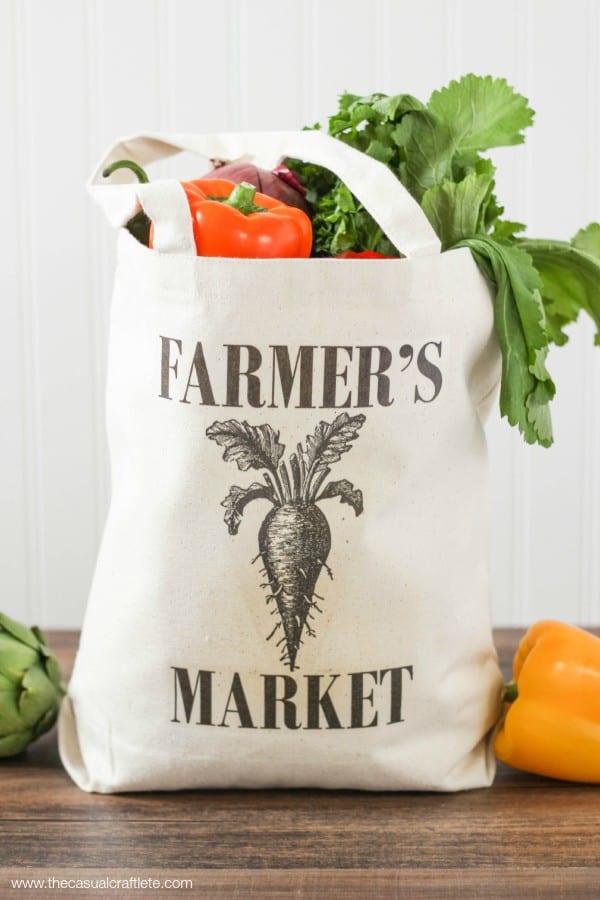
Hello there! It’s almost gardening season. Today I am sharing this French Country inspired DIY Farmer’s Market Tote Bag. Every small town where I live has it’s own farmer’s market in spring and summer time. I just love buying fresh locally grown produce. It tastes a million times better than store bought. I wanted to make a cute reusable bag to take with me to the market to bring home some of all the amazing fruits, vegetables, breads, pies, and flowers. How darling is that beet carrot on the bag?!
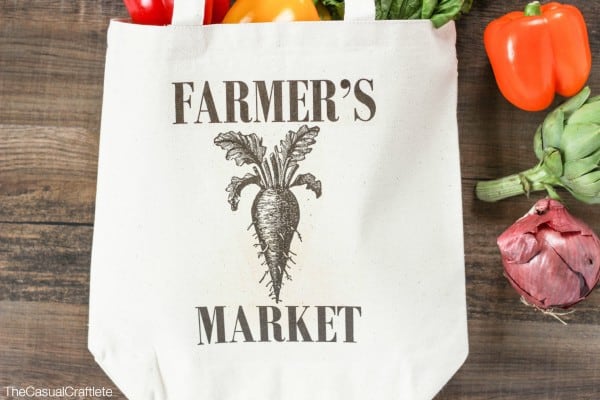 This canvas tote bag is great for carrying heavy things. It’s super durable and washable. Don’t forget to wash your tote to get rid of all the yuckies.
Here are the supplies I used to make the DIY Farmer’s Market Tote Bag:
- Canvas Tote Bag
- Farmer’s Market download iron on transfer
- Inkjet Transfer Sheets
- Hot iron
- Scissors
Let’s get to it!
Step 1: First I started by downloading the Farmer’s Market iron on transfer that has the beet carrot on it. I found it while searching Etsy shops. I really liked the look of this one. It was $1 for the digital download. I saved the download to my computer and that’s it. The shop had several Farmer’s Market downloads to choose from. *Note: I am not affiliated with this Etsy shop at all. I just wanted to share where I found my transfer.
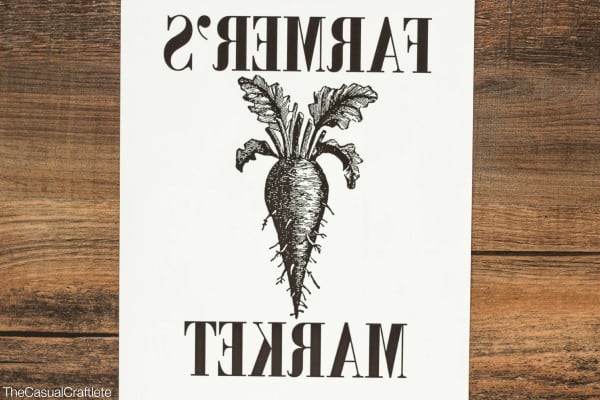 Step 2: Place a piece of the inkjet transfer sheet into your computer printer. Make sure to follow the instructions on the package and print on the non-glossy unlined side. The download was sized at 8.5″ x 11″ so I did not resize the image, since my tote bag size is 13.5″ x 14″. It printed perfectly on the transfer sheet. The image will print out backwards when the mirror printing option is selected, but don’t be alarmed. It’s supposed to print that way.
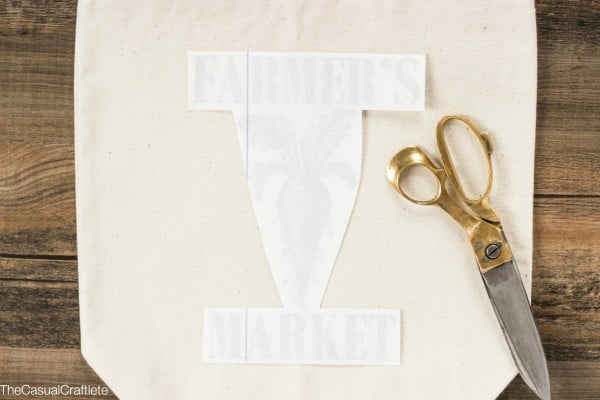 Step 3: Cut around the transfer using a pair of scissors. Next, following the instructions on the transfer sheet package, preheat your iron to the highest setting. DO NOT USE STEAM. Place the tote bag on a protected surface. Place the printed image face down on the tote bag. Carefully iron the image very slowly over each area of the entire transfer. Let cool completely before removing the transfer.
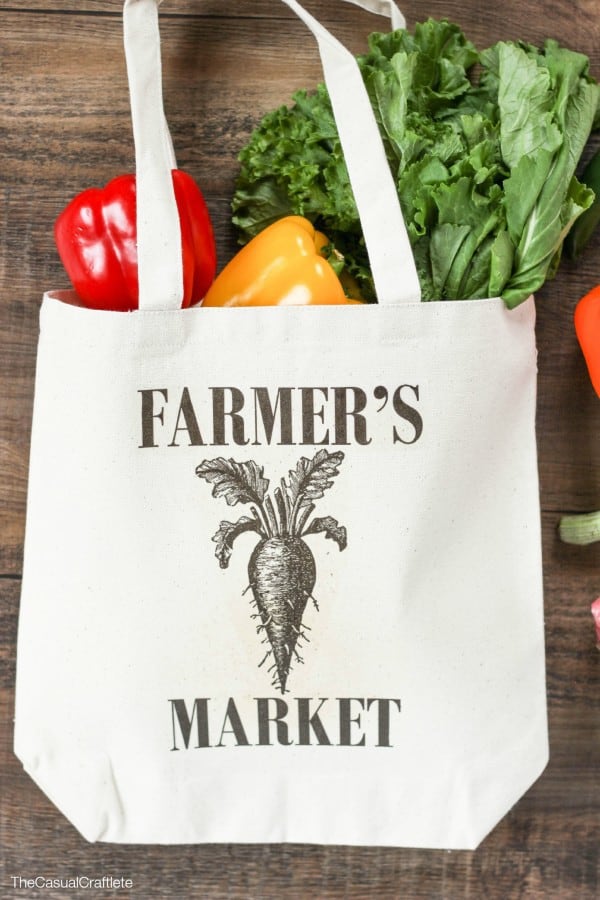 That’s it my friends! Now you will have the cutest DIY Farmer’s Market Tote Bag to take with you this season.
YOU MIGHT ALSO LIKE:

This is so cute, I love that carrot! I can’t wait for the farmers market and fresh veggies! Come on Spring!!
I absolutely adore this cute tote bag — I have a crazy amount of totes because I think they’re all cute and I can’t pass them up 🙂
You nailed this bag, girlfriend! Pinning! Awesome setup:-)
It’s time to bust out the Cricket!! Thanks for sharing at the Weekend Re-Treat! I’ll be pinning for sure!