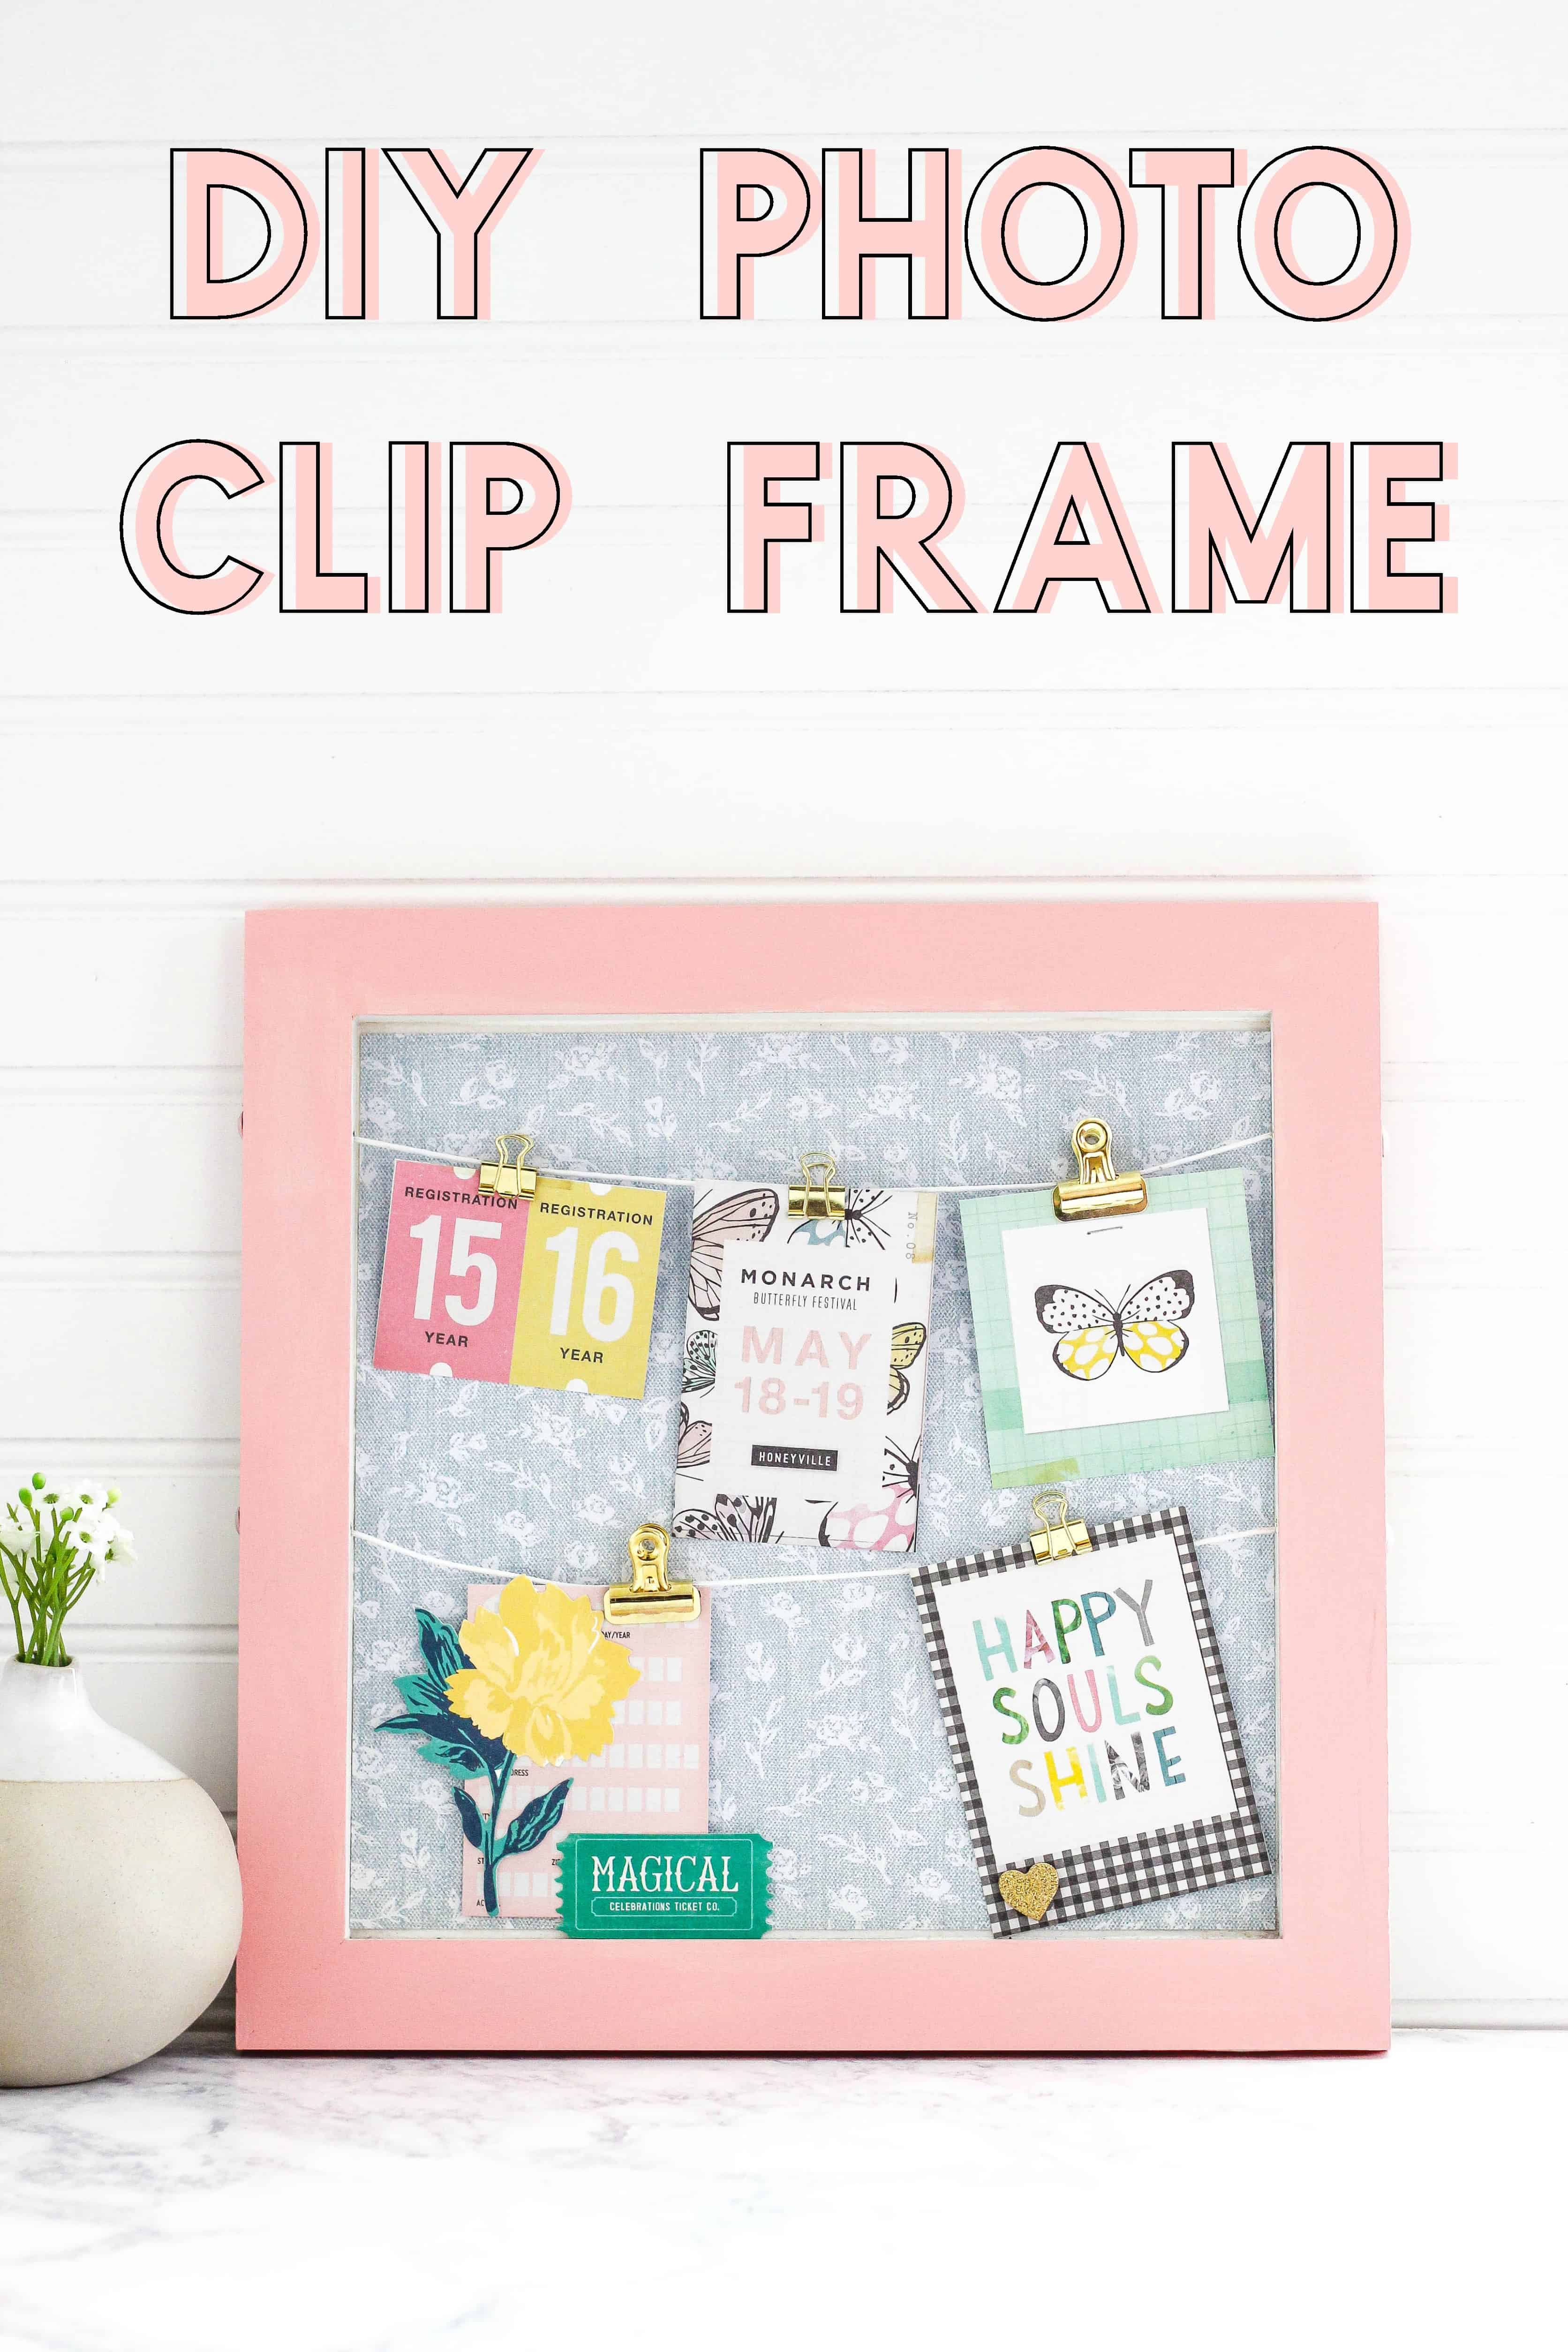
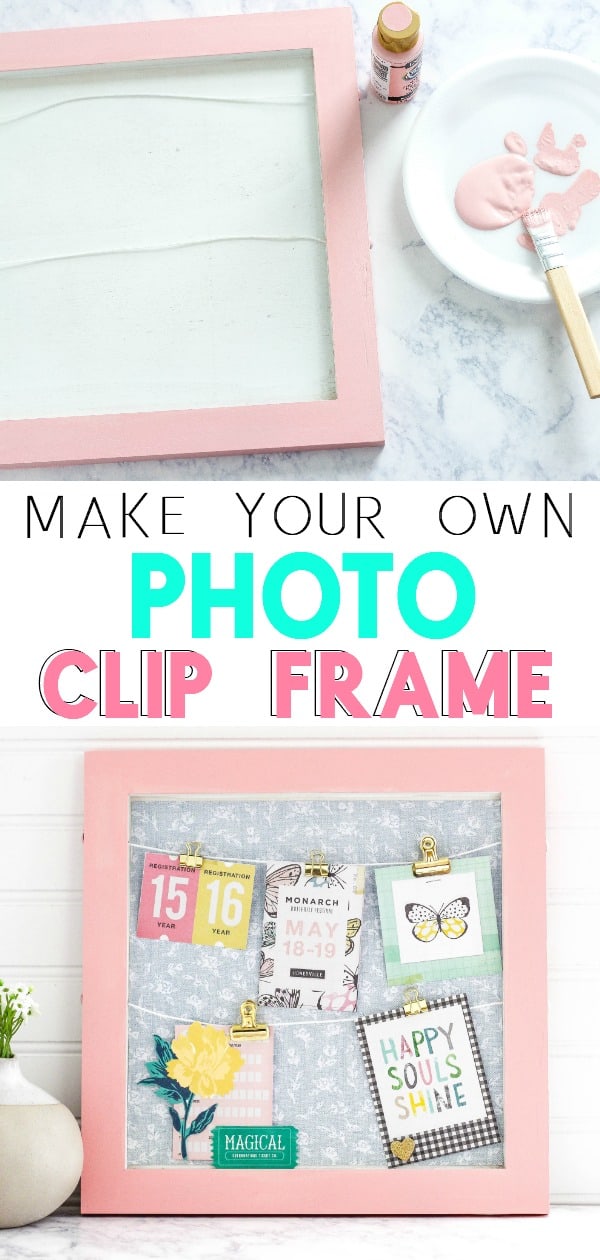
Create a cute and fun DIY Photo Clip Frame with a few simple steps and supplies. This clip frame can be used to display photos, concert tickets, memorabilia and more!
I love to buy random items at stores and turn them into custom DIY projects that I can use in my home. I bought a white frame from Michaels awhile ago and I wanted to transform it to display in my daughter’s room. I used inexpensive craft supplies that I already had at home to turn the boring frame into a beautiful piece.
Supplies (Affilate Links):
- Clip Frame (I bought mine at Michaels)
- 12 x 12 Scrapbook Paper (Crate Paper Bloom Collection)
- Acrylic Paint (Cotton Candy)
- Gold Clips
- Paint Brush
- Tape Runner
- Paper Cutter
DIY Photo Clip Frame (Instructions):
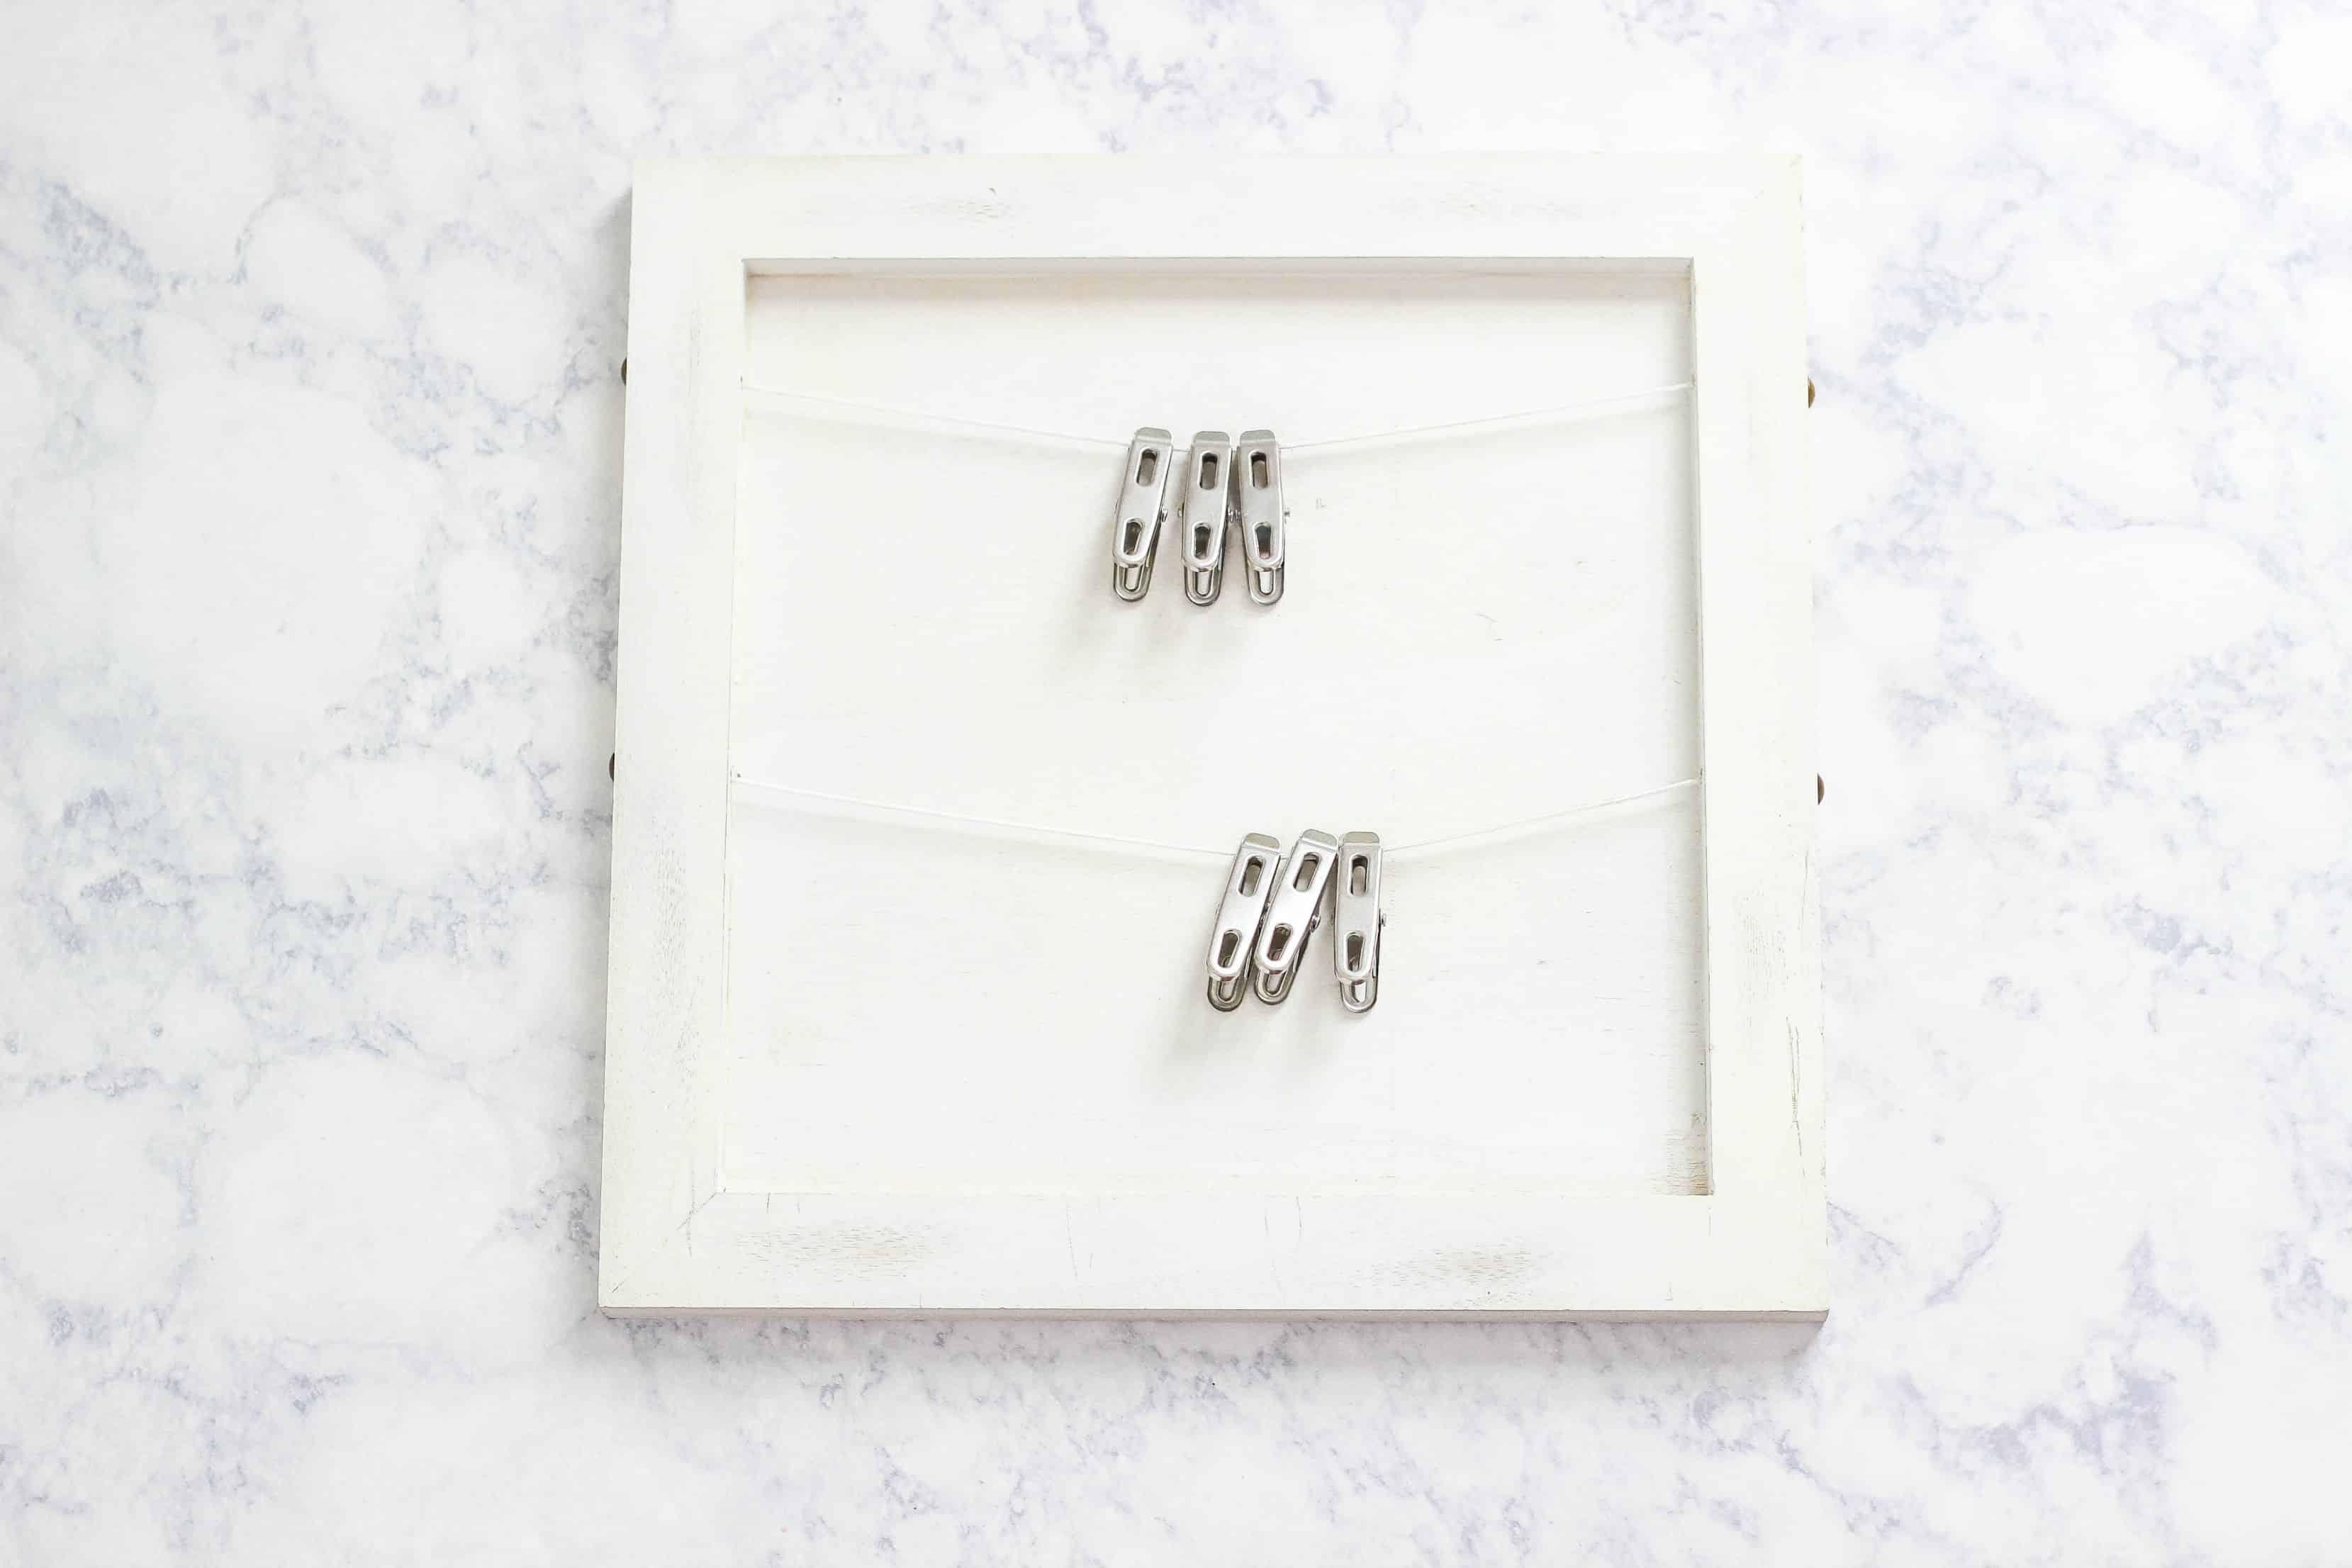
I started with this plain white clip frame that I bought at Michaels a while ago. You can find frames like these at any craft store or online.
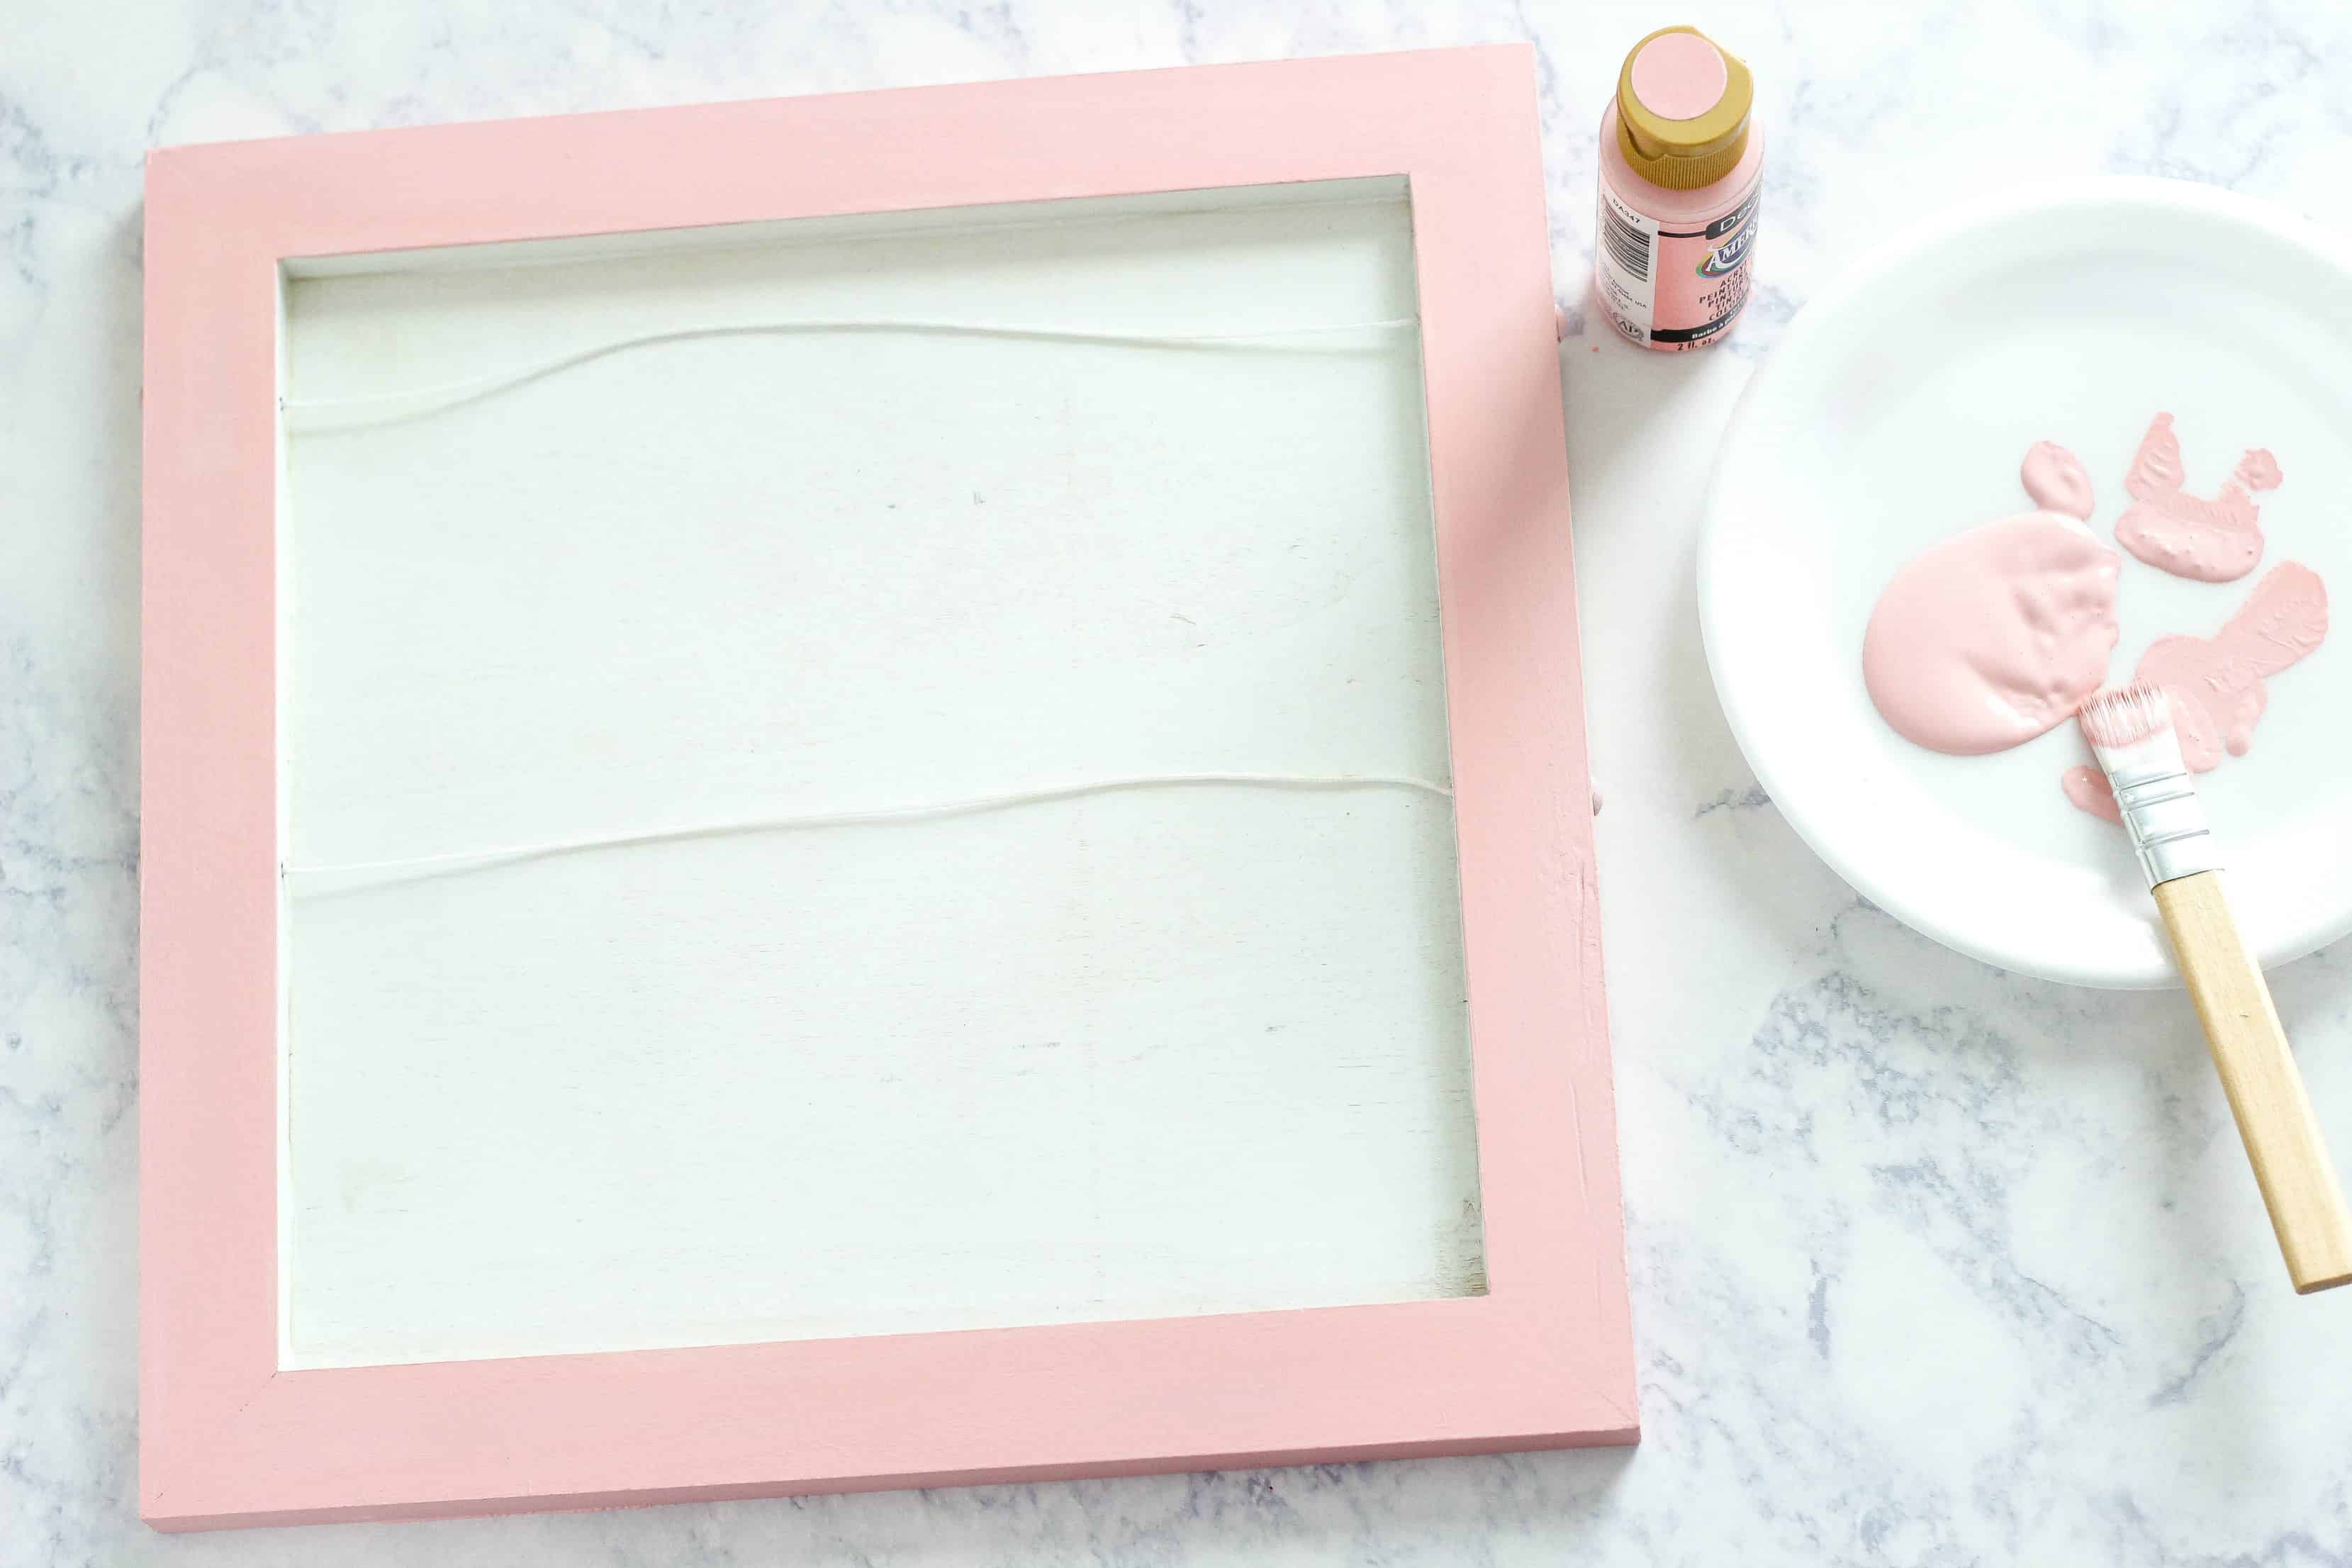
I painted the frame using one coat of pink acrylic paint. This color was a coordinating color in the scrapbook paper pad.
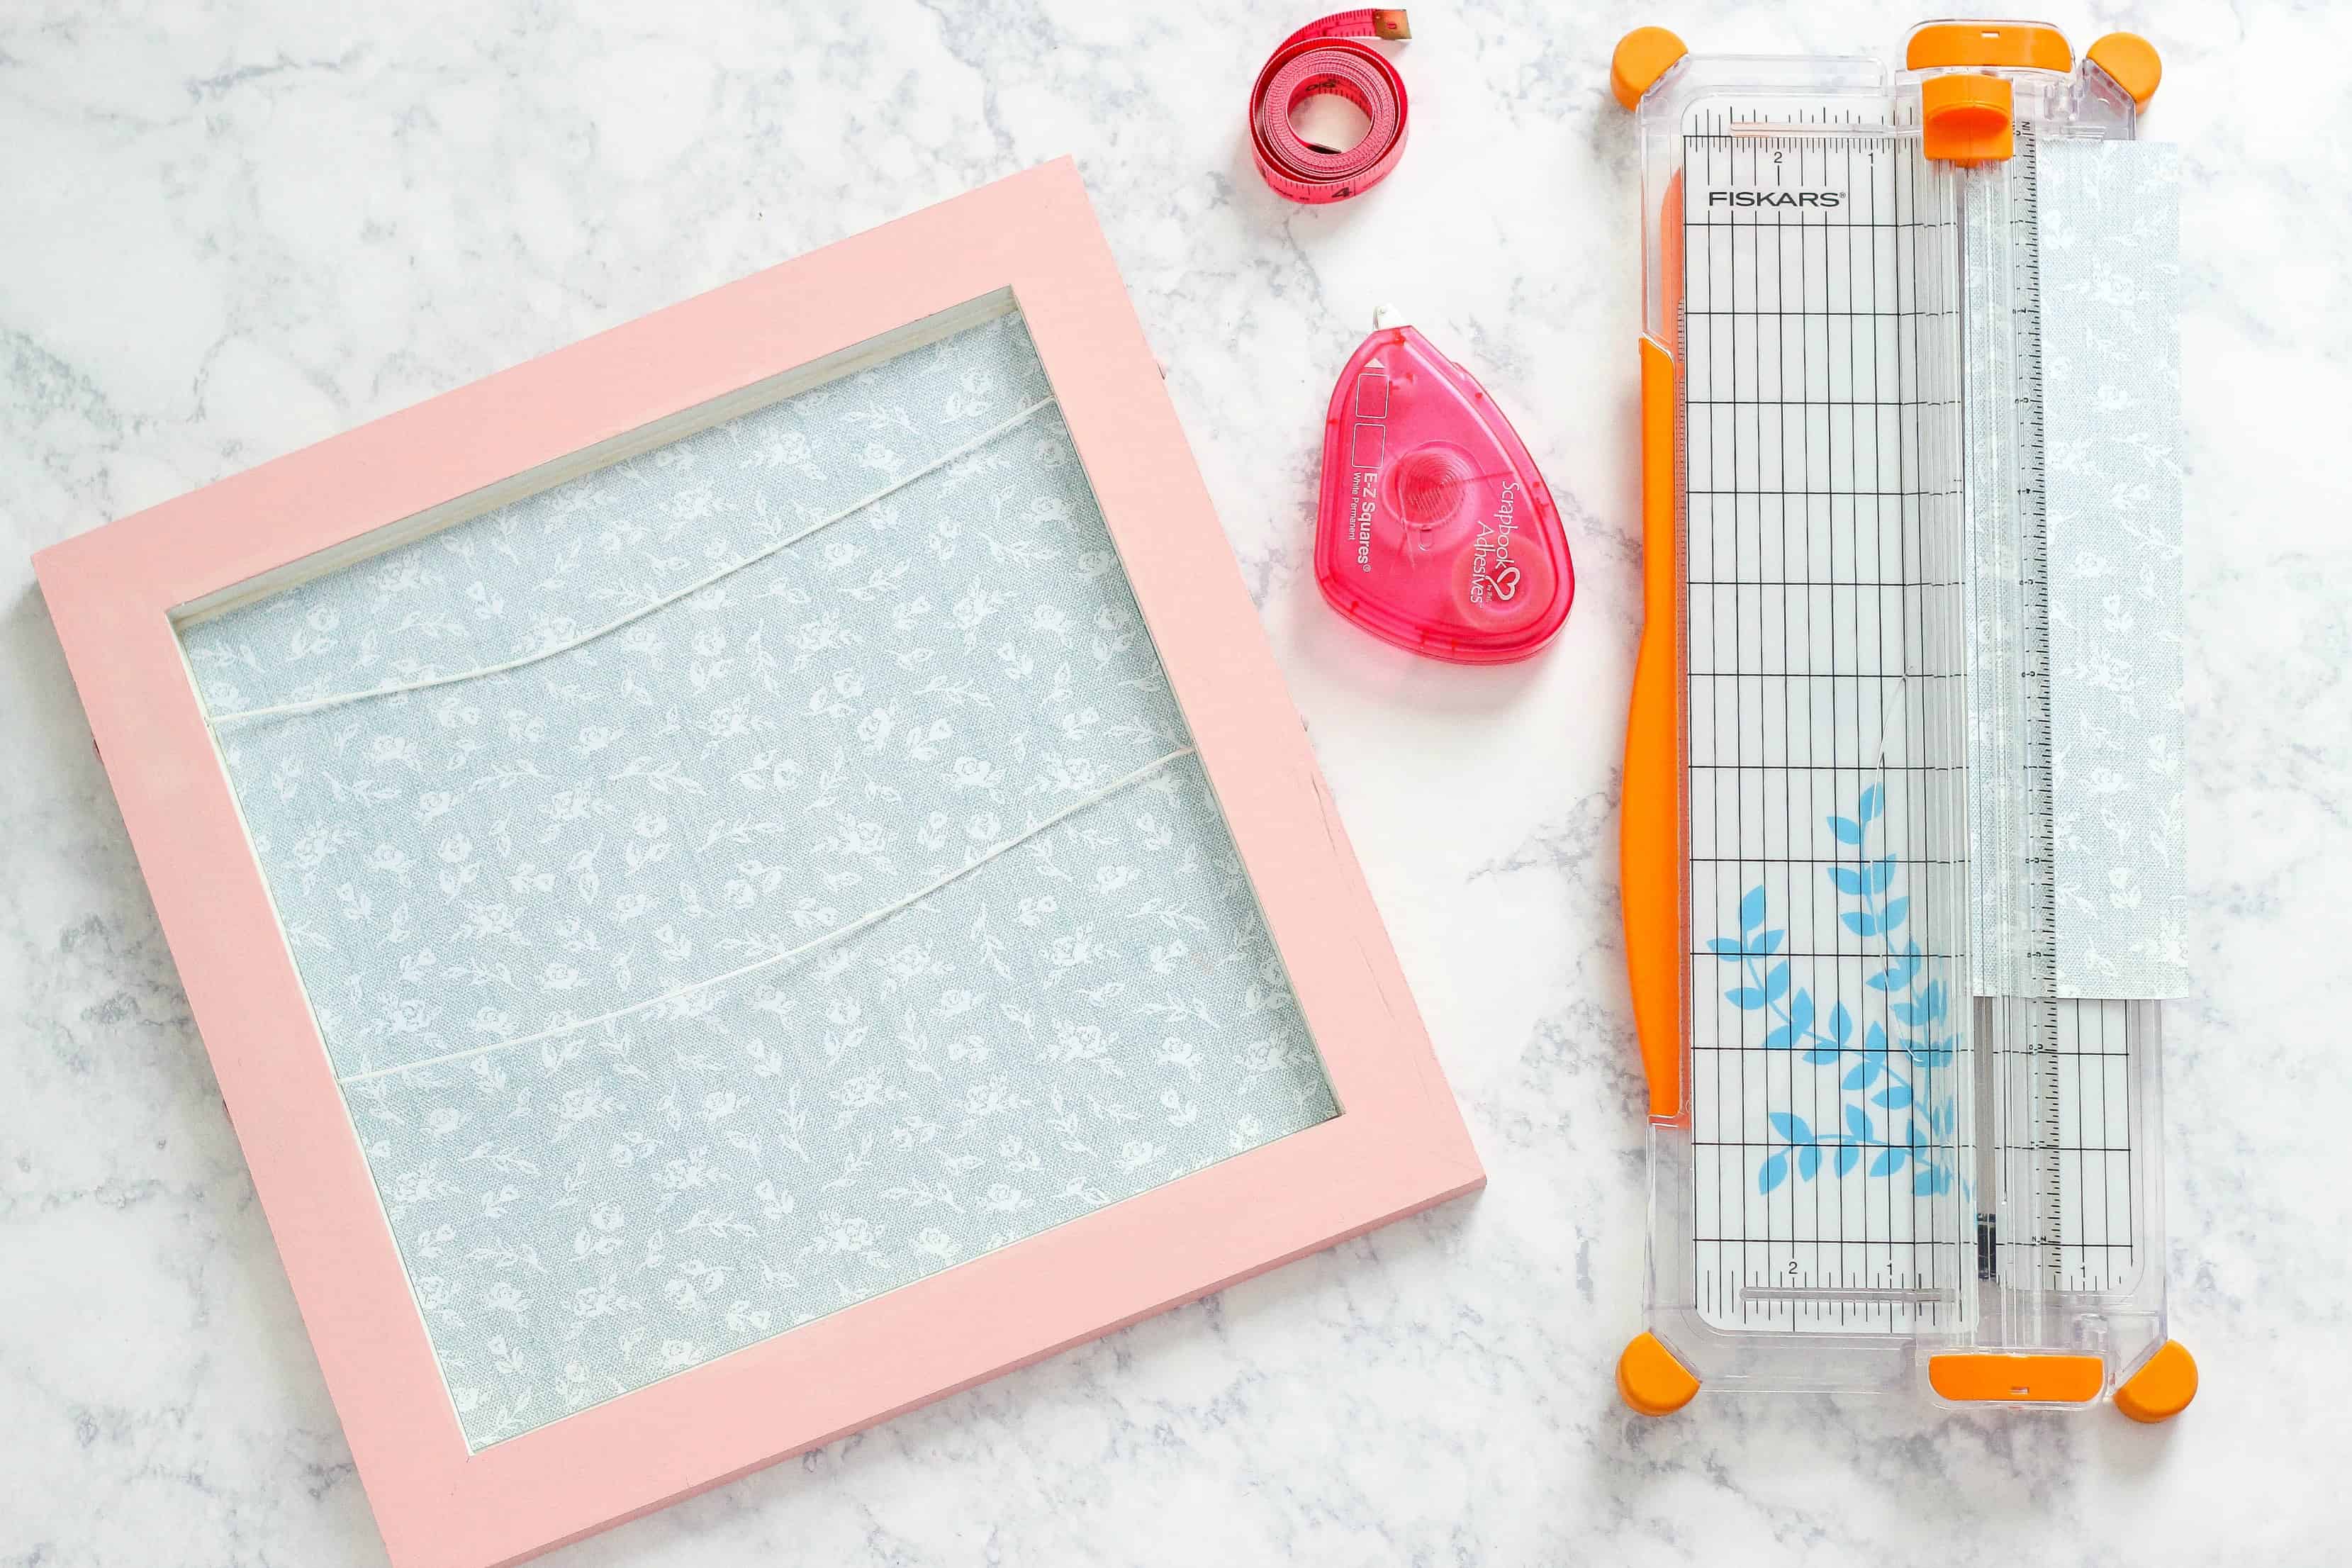
Next, I measured the inside of the frame, then I choose a piece of 12 x 12 scrapbook paper from the Crate Paper Maggie Holmes Bloom collection. I cut the paper to my measurements using a paper cutter. On the back of the paper, I applies scrapbook adhesive and tape the paper to the inside of the frame.
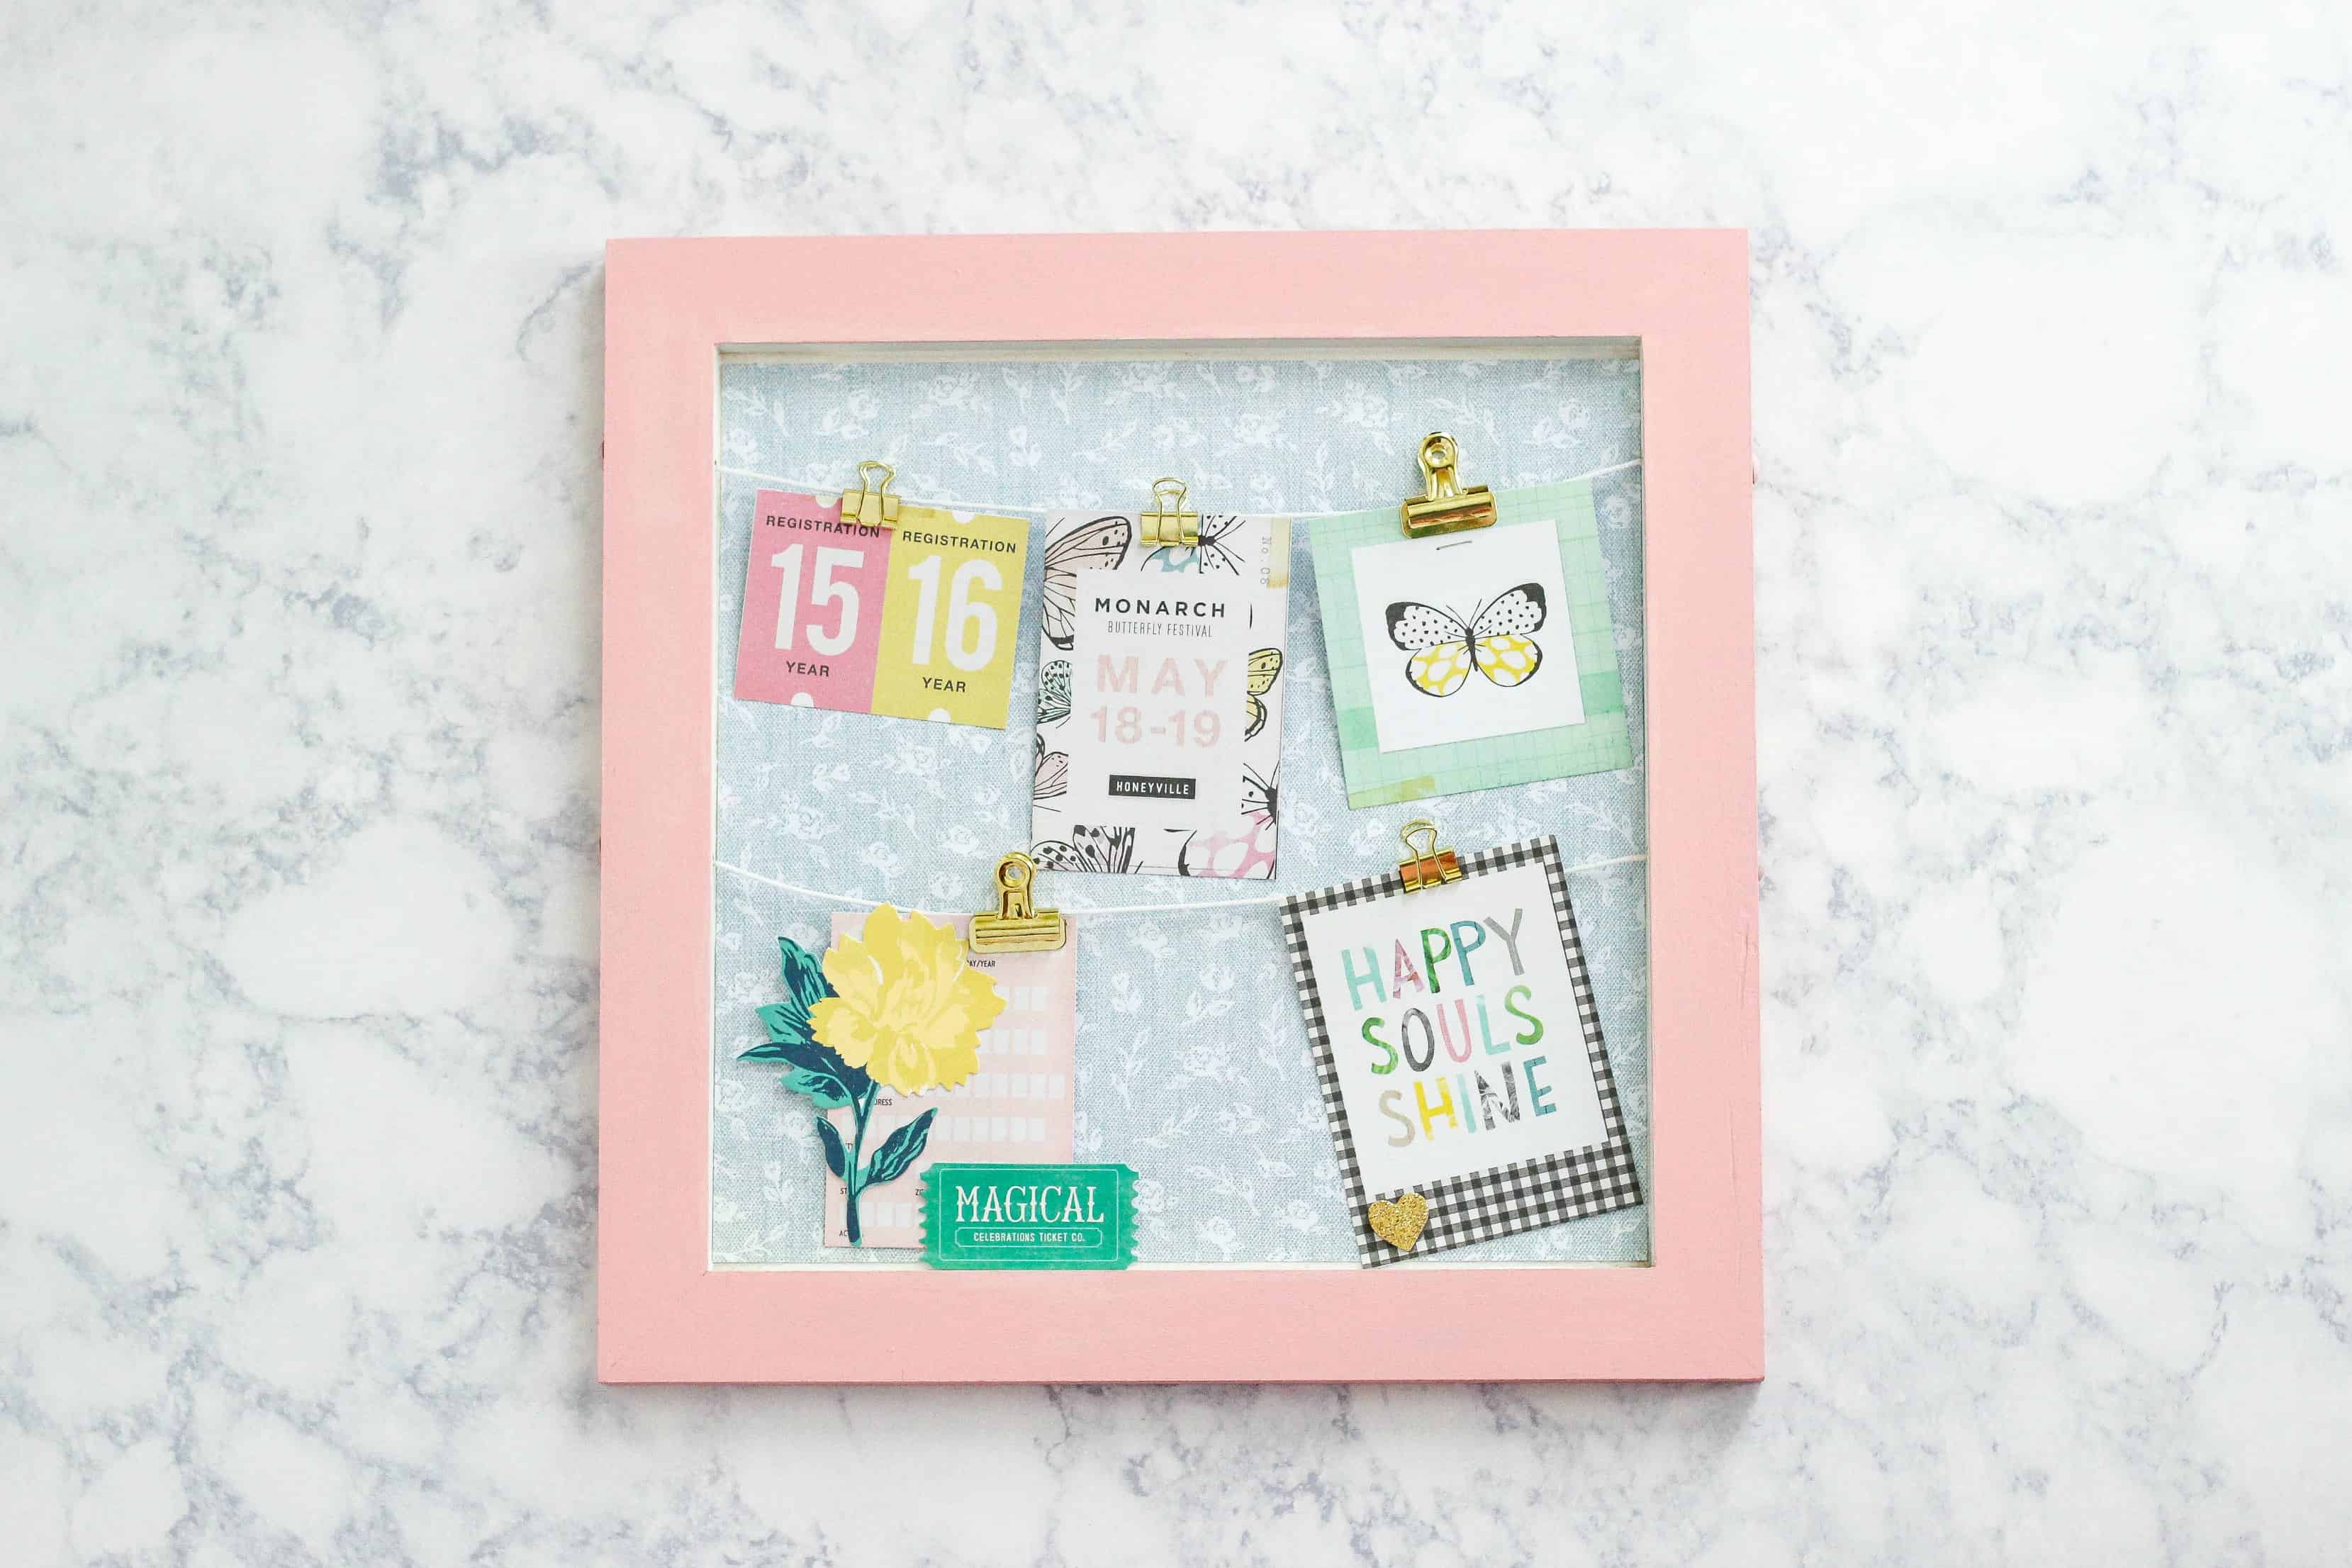
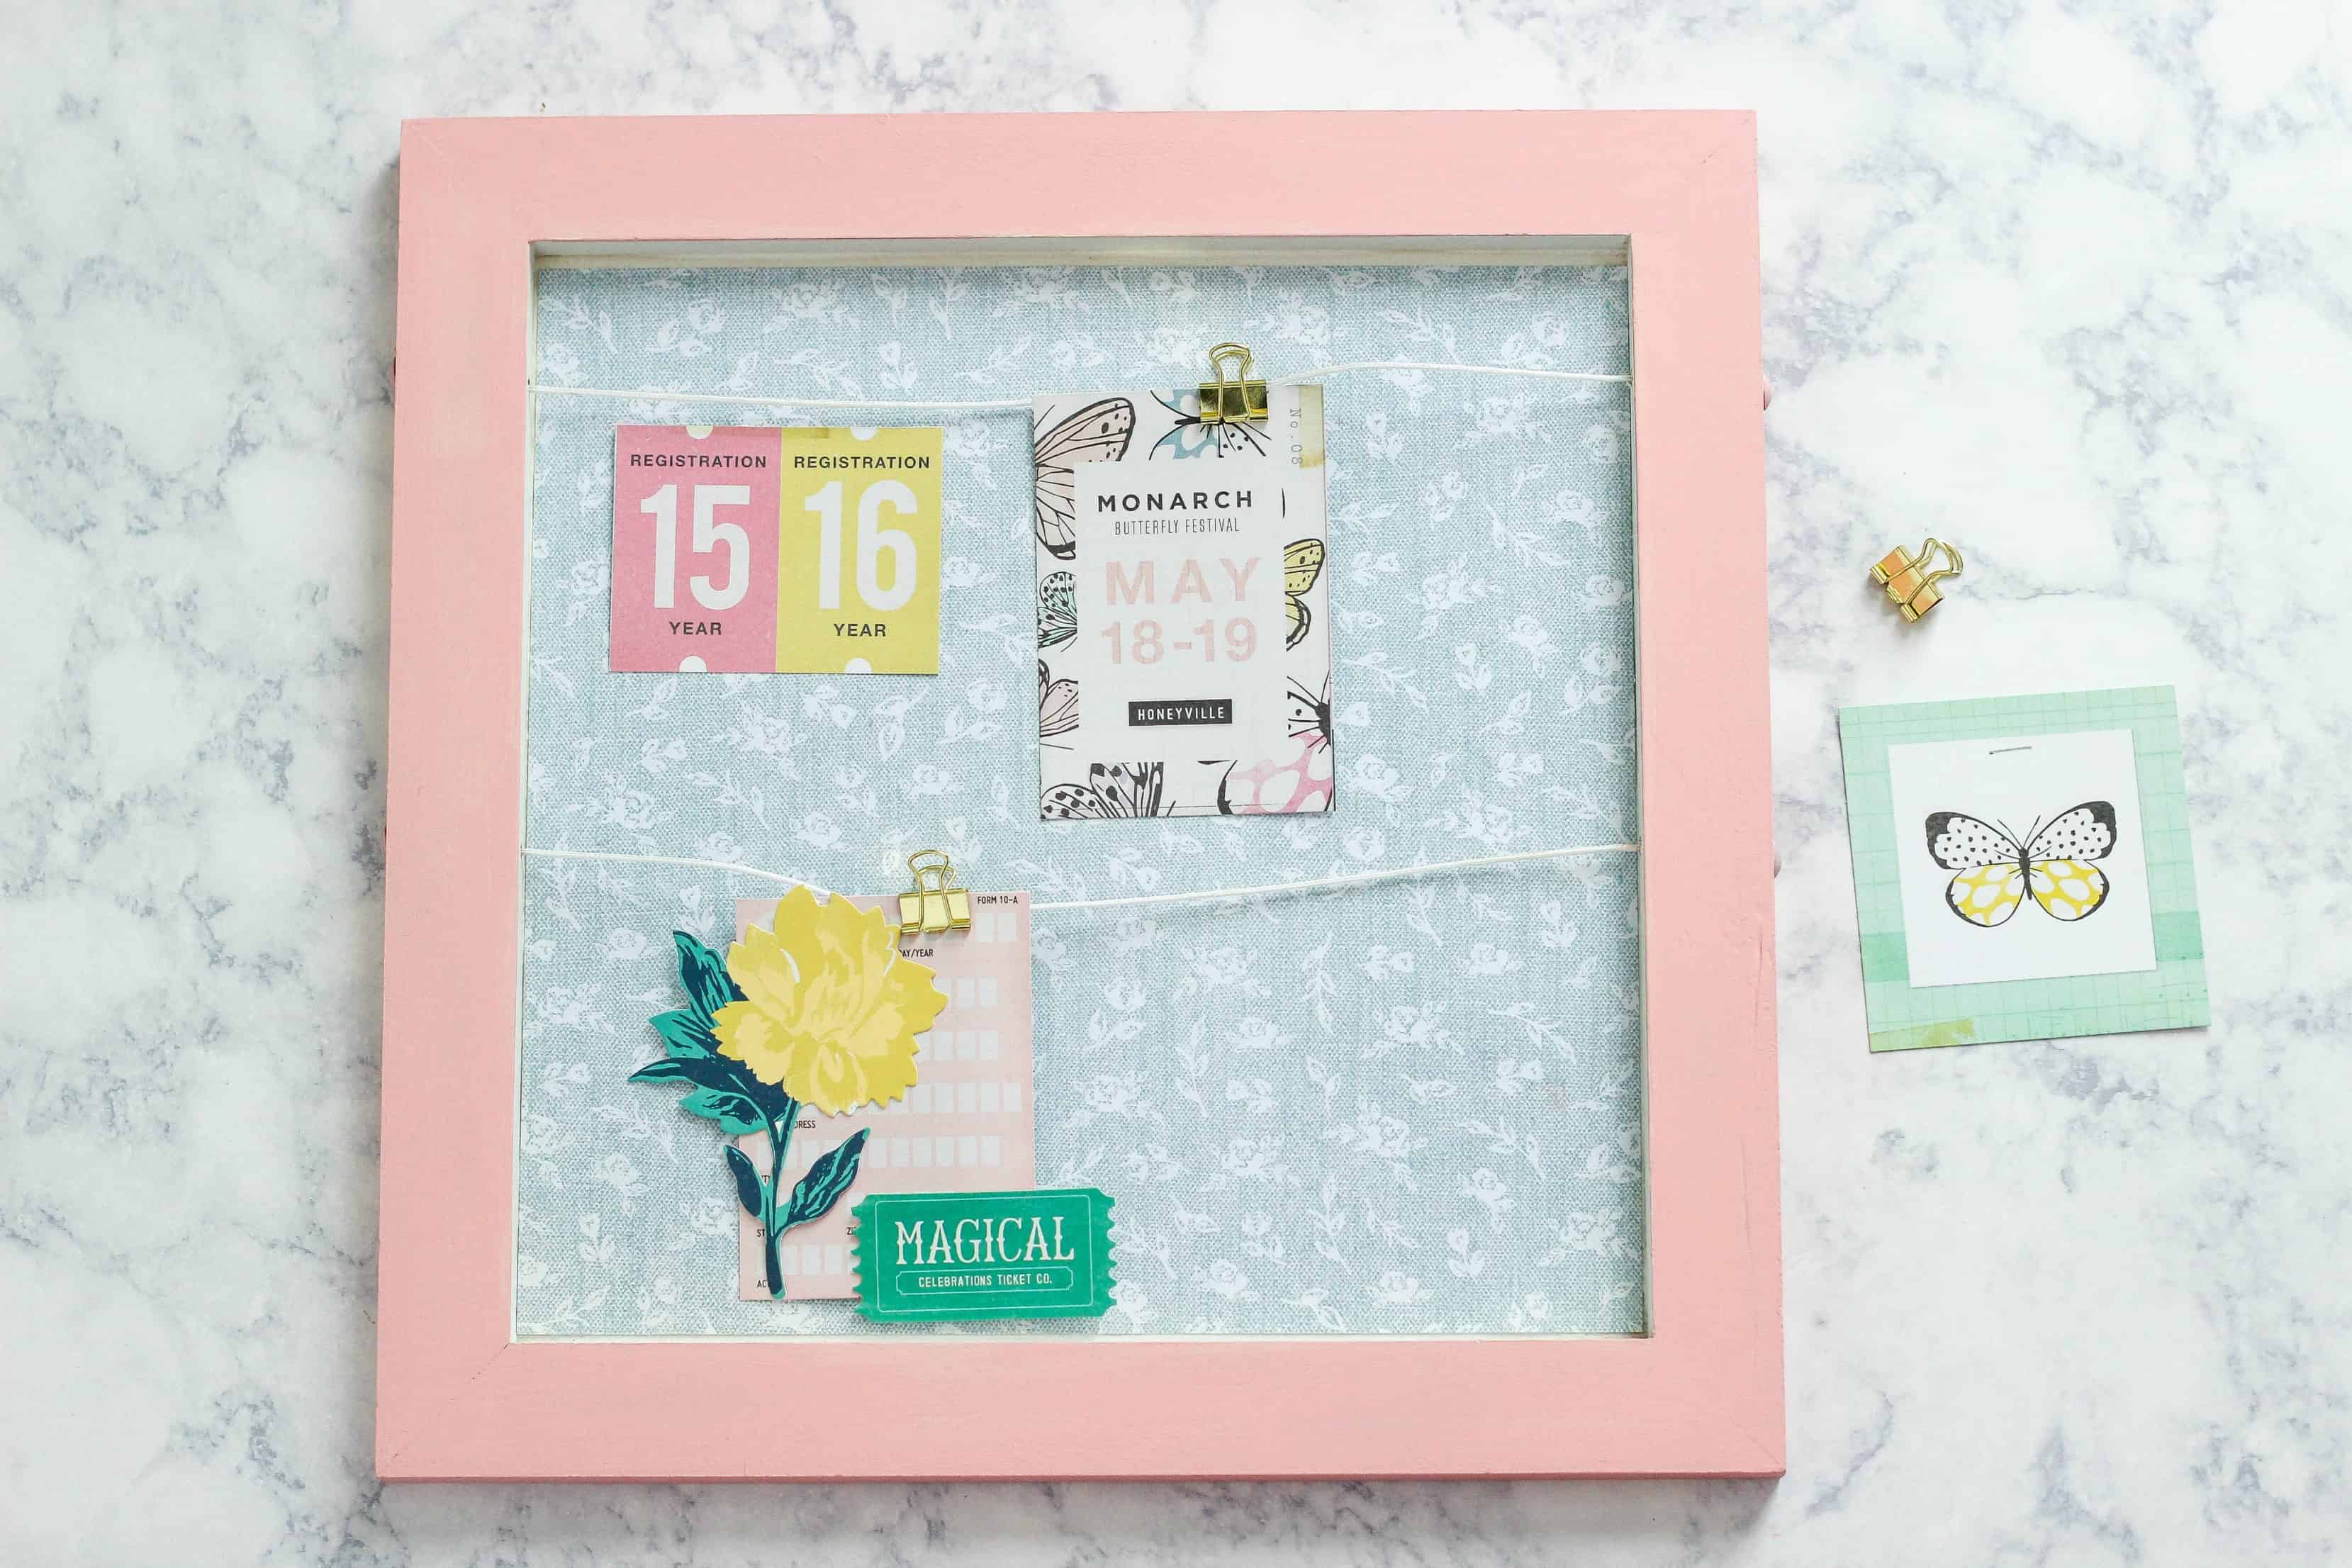
Finally I swapped out the original clips for some pretty gold ones. I used embellishments to display on the DIY Photo Clip Frame. Use can showcase photos and your favorite memorabilia.
This DIY Photo Clip Frame was such a fun project to create and make a video of. This is just an example of how simple craft supplies can really personalize and enhance a store-bought piece.
SHOP THIS POST:
