This is a sponsored conversation written by me on behalf of Hobby Lobby. The opinions and text are all mine.
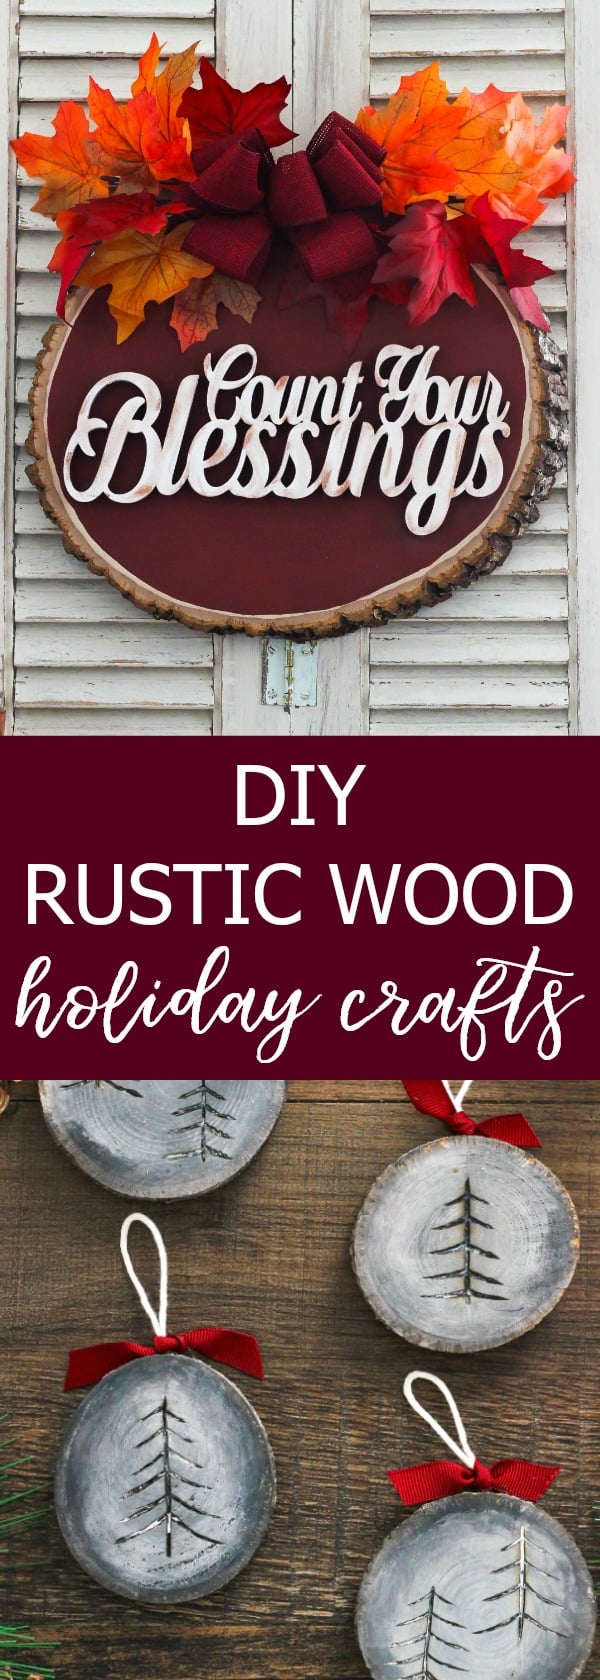
I love the look of raw wood slices because they have a warm textural look and are the perfect blank space to create craft projects. The holidays are upon us and today I am sharing two DIY rustic wood holiday crafts that will help you transition from fall to Christmas. I am familiar with Hobby Lobby’s raw wood section but have never crafted with wood rounds. I had so much fun creating and decorating my home with these wood holiday crafts!
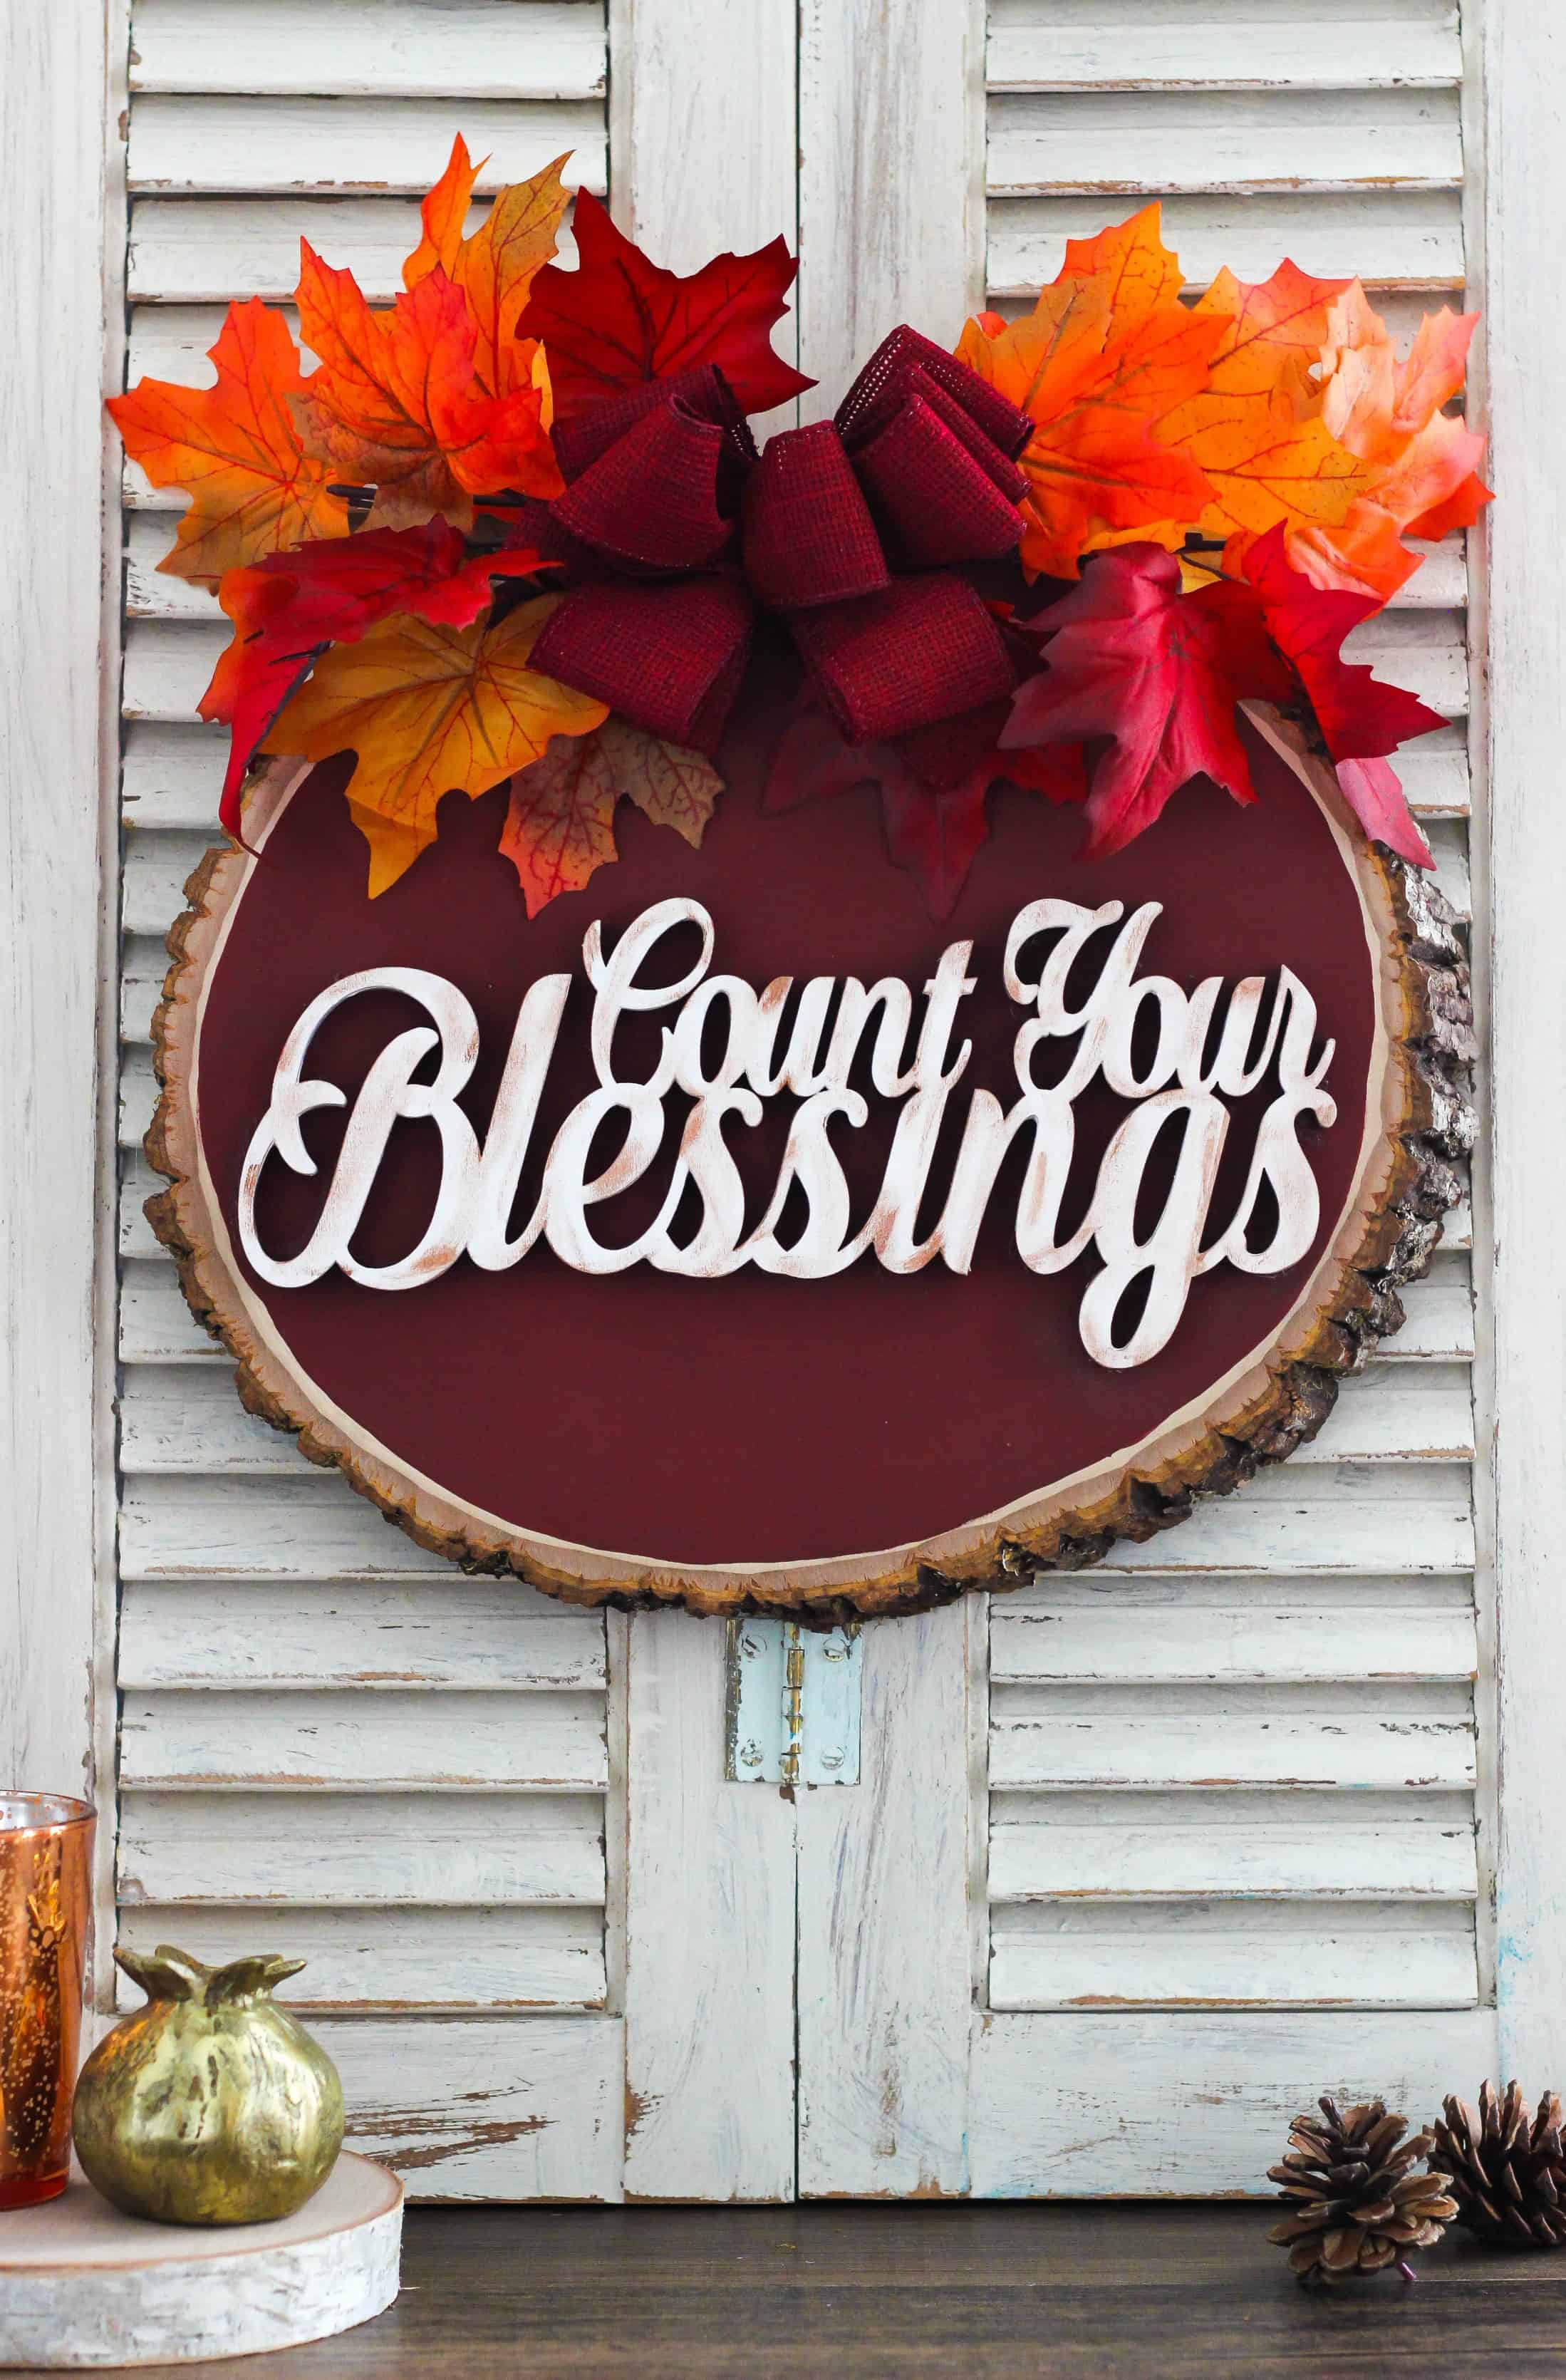
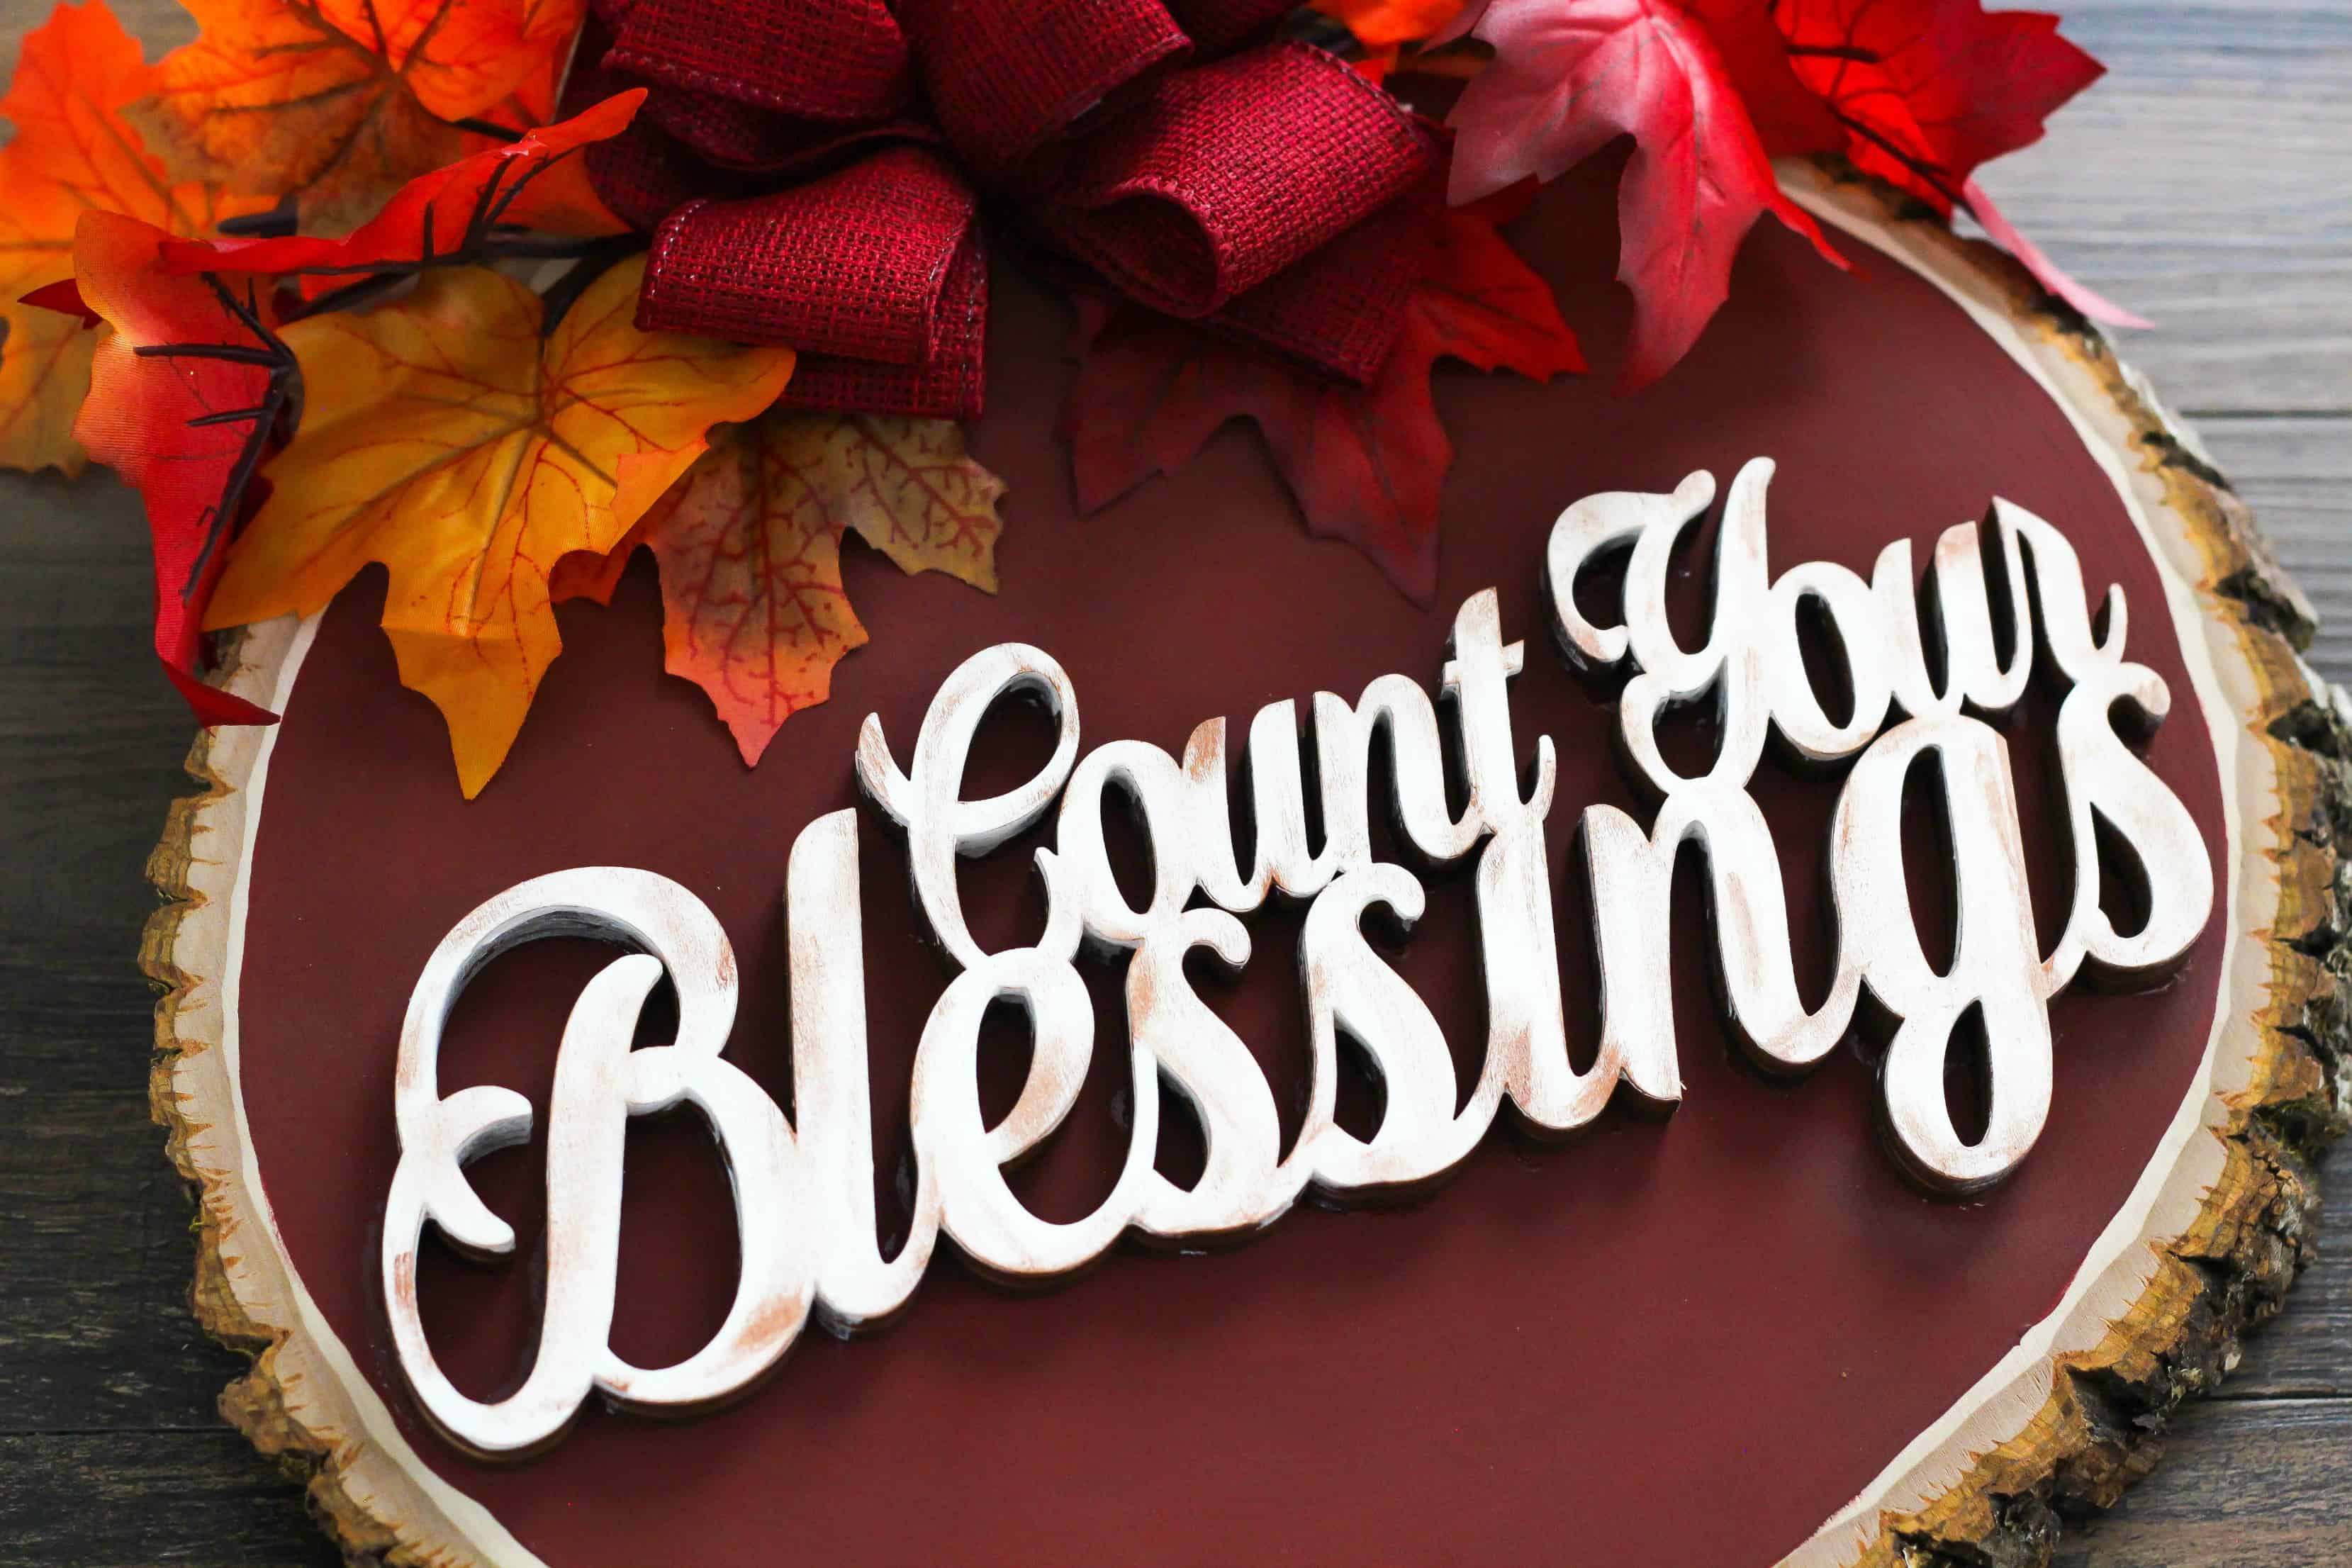
Let’s start with the fall craft. I made a rustic wood sign using a large wood round from Hobby Lobby. I was inspired by a ‘count your blessings’ sign that is also found in the wood craft section. The phrase reminded me of falling leaves from the trees and Thanksgiving.
Supplies:
- Large Basswood Country Round
- Count Your Blessings Laser Cut Wood Words
- Americana Decor Chalky Finish Paint (Red, White and Brown)
- Paint Brushes
- Fall Florals
- Ribbon
- Hot Glue Gun
- E6000 Adhesive
Instructions:
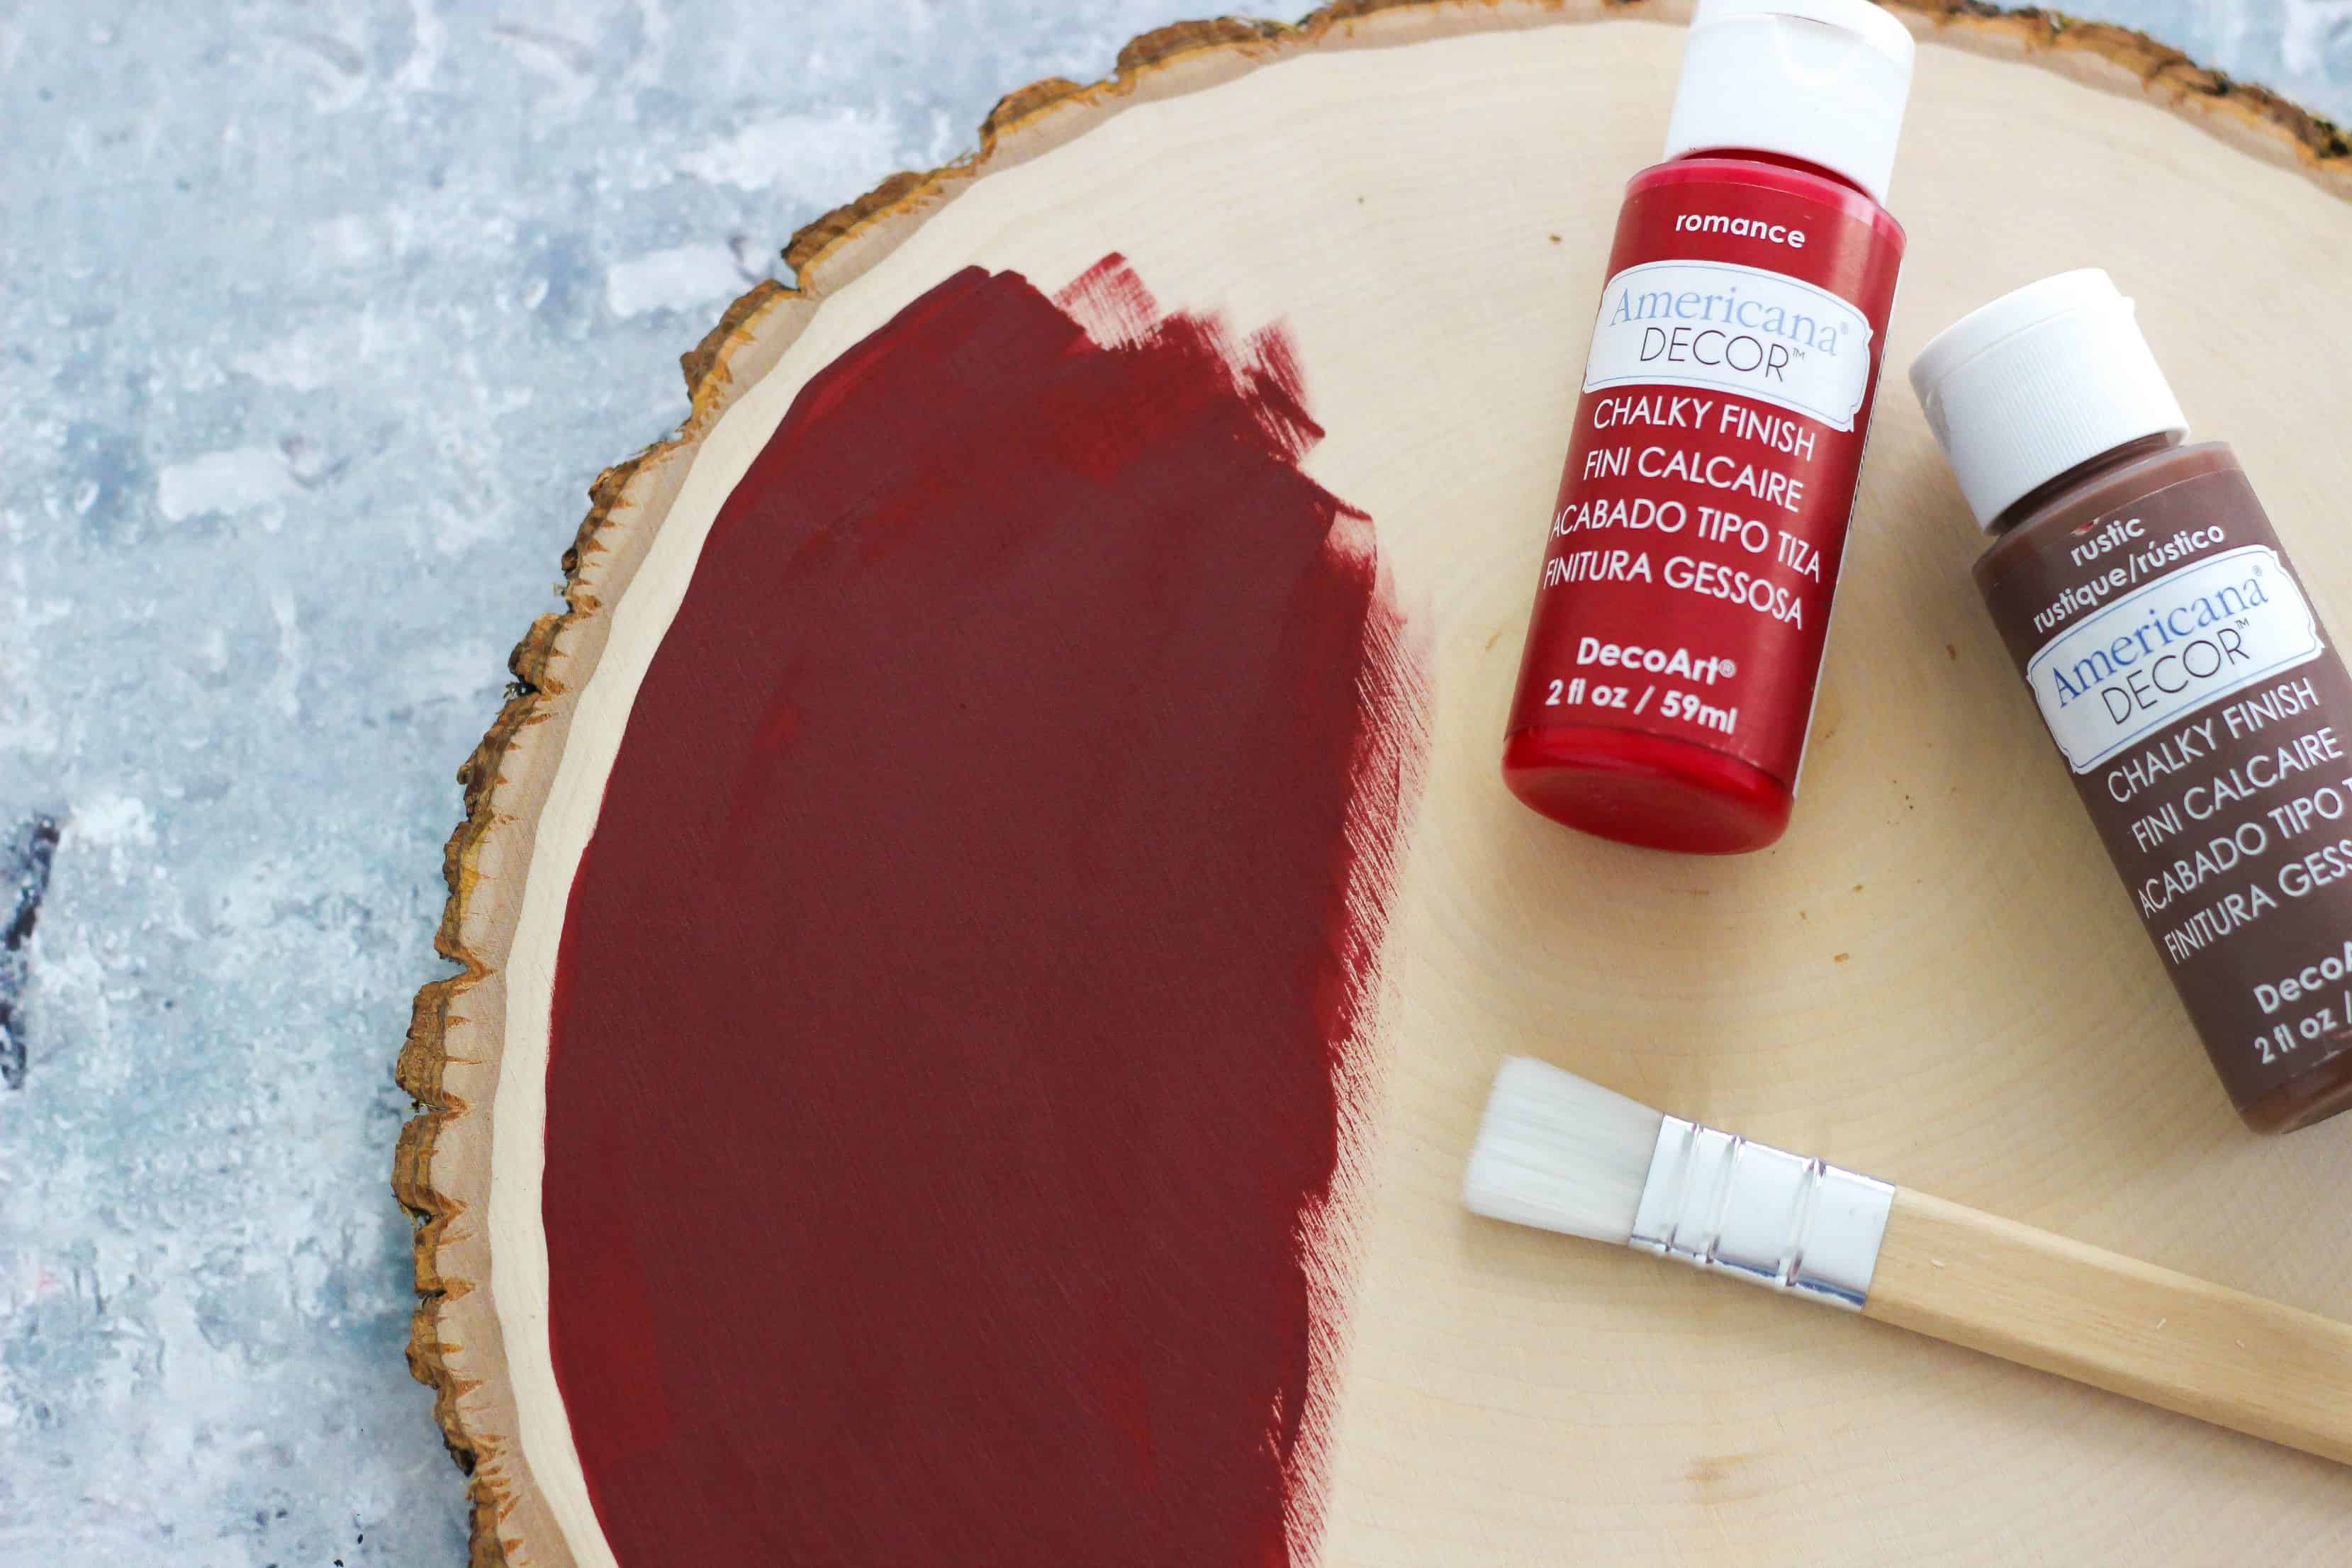
I started by painting the large basswood country round using Americana Decor Chalky Finish paints. I mixed one part red (Romance) to two parts brown (Rustic) paint to achieve a burgundy color. Two light coats of paint was all that was needed.
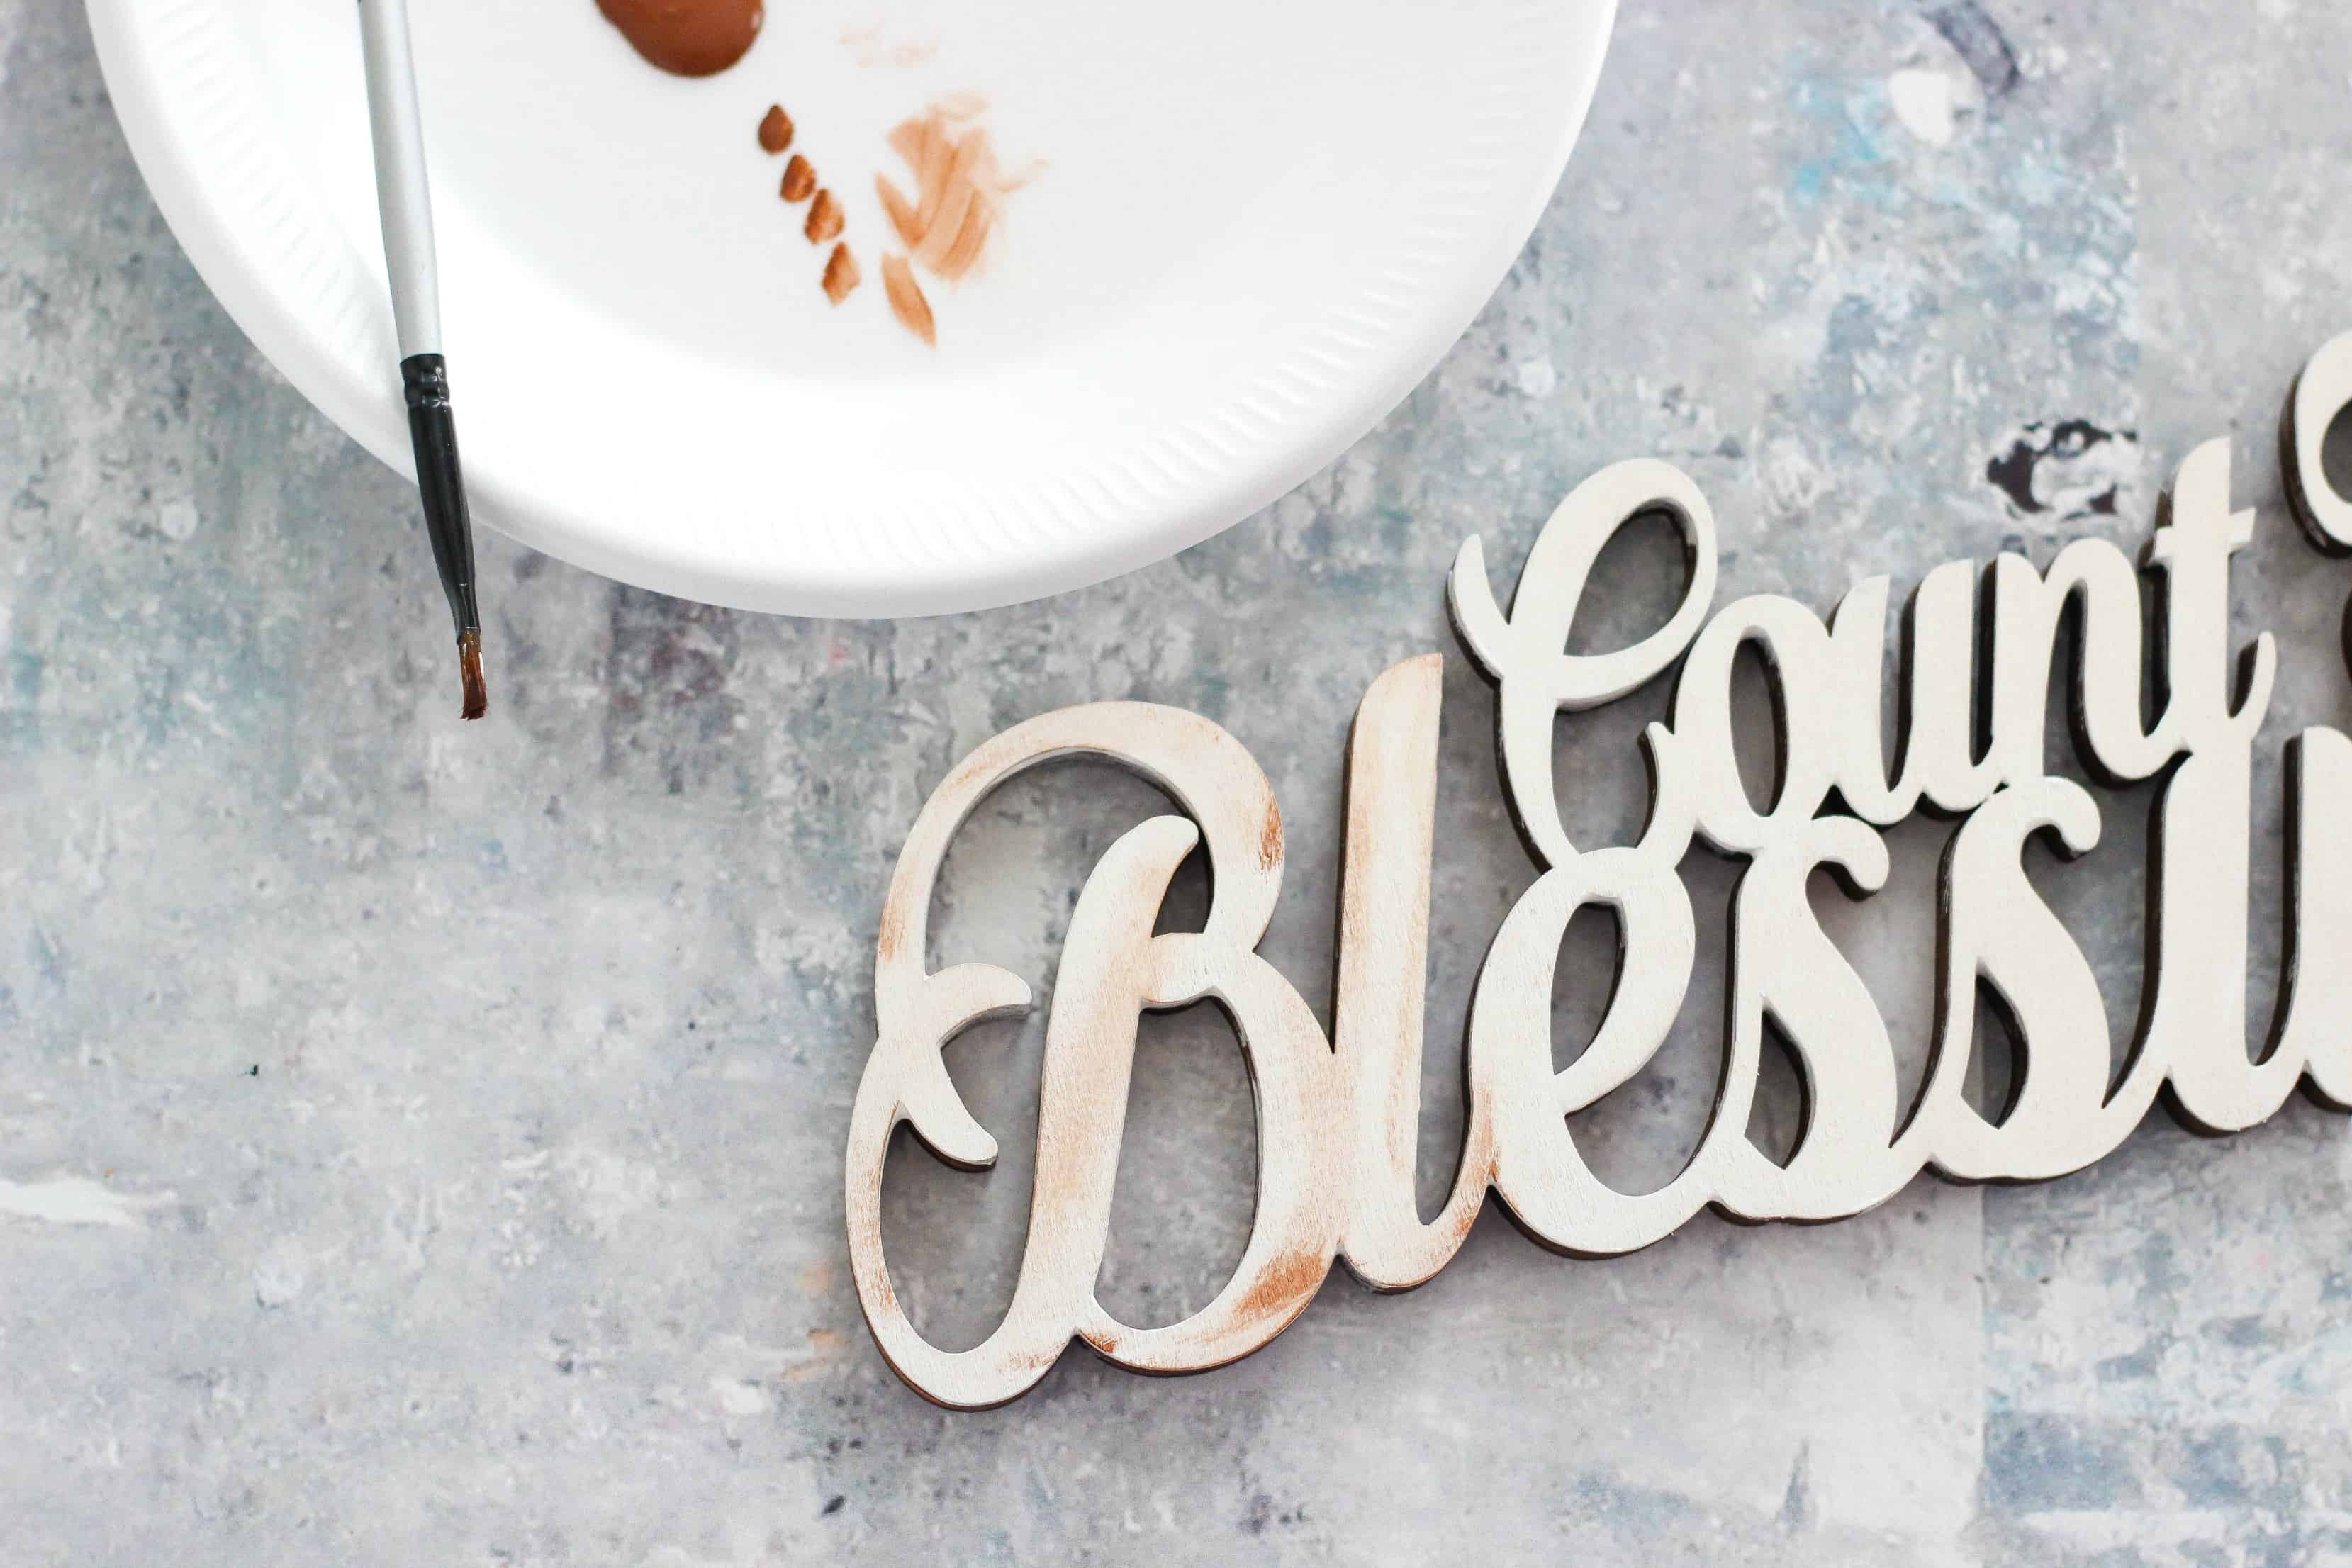
Next, I painted the ‘count your blessings’ laser cut wood woods using white (Everlasting) chalky finish paint. To add a rustic touch, I applied a small amount of the brown paint using a dry brush method. Basically, you want to remove as much wet paint from the brush by painting on another surface and apply just a tiny bit. This makes the words look rusty.
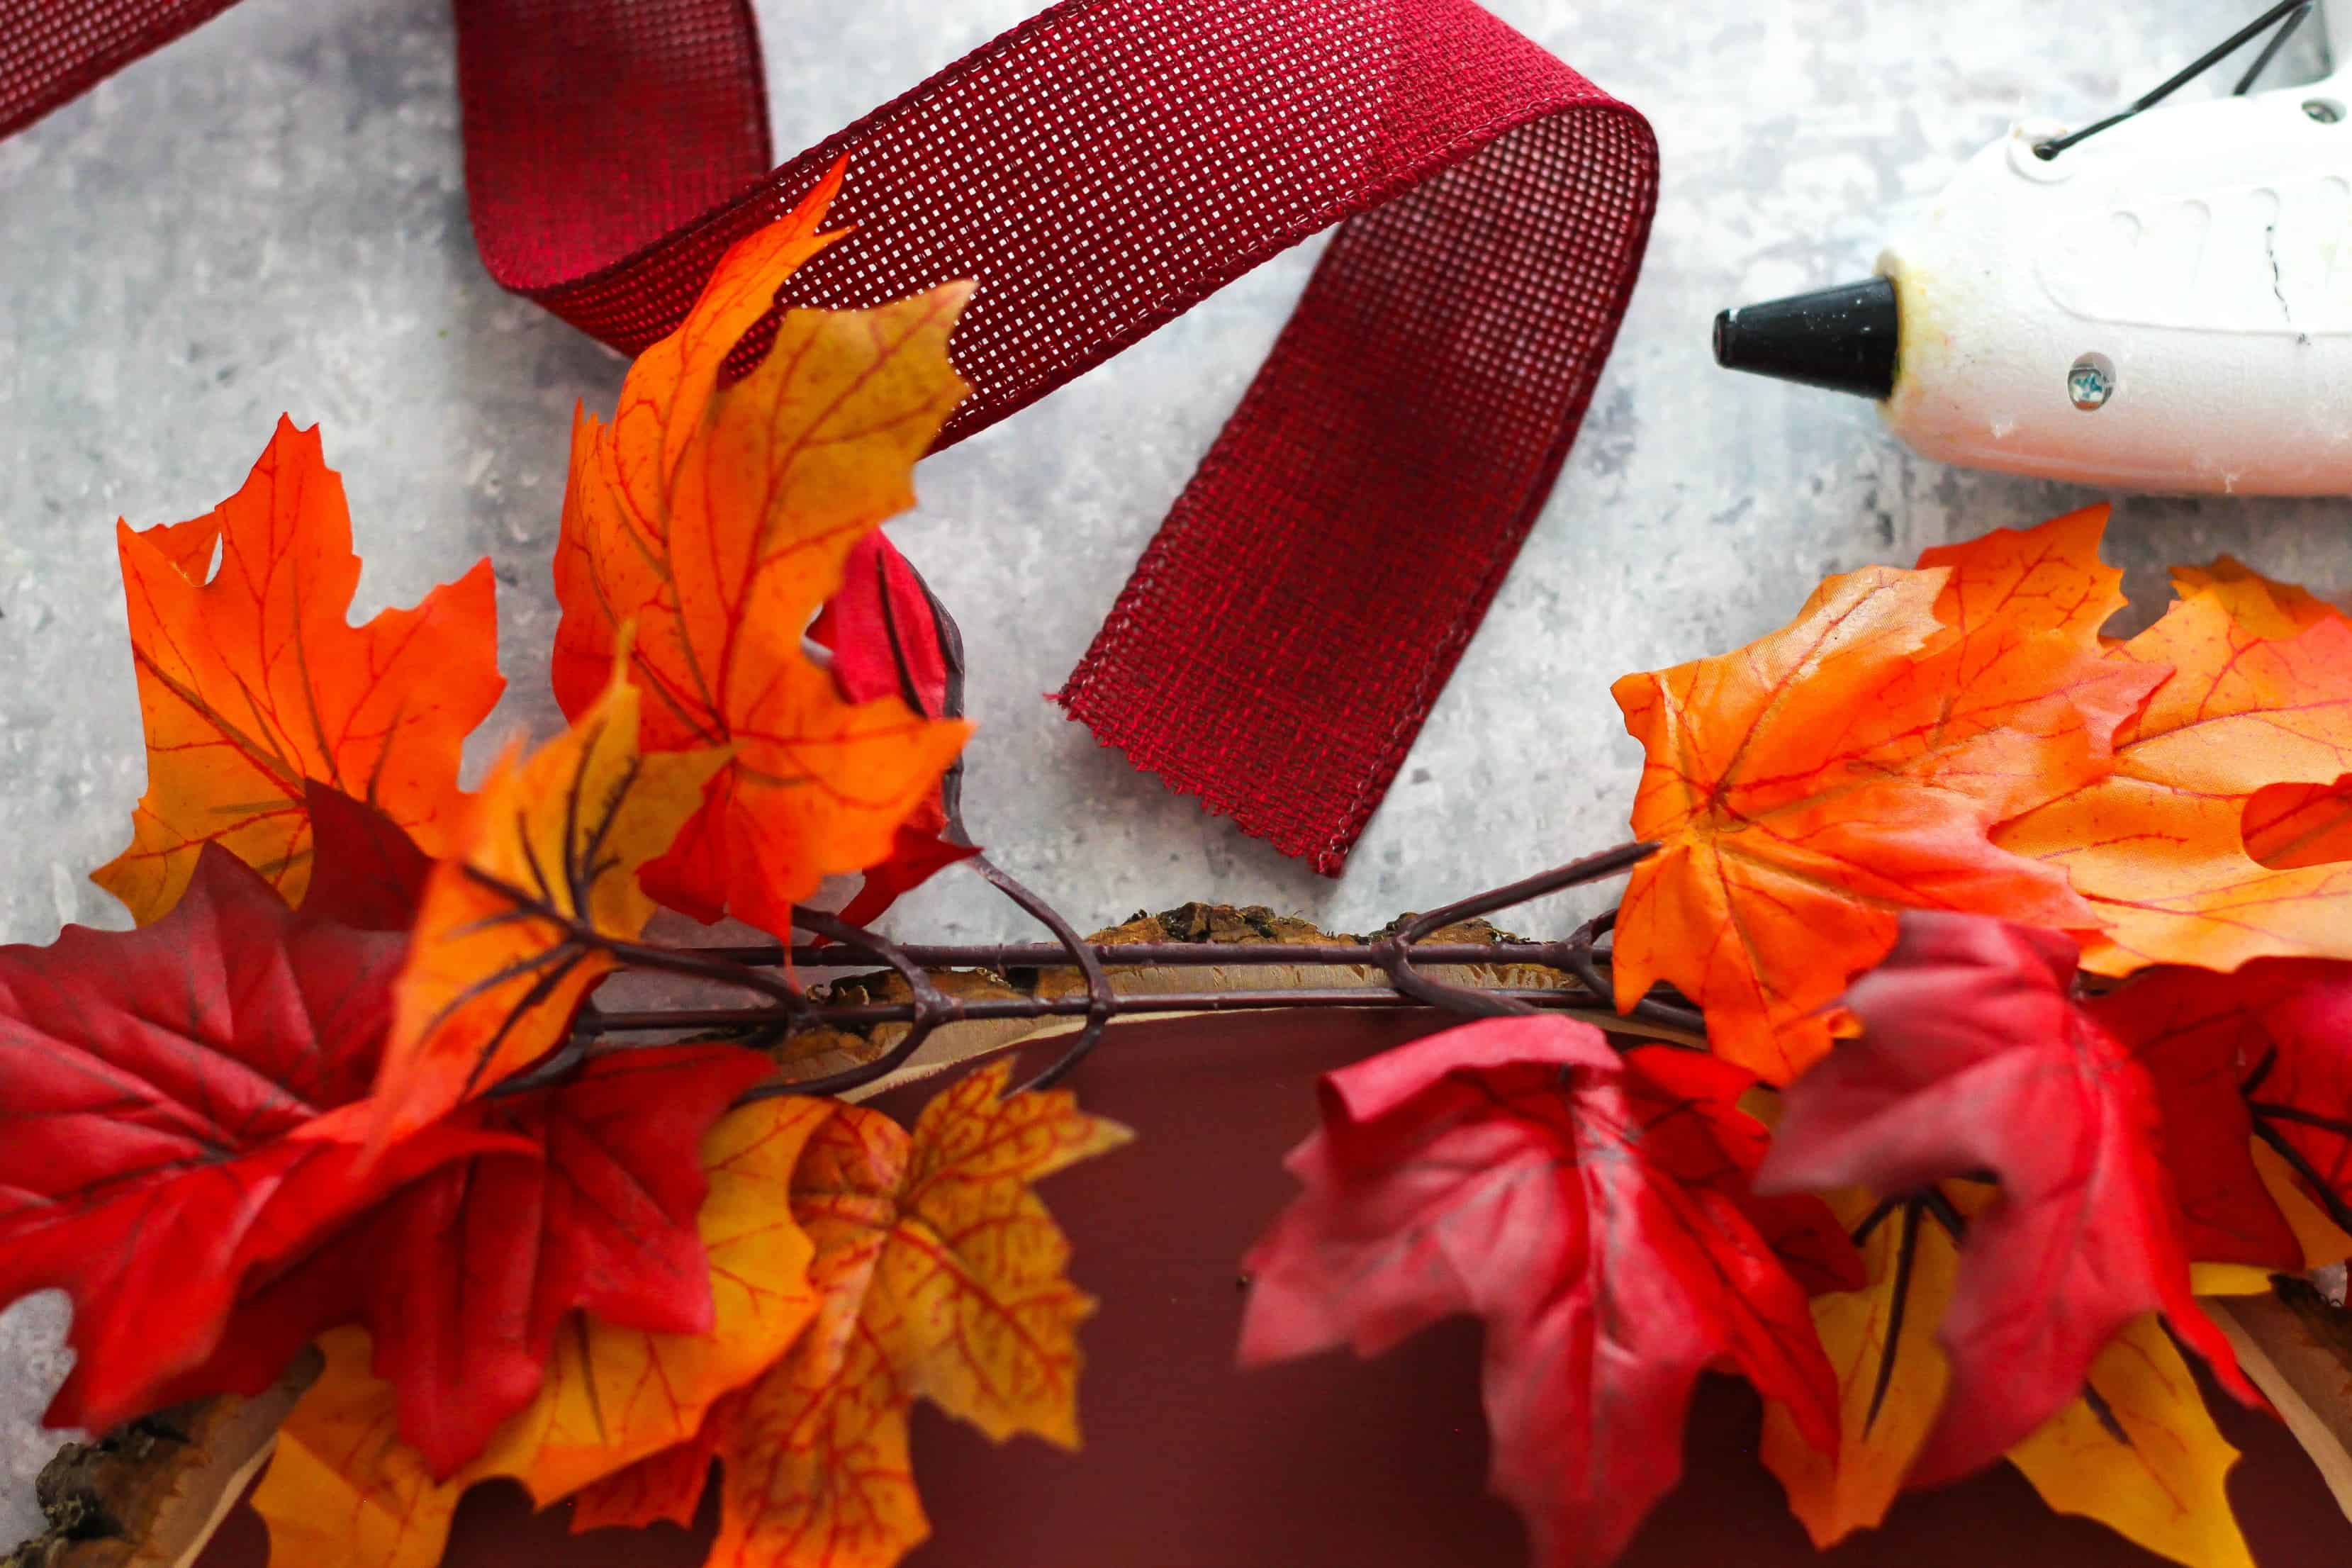
I used a hot glue gun to attach some fall leaves and a bow to the top of the sign. I made the bow using 1.5 inch burgundy ribbon.
Finally, I used E6000 adhesive to glue the laser cut wood words to the wood round. I added a hook to the back of the rustic wood sign to hang on my door. You could use a plate holder to display it on a table or mantel. The colors are so pretty and I plan on displaying the sign now through Thanksgiving.
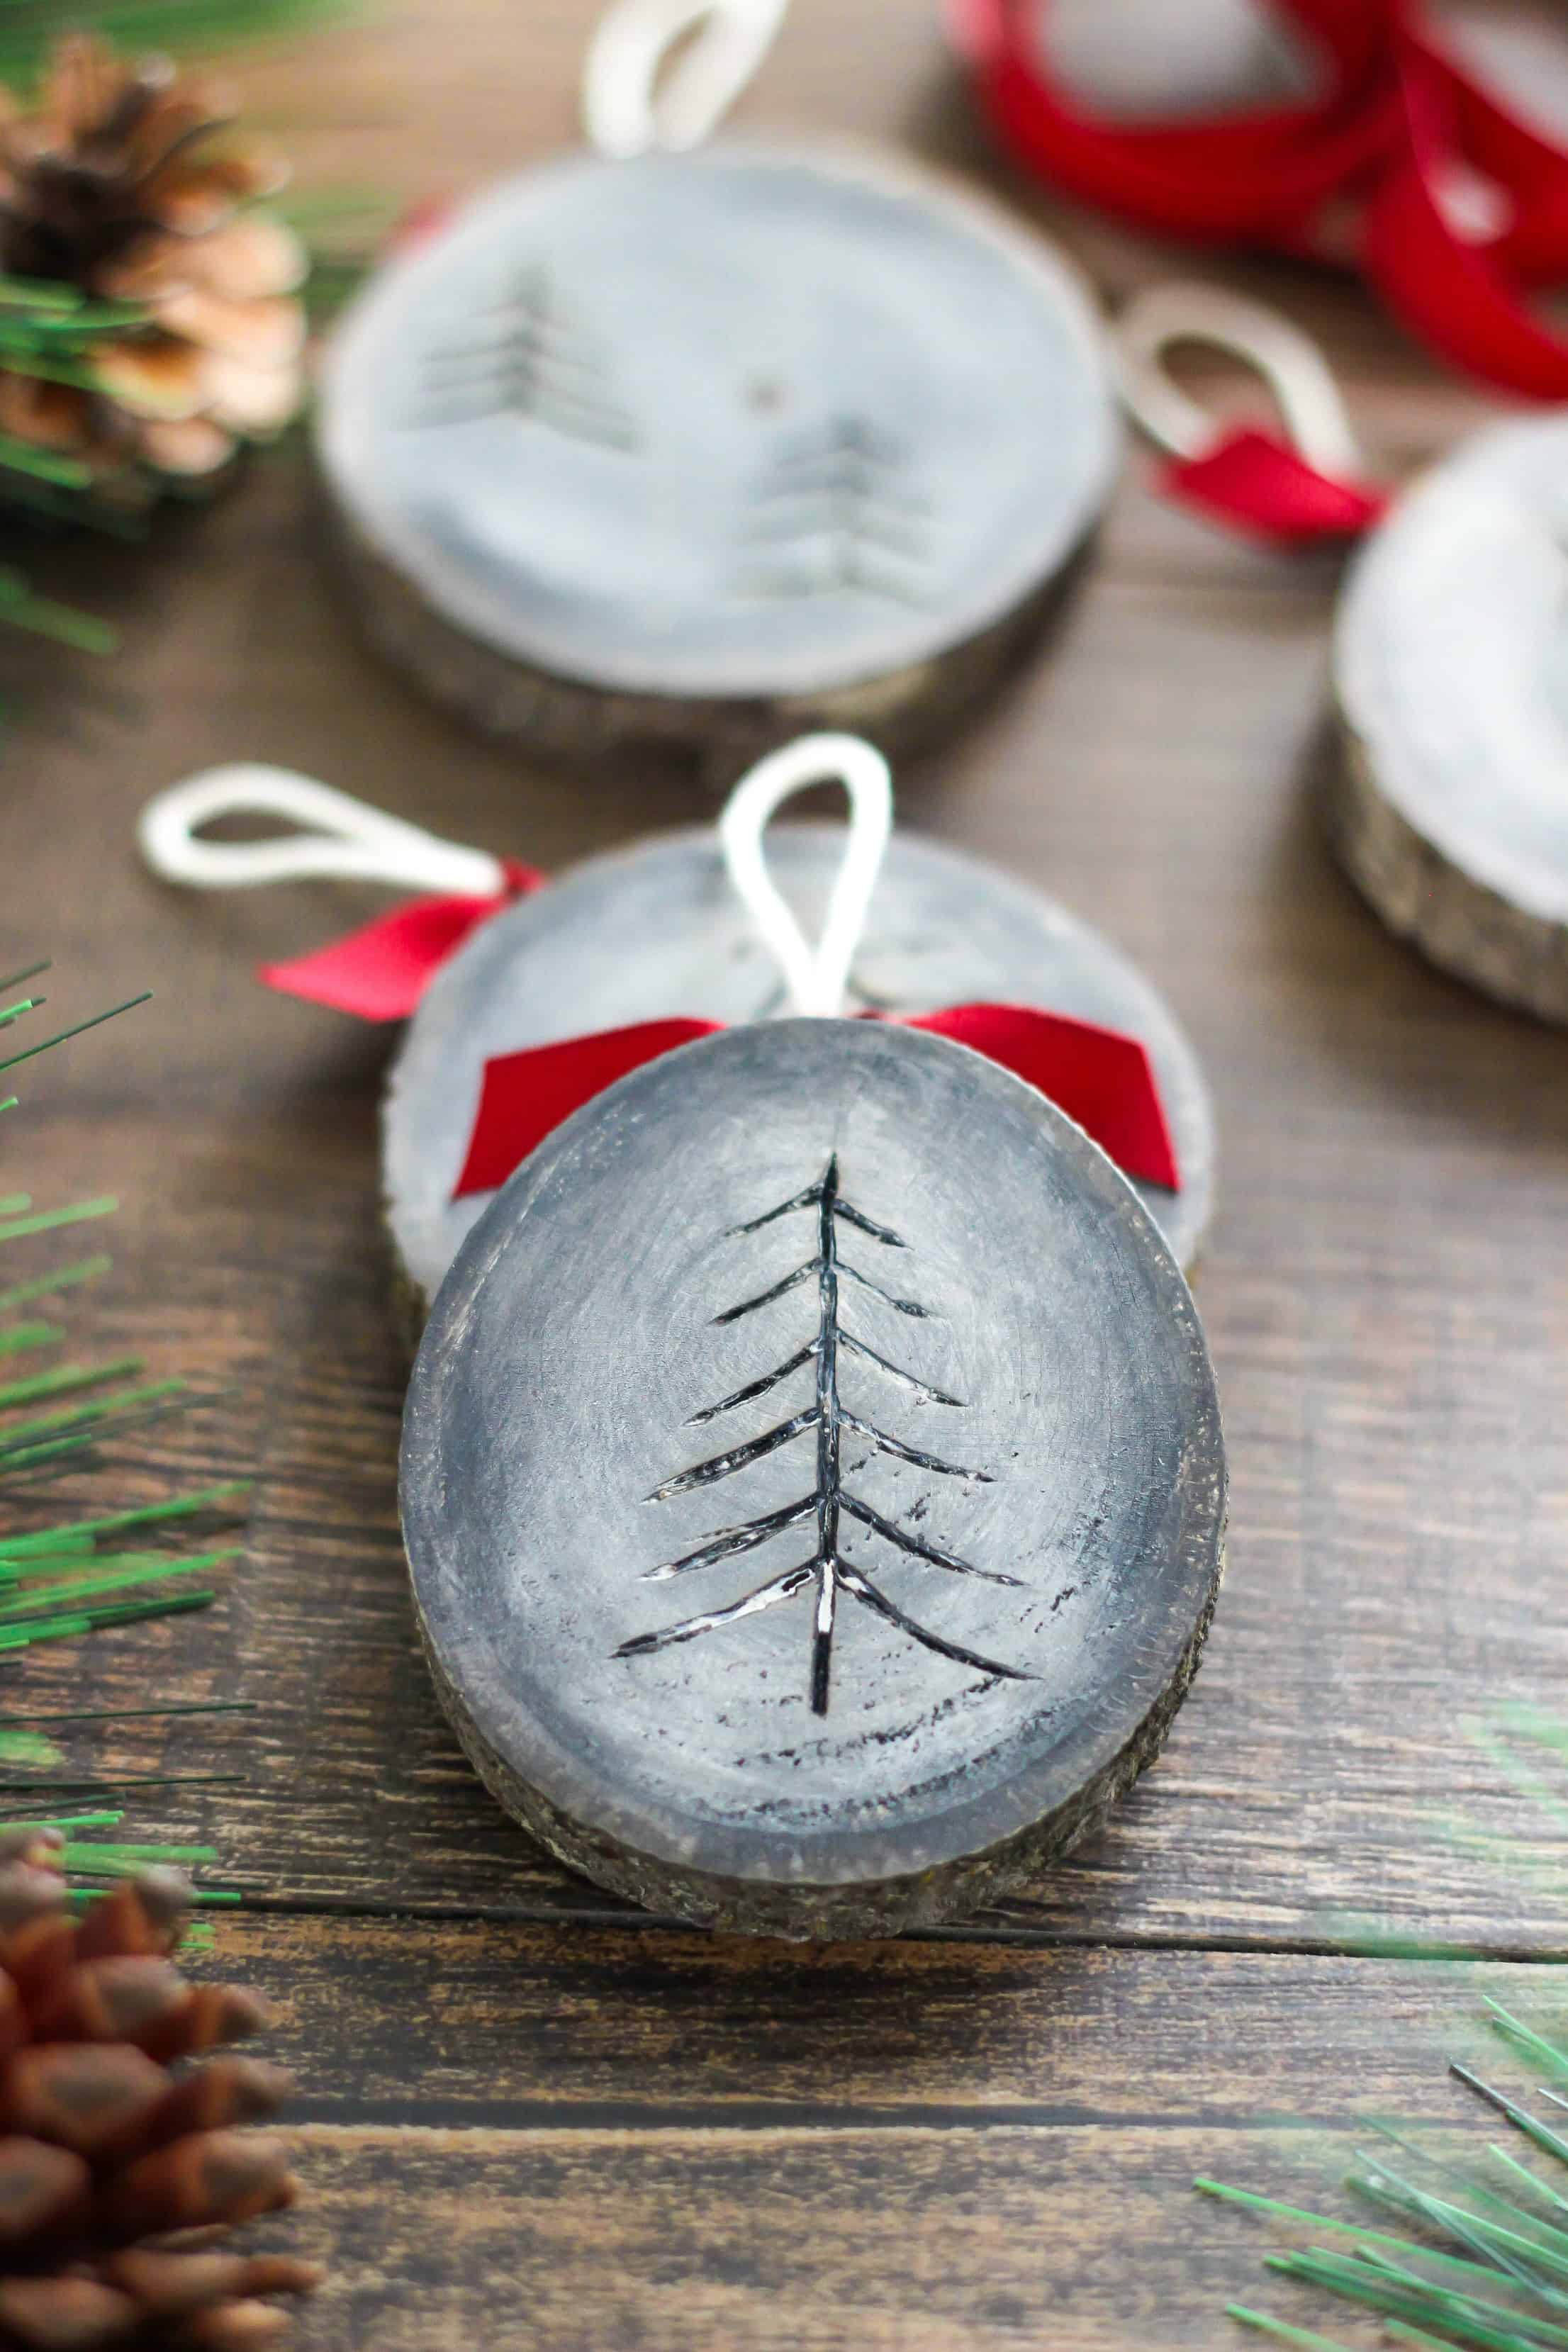
To easily transition to Christmas, I am keeping with the same burgundy color and rustic look. I have always wanted to try a wood burning tool and I thought this would be a great opportunity to try it out to make ornaments using wood rounds.
Supplies:
- Natural Birch Wood Rounds
- Wood Burning Tool
- Vintage Effect Wash/Color Stain
- Twine
- Ribbon
- E6000 Adhesive
Instructions:
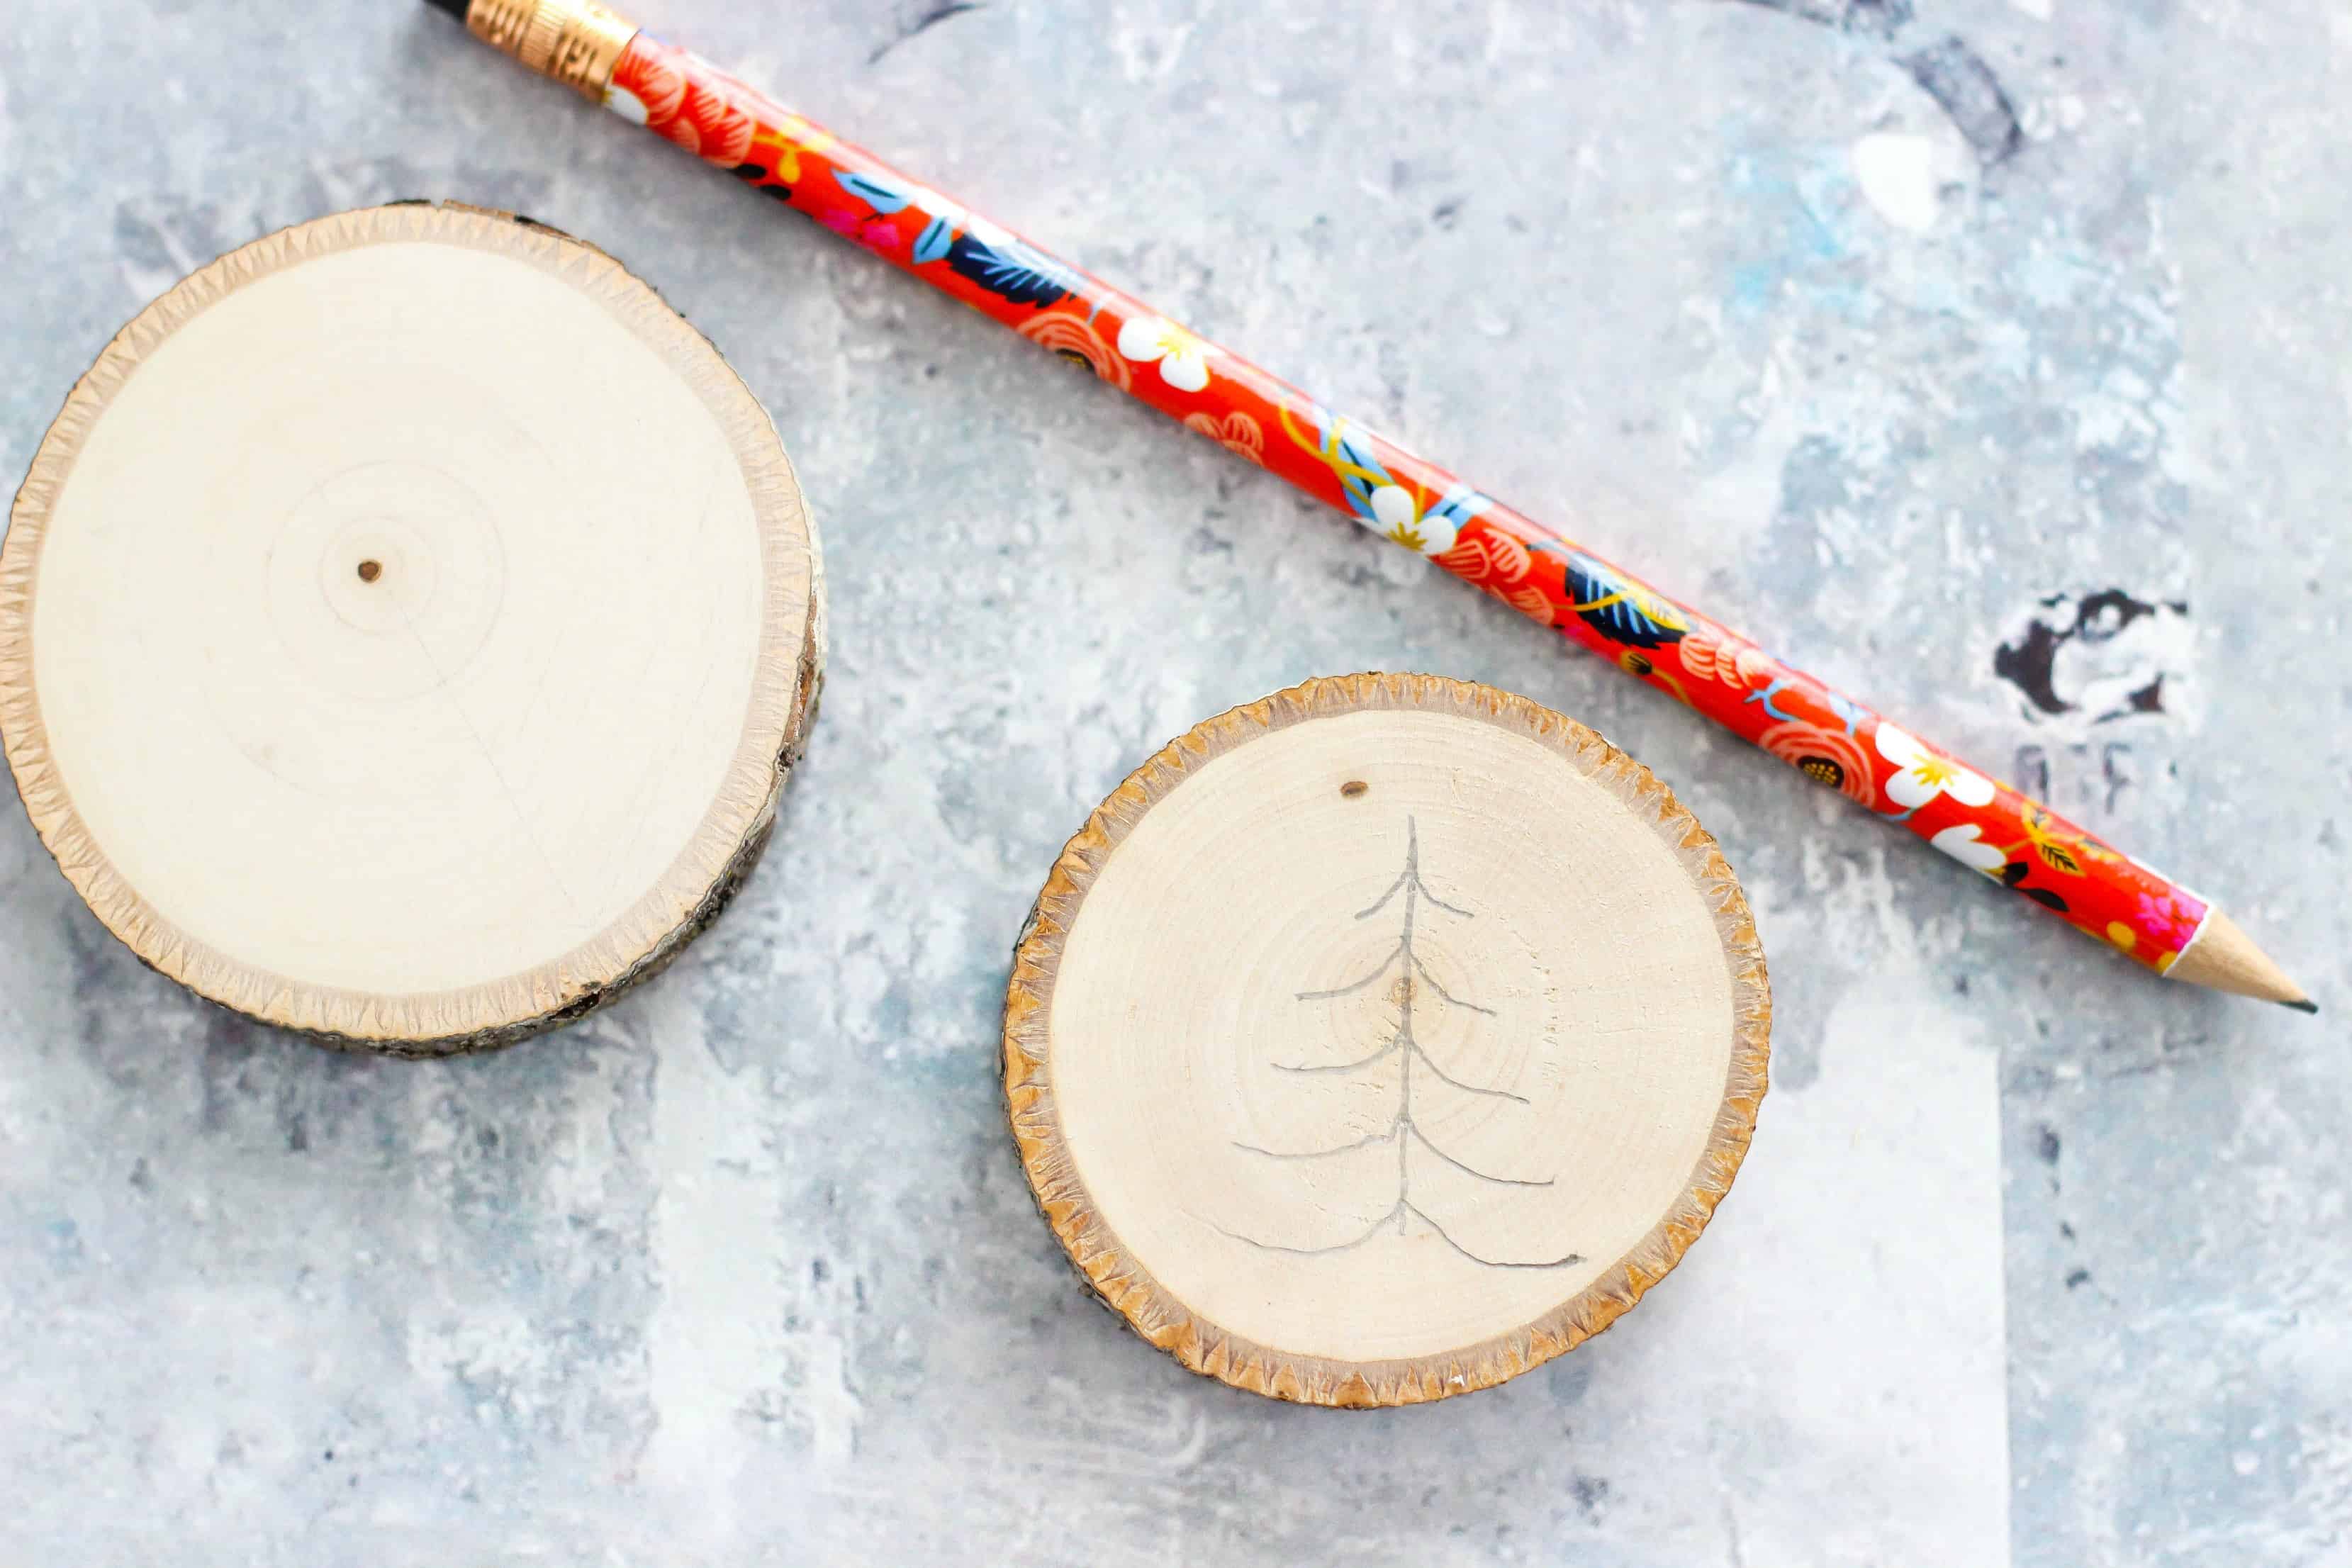
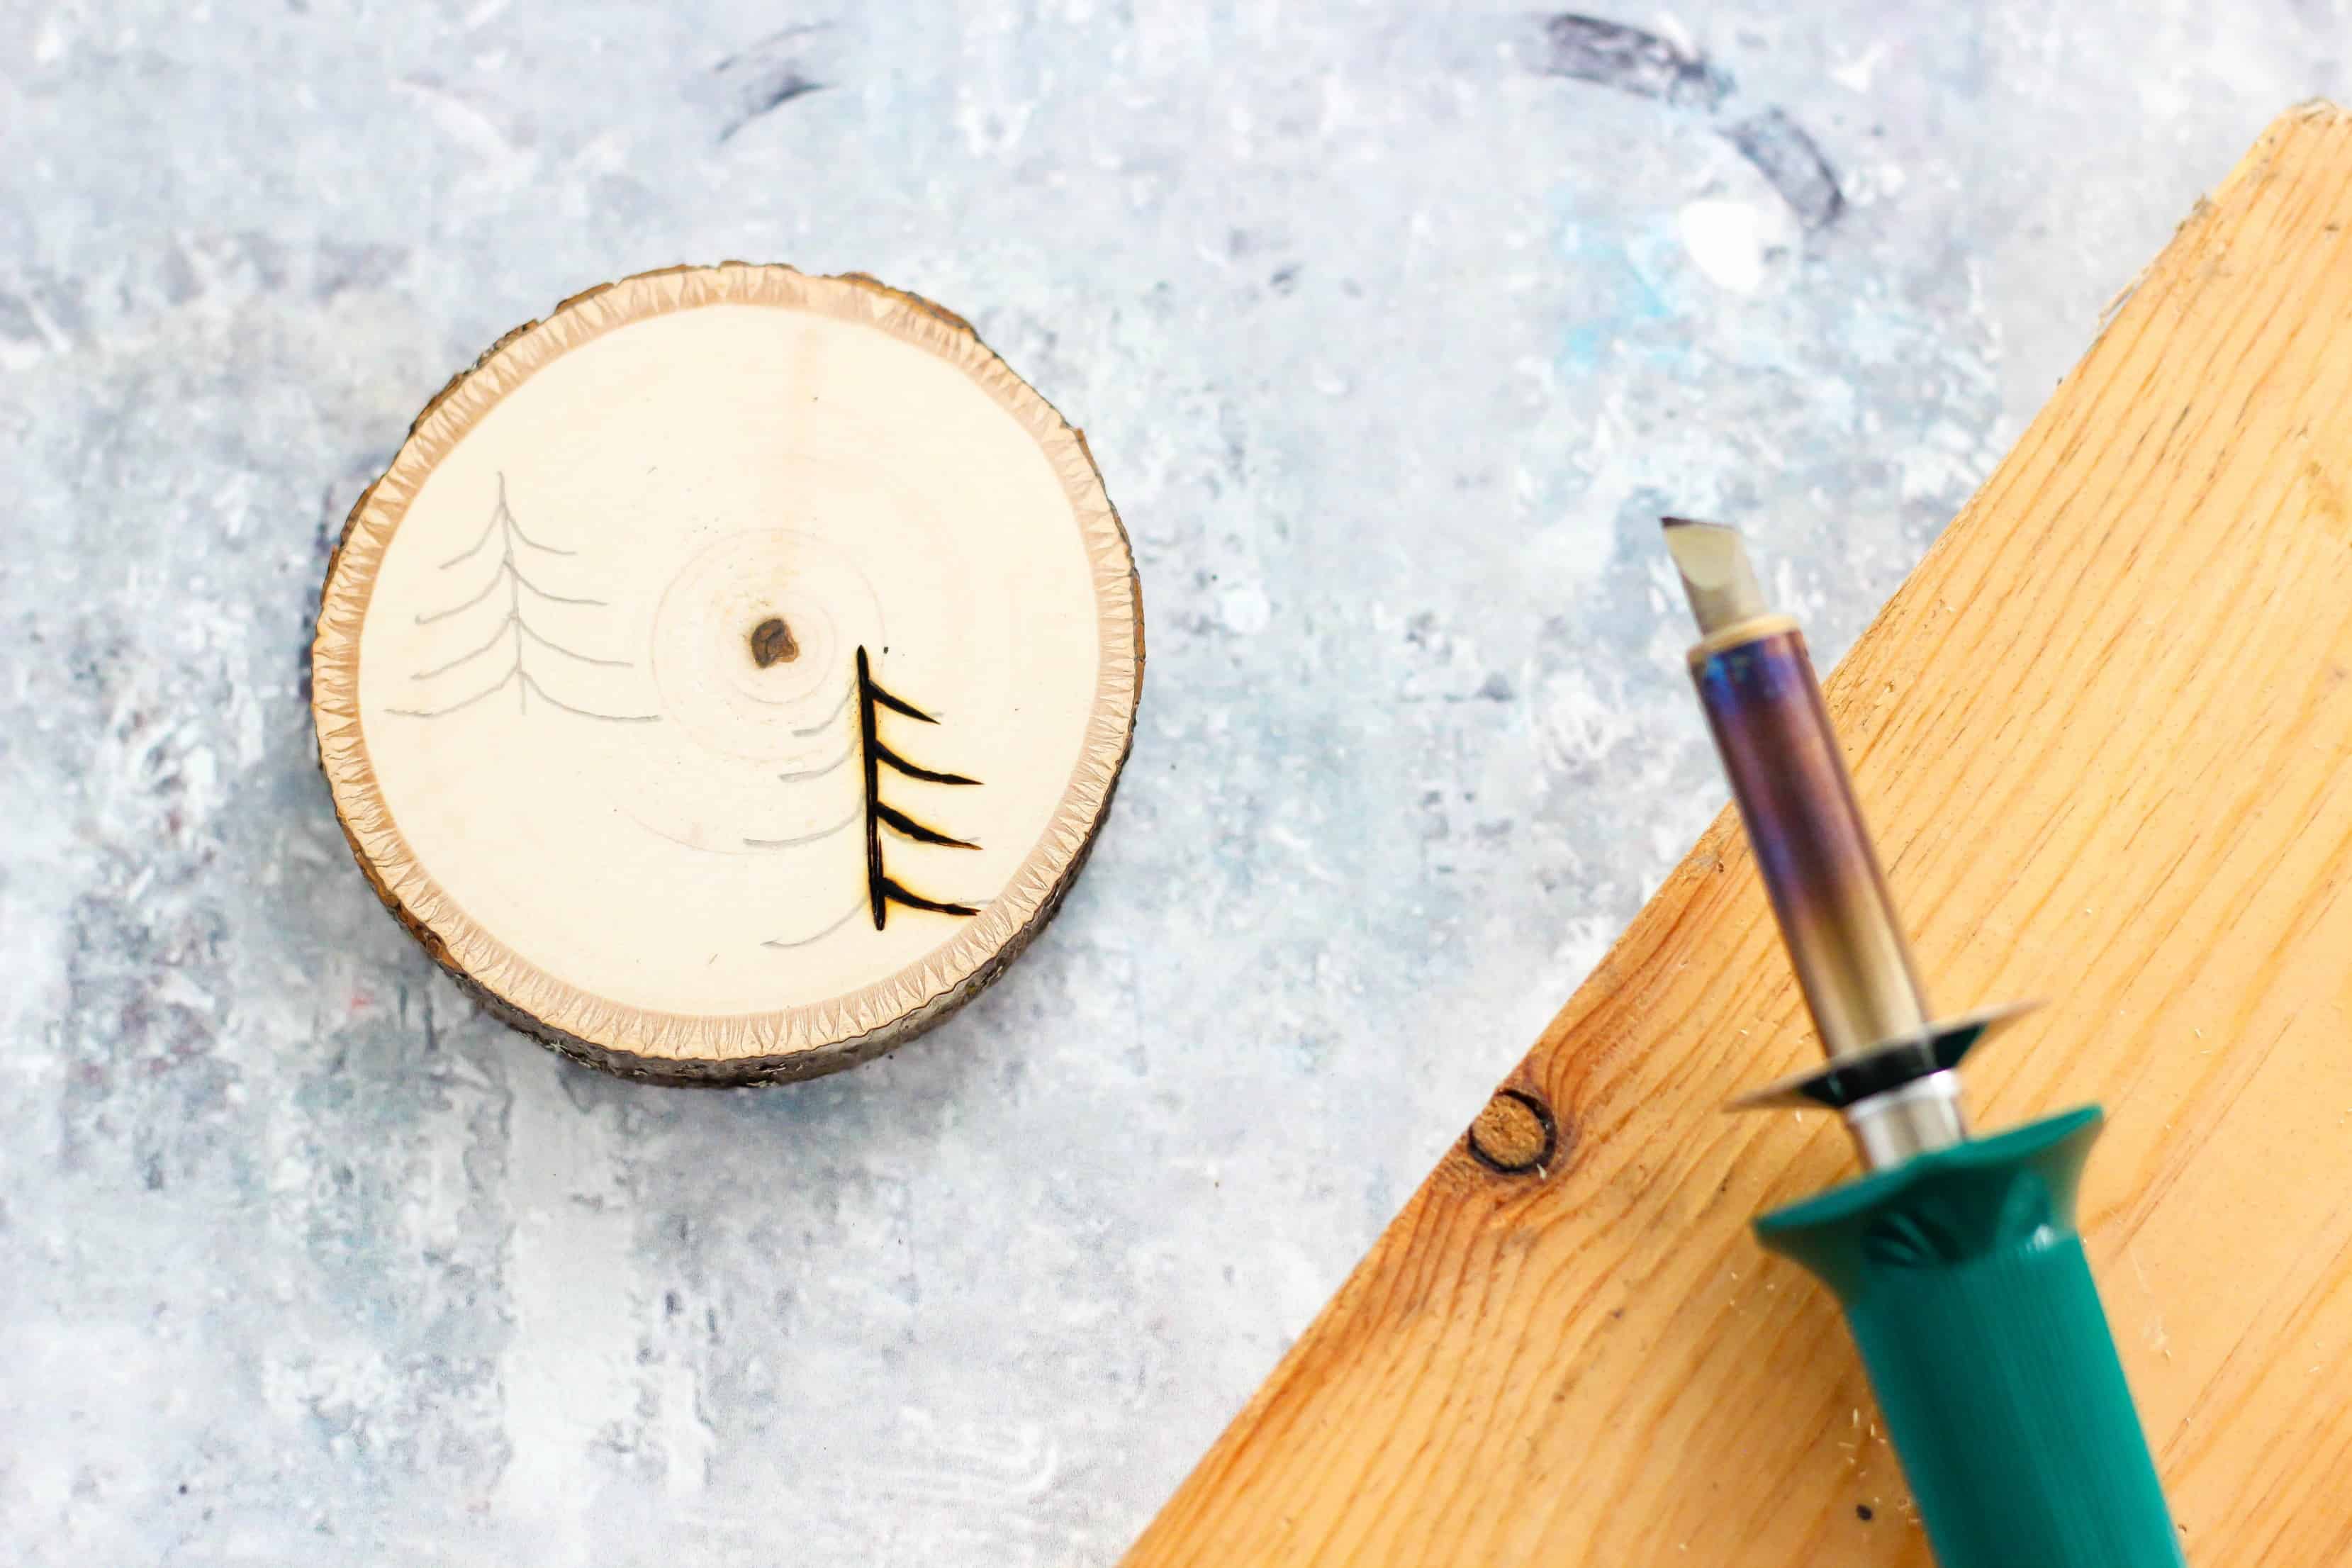
I wanted to create a wood burn design that was rustic and also something that could be used for winter and Christmas. I am all about double duty crafts. I used a pencil to draw a simple tree design.
When using the woodburner, make sure you are careful and following all the directions. I used a piece of scrap wood to practice, rest the tool on and change tips if needed. I used the universal point tip to burn the design into the wood rounds.
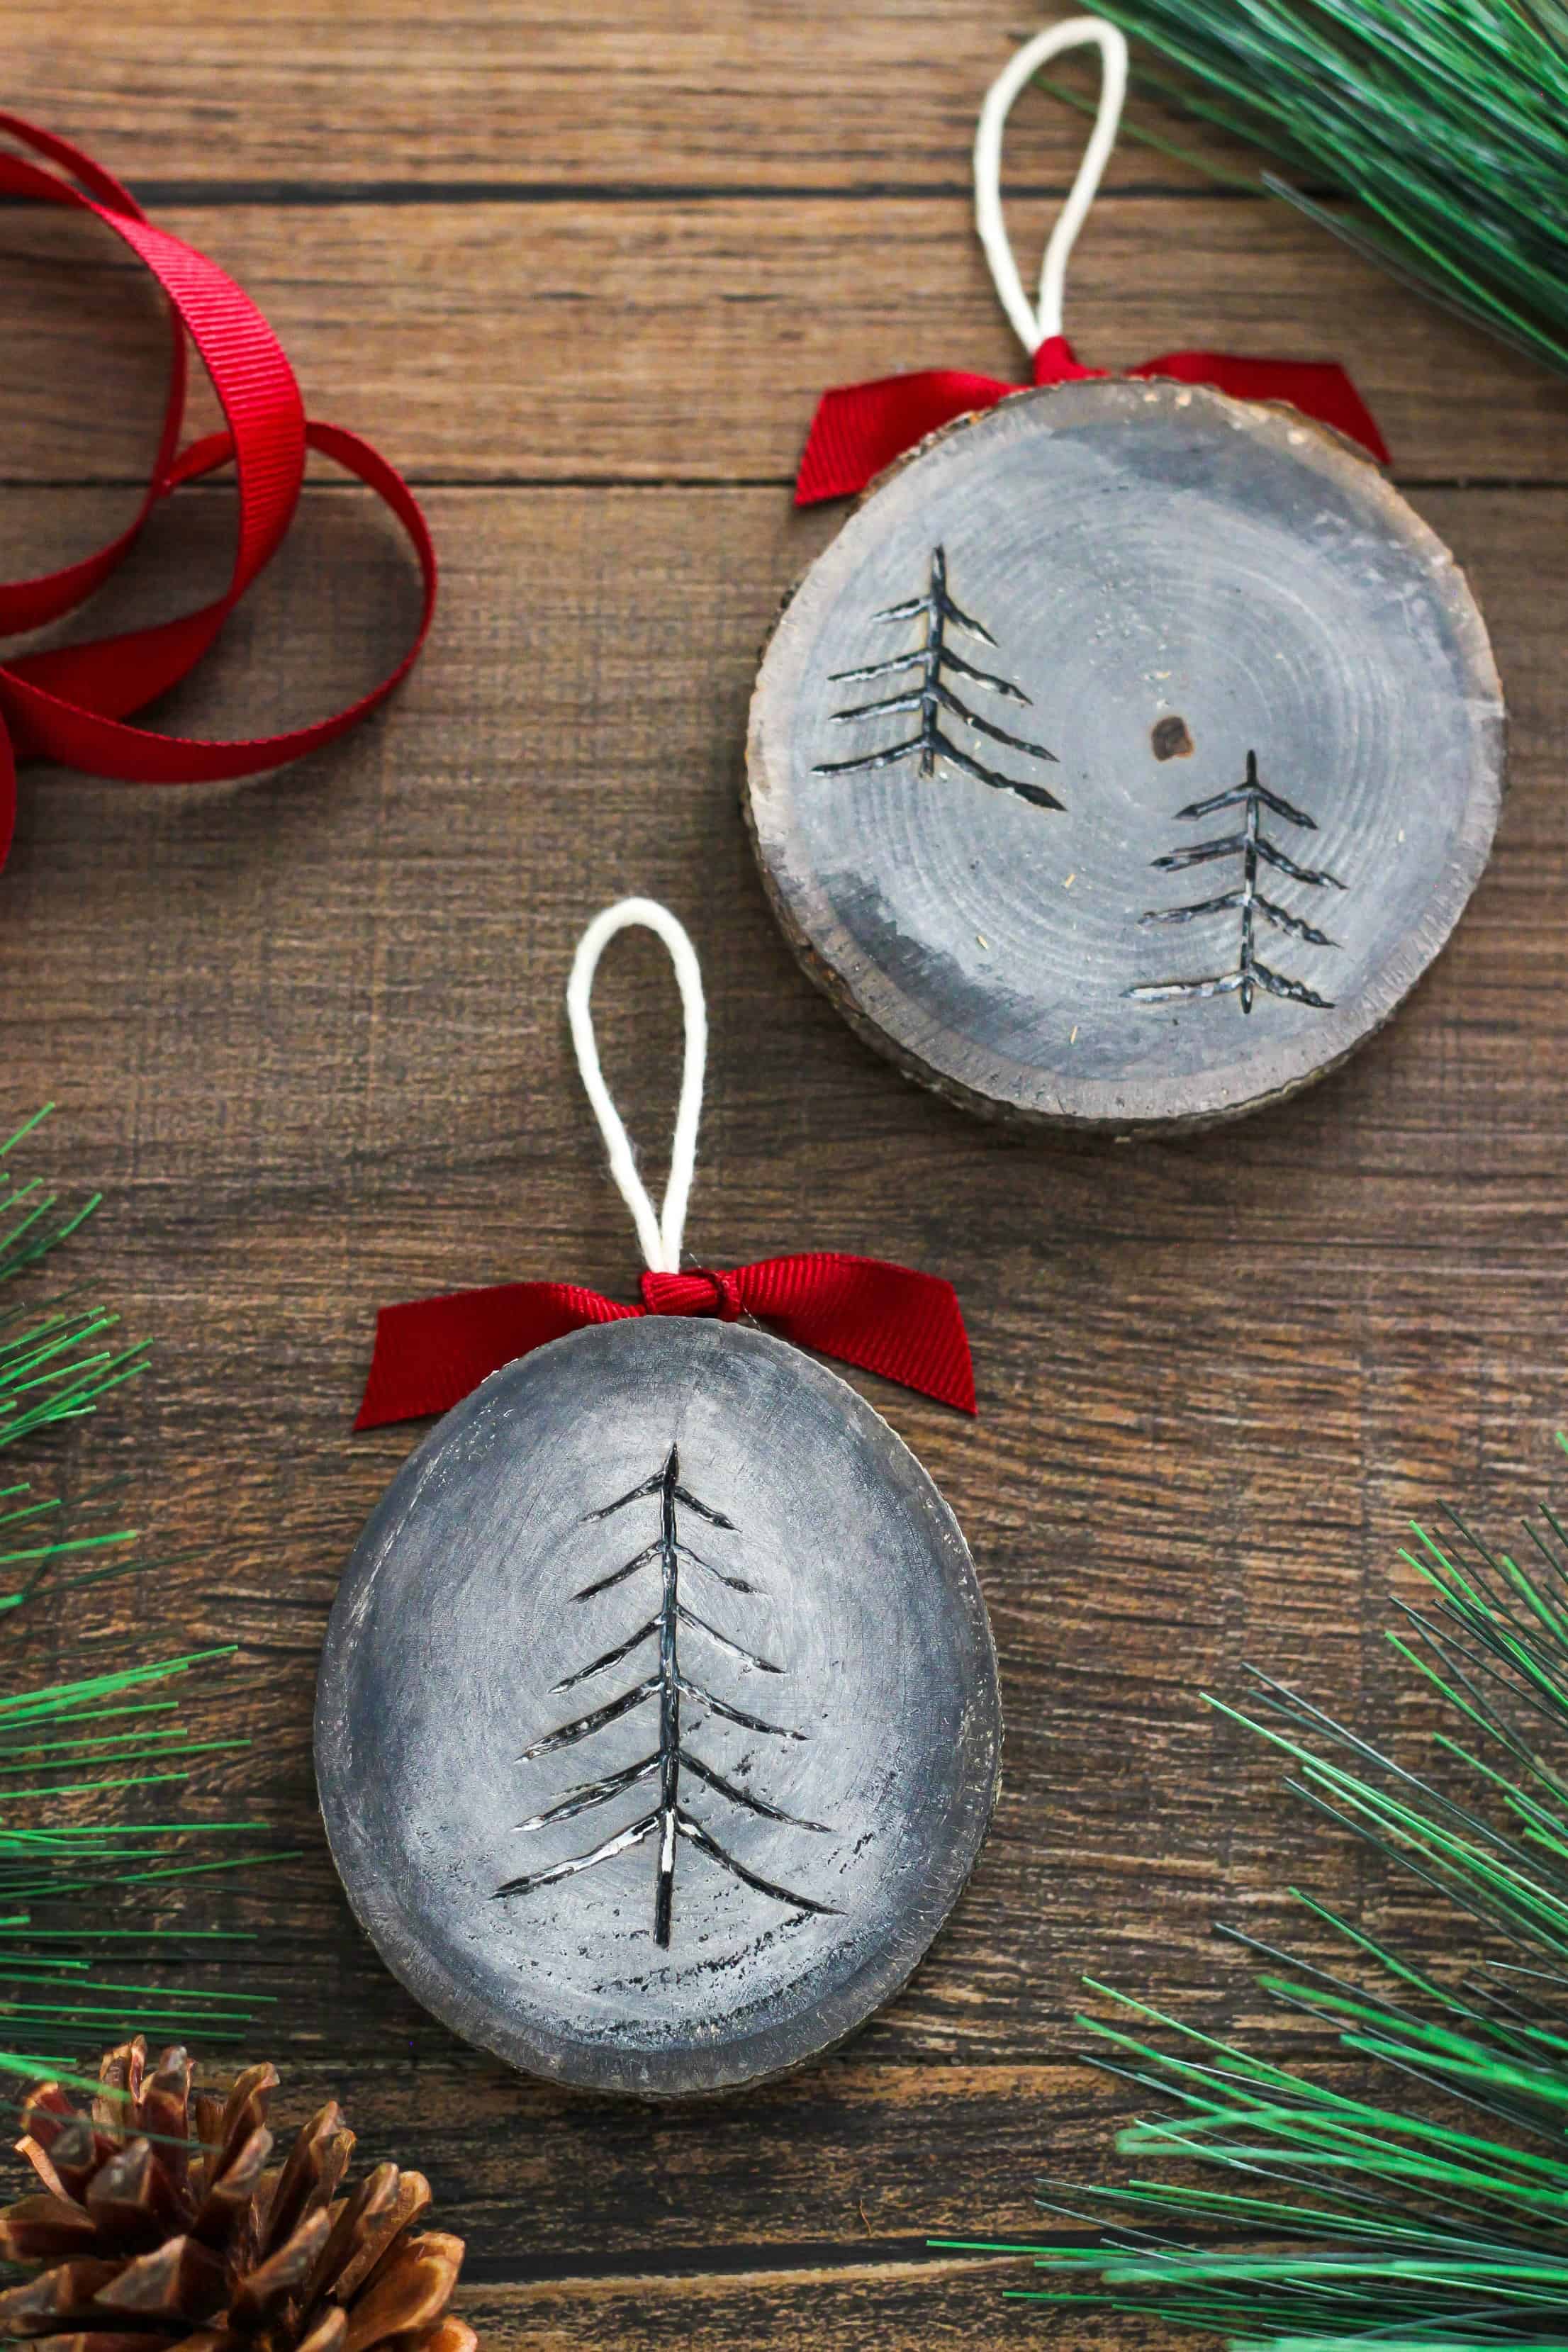
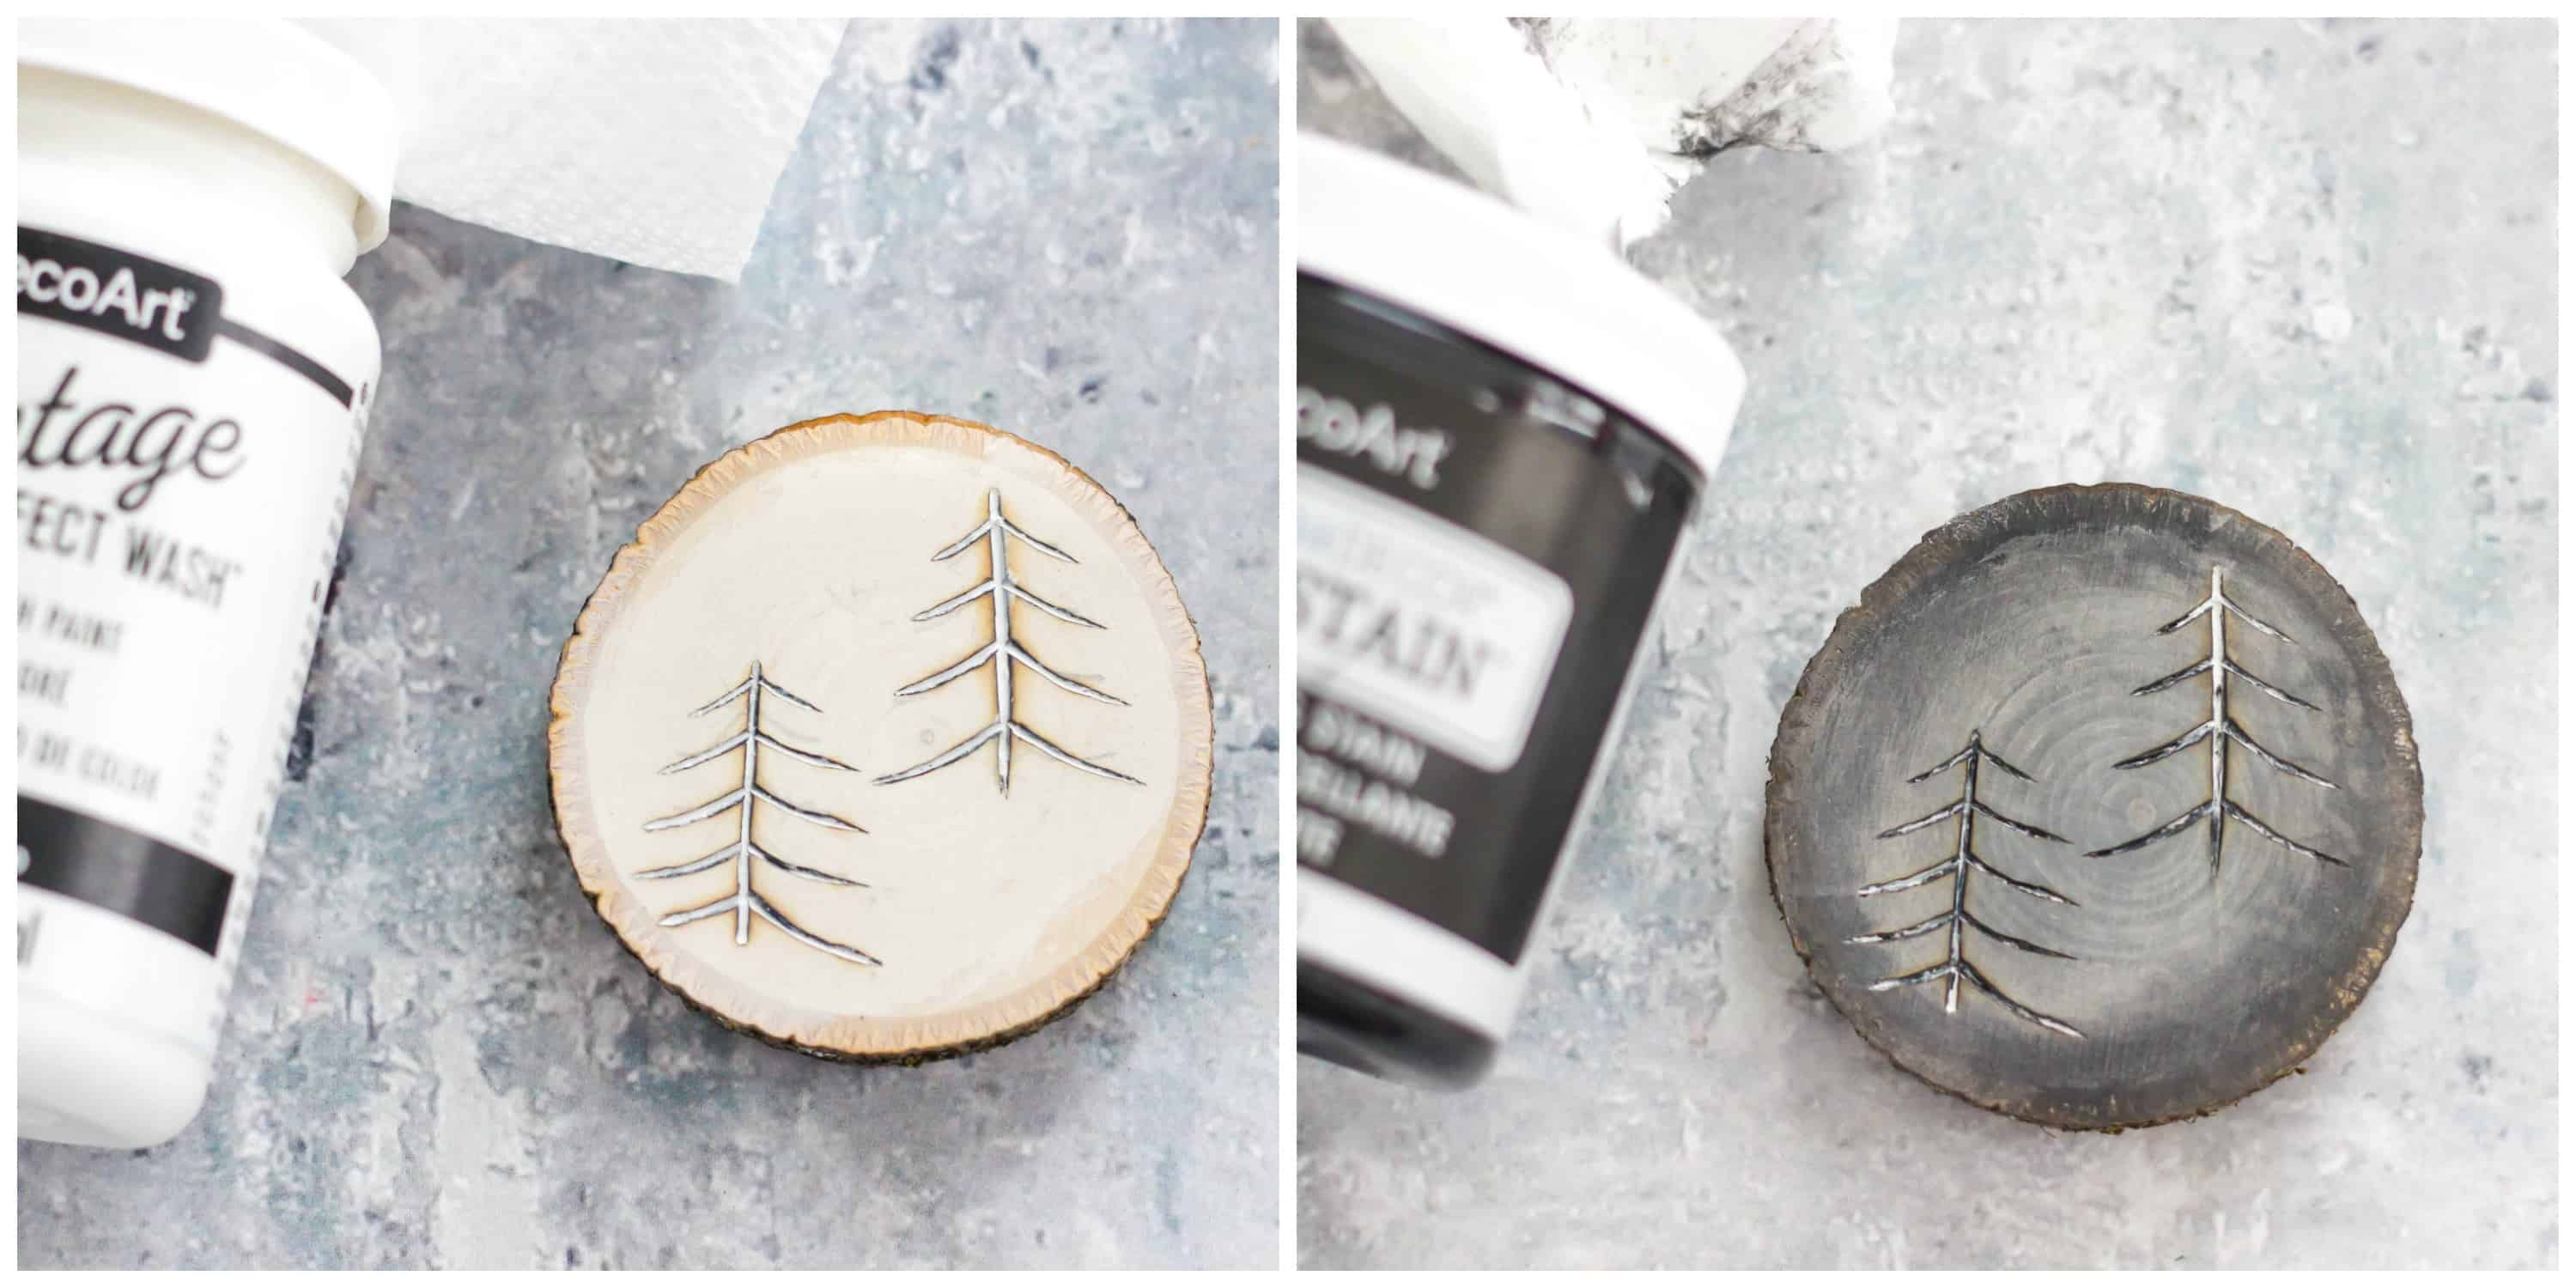
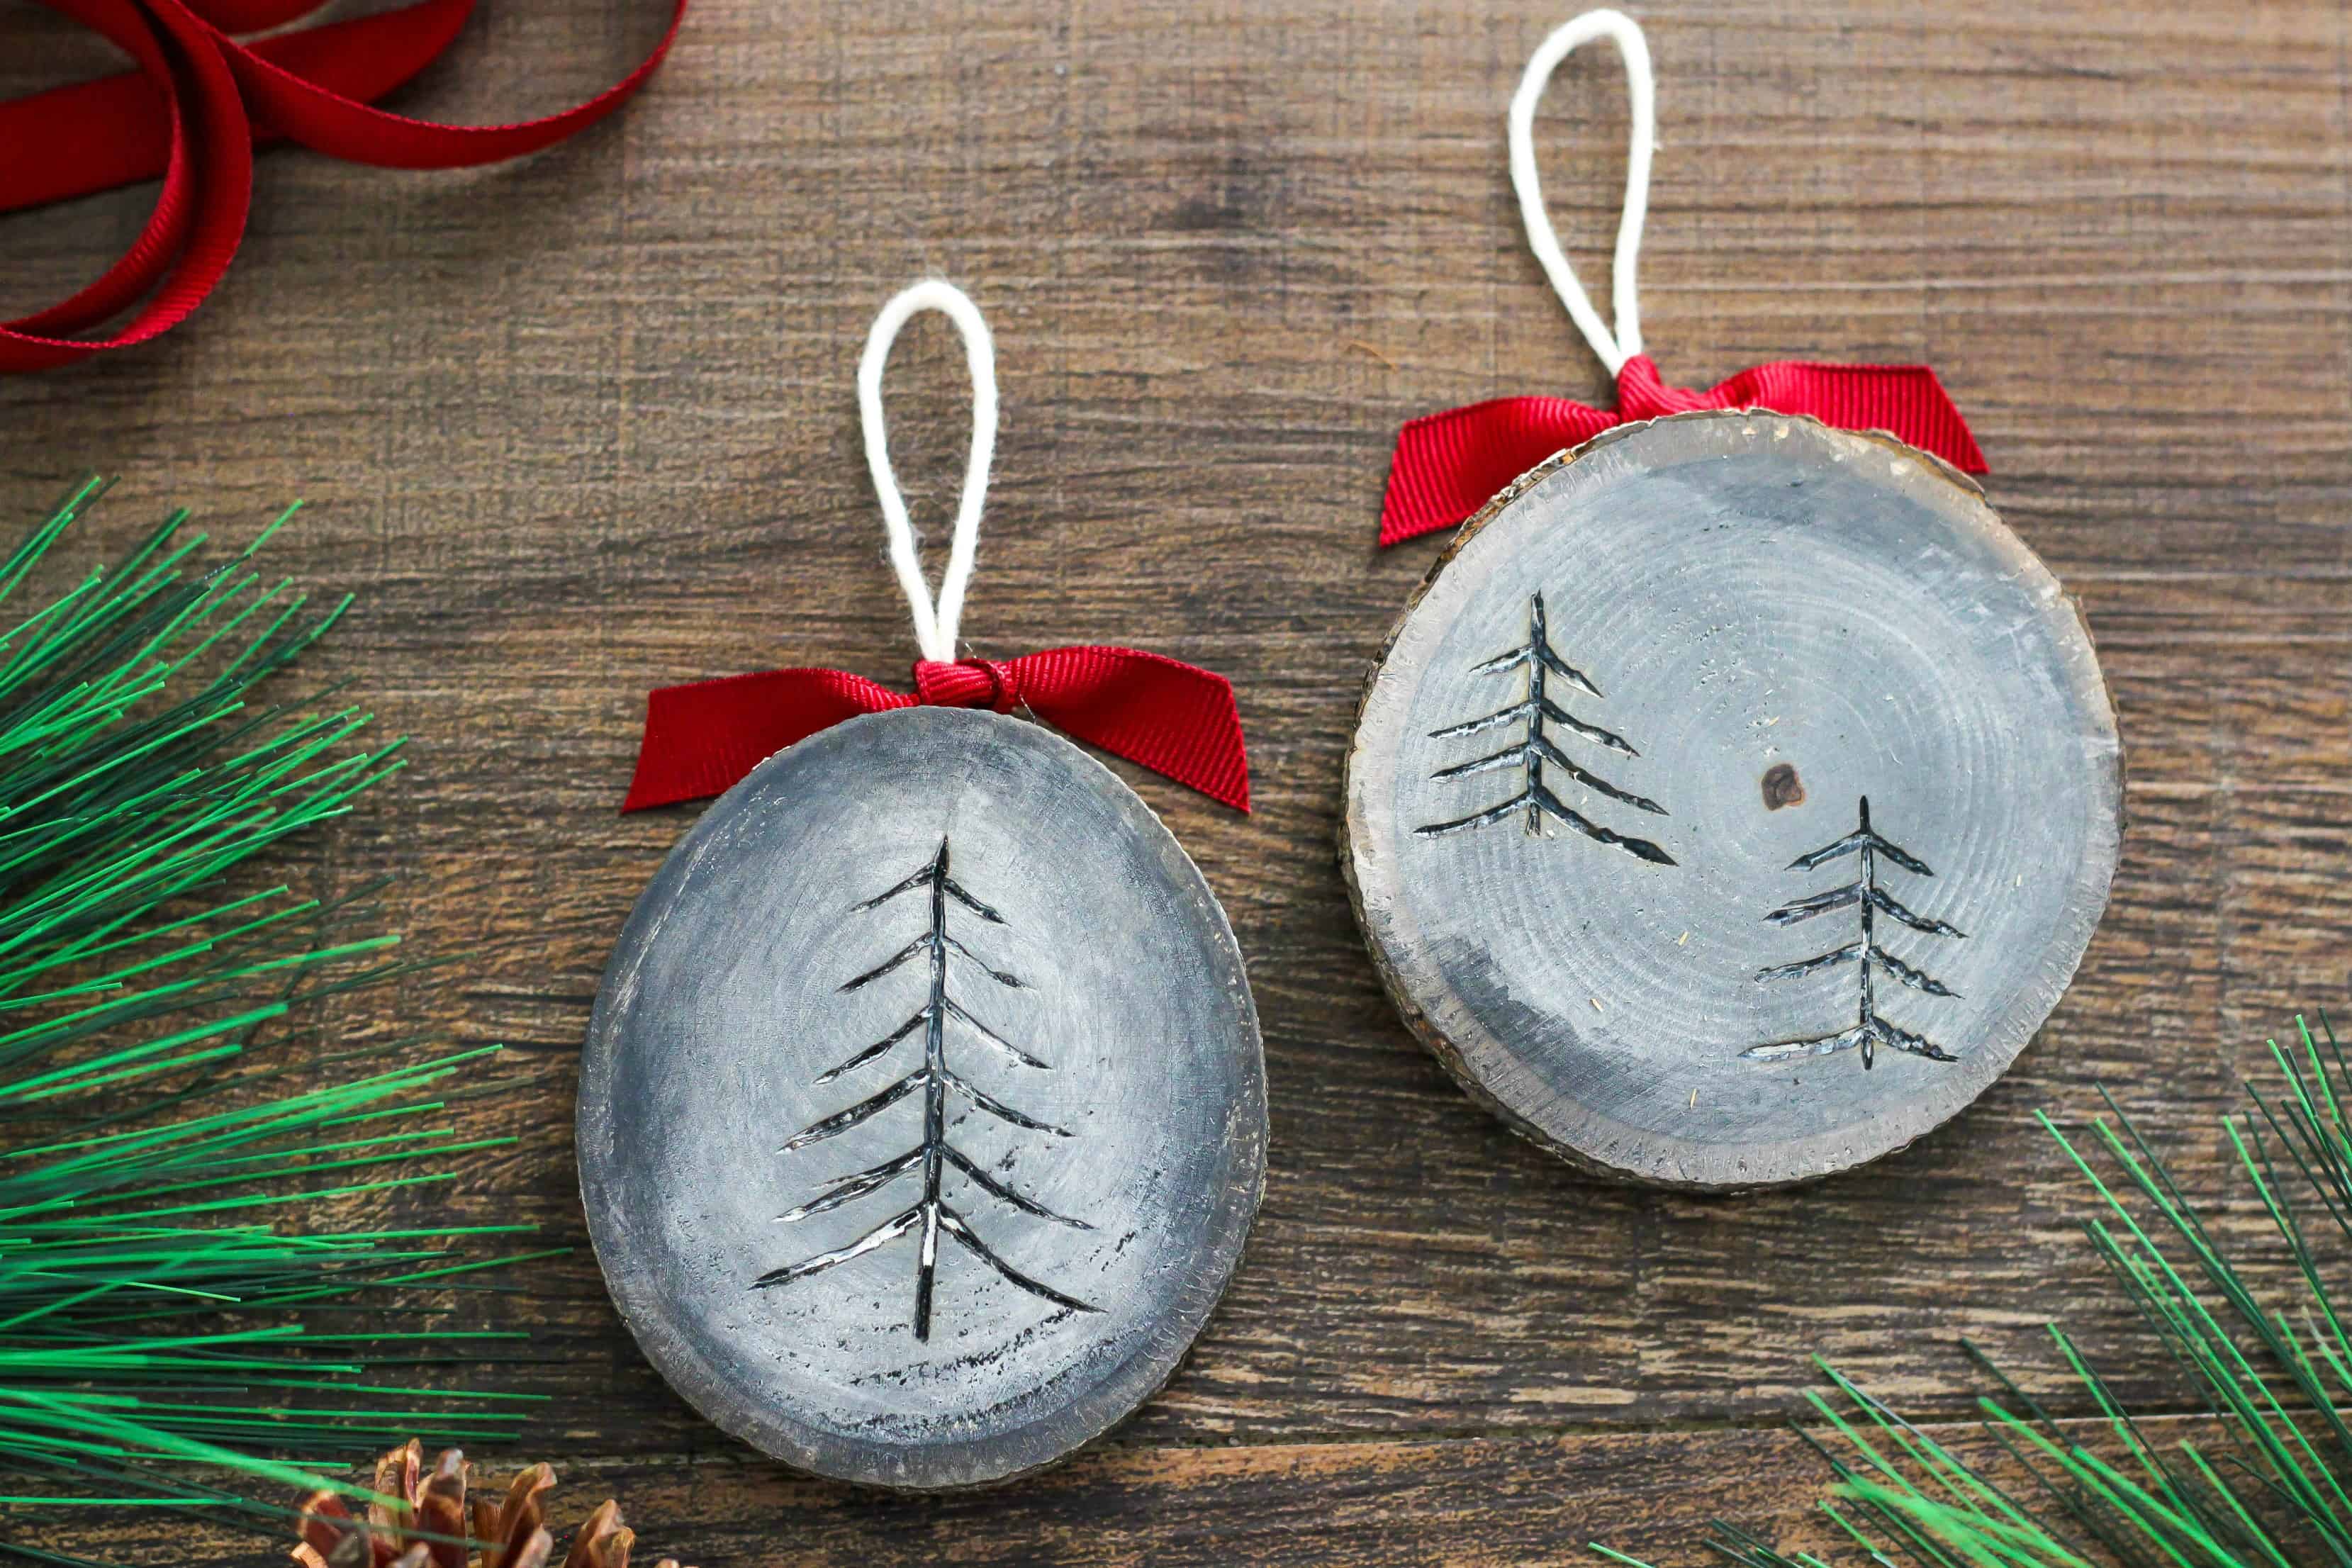
I added a textural element to the ornaments by using color wash and stain. I used a cloth rag to wipe a white color wash paint on the wood rounds, then I applied a black color stain with the same rag. I like how the effects turned out. The ornaments look like snowy trees at nighttime.
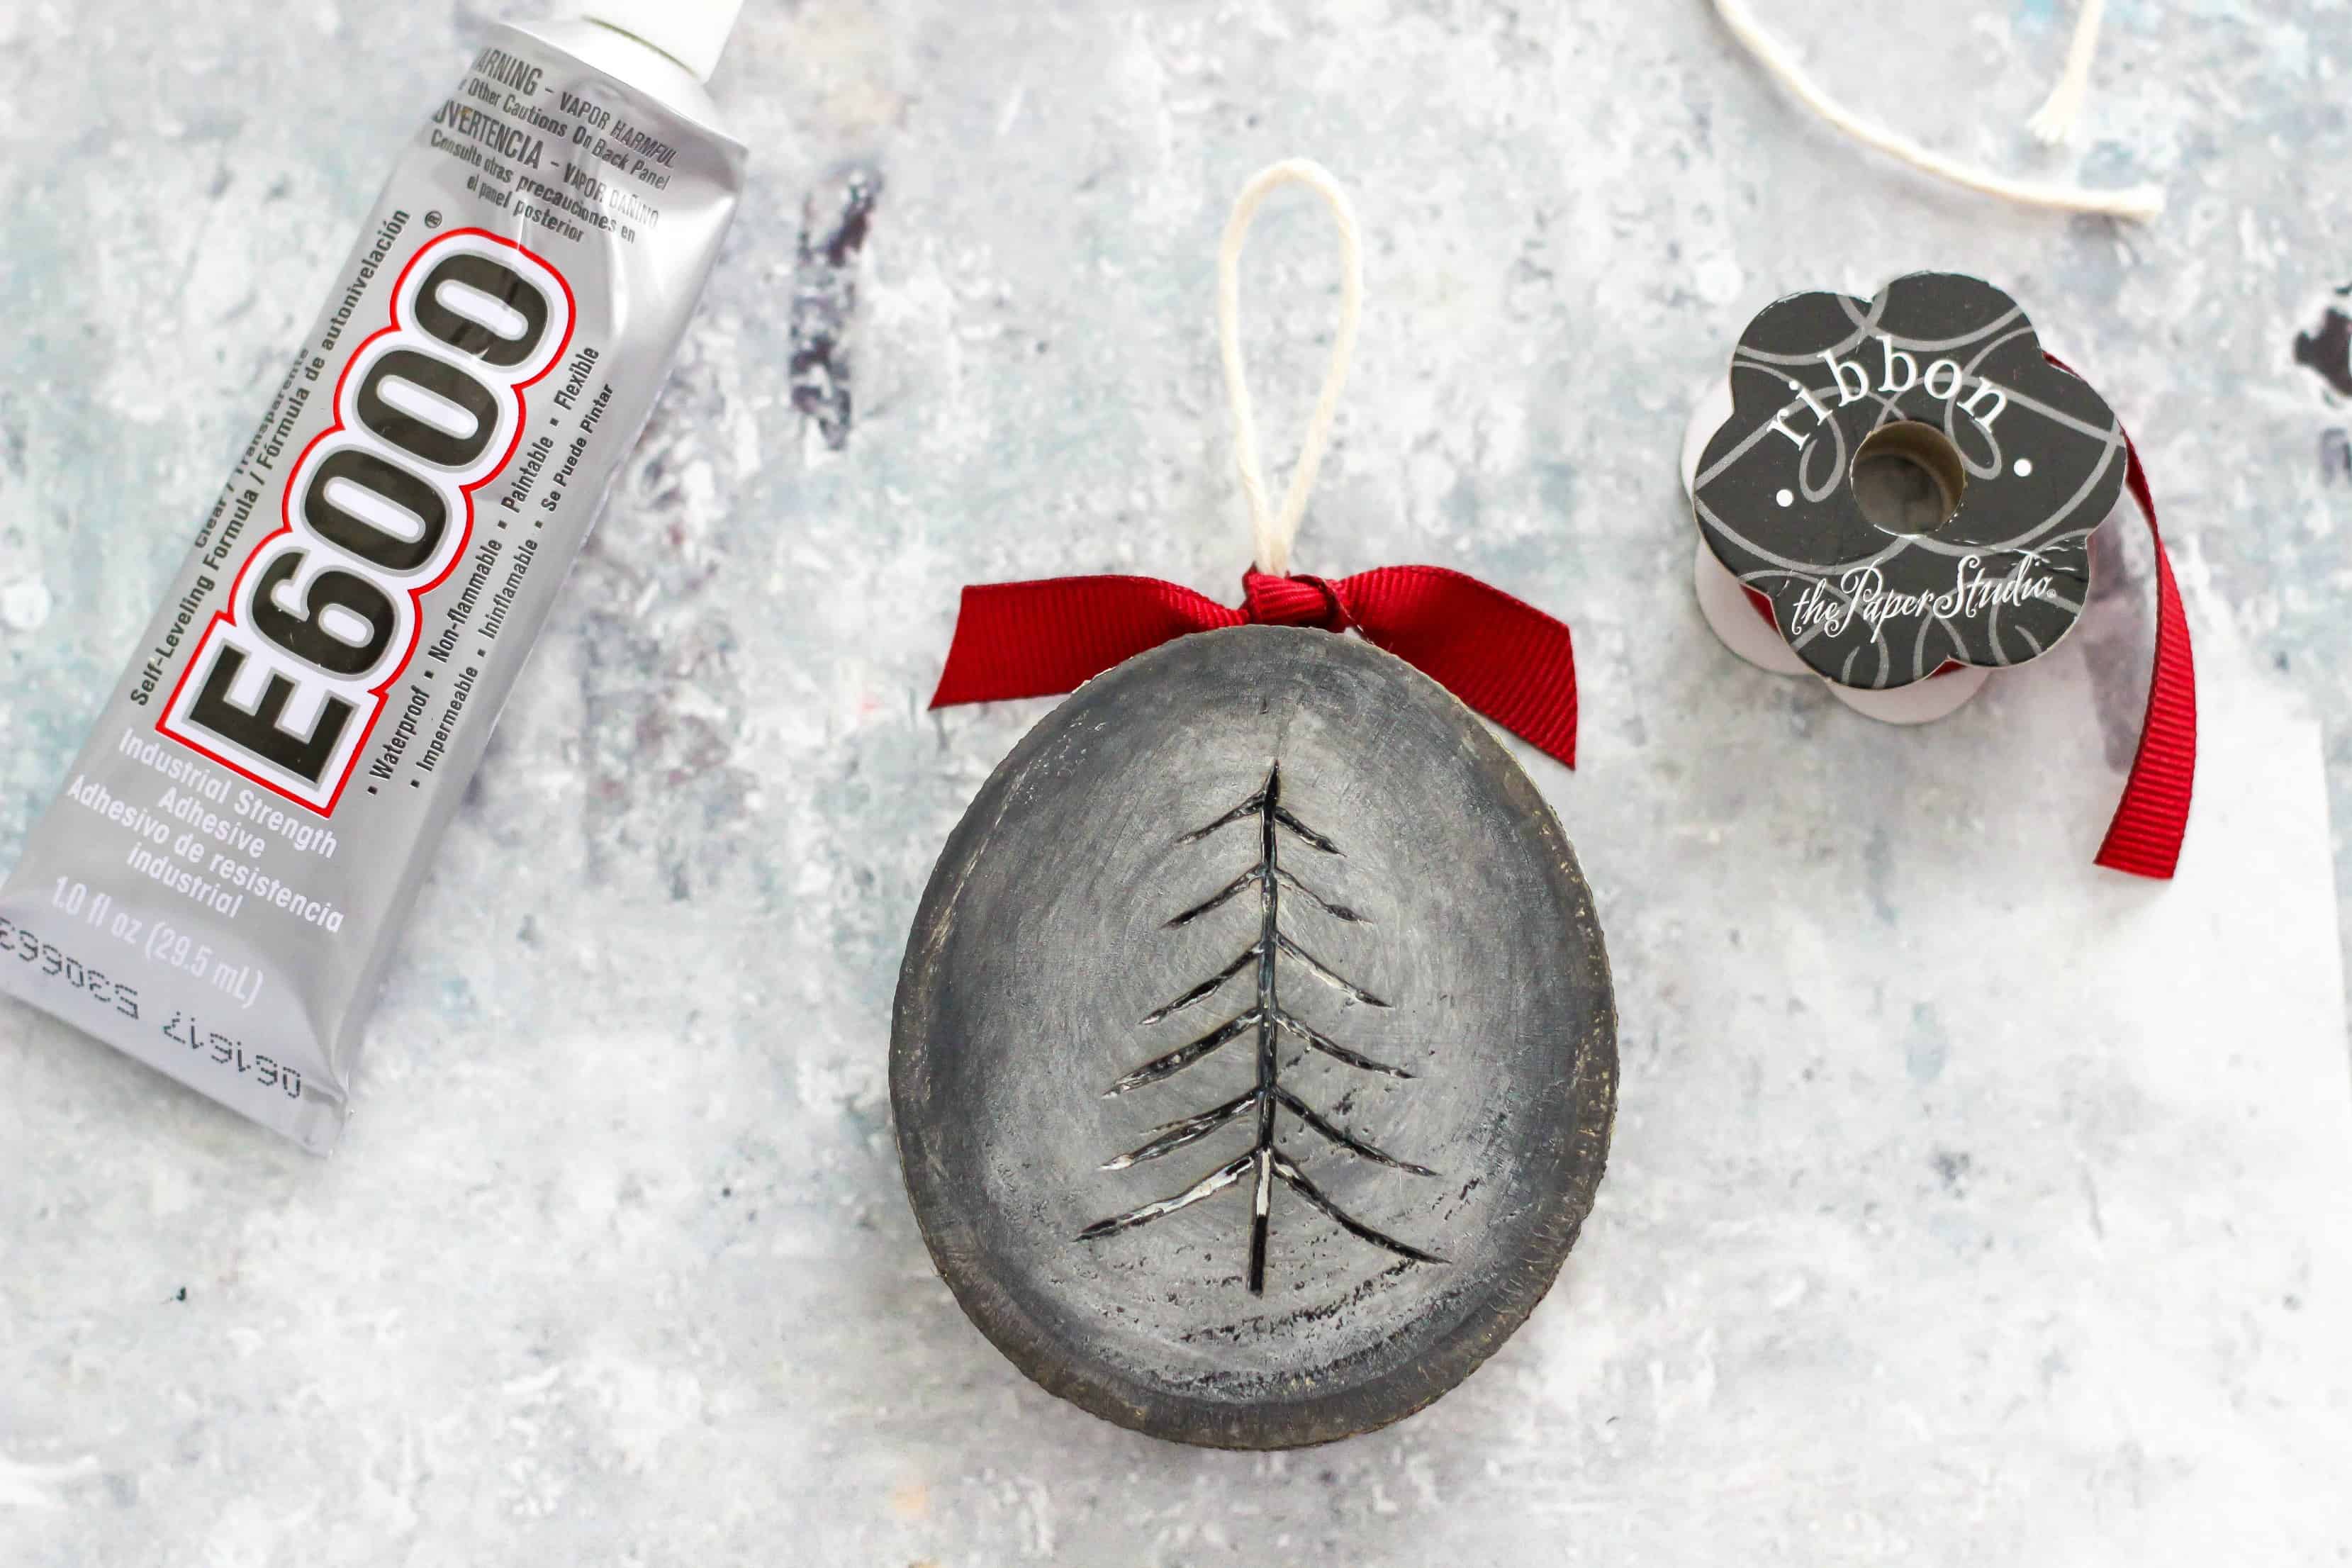
Finally, I glued a piece of twine to the back of the wood rounds using E6000 adhesive. I made a small burgundy bow to complete the wood round ornaments.
I love the colors and they will look fabulous on my Christmas tree!
I hope these DIY Rustic Wood Holiday Crafts inspire and help you transition through the holidays.
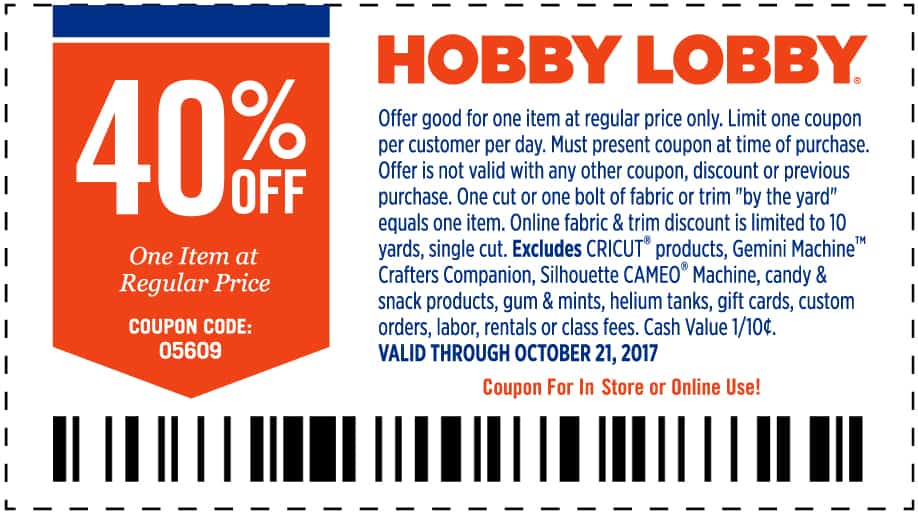
Make sure to grab the coupon for your next shopping trip at Hobby Lobby!
This is a sponsored conversation written by me on behalf of Hobby Lobby. The opinions and text are all mine.
[…] Rustic Holiday Crafts via The Casual Craftlete […]