Hey there! Today I am beyond excited to introduce Steph from Make and Tell! I just love her and all her amazing DIY projects she creates. They are fresh and modern. Steph has such passion for life and making beautiful things.
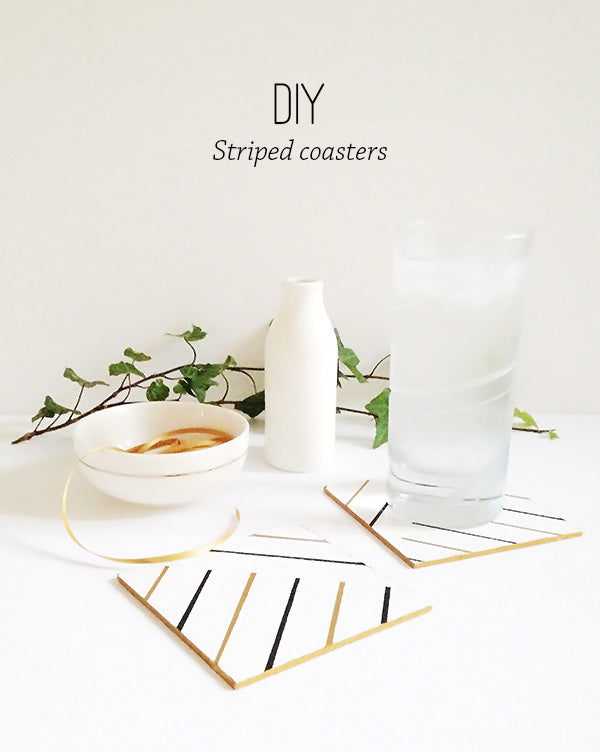
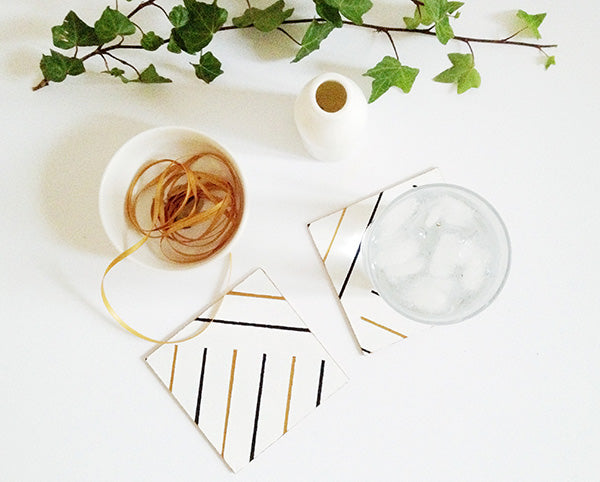
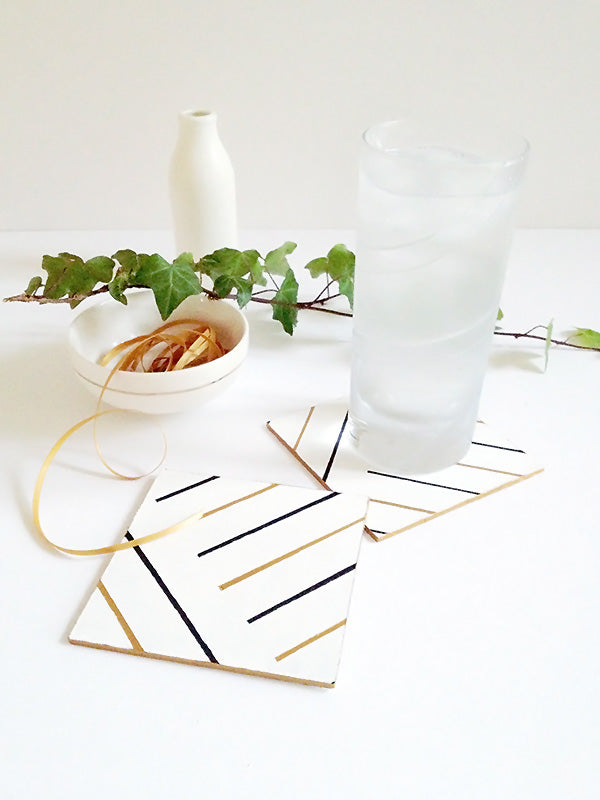
These DIY Striped Coasters she made are fabulous!
Like a proper mad-DIY-lady, I have a million odds and ends lying around my sorry excuse for a studio. It’s one of the reasons that the room is in such a sad state, because there’s so much STUFF – none of it coordinated and all of it taking up way more space than it should.
Recently out of sheer frustration, I got this sudden urge to clean (a rare thing, trust me) and while I was unearthing items to donate or chuck, I found some MDF coasters from waaay back when (so far back I don’t even remember where I got them from!). So I decided to put them to good use, and since I’ve been on a bit of a gold-black-white kick lately, I thought a clean and simple striped gold and black pattern might be just the thing to decorate them.
This is a fairly straightforward DIY, but requires a bit of time since paint takes awhile to dry. If you’re down with that though, the rest is pretty simple so why not grab a paint brush and give it a go!
Materials
- MDF coasters
- Primer
- White, gold and black acrylic paint
- Painter’s tape
- Paintbrush
- Varnish
Step 1
Since we’re working with MDF, it’s a good idea to prime your coasters, otherwise the white paint will just soak right in and you’ll see the brown colour coming through. Once you’ve given the coasters a few coats of primer, paint them white.
Step 2
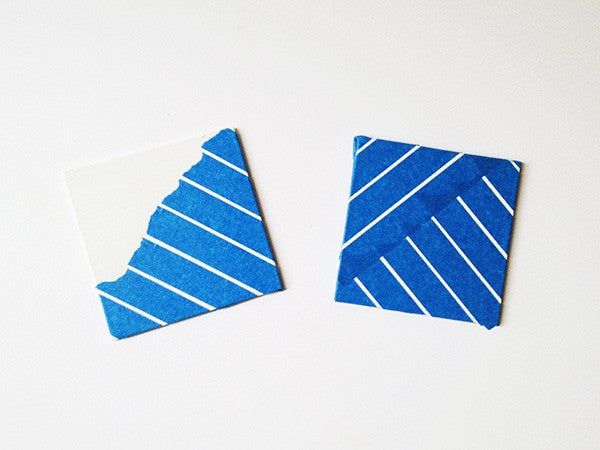
When the white paint has dried, use painter’s tape to mark out stripes on your coasters. I placed the tape so that there was one set of thin stripes that went diagonally two-thirds up the coaster, then another set of stripes that cut across in the other direction.
Step 3
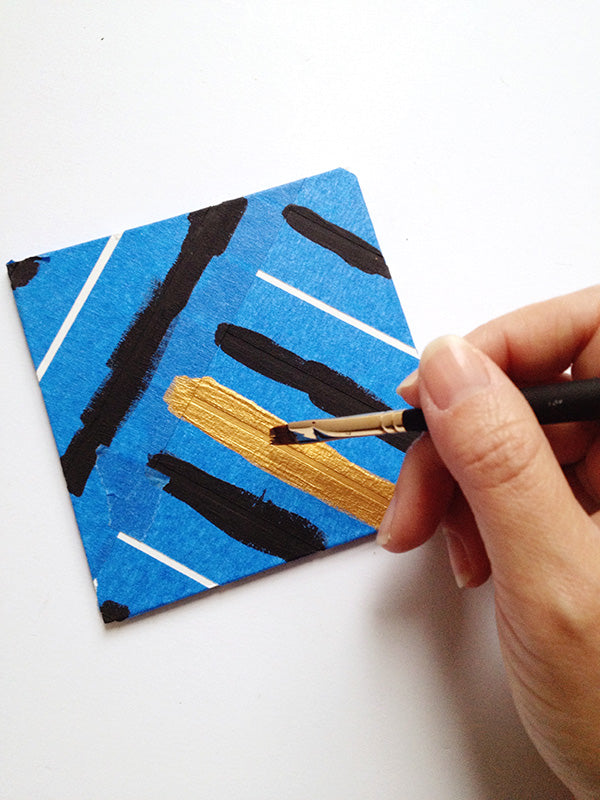
Paint in your stripes, alternating between black and gold. The key here is to make sure your painter’s tape is well stuck to the coasters before you start painting. Otherwise, you’ll end up with a painful amount of touching up to do once you remove the tape (uh huh, that’s me speaking from personal experience).
Step 4
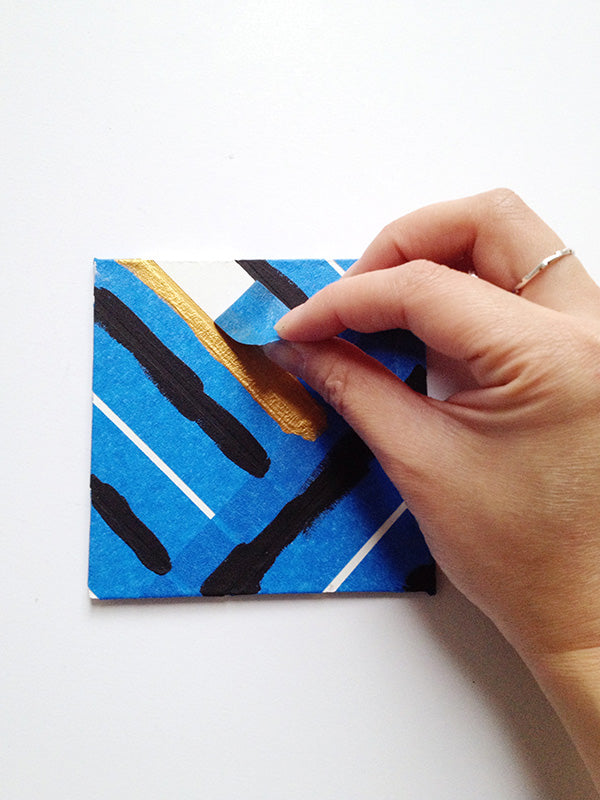
Peel off painter’s tape to reveal the stripes. If there are any wobbly bits where the gold or black paint got in under the tape, touch up by painting over those bits with white paint.
Step 5
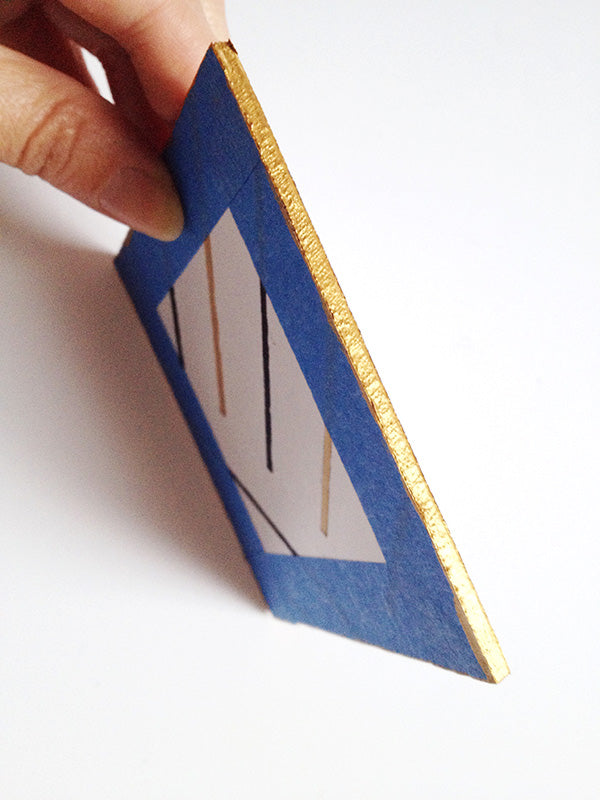
Once your coasters are fully dry, place painter’s tape along the sides on both the front and back of the coasters. The tape will stop the faces of the coasters from getting marked when you paint the edges gold.
Step 6
Lastly, spray your coasters with a coat or two of varnish to protect them from moisture and general wear and tear.
And once everything’s dry, you’re done! Much better than the bits of bare wood that were taking up space in my studio… now at least I have an excuse to drink a pretty cocktail while I put my new coasters to good use. 🙂
xx Steph
Thank you SO much for sharing today, Steph! Isn’t she creative?! Make sure you stop by and show her some love:
Facebook | Pinterest | Instagram | Bloglovin’
Here are some of my favorite projects over at Make and Tell:
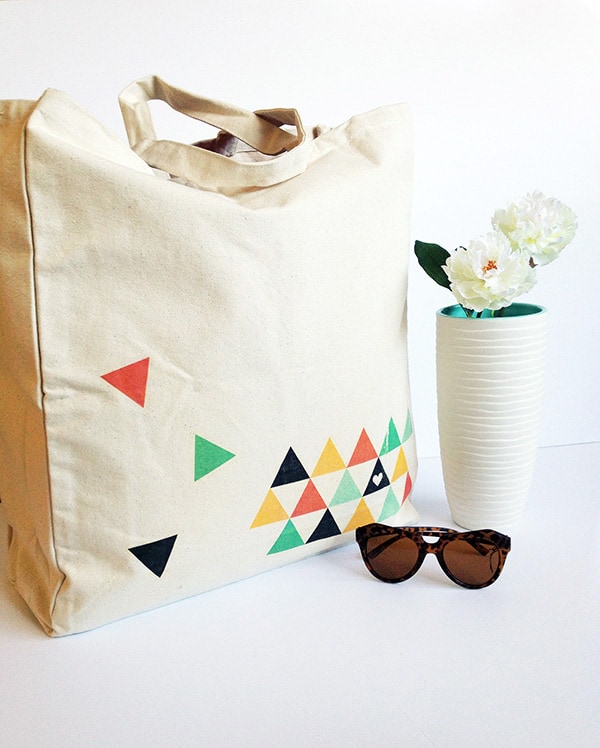
Make Your Style | Printed Tote Bag
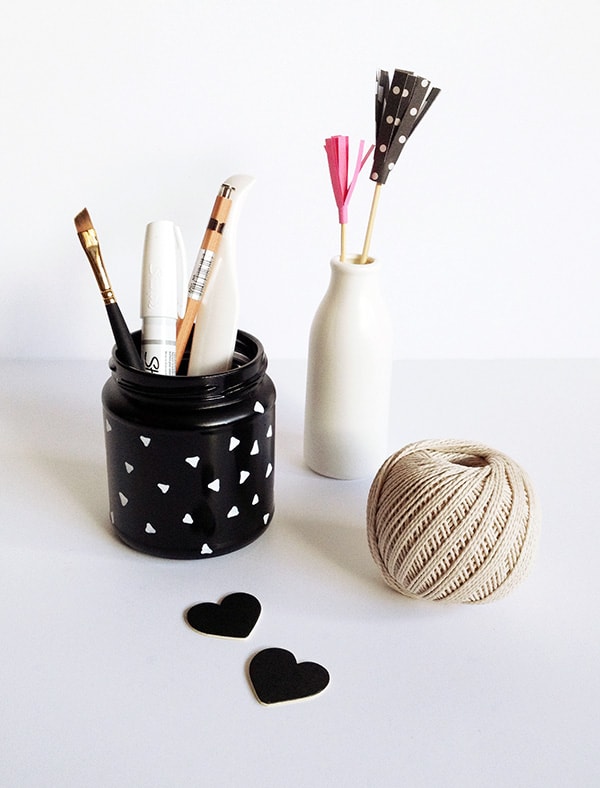
Make your decor | Pattern Pencil Cup
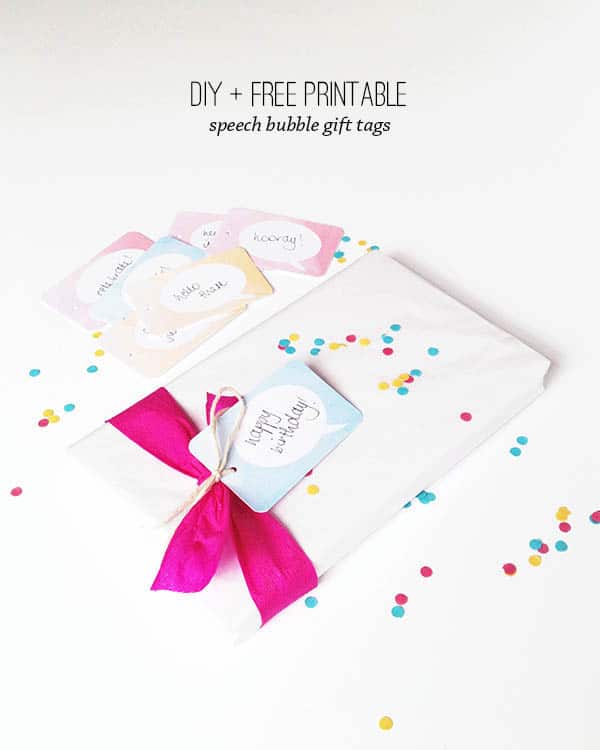
Make + Give | Speech bubble gift tags


So cool, my friend! Love simple projects that stands out!Pinning!
These coasters are gorgeous! I love the simplicity of the design!
Love the stripes and color combo. Great idea!
Very fresh and modern. Fun project!
I LOVE them and I like that the stripes are very small.
Love these! Thanks for linking up at Link It or Lump It this week 🙂
Love the share great idea, love your blog too!!!!
These are great Katie! I love the touch of gold 🙂 Thanks for partying with us again 🙂
These are great! We would love for you to share these at the Caffeinated Crafters Link Party here: http://artzycreations.com/caffeinated-crafters-link-party-9/
This are so cute! I love how you added the gold on the side too. Its makes them so unique. I think I need some of these in my home. Pinned! If you have the time you should link it up the the Party in Your PJs link party! Thanks!!
These coasters are gorgeous. I really like the colour combination.
I just found your blog and I absolutely like it.
These are adorable! I think i may try this!
Stop by my blog for a linkup every Friday!
-Jennie
http://thediaryofarealhousewife.blogspot.com
Your coasters are so nice, love them, quite decorative and useful. I might just be able to make those, would make nice little gift just cause for a friend Did you buy the MDF already cut in squares? And how thick is the MDF? Did you buy a full sheet? Sorry for all ?’s, will have to check out mdf. Gold, white/black are very sophisticated, could be done in any colors to match recipients pallet of choice . happy weekend
I love when projects are so simple, yet so beautiful!! 🙂
Love this idea! I shared it in my latest roundup and features on my blog today:
http://www.avisiontoremember.com/2014/08/decorating-on-budget-ideas-plus.html
Thanks again for linking up to the Creative Exchange link party! Hope to see you again this thursday!
So incredibly CUTE!!! Featuring you tomorrow. XO, Aimee
Painter’s tape is great for so many different projects. These look awesome!