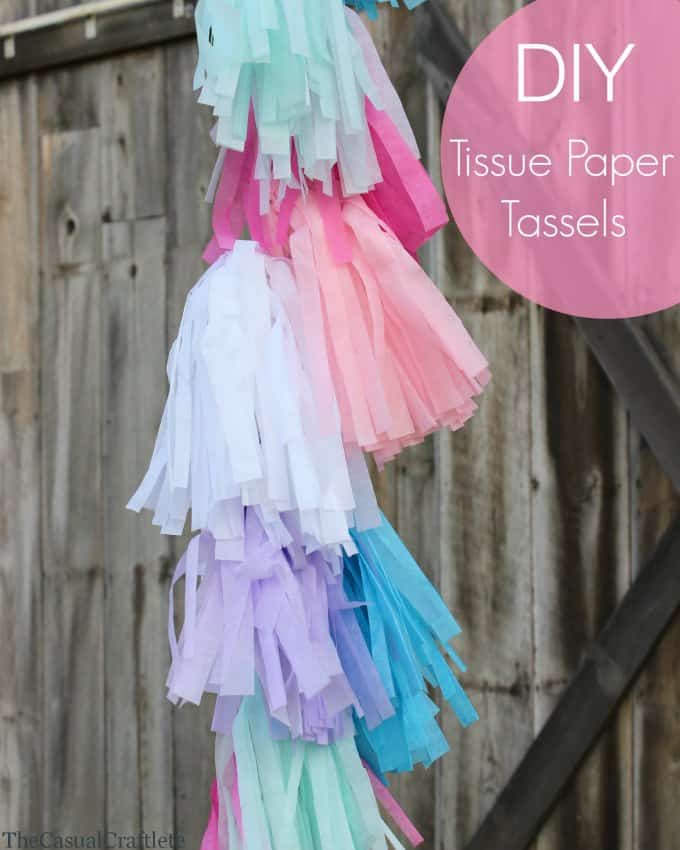
We are celebrating my daughter’s 3rd birthday over the weekend! I can’t believe how big she is getting. Time please slow down and let me enjoy her while she is still little. Anyway, it is a Blue and Red Raspberry party. I’m didn’t do too much for decoration this year. The one thing I had to do was buy a HUGE 36 inch balloon and I made some DIY Tissue Paper Tassels to attach to the tail of the balloon.
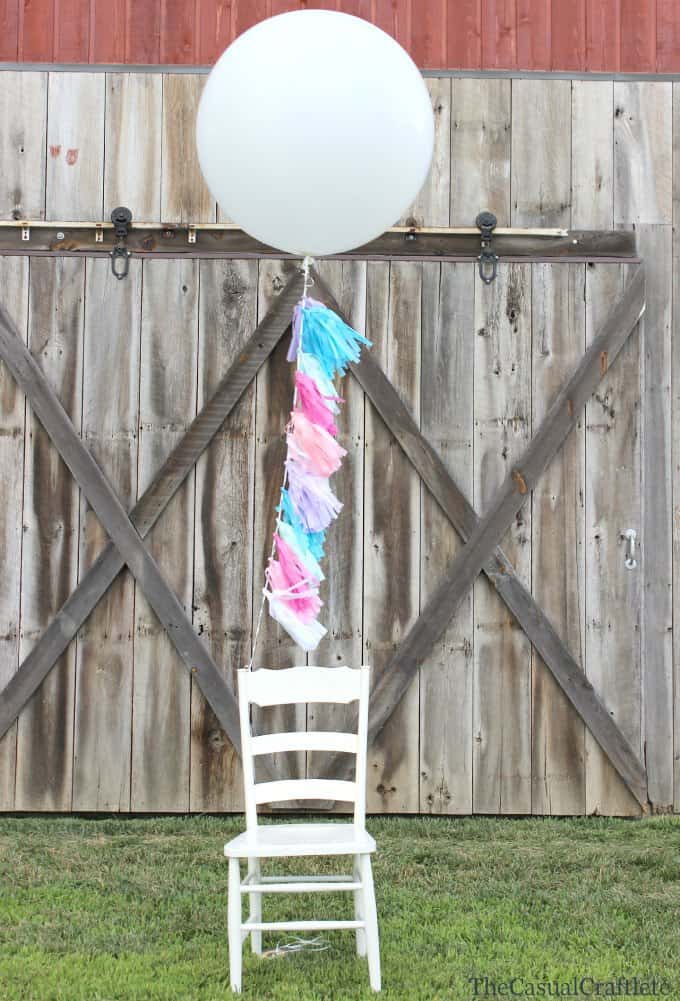
Our neighbors have some property out in the country with a fabulous barn on it. He is a contractor and built the barn himself. It was nice of them to let us take a few birthday pictures out there.
Let me just say, I LOVE LOVE LOVE how pretty it looks!
The tassels are super easy to make and very inexpensive. It’s a great way to decorate for very cheap. After I took the pictures, I am planning on hanging the tissue paper tassels on the wall for her party. It’s going to look super cute!
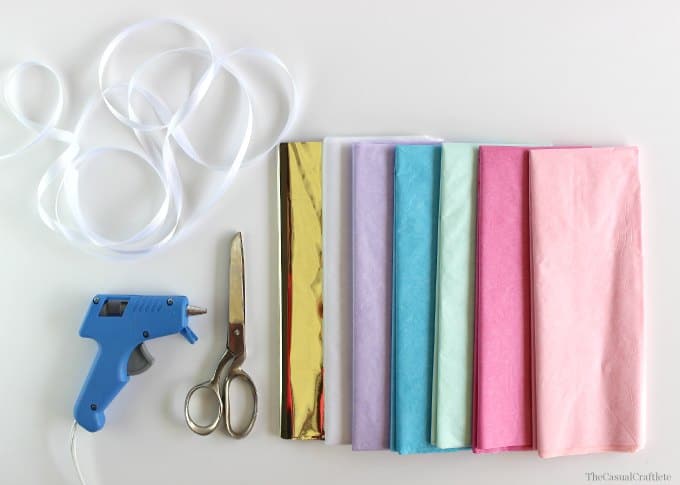
MATERIALS:
- Tissue Paper
- Scissors
- Hot glue gun
- Ribbon
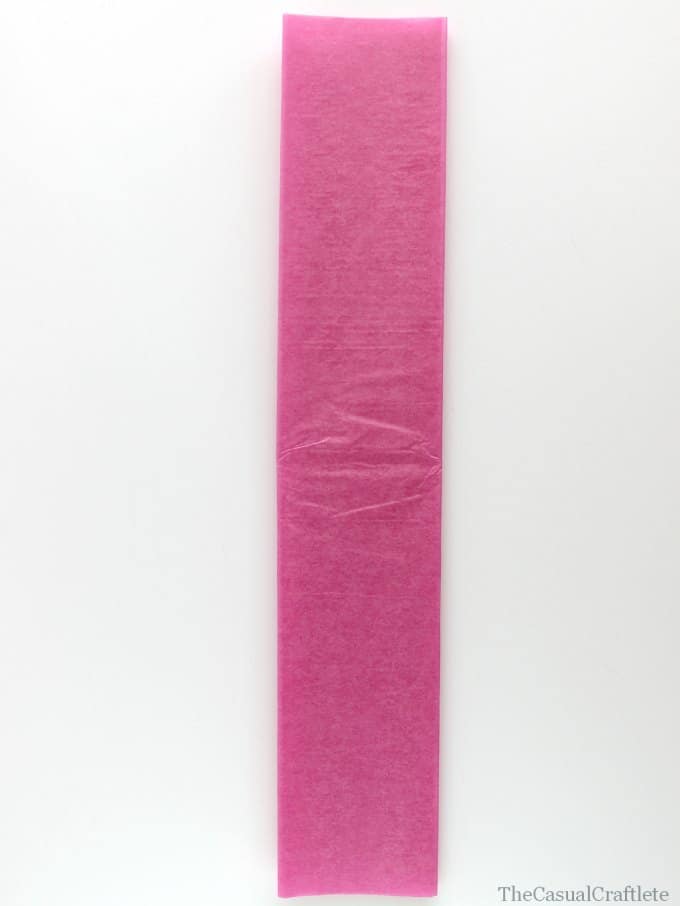
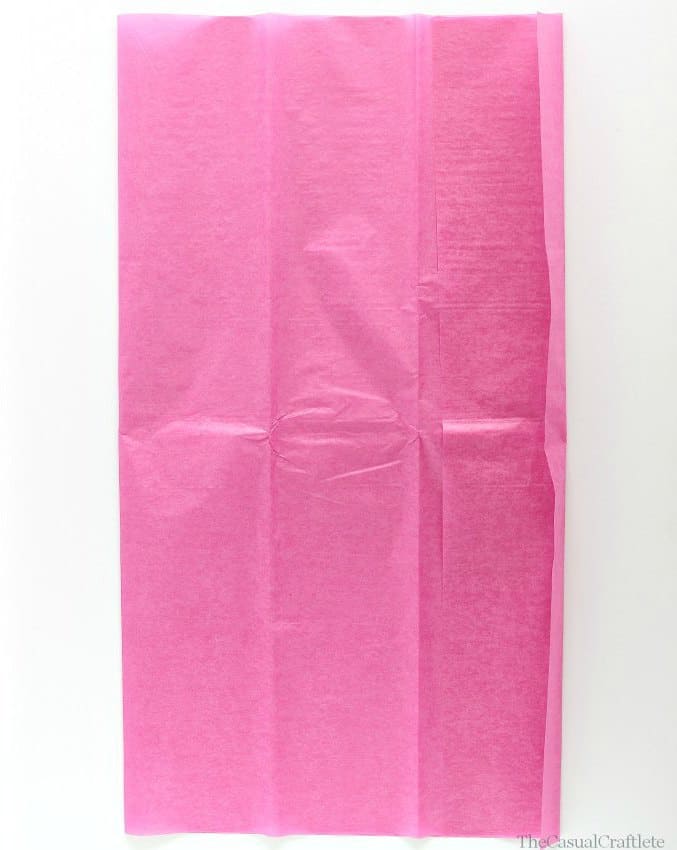 1. Take a single sheet of tissue paper and lay it out flat
 2. Fold the tissue paper where the creases already are.
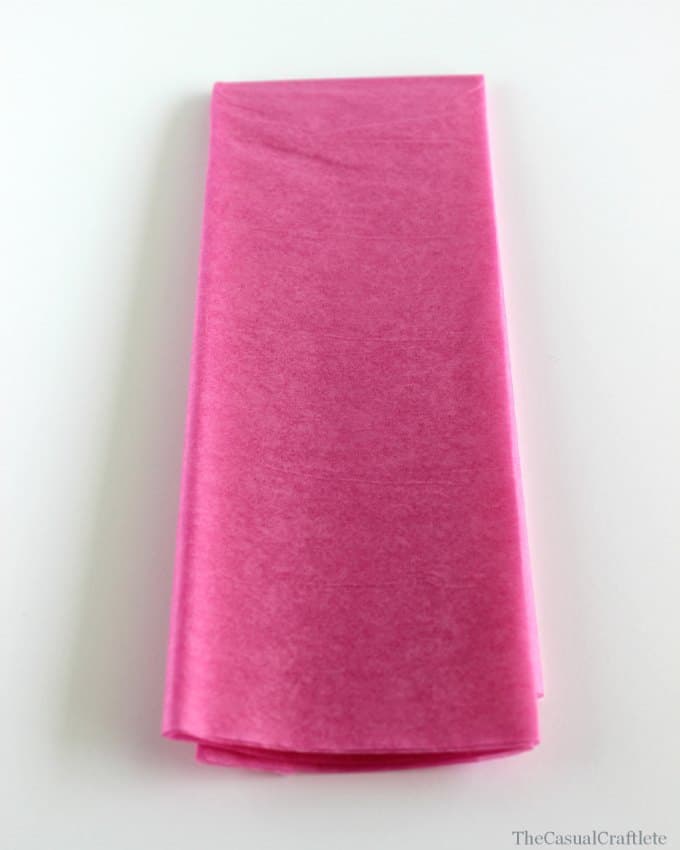
3. Then fold in half.
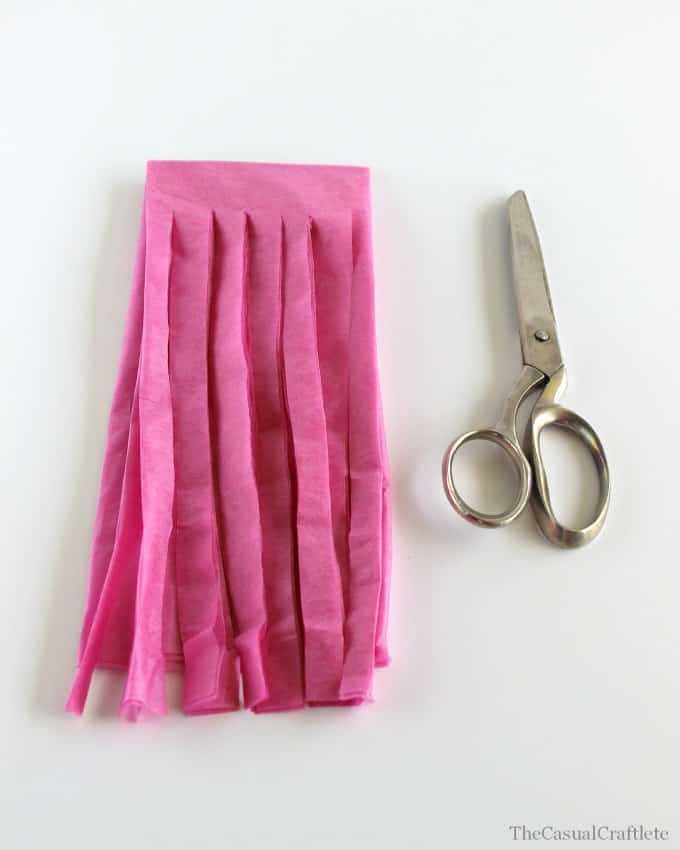 4. Cut 1/4″ stripes using a pair of scissors, leaving about 1/2″ space from the top.
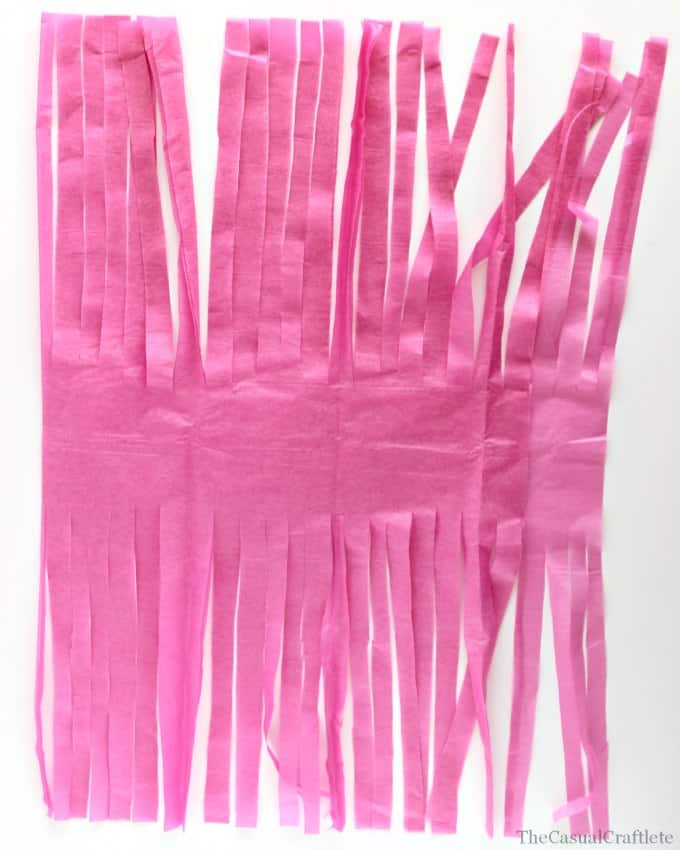 5. Unfold the tissue paper and lay out flat.
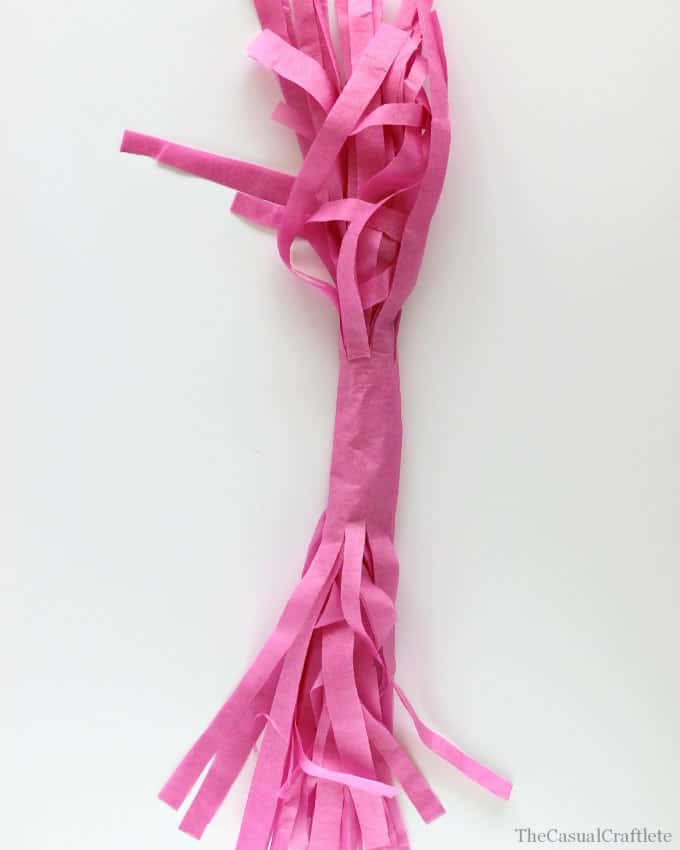 6. Gently roll the paper in the center.
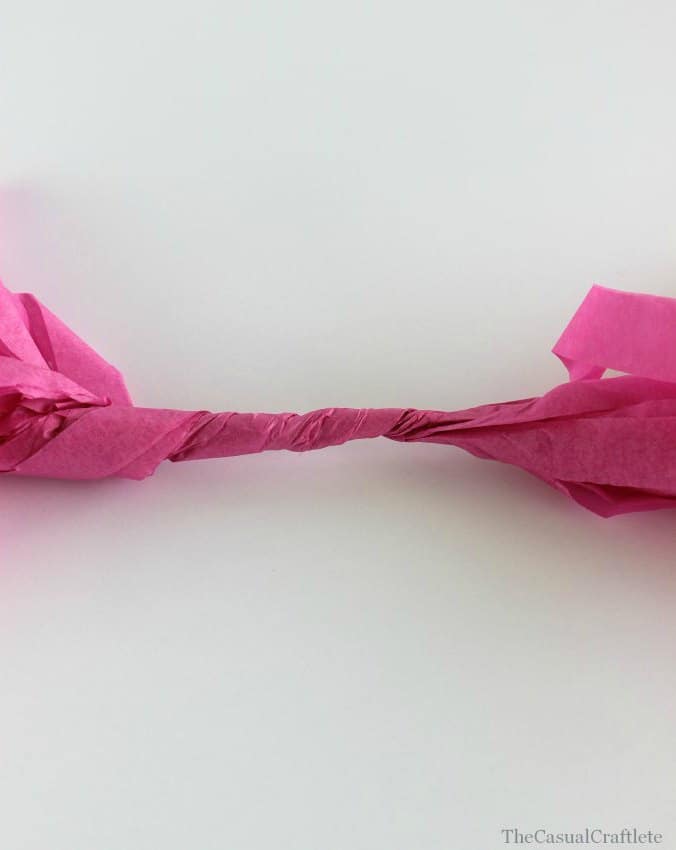 7. Twist the center of the paper tightly.
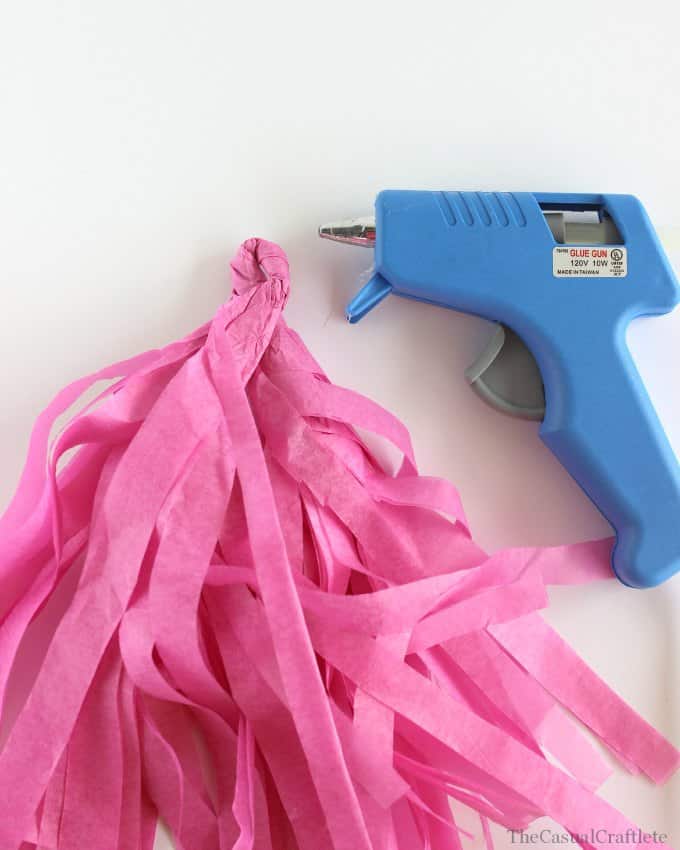
8. Fold over the center to make a small loop. Use the hot glue gun and glue where the two pieces meet.
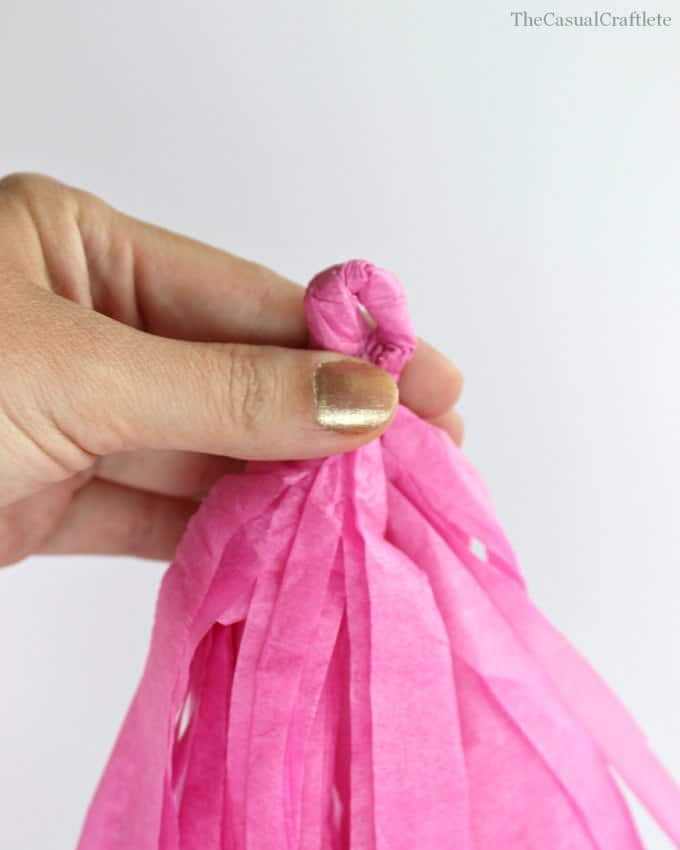 9. Your tissue paper tassel is complete.
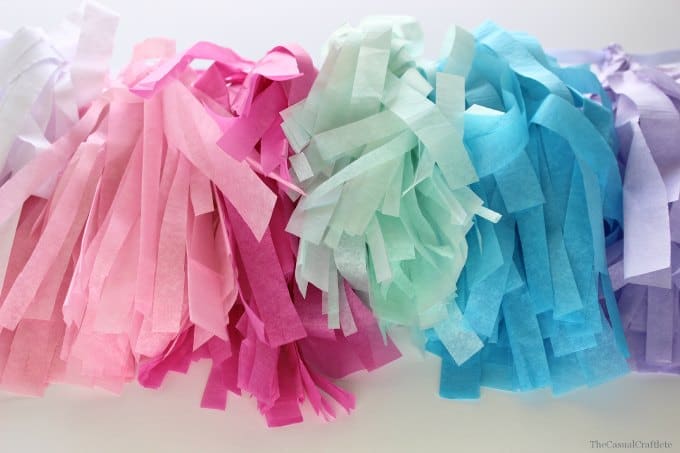
Add coordinating colors and use as a banner for the wall or a tail for a balloon.
*MAKE SURE TO CHECK BACK FOR THE REST OF THE BLUE AND RED RASPBERRY BIRTHDAY PARTY!
Those look really simple but are so adorable! I’d love to try this out sometime.
Oh…just in time, Katie! I am so going to make this as a decoration for our upcoming party! We will have a fun splish splash party and this colorful banner will be just perfect to add colors above our table!!!♥♥Happy Birthday to your little Lady!Hugs!
Love this cute banner!
I discovered your blog through your post over at Carolyn’s this week and am so happy to find you. I’m also a crafter and a runner!
Oh great idea. I love this! Thanks for the tutorial!
Hope you have a great party.
Perfect for a summer party 🙂 lovely colors and seems so simple to make 🙂
I love this idea so much!! I can’t wait to have a party so that I can use this idea.
This is so so sweet and so simple! I love crafting with tissue paper (and paper in general) too 🙂 Thanks for the easy to follow steps 🙂
I LOVE these! So cute and crafty! Thanks for sharing!
I love these, always wondered how to make them. 🙂 I can’t wait to see the rest of the party! Pinned!
Stopping by from The Makers link party. Thanks for the great idea. We just had my daughter first b-day party and these would have been great. Next year I will do this.
Katie, these are so pretty! I love how they look dangling from that big, gorgeous balloon!
I love all things paper, in fact, I’m a bit of a paper junkie some would say! These tissue paper tassels are just perfect for an outdoor bday party,I bet they looked grand when the wind paid a visit. Visiting you via “HitMeWithYourBestShot” linkup.
I love this idea so fun!
A great project! These are adorable and easy… Your tutorial is easy to follow…. Bravo! Just popping in from Whimsy Wednesdays Link Party!
Best,
Brooke
These tassles are too cute!! What a great tutorial! I would love it if you linked this up to my Motivate Me Monday linky party at IT’S A ginger SNAP.
Hi Katie,
Love this tassel garland! Would you come share it at our Awesome Things Tuesday party? http://www.satsumadesigns.com/naturalmakermom/awesome-things-tuesday-linky-party-4/ Thanks and welcome! Best, jen
Great tutorial! Pinning for my party planning board 🙂 Visiting from Workit Wednesdays linky 😉
Ursula
I love the colors you chose! Great tutorial!
What a fun idea!
We’d love to have you link up with the Caffeinated Crafters this week!
http://bit.ly/linkparty
I’ve been seeing these everywhere and really want to make some! Thanks for the tutorial! Found you from the weekend retreat!
I love tissue paper!! SO many uses!! Thanks for linking up to Create Link Inspire party.. I’m working ahead this weekend, but you will be featured on Sat in my Summer DIY ideas ;o) Hope you can stop by then and show the post some love… Emily
I love this! Thank you for sharing! I am preparing for my daughter’s 2nd birthday and I will so use this tutorial!
Super cute!
Great tutorial! I just made my first tissue tassels this past weekend. I think your method was probably a bit easier than mine. Pinning!
This is so fun and I love your photo styling! I’m featuring this darling idea tonight at the Hit Me With Your Best Shot link party over on One Krieger Chick. Thanks so much for linking up…Hope you’re having a great week!
~Ariean
Just wanted to let you know that this post will be featured at The Pin Junkie Pin Party this Thursday!
ADORABLE! Tassels make everything more fun, right? xo
This is such a great idea! Thank you for linking up to The Creative Exchange! xo, Laura
What is the best way to attach a strand of tissue tassel to a wall? I’m trying to put it up in a nursery on a wall over a crib.