Disclosure: I am a member of the blogger outreach program with DecoArt. I received product for this post. All ideas and opinions are 100% my own.
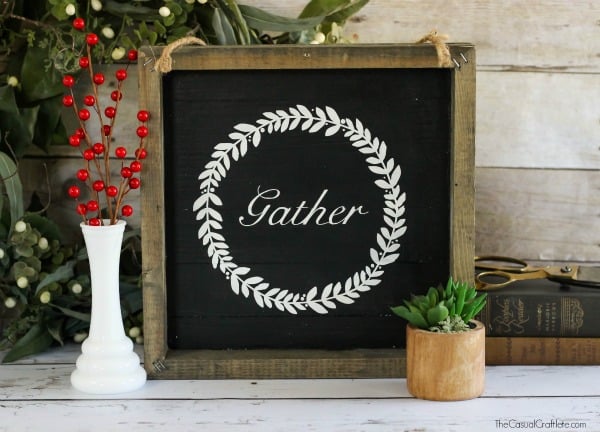
Create your own DIY Wood Plank Gather Sign to decorate for fall and all year long!
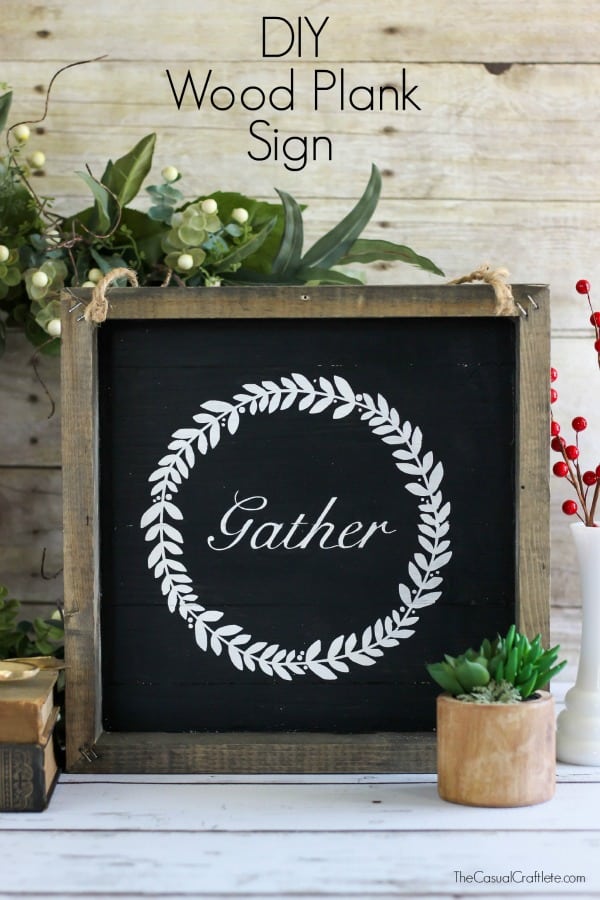
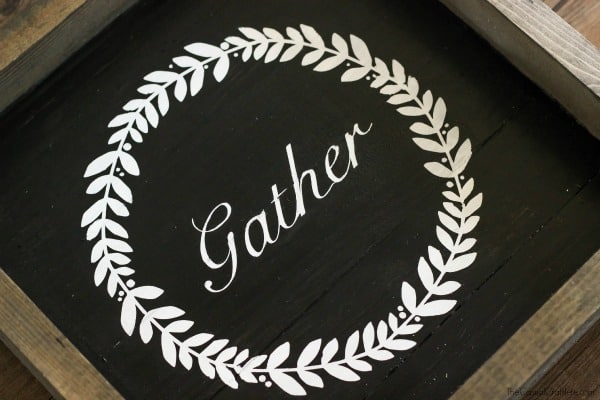
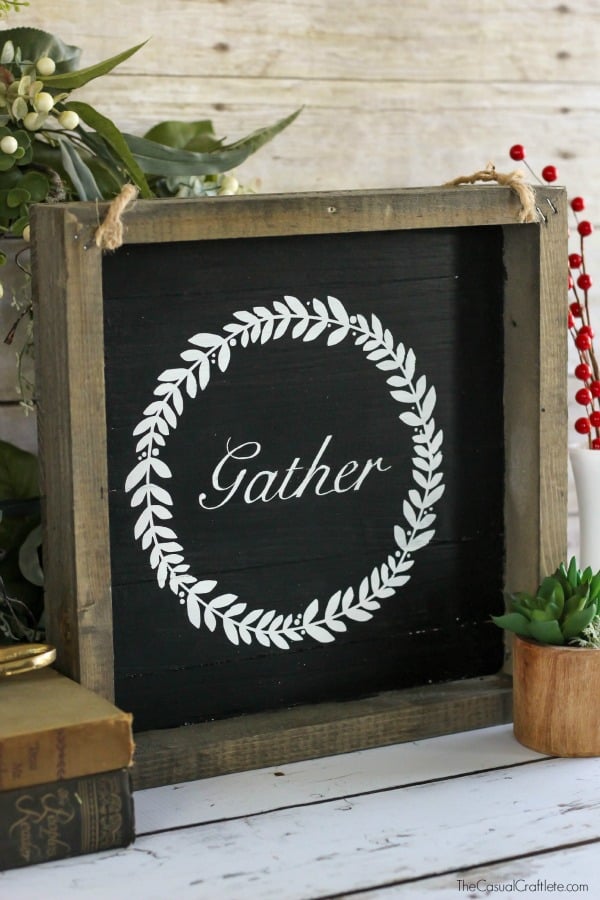
Hello there! Today I am sharing how to make this DIY Wood Plank Gather Sign using a vinyl stencil and paint. I created the word gather that is enclosed by a wreath and I really love how this sign turned out. It’s a bit rustic but can be used in just about any home. You can totally change up the colors to match your home decor. I wanted to use the word gather because I delight in the thought of gathering or bringing together family and friends into my home. This DIY sign is perfect for fall, Thanksgiving, or anytime of year. I plan to leave my sign up all year long. It is too pretty and meaningful not to have it displayed all the time.
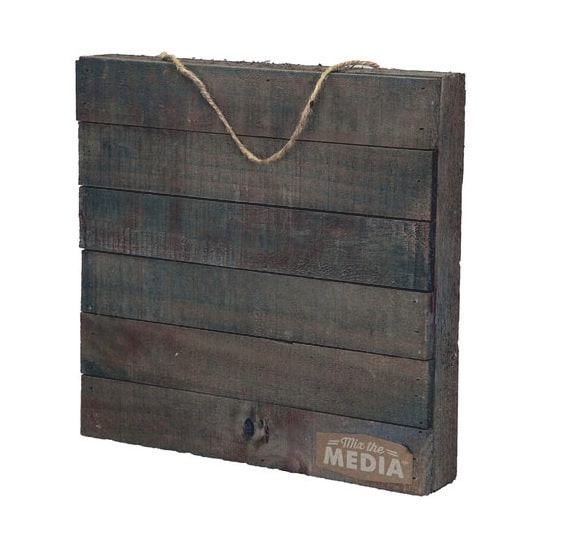
I was inspired by this premade wooden plank plaque from my local craft store. I saw a bunch of signs like the one I have made, but none of them had the word gather on them. So, I bought the plan wooded plank plaque and decided to make my own sign. The sign is designed to be used shown in the picture above. I actually turned the plaque around and used the back. It looks like a shadowbox and I personally think it looks better the way I used it. Of course, you can make it your own.
MATERIALS: (May contain affiliate links. Thanks for supporting The Casual Craftlete!)
- Wooden Plank Plaque, 12″ by 12″
- Gather design download .jpg FOR PERSONAL USE ONLY!
- Electronic Cutting Machine
- Vinyl
- Transfer Paper
- Americana Decor Chalky Paint in Everlasting and Carbon
- Paint brushes
- Bone Folder
or popsicle stick
- Weeding Tool
INSTRUCTIONS:
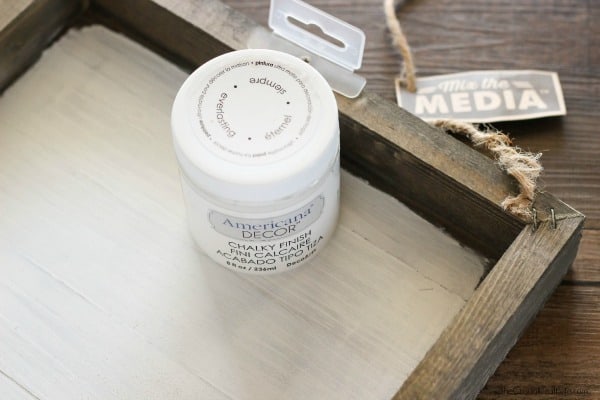
First I started by painting the inside of the wood plank plaque using Americana Chalky Finish Paint in Everlasting. This white color will be the color of the gather design. Set aside and let dry. In the meantime..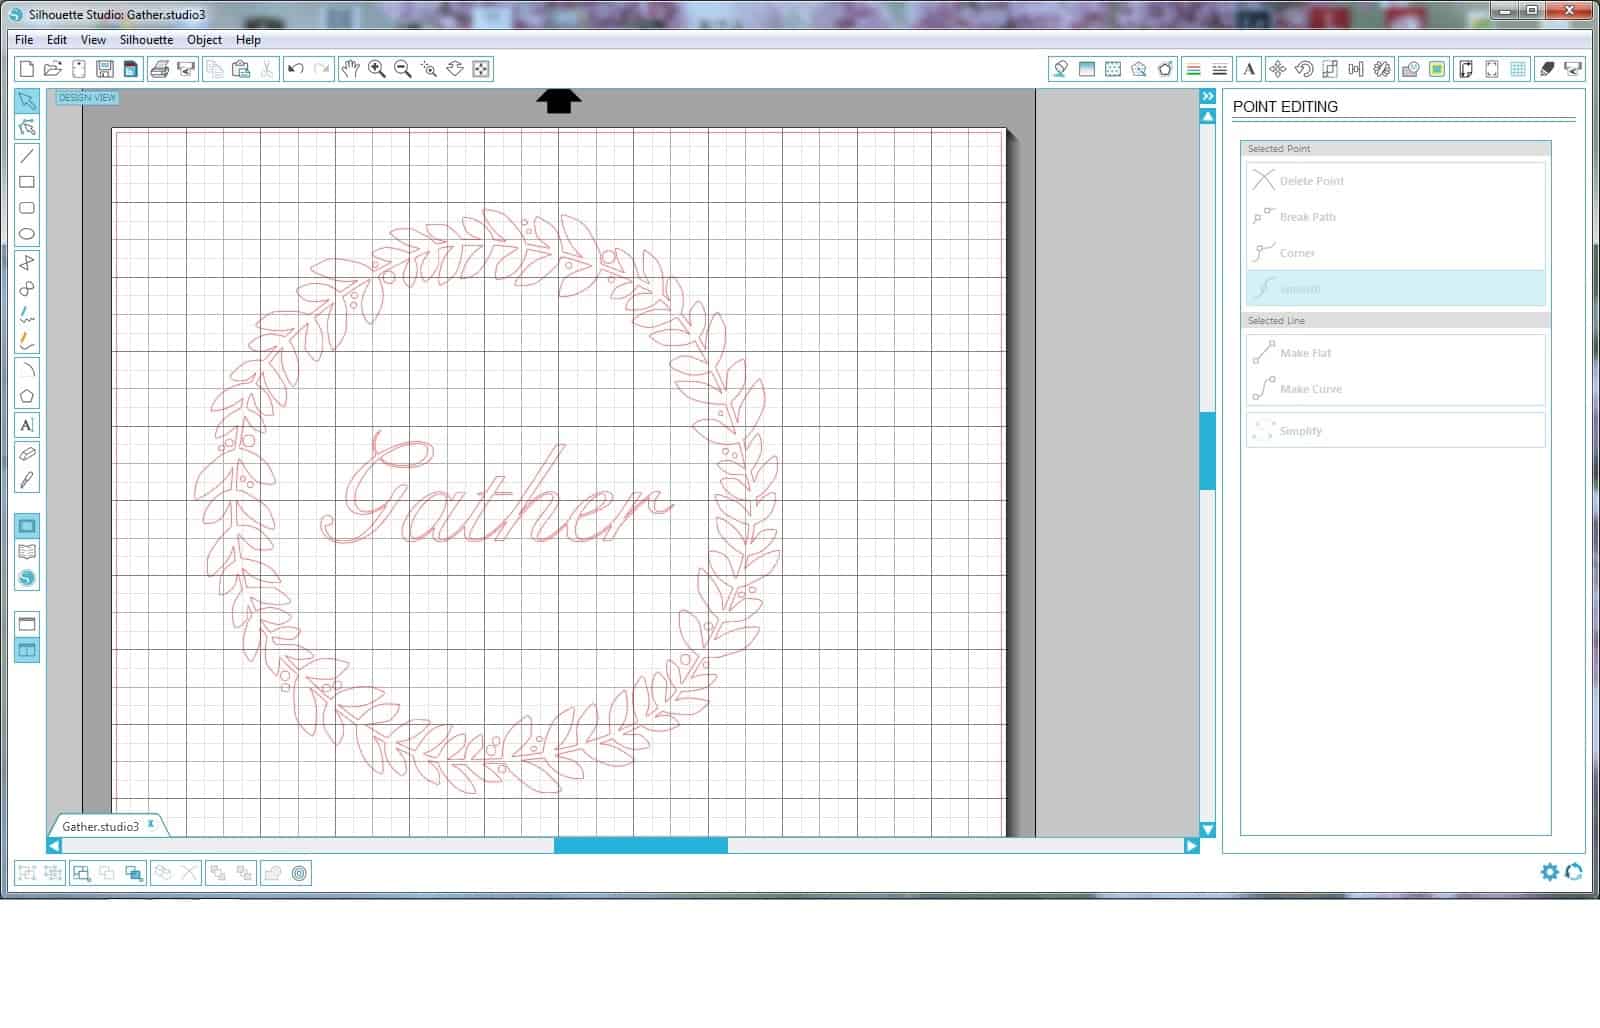 You need to download the Gather design HERE (PERSONAL USE ONLY). Next, you need upload the .jpg file into Silhouette Studio using the open button. Resize the image. I made the design 8″ x 8″. This can be done easily using the “scale” button on the top right of the Silhouette Studio window. Next, I traced the cut pattern using the “trace” button. (also at the top right) Draw a box around the design, press “trace” in the trace window, move the “high pass filter” slider all the way to the right, and press “trace” under the “apply trace method” section. The image has been converted into a cut file that the Silhouette can read. You can use this method to convert your own designs into cut files as well. By using the high pass filter function you allow the program to cut around all the edges of the design. You can drag the image out of the way and delete it and you will be left with the cut pattern shown above. Using the vinyl, cut out the design.
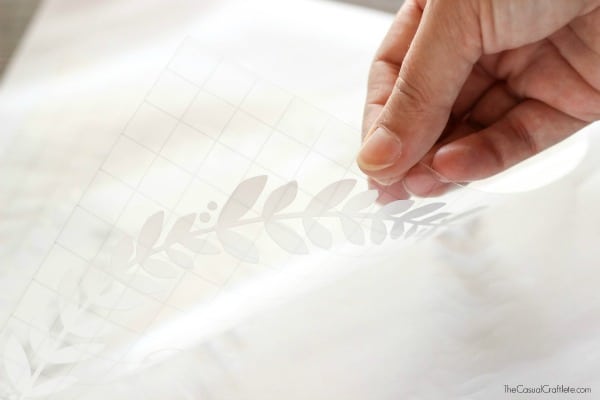
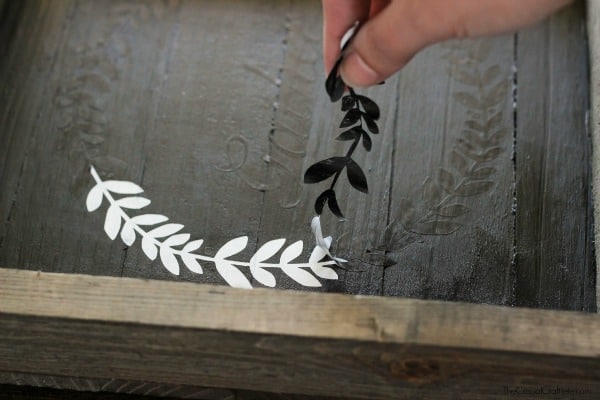
Next, weed out the negative space of the design using a weeding tool. Place a piece of transfer paper on top of the design and cut around it. Remove the plastic backing from the vinyl. Place the design in the center of the wood plank.
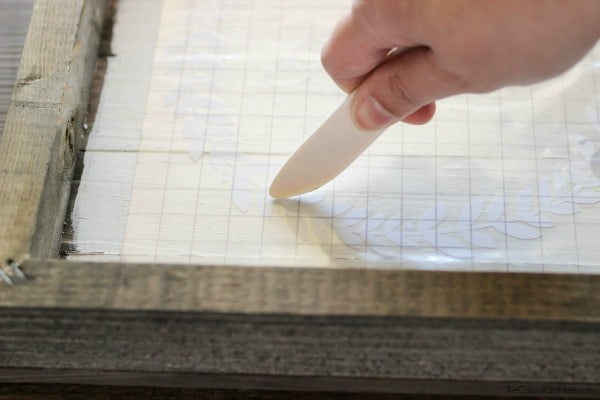
Go over the gather design stencil, using a bone folder or popsicle stick. Make sure to firmly press down so the design adheres to the wood plank, then gently remove the transfer paper.
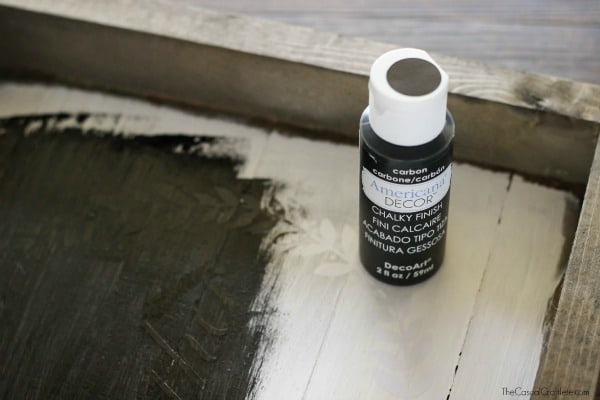
Lightly paint over the vinyl stencil using Americana Chalky Finish Paint in Carbon. This is a matte black that looks sleek.
Once the paint is dry, carefully remove the vinyl stencil. I use a weeding tool to get under the vinyl to lift it up. Then I gently peeled the vinyl off of the wood plank.
Since I used a wood plank, which is not flat and smooth, the design isn’t perfect. But that’s what I was going for. If you want the edges of the design to be smooth, I recommended using a flat smooth surface like a canvas. I personally love the rustic handmade look.
And there you have it. This DIY Wood Plank Gather Sign can be displayed on a book shelve, mantel, or hung on the wall.
How do you think my sign turned out? This was my first time using a vinyl stencil and once I got the hang of it, it went pretty easy. Thanks for stopping by. I hope you all have a lovely holiday season gathered with family and friends!
YOU MIGHT ALSO LIKE:
 Vintage Inspired Chalky Paint Pumpkins
Love this! So pretty!
Thank you, Jessica! I’m so glad you stopped by 🙂
I love the way you did this! I never would have thought to place the stencil down first and then paint the black! Brilliant! Well done! I would love it if you would share this as well as any other makeovers you have done at my Making Broken Beautiful party this week. It runs every Thursday thru Sunday. I do hope you will come and inspire others! http://thecuratorscollection.wordpress.com
Have a great week!
Smiles!
Terry
Thank you so much, Terry! I learned that technique from a local paint class. Glad you stopped by. I’ll have to stop by 🙂
I love your tutorial and graphic! Stopping by with a congratulations, your project is my pick of the week for the DIY Sunday Showcase! Thanks so much for sharing your project:)
Oh, thank you so much, Wendi! I’m just thrilled. So glad you like my DIY Wood Plank Gather Sign!!!
This is beautiful! What a great piece! Thank you so much for sharing at Dream. Create. Inspire. Link! I’ll be pinning your idea!
Cat
You did such a beautiful job on this sign! It almost looks like it’s drawn in chalk on a chalkboard! XO
Yay! Thank you so much, Christy. I’m thrilled you stopped by and that you like my DIY wood plank sign!