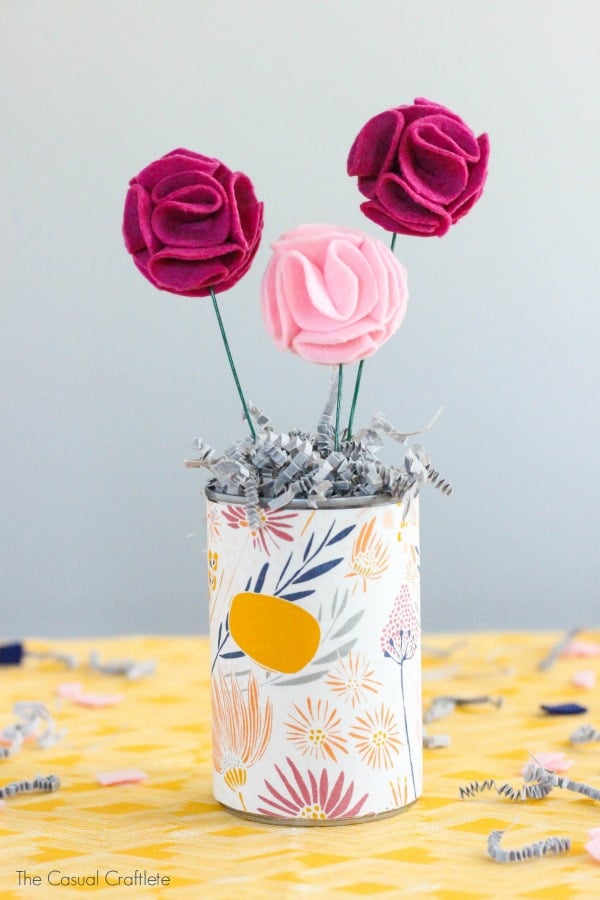
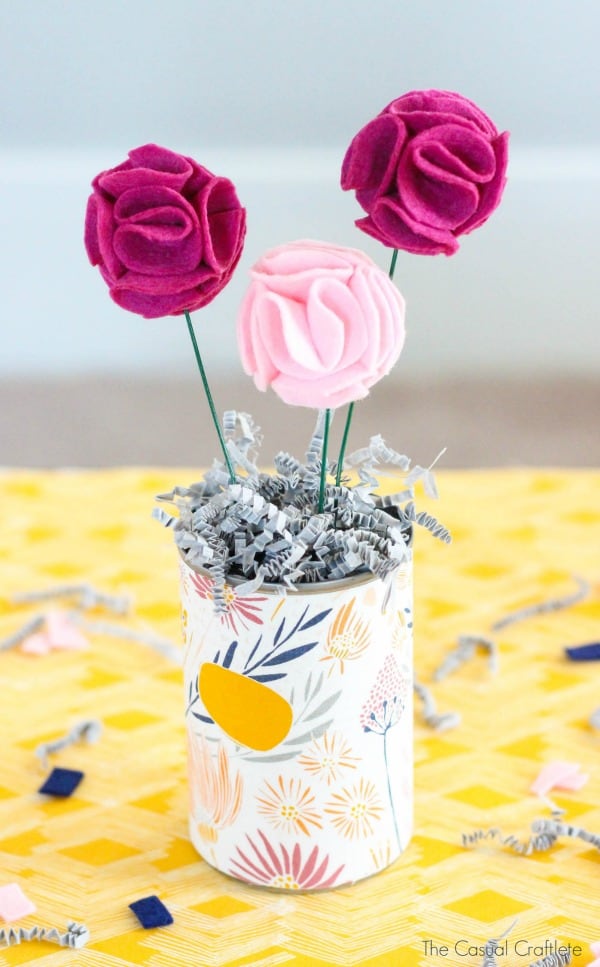
Felt Flowers and Fabric Bouquet – easy to make felt flower tutorial that is displayed in a fabric wrapped can. These cute flowers will last a long time and would be great for Mother’s Day, spring, baby/bridal showers, parties and more.
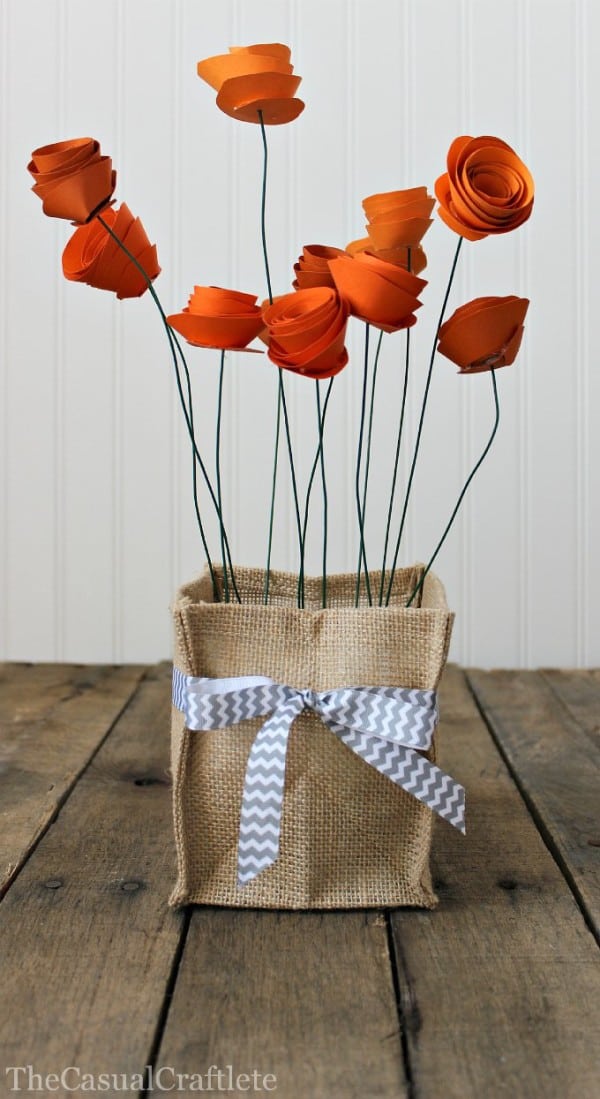
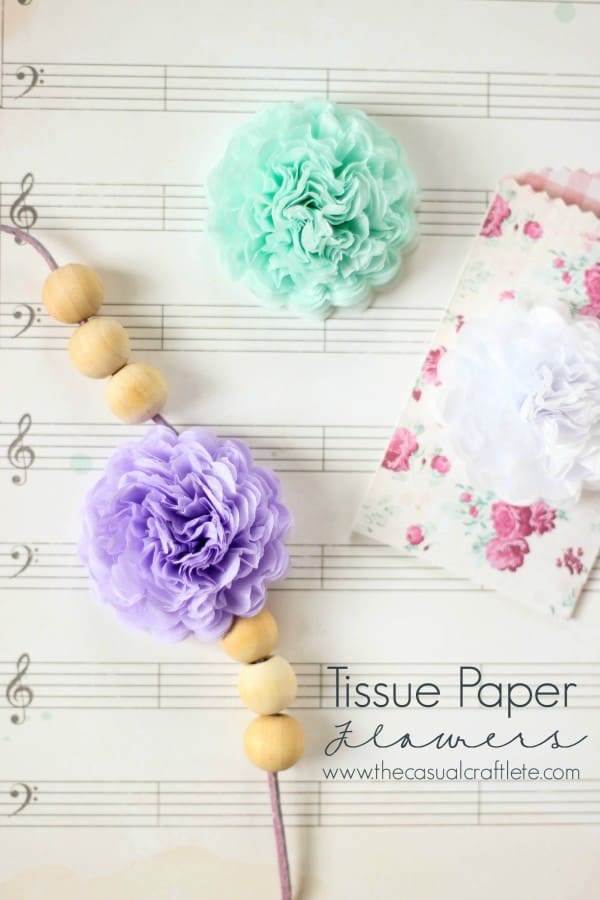
Hello there! There is just something about flowers and floral arrangements that I absolutely love but I hate spending money on them knowing that they will wither away quickly. That is why I like making flowers from craft materials, like my pretty paper flower centerpiece, and today I am going to show you a quick and easy way to make a felt flowers and fabric bouquet. I actually made this arrangement for my mom for Mother’s Day but you could really make this craft project for any special holiday or just to decorate your home with.
Supplies: (affiliate links)
- Felt Sheets
- Hot Glue Gun
- Floral Wire
- Fabric (I’m using Morning Walk Town Lake Fat Quarter Bundle)
- Decorative Gift Filler – Slate Gray
- Craft Cutting Mat
- Rotary Cutter
- Glass Milk Bottle
- Soup Can
- Scissors
- Pencil
Instructions:
Let’s start by making the felt flowers.
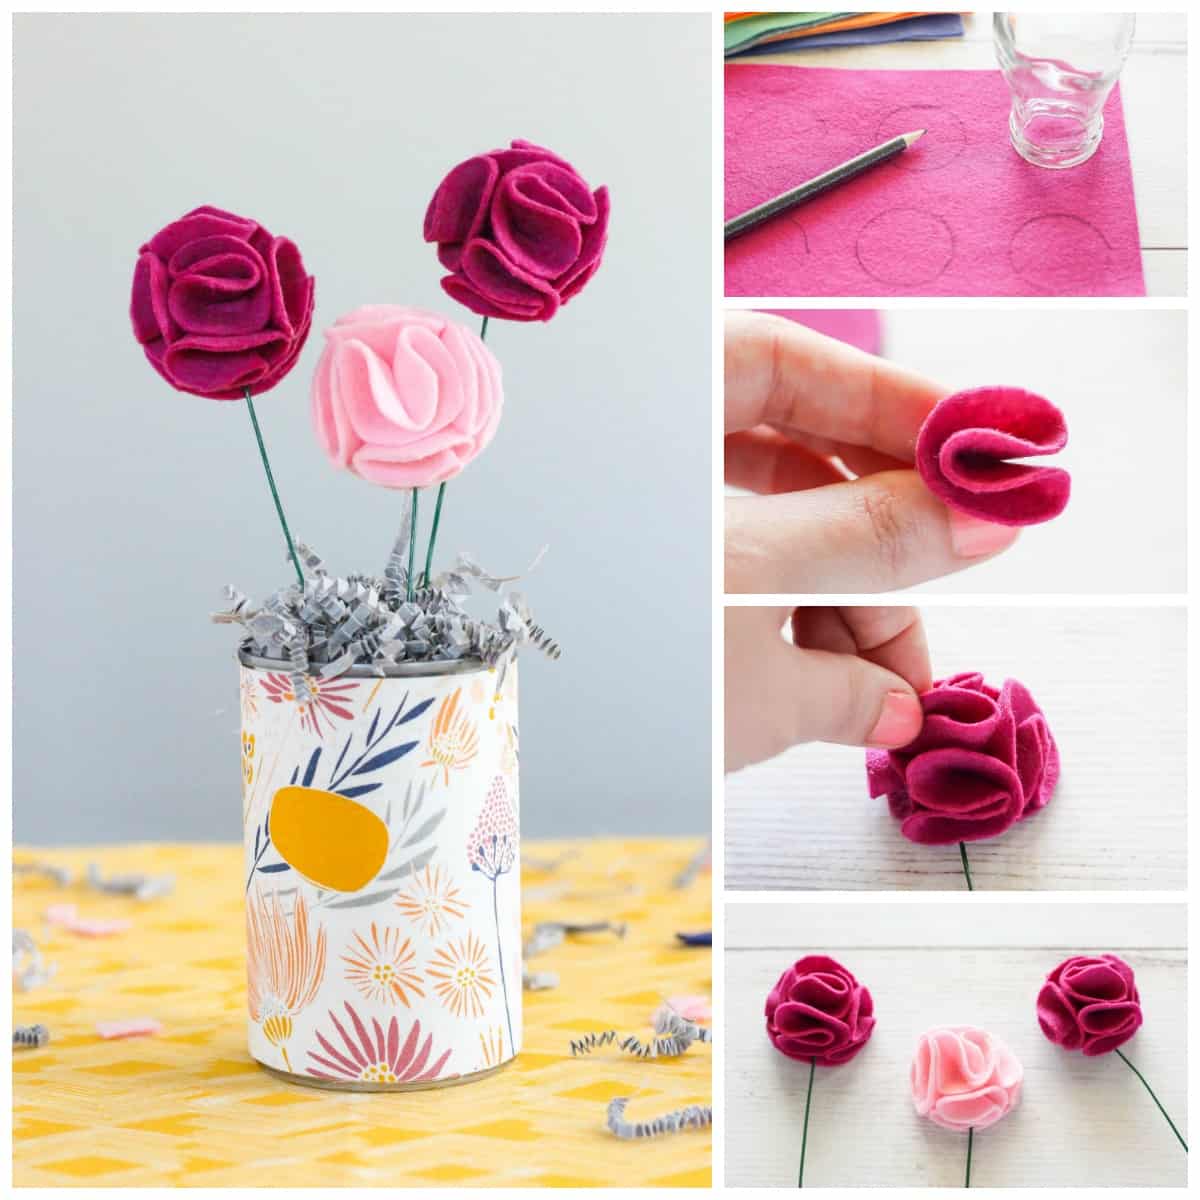
Lay one piece of felt on a work surface. I am using the opening of a glass milk bottle to trace 6 circles with a pencil. The opening of the bottle is approximately 1-1/2 inch diameter. If you would like to make larger flowers you can use a large glass or even a bowl depending on the size you want. One flower will need 6 circles.
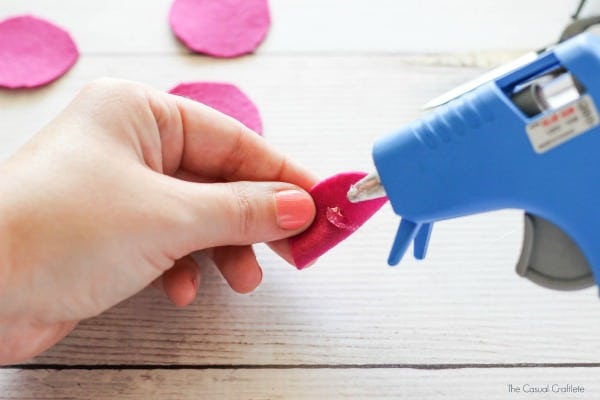
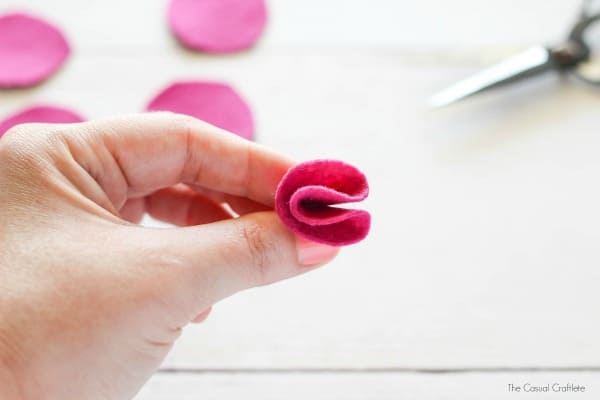
Use a pair of scissors to cut out the traced circles. Save one of the circles to use as your base. Take one circle and fold it in half to make a half circle. Use a hot glue gun to place glue in the center of the folded circle. Then fold the felt in half again.
One felt circle should look like the picture above. Repeat this step for the next 4 petals. Remember to save one of the circles to use as the base.
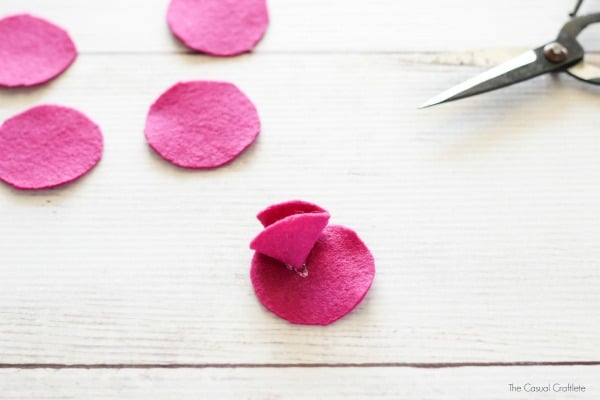
Use the hot glue gun to add glue to the bottom of the petal. Then attach the petal to the base.
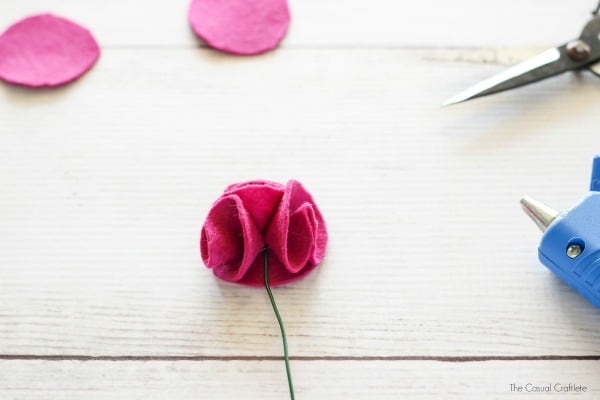
Hot glue two more petals to the base. Next, I like to place the floral wire in the center of the felt flower before gluing the remaining two petals. This will just secure and hide the wire.
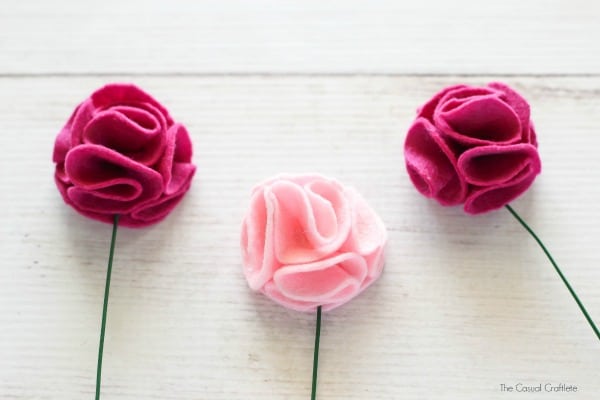
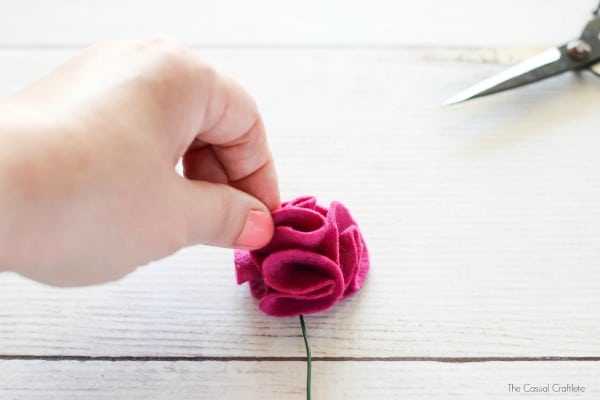
Glue the fourth petal to the base and the fifth and final petal in the center of the flower. It really is super easy to make. Trust me. I made two flowers in the mulberry color and one pink flower.
Now to make the fabric covered soup can…
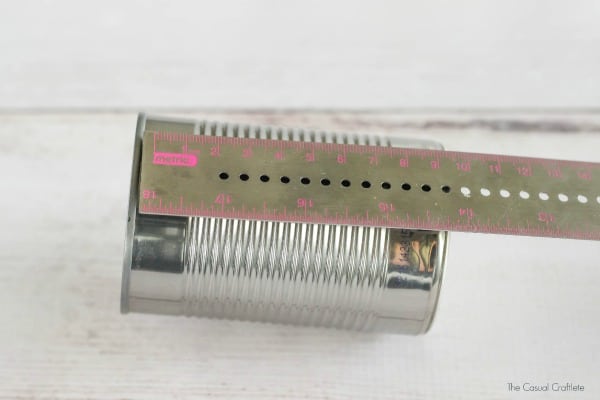
Start by measuring the soup can. The dimensions I got were 3-3/4 inches by 8-1/4 inches. I added 1/2 inch overlap for around the can.
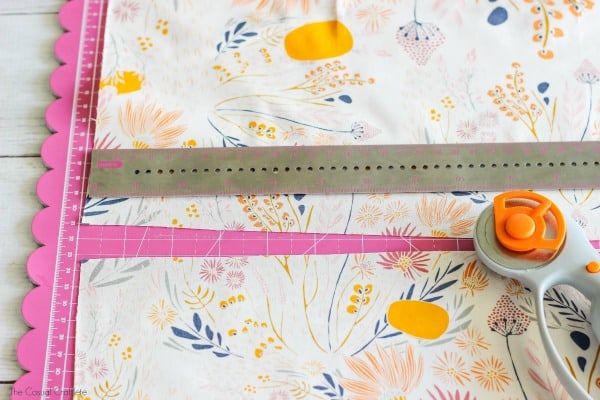
Cut the fabric using the dimensions of the measured can on a craft cutting mat using a rotary cutter. I am using this pretty floral print from the Morning Walk Town Lake Colletion.
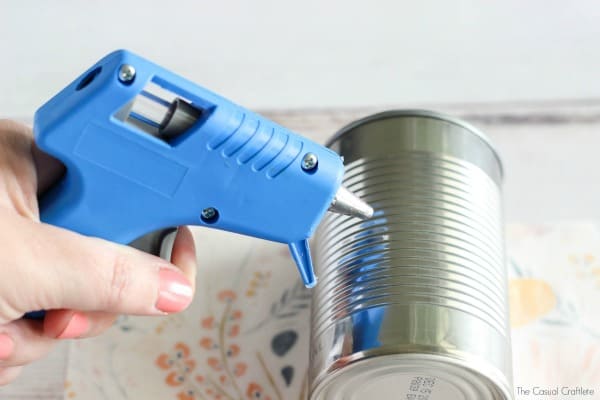
Apply hot glue to the tin can, then wrap the fabric around the can.
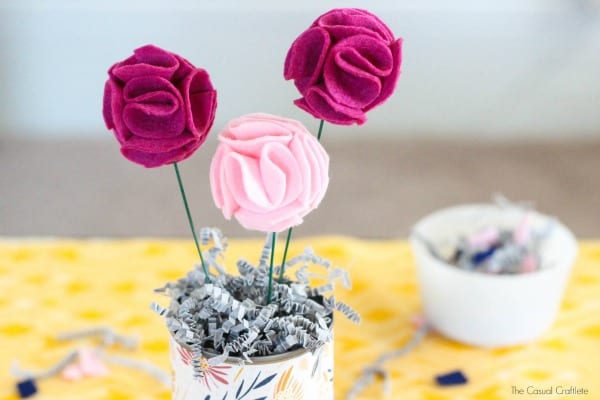
Finally, I added decorative gift filler to the inside of the can and placed the flowers inside. The filler looks cute and it also holds the flowers in place. I packed a lot of filler inside the can to make sure the flowers would stay put and not move around.
You can find a complete list of floral and flower craft tutorials on the blog by clicking here.
I hope you enjoyed my tutorial on how to make Felt Flowers and Fabric Bouquet!
Make sure you pin the image below so you can save this project for later.
YOU MIGHT ALSO LIKE:
 How to make a Pretty Paper Flower Centerpiece


Very pretty, I can imagine using these to add a little something extra to gift wrap, I like to poke a flower under the ribbon and a handmade one would last so much better than a real flower. Like two gifts on one! Pinning.
I love felt flowers! So petty too! Holly
Wow these flowers are very pretty! Thanks for sharing.
I have shared your post on my Facebook page: https://www.facebook.com/happinessiscrafting/
My readers will surely love it!