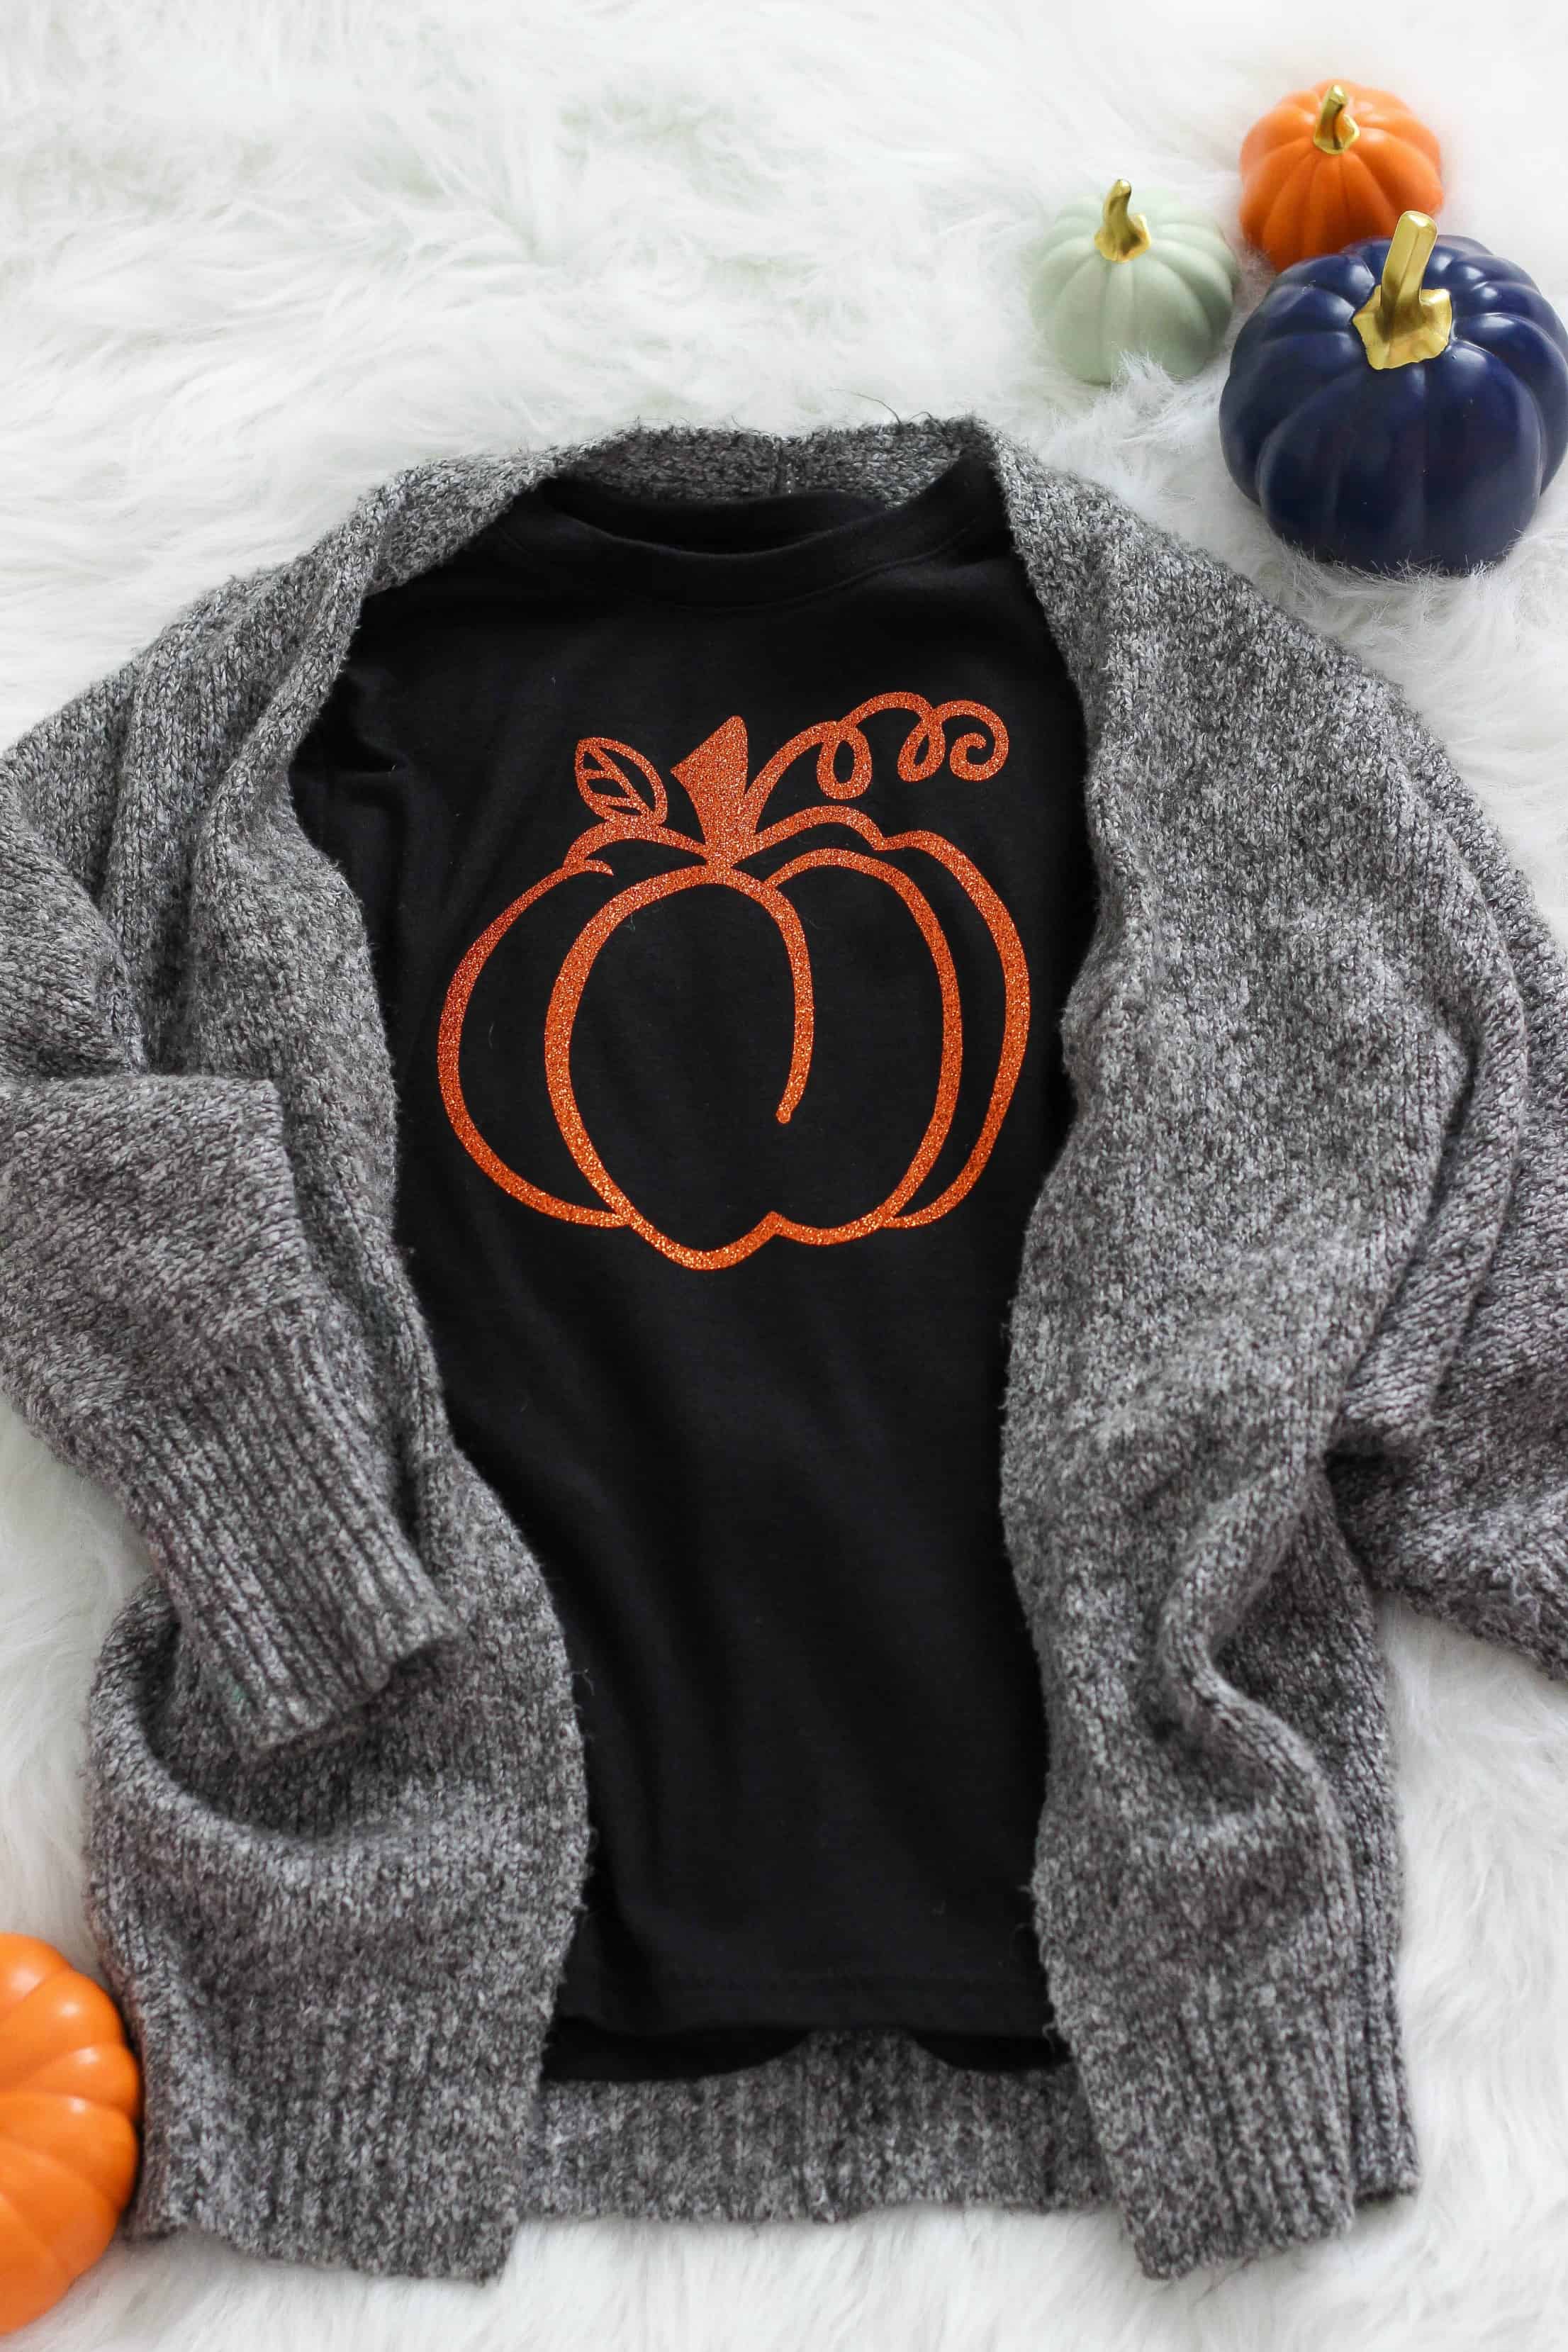
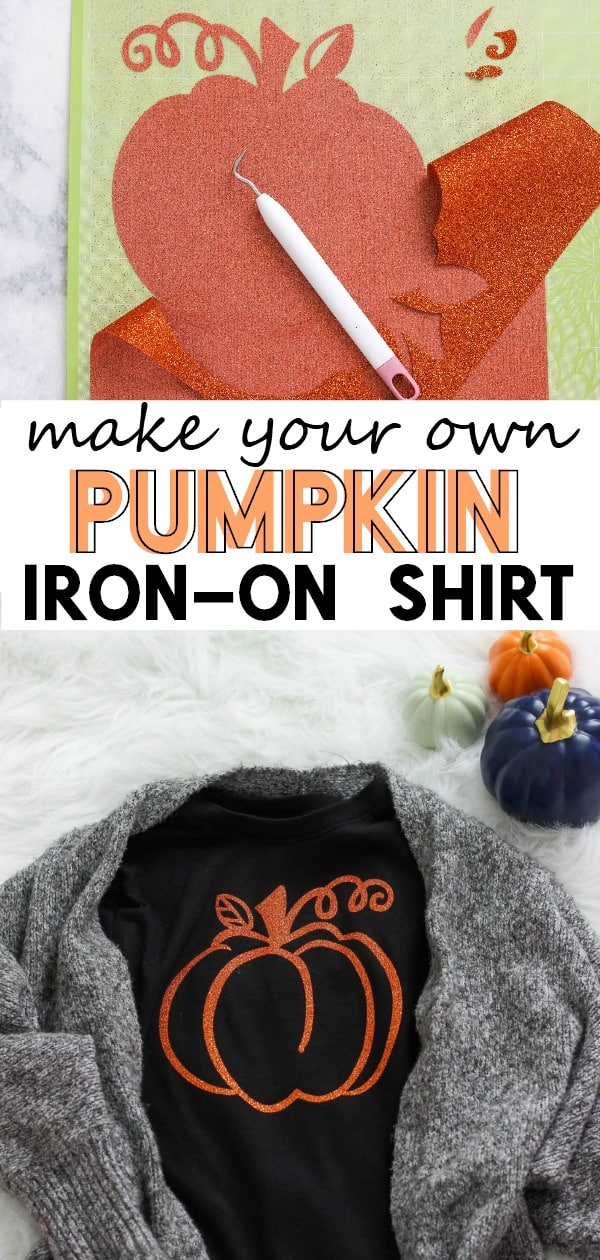
How To Make A Charming Pumpkin Iron-On Vinyl Shirt with this simple step-by-step tutorial.
You can wear this pumpkin shirt from early fall through Thanksgiving and it can be made in any size.
Today, I am excited to share a super fun and easy pumpkin iron-on vinyl shirt. I made this shirt for my daughter to wear to school on Halloween because her school does not allow them to wear costumes. The reason for the school not allowing costumes is that they want to be inclusive of all families including those who don’t celebrate Halloween or find purchasing a costume a hardship. I totally understand the rules at school but we still want to celebrate within the guidelines so that is why we made a pumpkin shirt. My daughter loves all things glittery because she is seven and a girly girly, so I used a pretty orange glitter vinyl that really pops on a plain black shirt. You just need a few items to make your own pumpkin shirt to wear this season.
I never met a pumpkin I didn’t like
How To Make A Charming Pumpkin Iron-On Vinyl Shirt
Supplies (affiliate links):
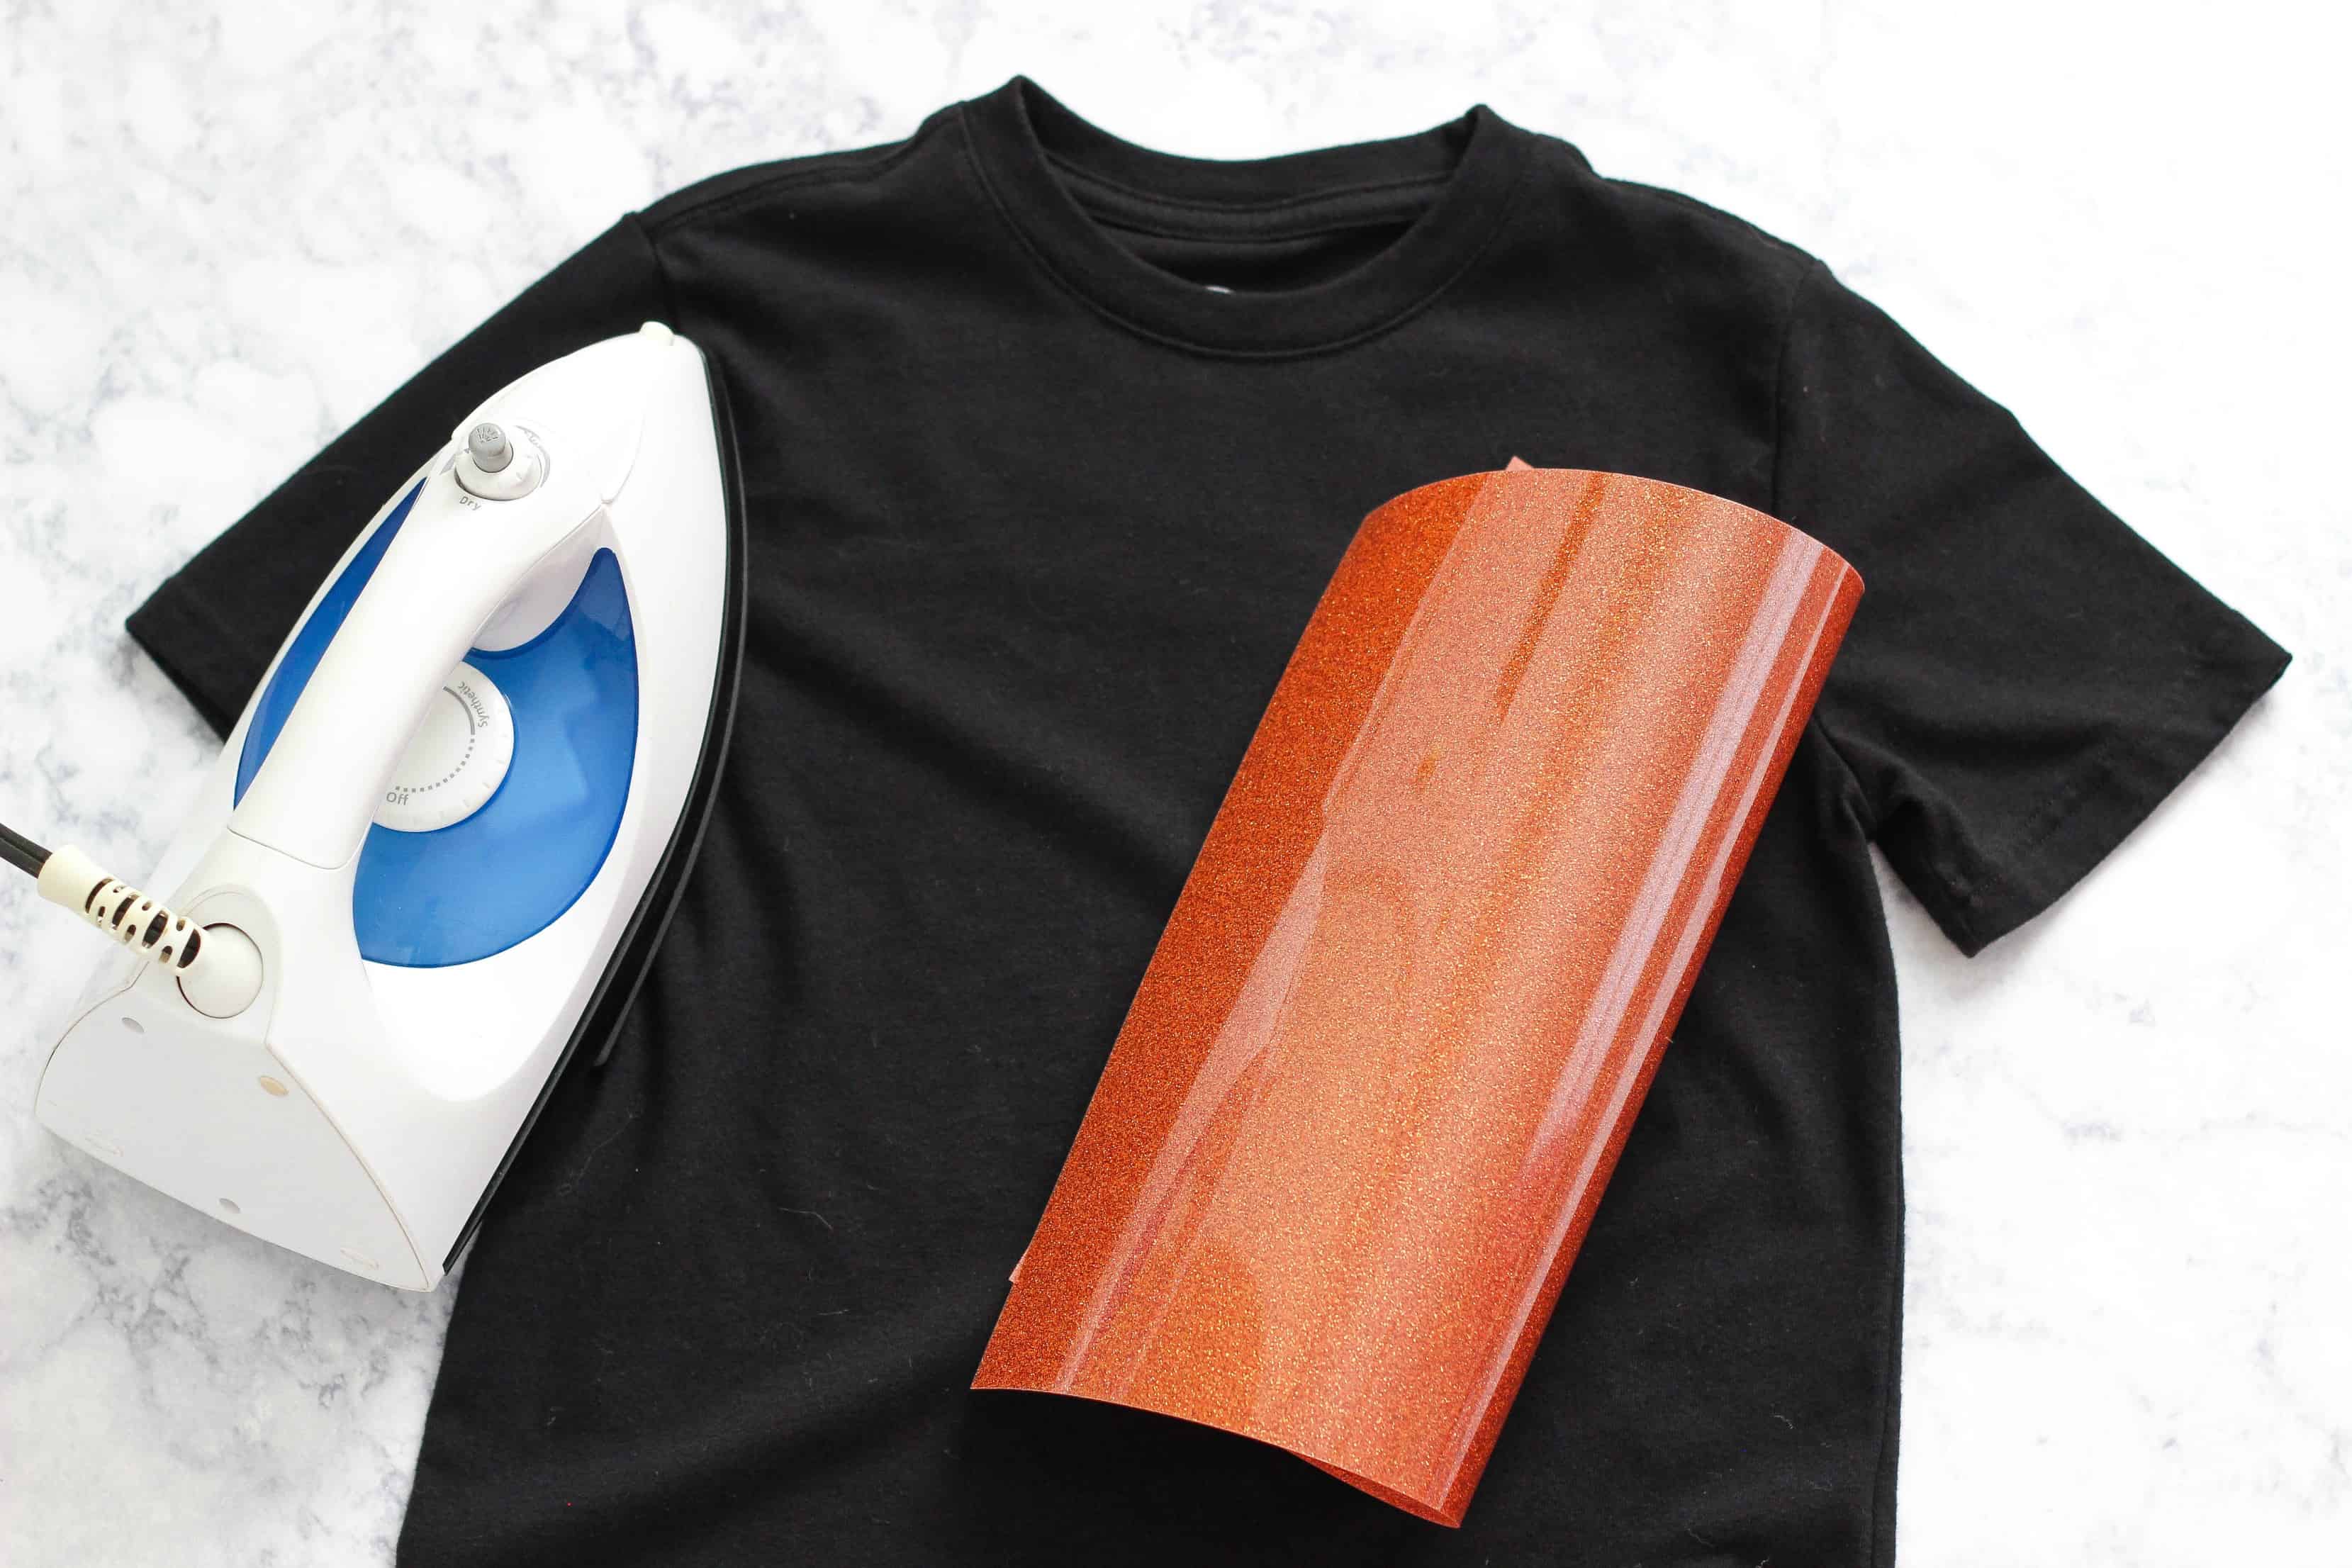
- Plain Black Shirt
- Orange Glitter Heat Transfer Vinyl
- Silhouette Cameo
- Pumpkin Design Image
- Iron
- Cloth like a towel or napkin
SHOP THIS POST:
Instructions:
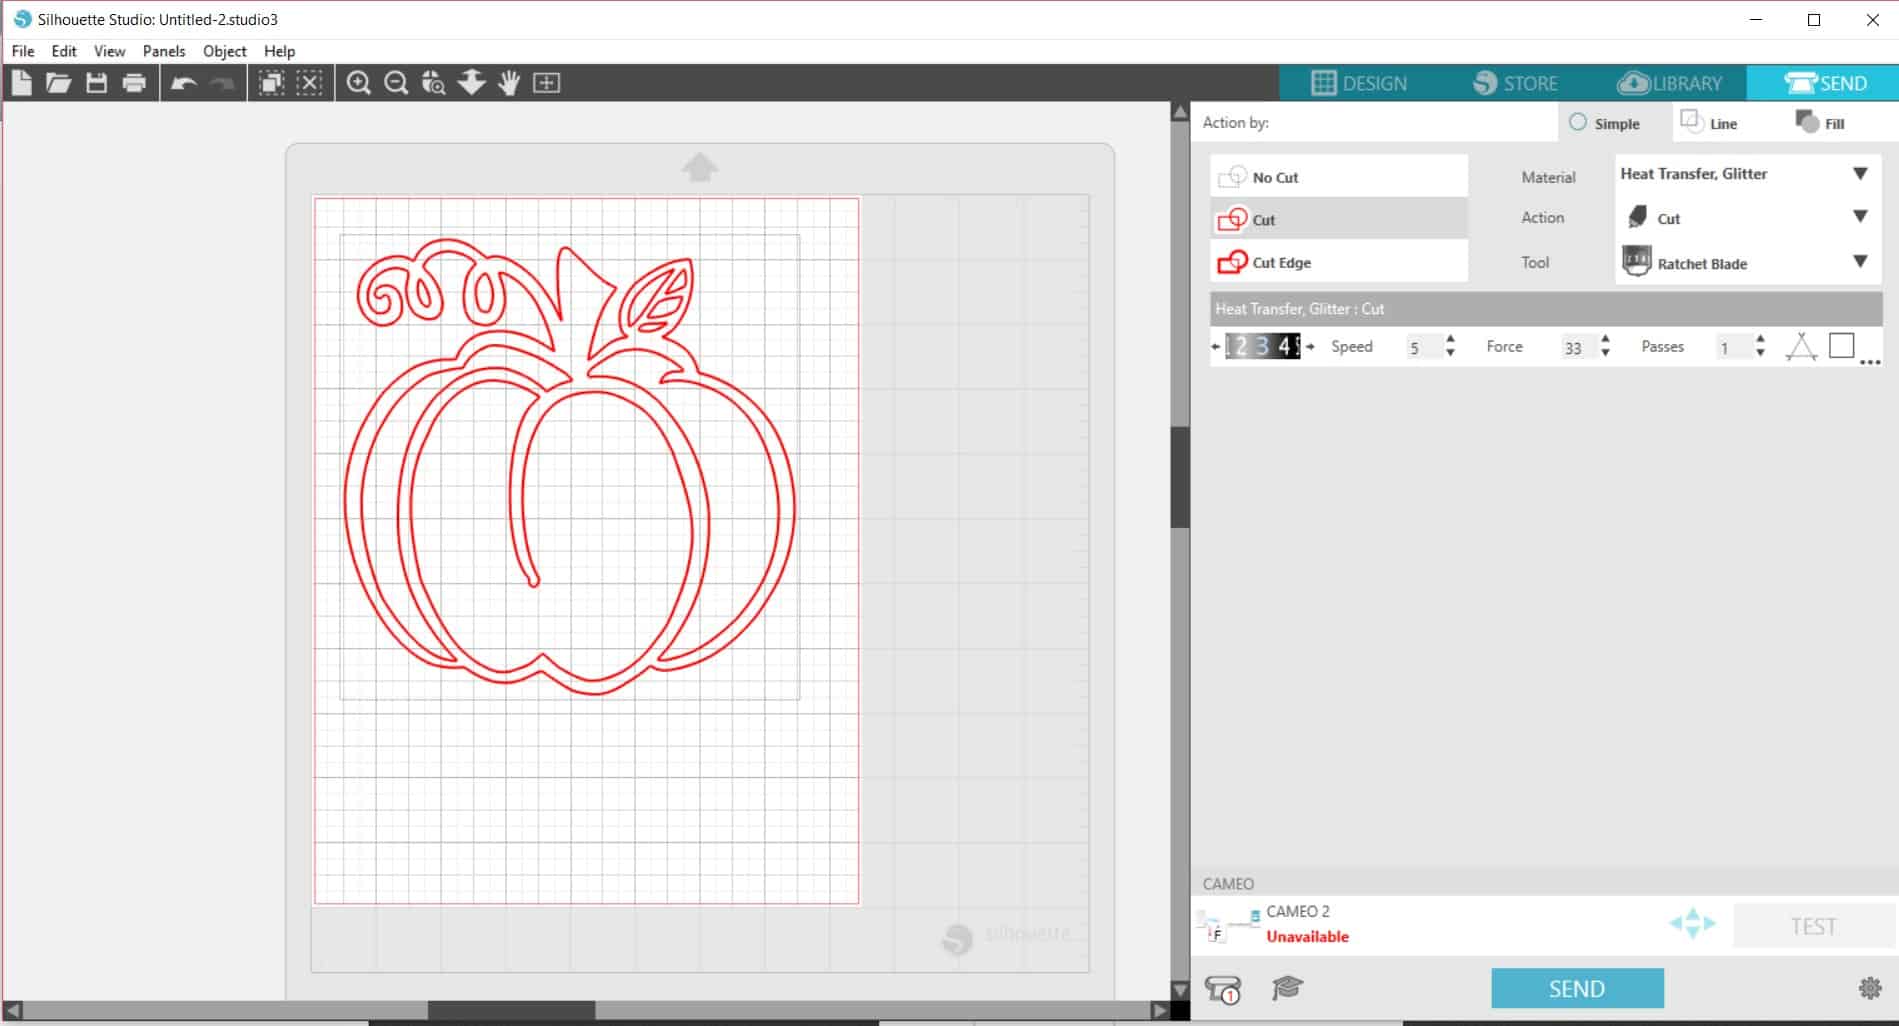
I started by purchasing and downloading the Design ID #14077 Pumpkin image from the Silhouette Design Store for .99 cents.
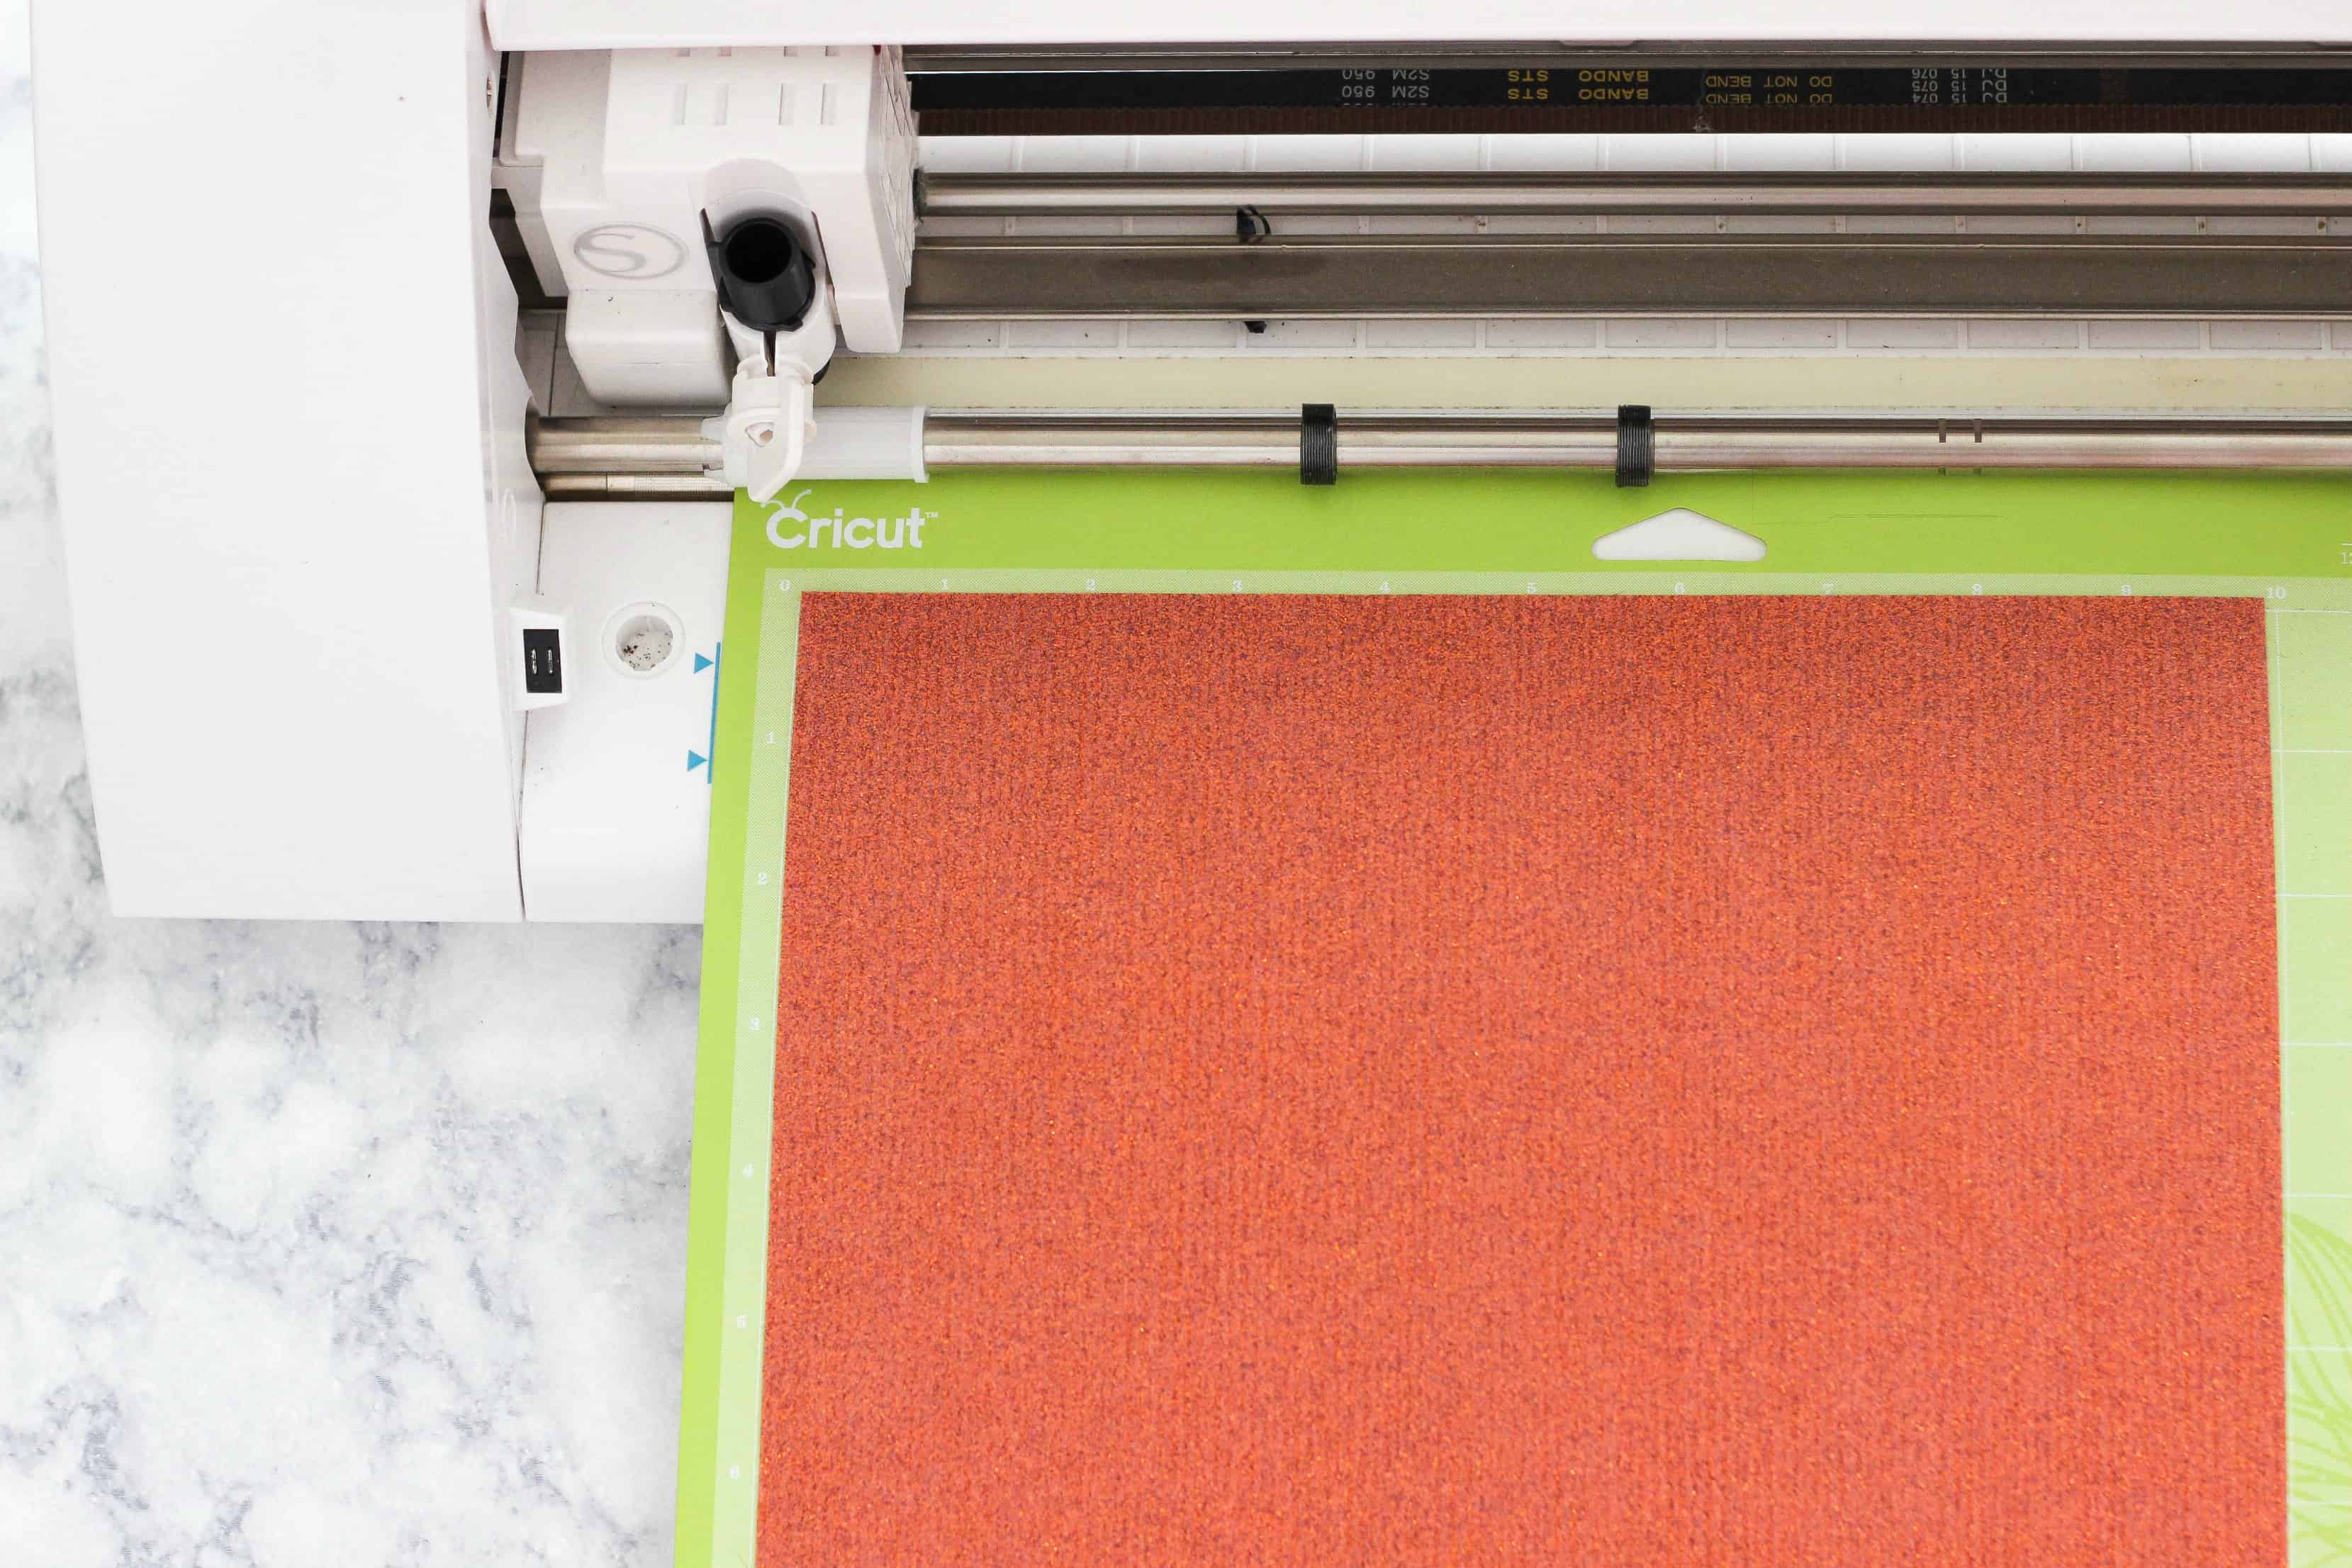
Next, I sized the pumpkin image to 7 inches to fit on the shirt for my daughter. She wears a size 7 or medium in kids. Then I sent the image to my Silhouette Cameo to cut the vinyl. *You do not need to mirror images for heat transfer vinyl.
When you set the Cameo to cut vinyl I recommend the blade be set at 3 and the speed at 5. Set the blade at 3 because this vinyl is thicker than normal. I choose a orange glitter heat transfer vinyl but there is also a pretty copper foil vinyl that would be fabulous to use too.
*I used a Silhouette Cameo machine but used a Cricut Mat to cut the vinyl on because that was the mat I had on hand. A Cricut mat will work with the Silhouette.
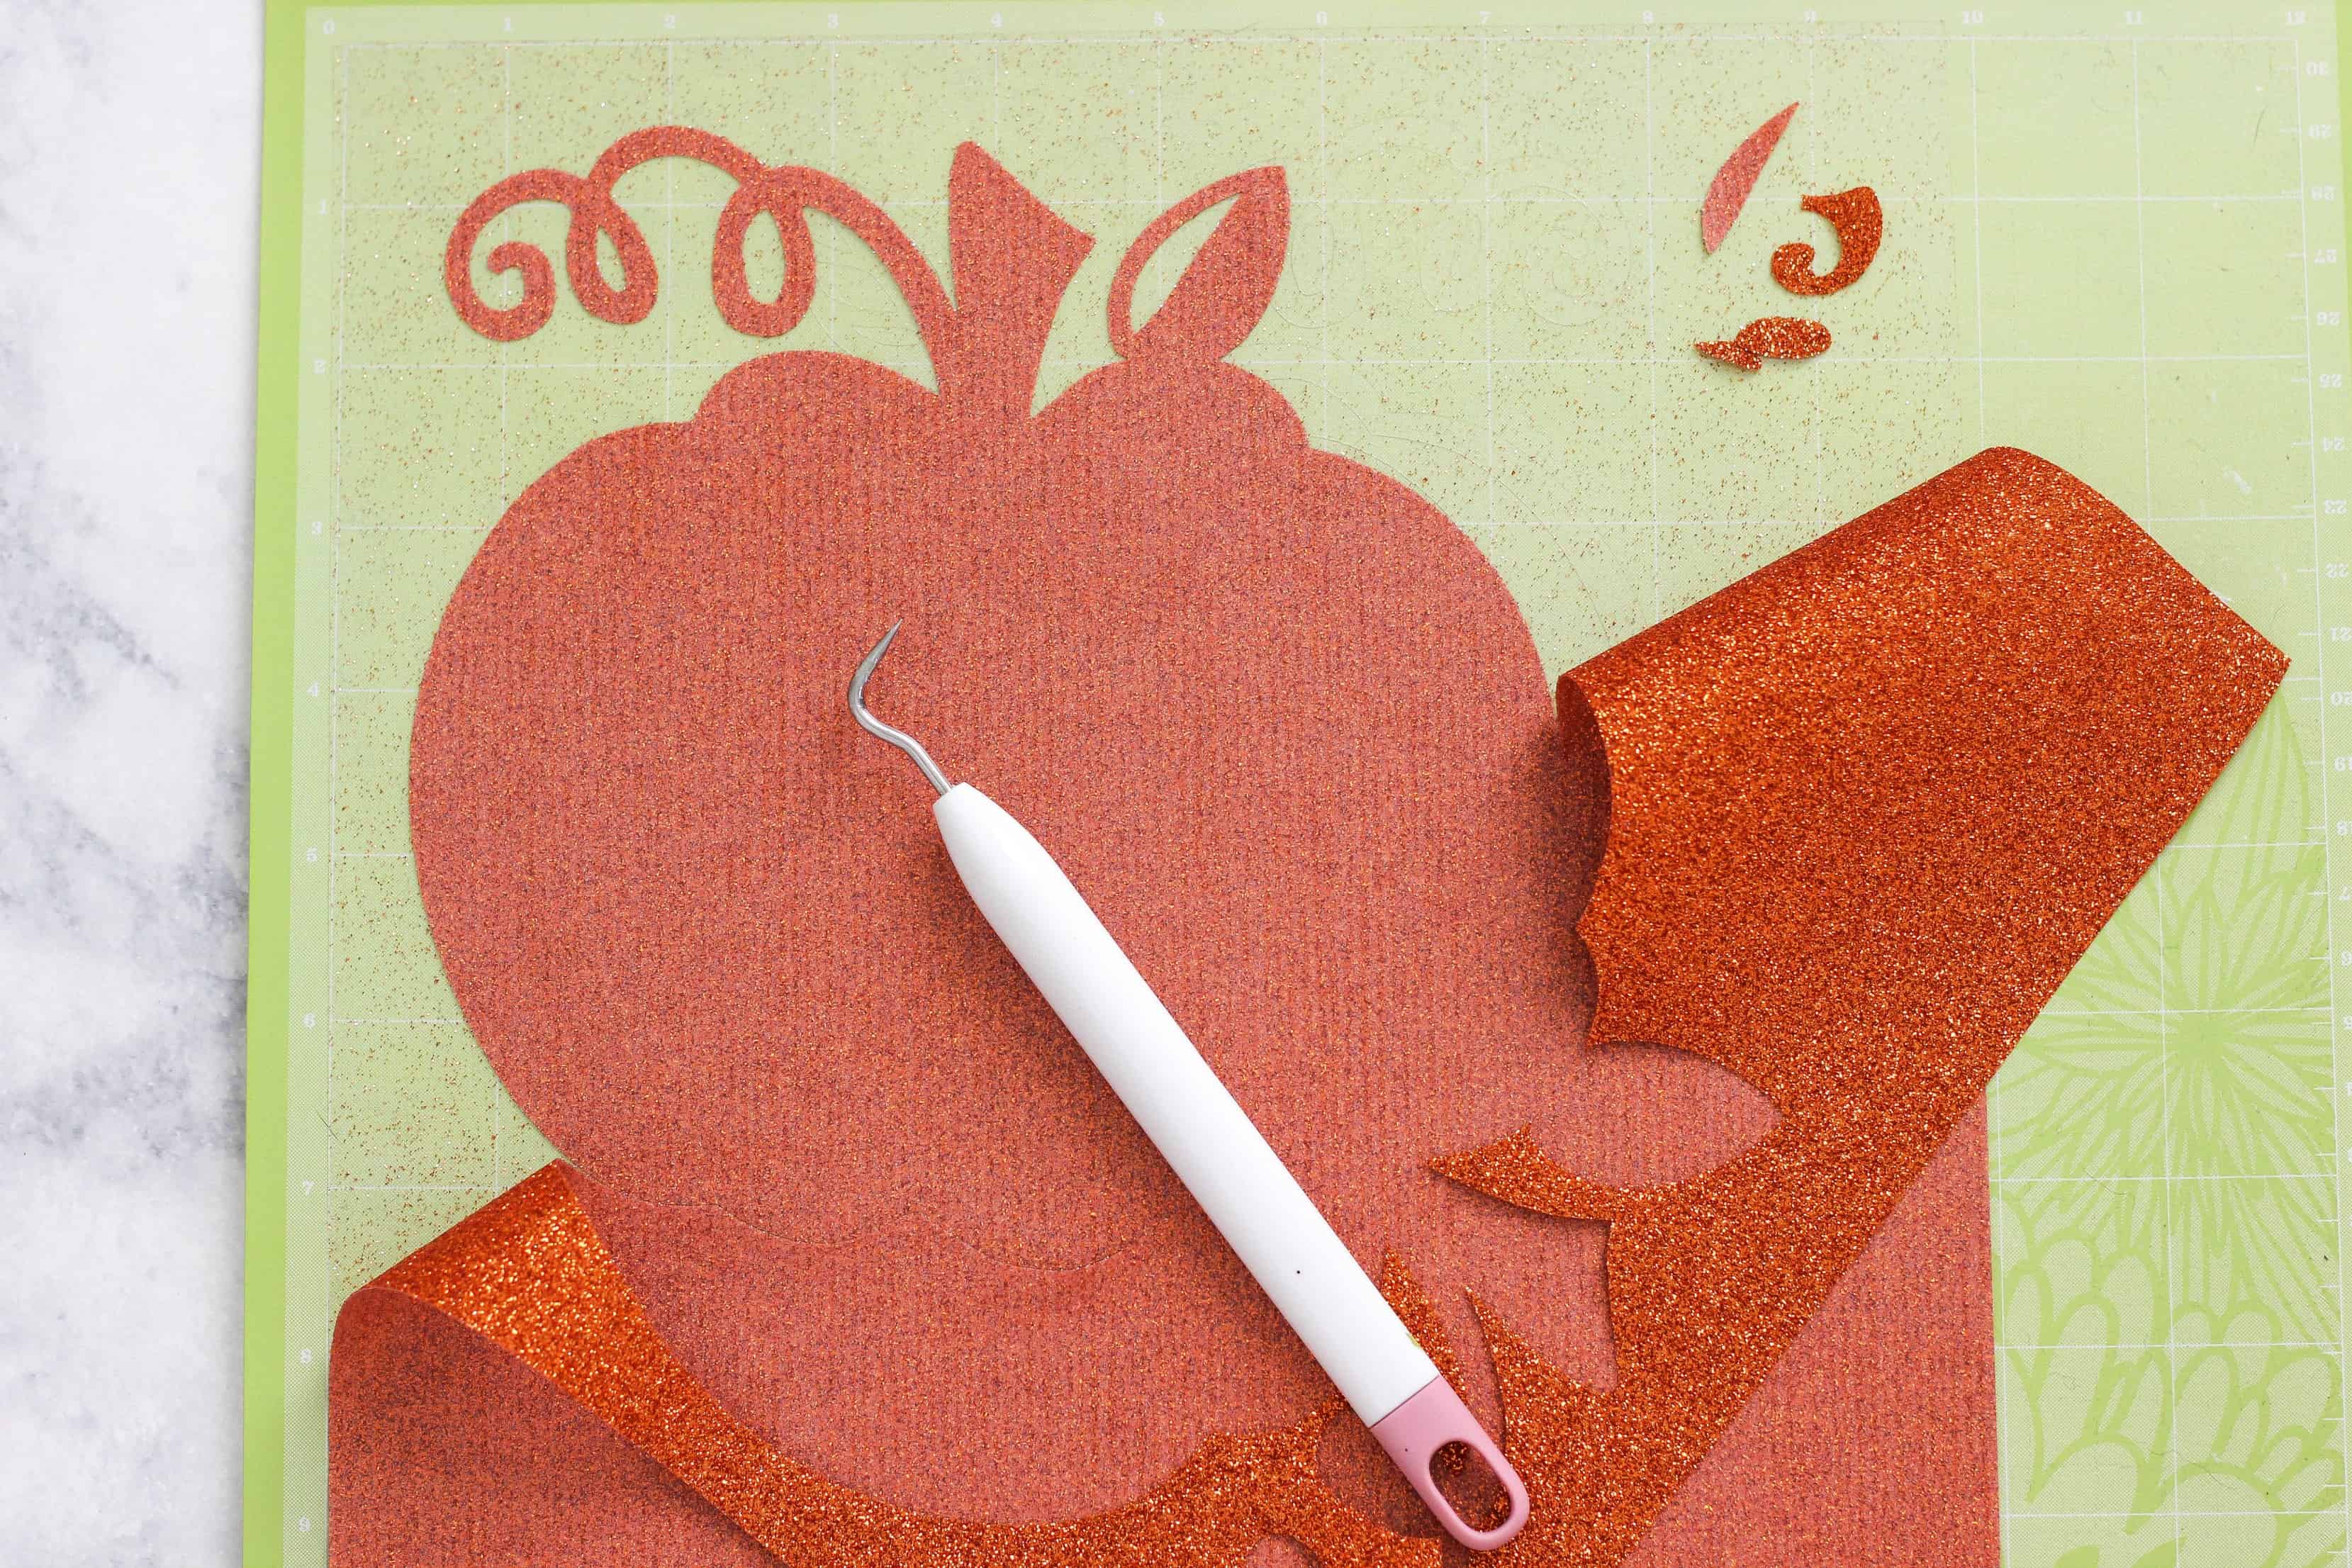
Once the vinyl was cut, I used a weeding tool to weed the negative space of the vinyl image. I usually start with the outer edges first by peeling away at the corner and working my way around the design. It’s super easy!
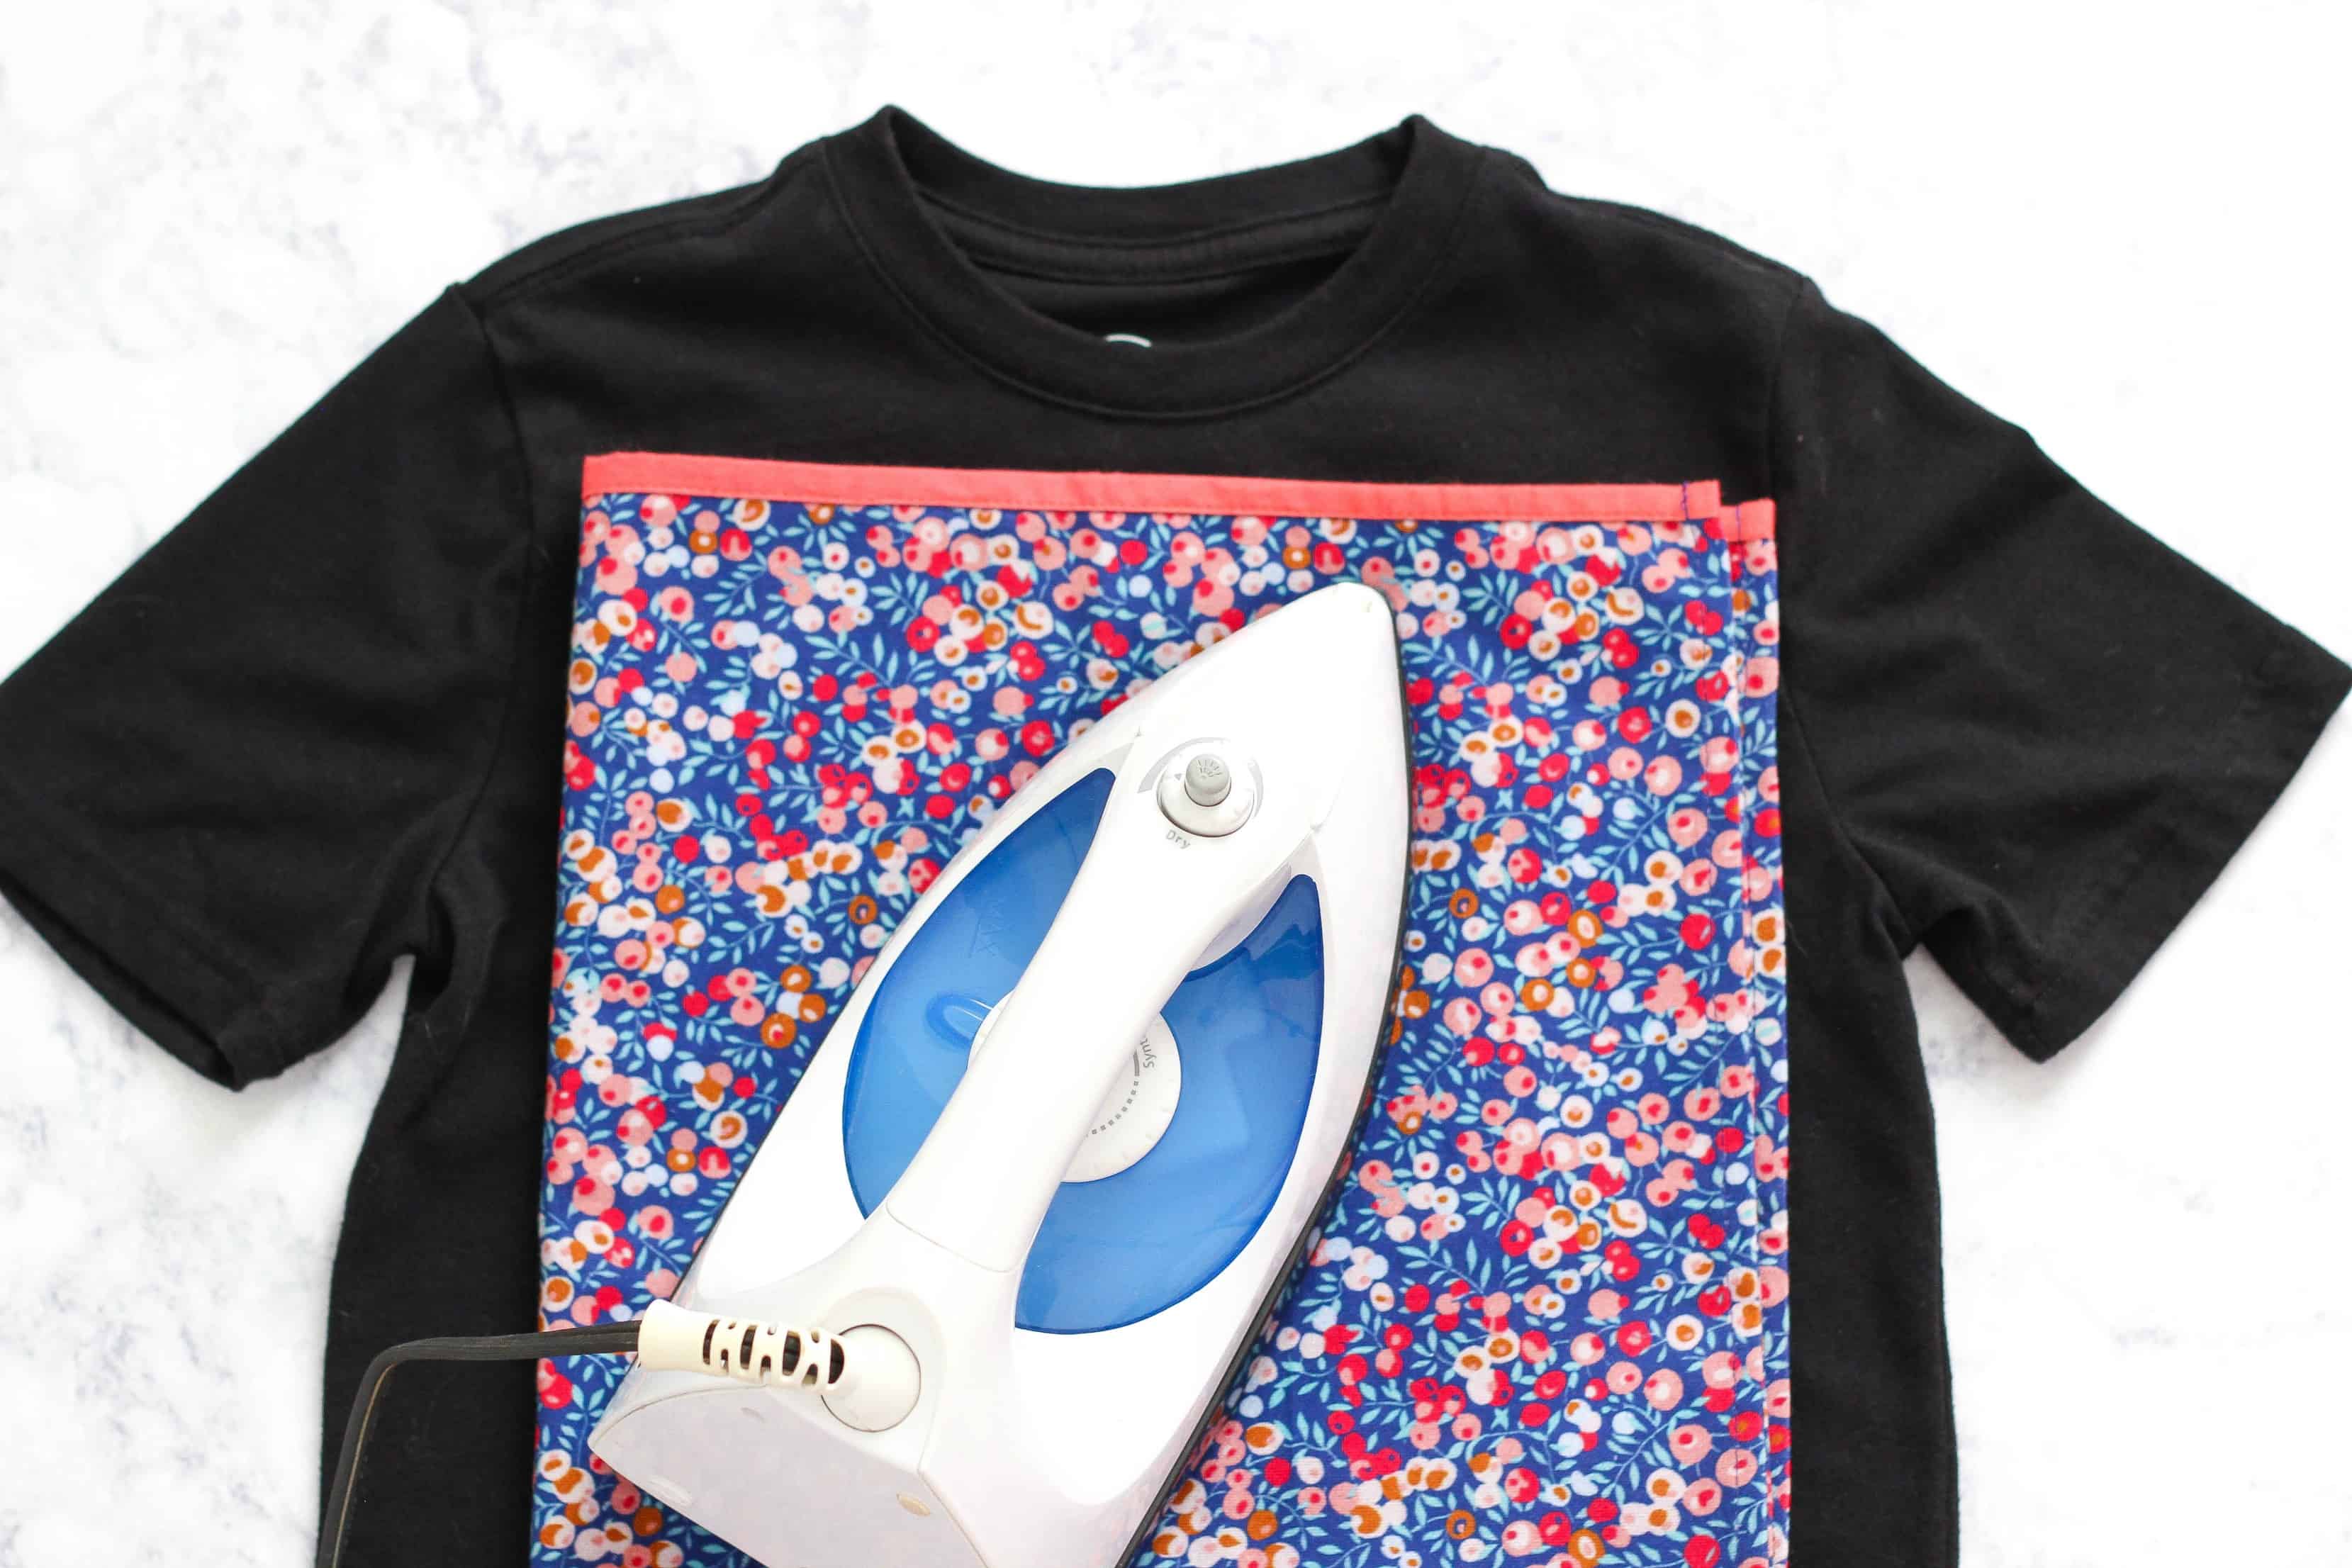
You want to wash, dry, and iron the shirt first before placing the vinyl. It also helps to preheat the shirt in the area the vinyl is going to go first. Place the vinyl shiny side up with the transfer paper on top. Place a towel over the vinyl and hold the iron over it for about 20 seconds, making sure to apply pressure over the entire design. I also turn the shirt inside out and iron the inside to make sure it is fully bonded. Finally, remove the towel and transfer sheet. To take care of the shirt, wash inside out on the light setting in cold water.
