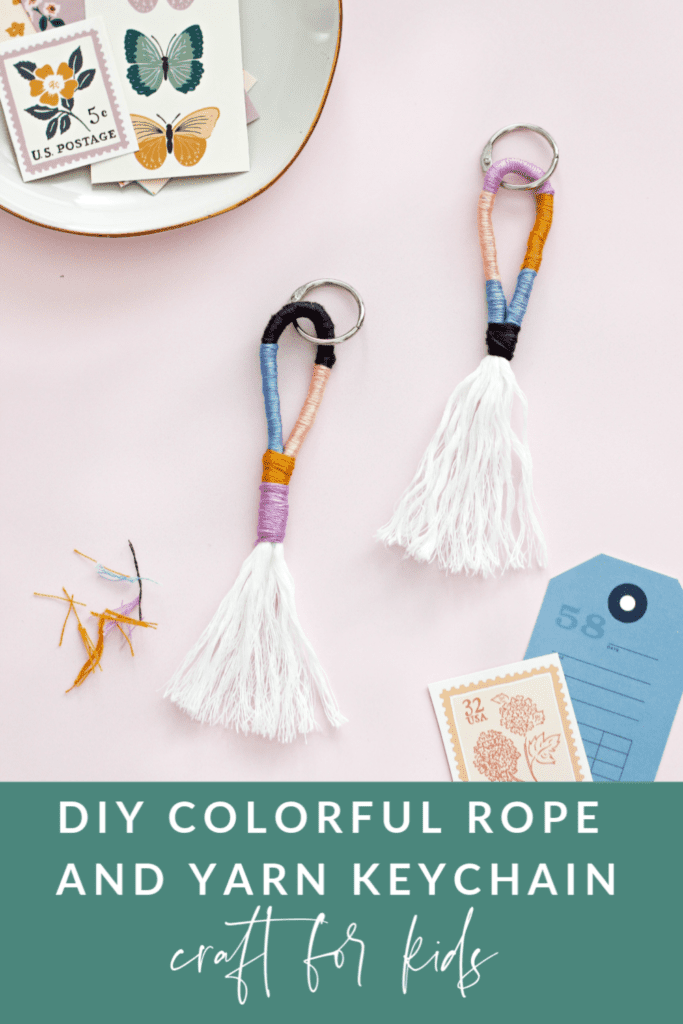
Looking for a quick and easy indoor activity for your kids to stay busy? This DIY keychain can be made in under 30 minutes using items that you probably already have around the house. No special tools or skills are required, so ANYONE can create one. Great fun for the entire family!
I was recently brain storming about what kind of creative project my daughter and I can make during these times. With the stay-at-home orders keeping us away from so many people, it’s nice to make something with your hands that will keep us busy for awhile.
Learn How To Make A Colorful, Fun Rope And Yarn Keychain using regular household items like cotton and embroidery thread.
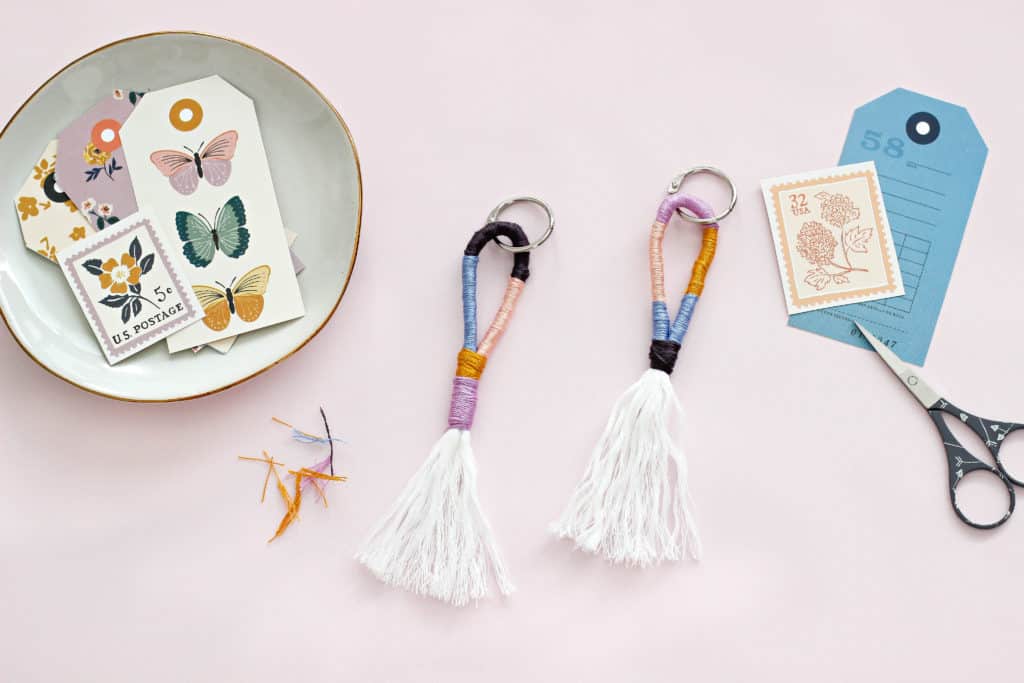
WHY MAKE A DIY KEYCHAIN?
If you need an excuse to make a custom keychain, I’ve got you:
- Update the keychain you’ve had for years
- Create a cute keyring for the pet-sitter
- Give a set of keys to a trusted neighbor
- Decorate your backpack (this is what my daughter used hers for)
- Decorate your purse
- Create a luggage tag for your suitcase
- Stocking stuffers, birthday gifts, gift wrap toppers
Plus the keychain is a great boredom buster for the kids to create and experience the satisfaction of making something with their hands.
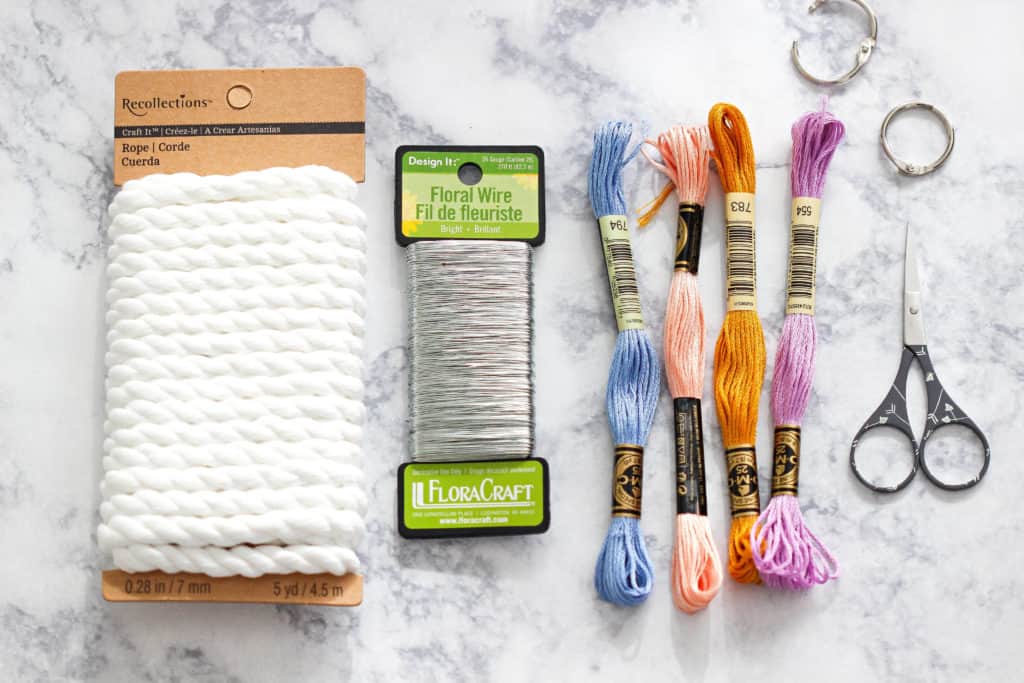
DIY Keychain Supplies:
- Cotton Rope
- 3 to 5 color skeins of embroidery floss
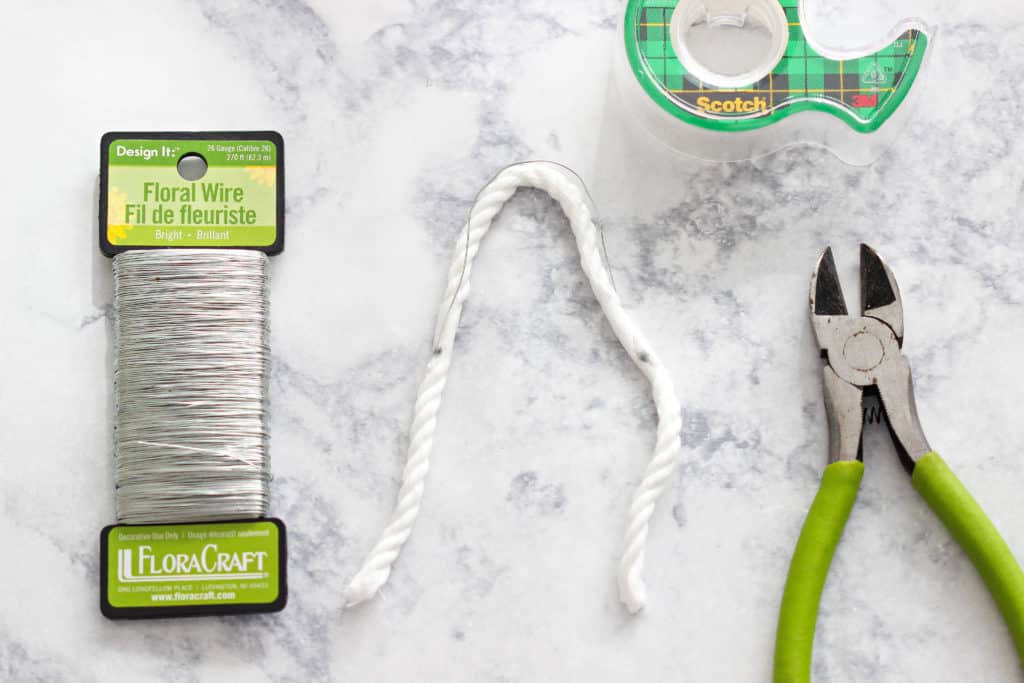
- Floral wire (I used 26 gauge)
- Scissors/Wire cutters
- Tape
- Keychain rings
How To Make A Colorful, Fun Rope And Yarn Keychain
Step 1: Start by measuring a piece of cotton rope 10 inches long. Use a pair of scissors to cut the rope.
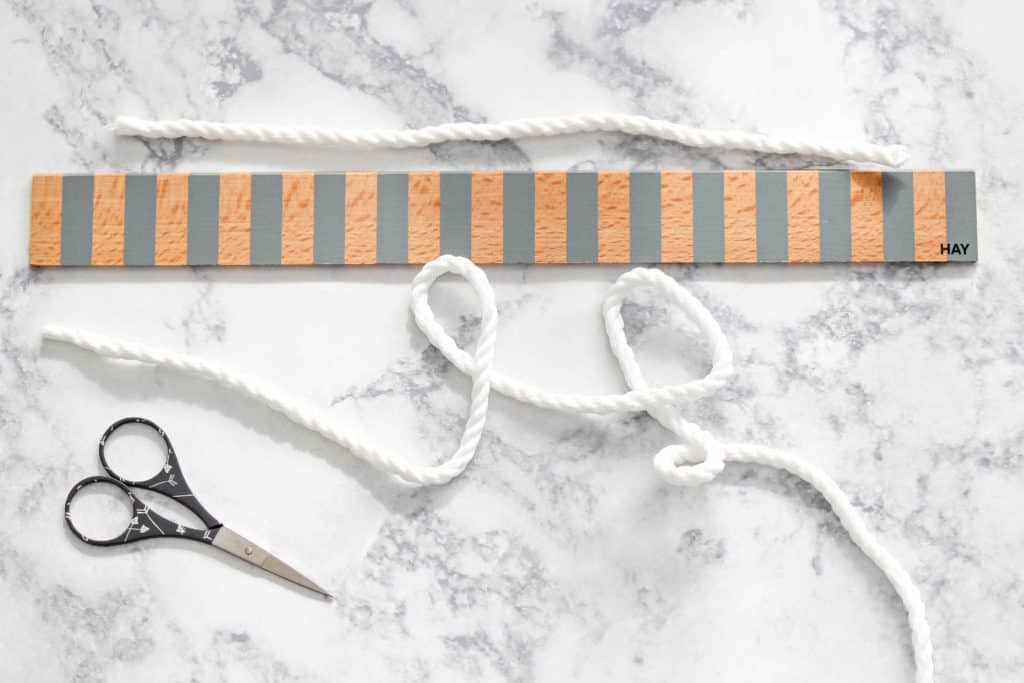
Step 2: Fold your cut rope in half. Leave 2.5 inches at both ends and use a pencil to mark those spots. Cut a piece of floral wire from the pencil marks and use two pieces of tape to hold the wire in place.
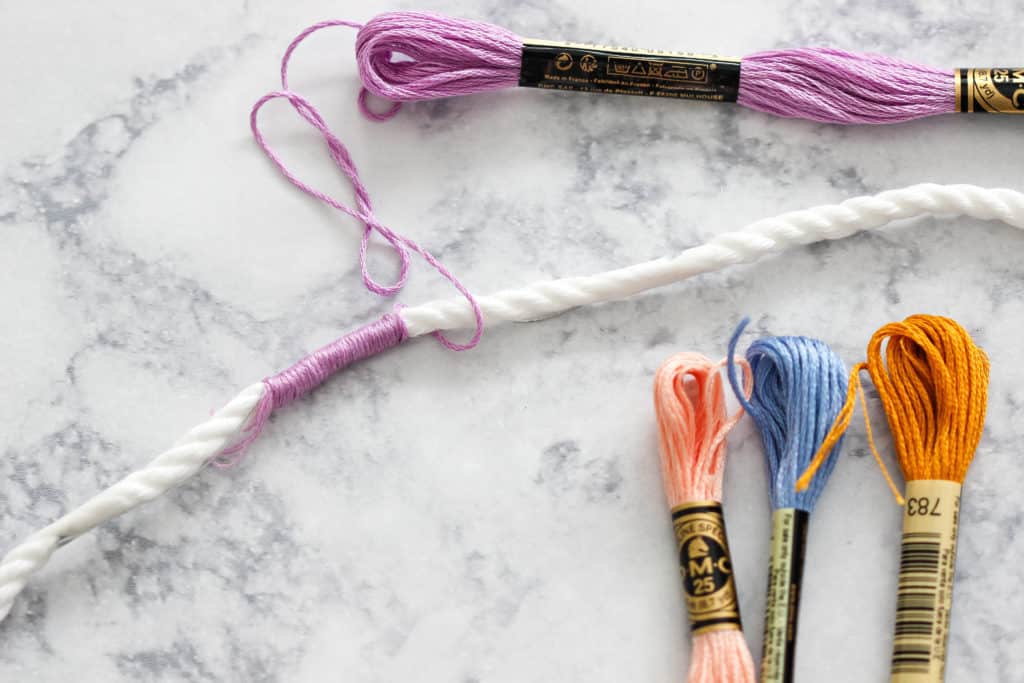
Step 3: Tie a piece of embroidery thread in the middle of the rope. Make sure you leave a small tail of the thread so that you can tie a different color thread later. Then wrap the first thread very tightly around the rope from the center outwards. The colored surface is wrapped wider or narrower as desired.
To start a new color, you tie the two yarns with an ordinary knot and continue winding until you reach the knot. This is ‘hidden’ between the ropes. To do this, pull the yarn through the middle of the bundle of ropes and continue winding as usual. The knot disappears and the colored surface then appears smooth and homogeneous.
NOTE: if you are use a regular key ring you want to insert it now before you tie the ends of the rope together.
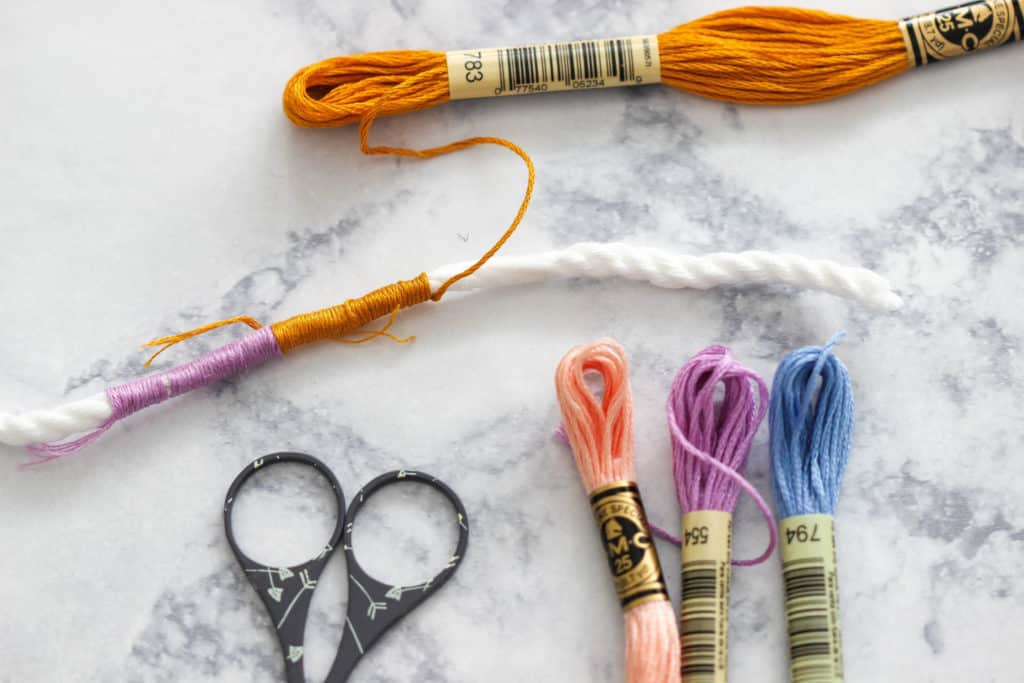
Step 4: Now fold the rope strand in the middle so that a loop is created. The key ring is in the loop (if you are using a regular key ring).
You then tie the two strands together with a yarn of your choice. For this, wrap tightly several times and knot several times.
Use a pair of scissors to trim the extra threads.
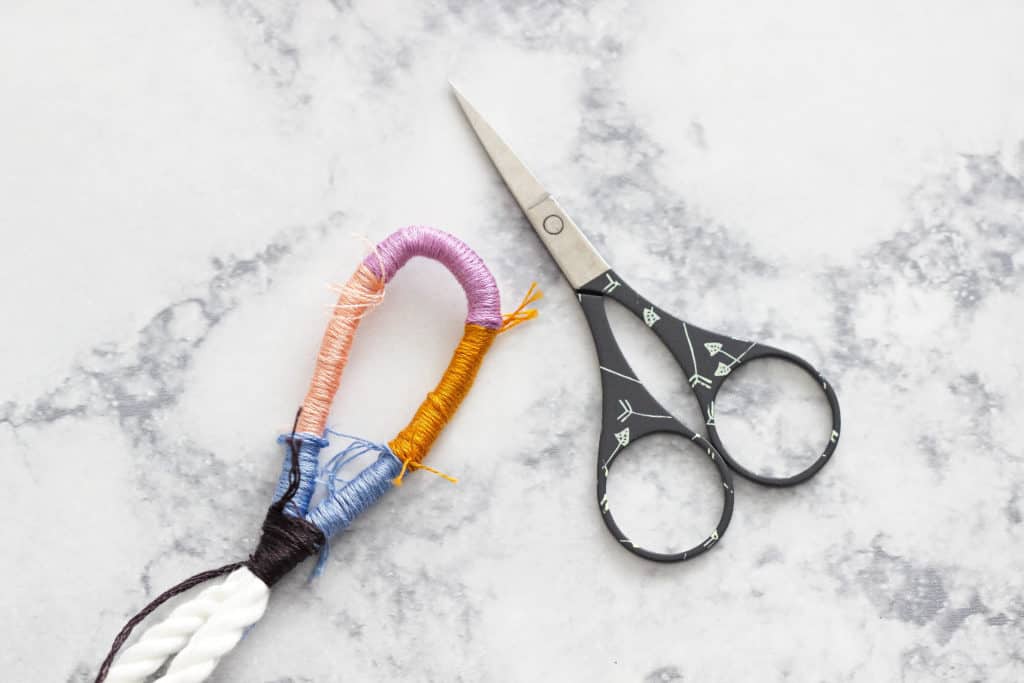
Step 5: The remaining cotton rope ends can be unraveled as you like. This makes the tassel more delicate. The threads can be easily separated with the help of a toothpick or scissors.
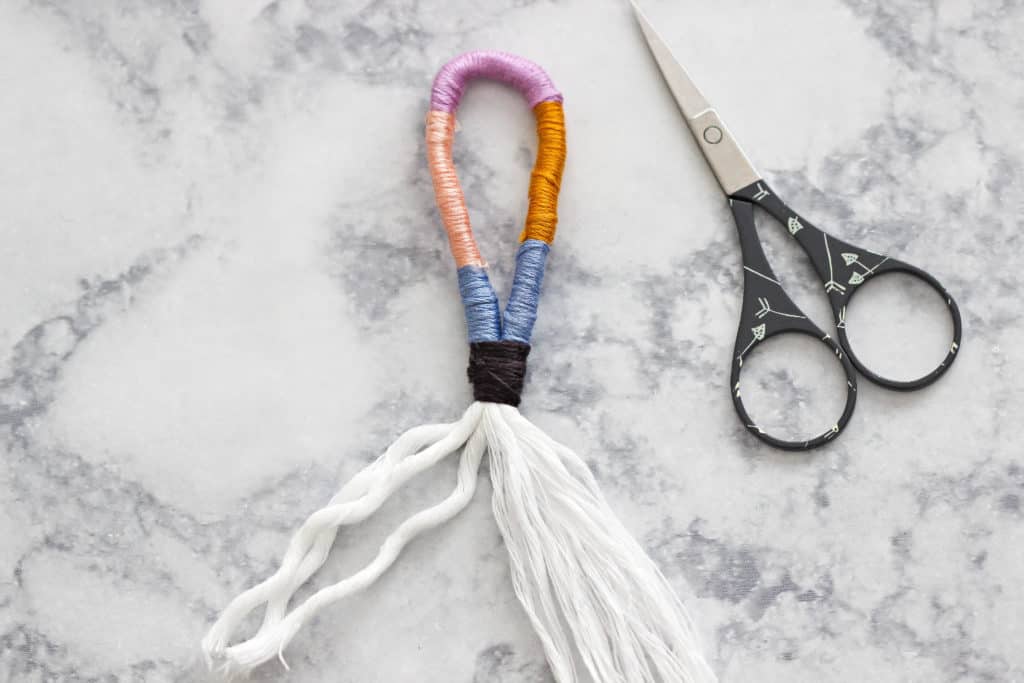
The key ring that I used is one that clamps so I inserted it at the very end.
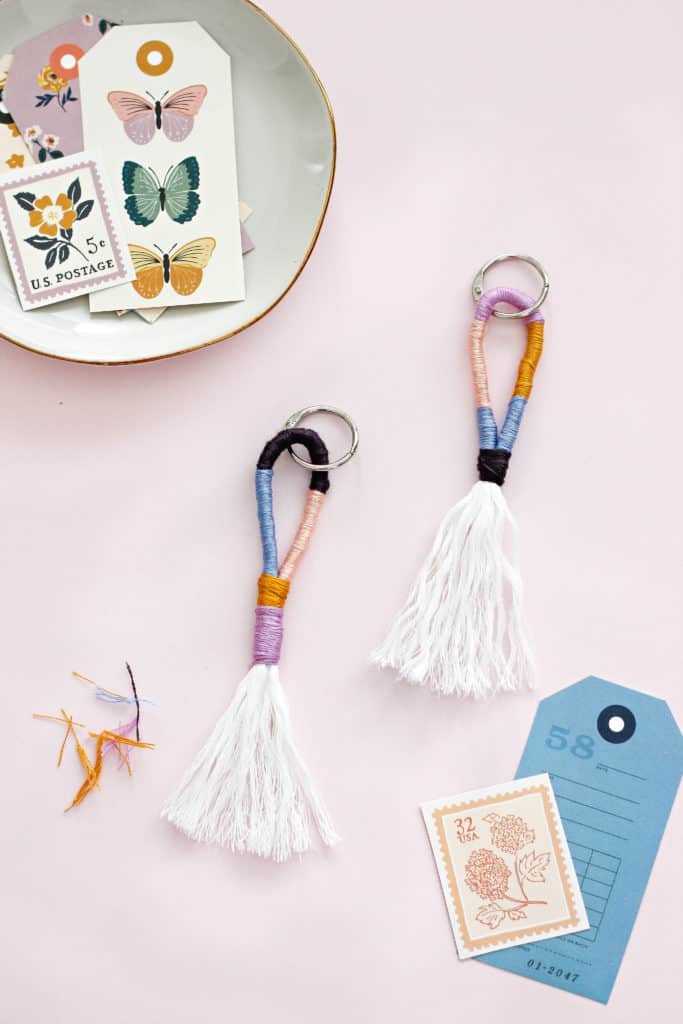
I hope you like this tutorial on how to make a colorful, fun rope and yarn keychain.
Here are some other kids crafts ideas:
- Easy Glitter Heart Hair Clips
- Stenciled Canvas Lunch Tote
- Paper Doily Star
- Ice Cream Sundae Slime
- Felt Ball Earrings
Make sure to pin the image so you can save this project for later.
