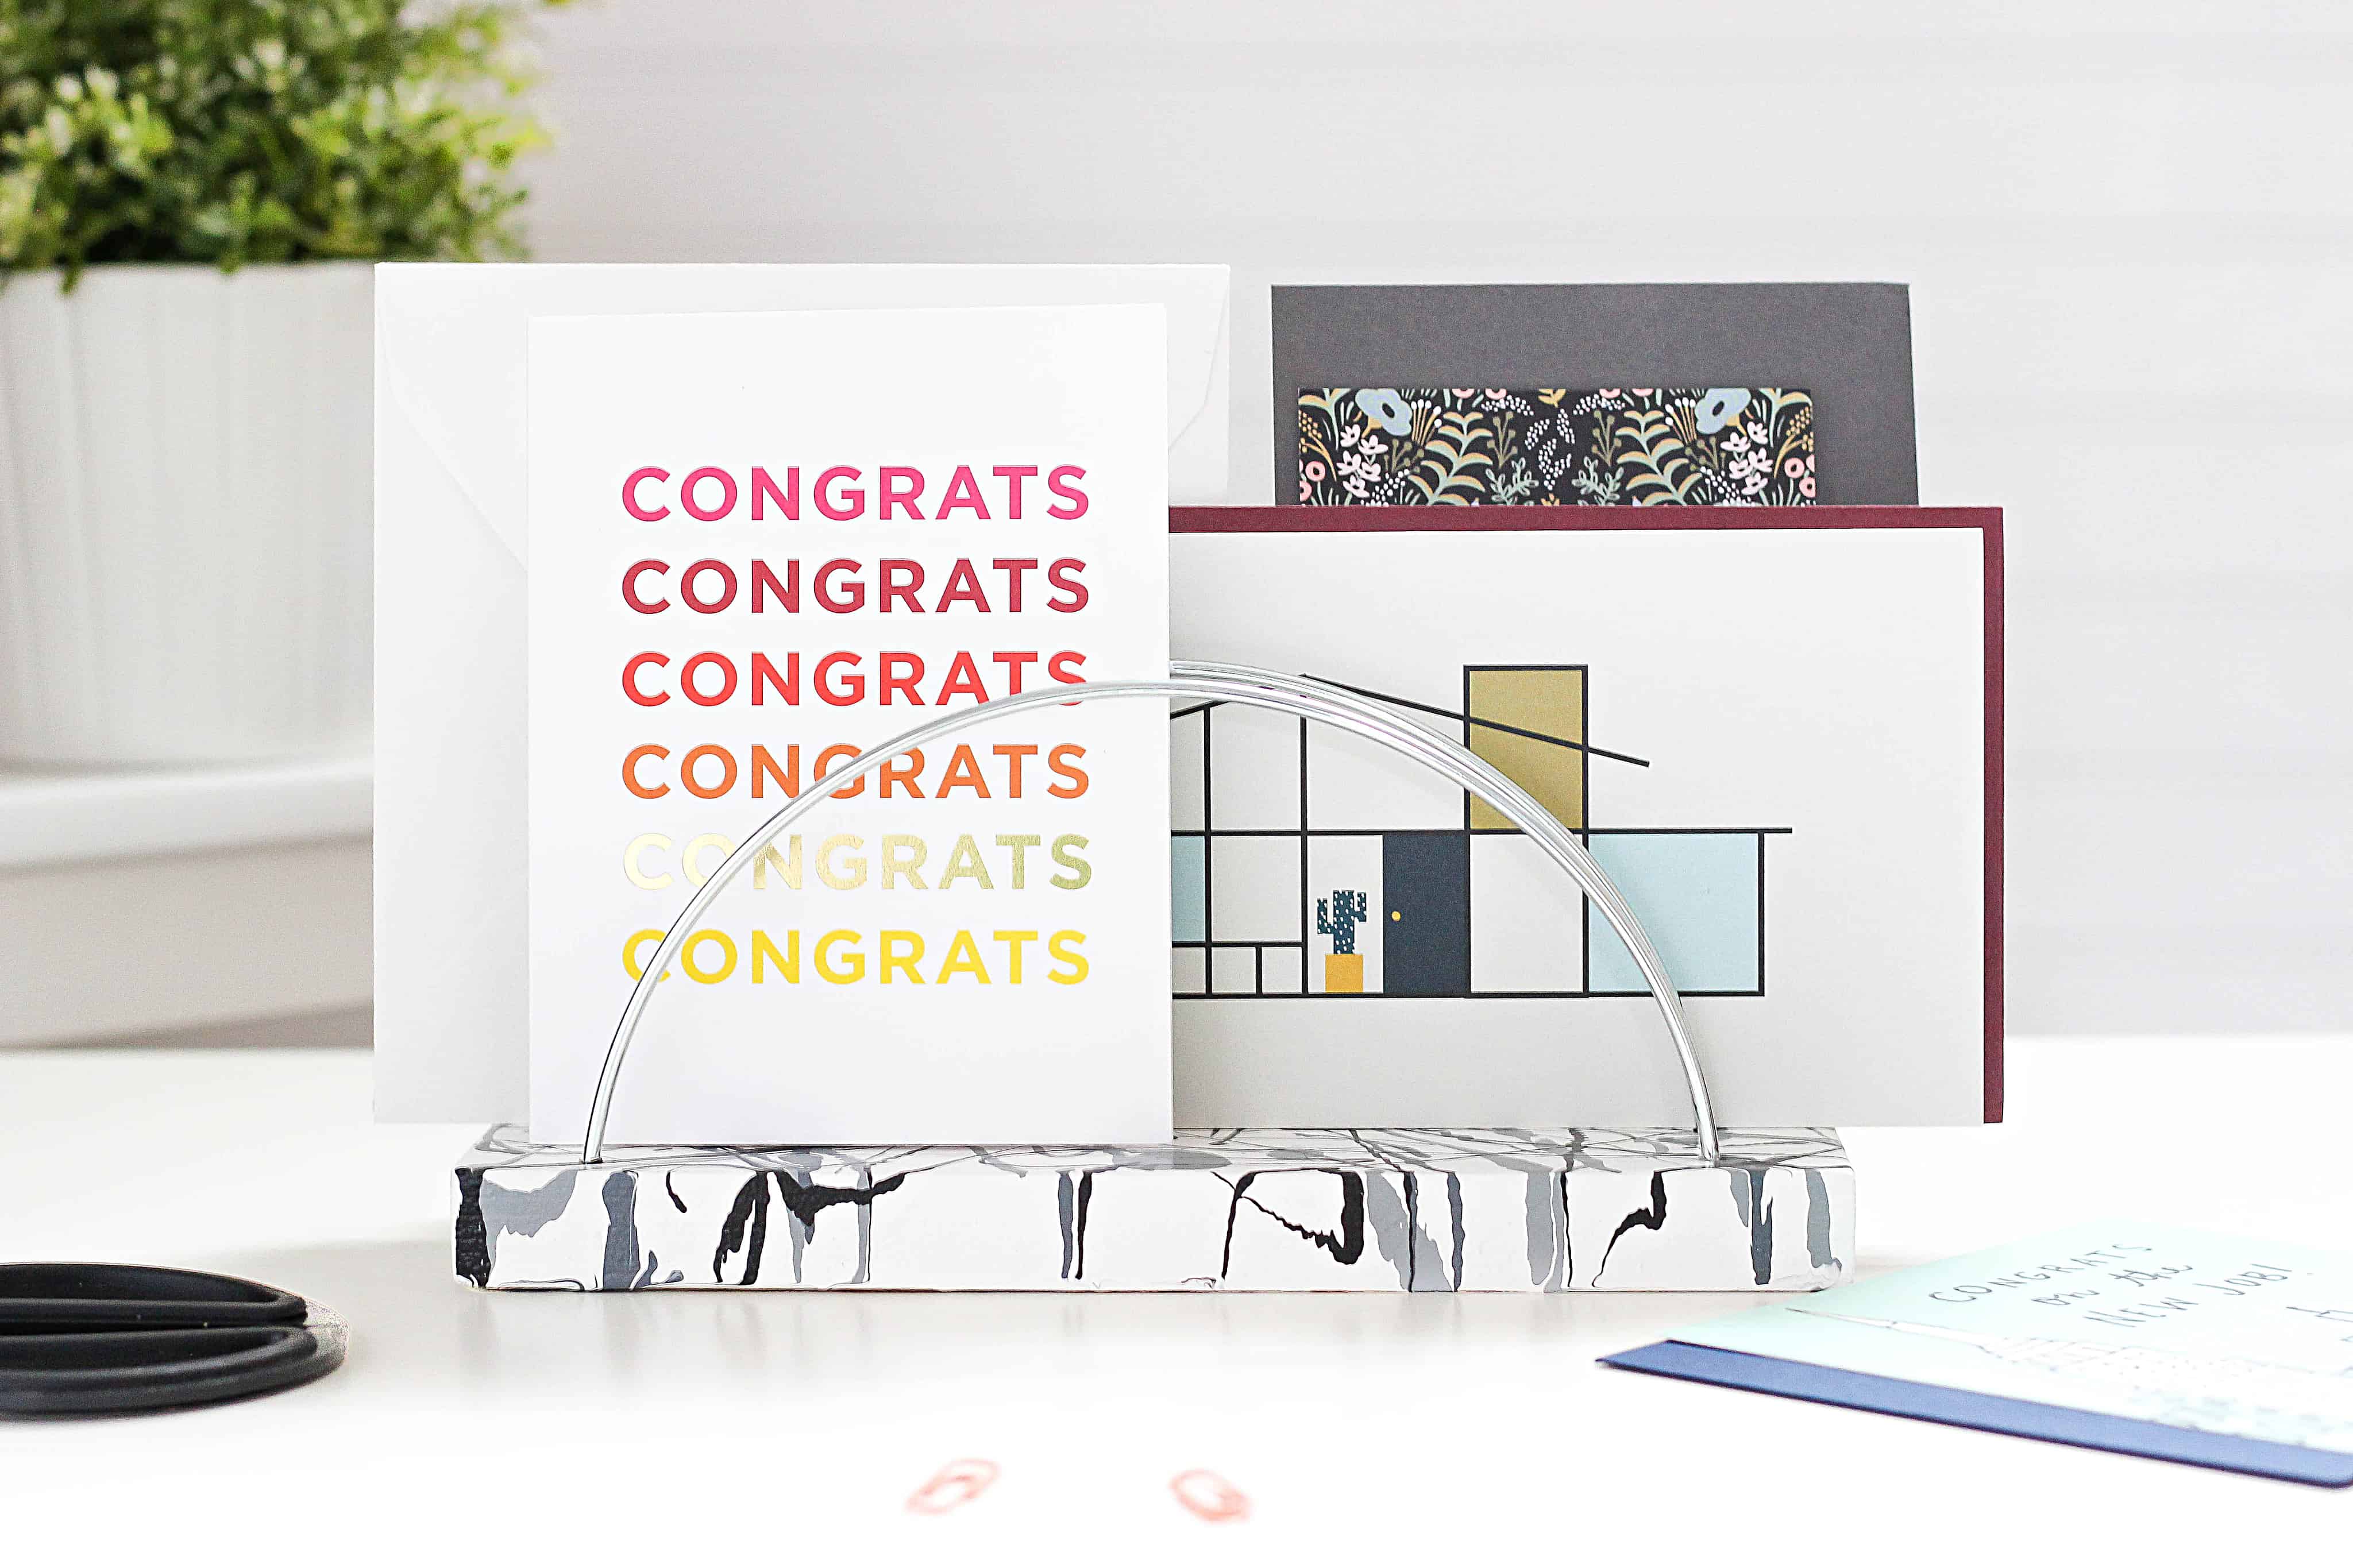
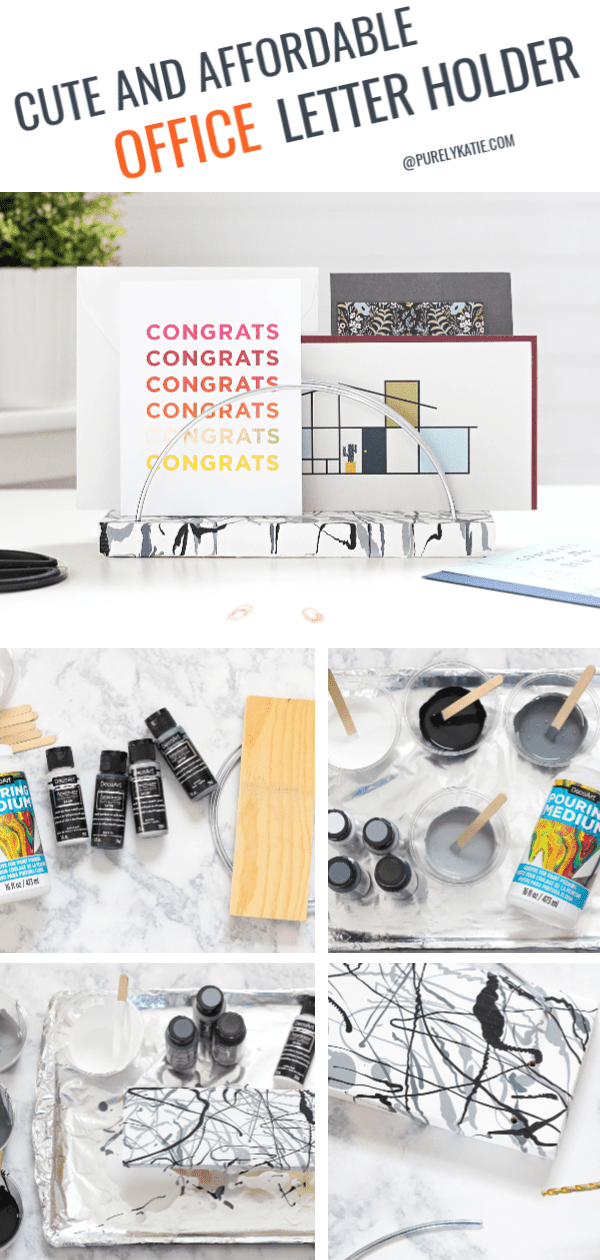
Is your mail situation in desperate need of some organization? Learn how to make a cute and affordable office letter holder to keep things in order.
This time of year is crazy busy with all the holiday sale ads, greeting cards, and lists upon lists. If your desk is anything like mine then it’s messy and disorganized. Keeping things elevated and at arms’ reach will help clear up valuable desktop space and get things coordinated.
This is a sponsored post written by me on behalf of DecoArt. I received compensation and product for this post. All ideas and opinions are 100% my own.
Everyone loves cute and affordable office supplies, right? If you have pretty office desk decor then it is easier to get to work, or at least you have some eye candy to look at. You can create your own mail organizer with just a few inexpensive supplies and steps.
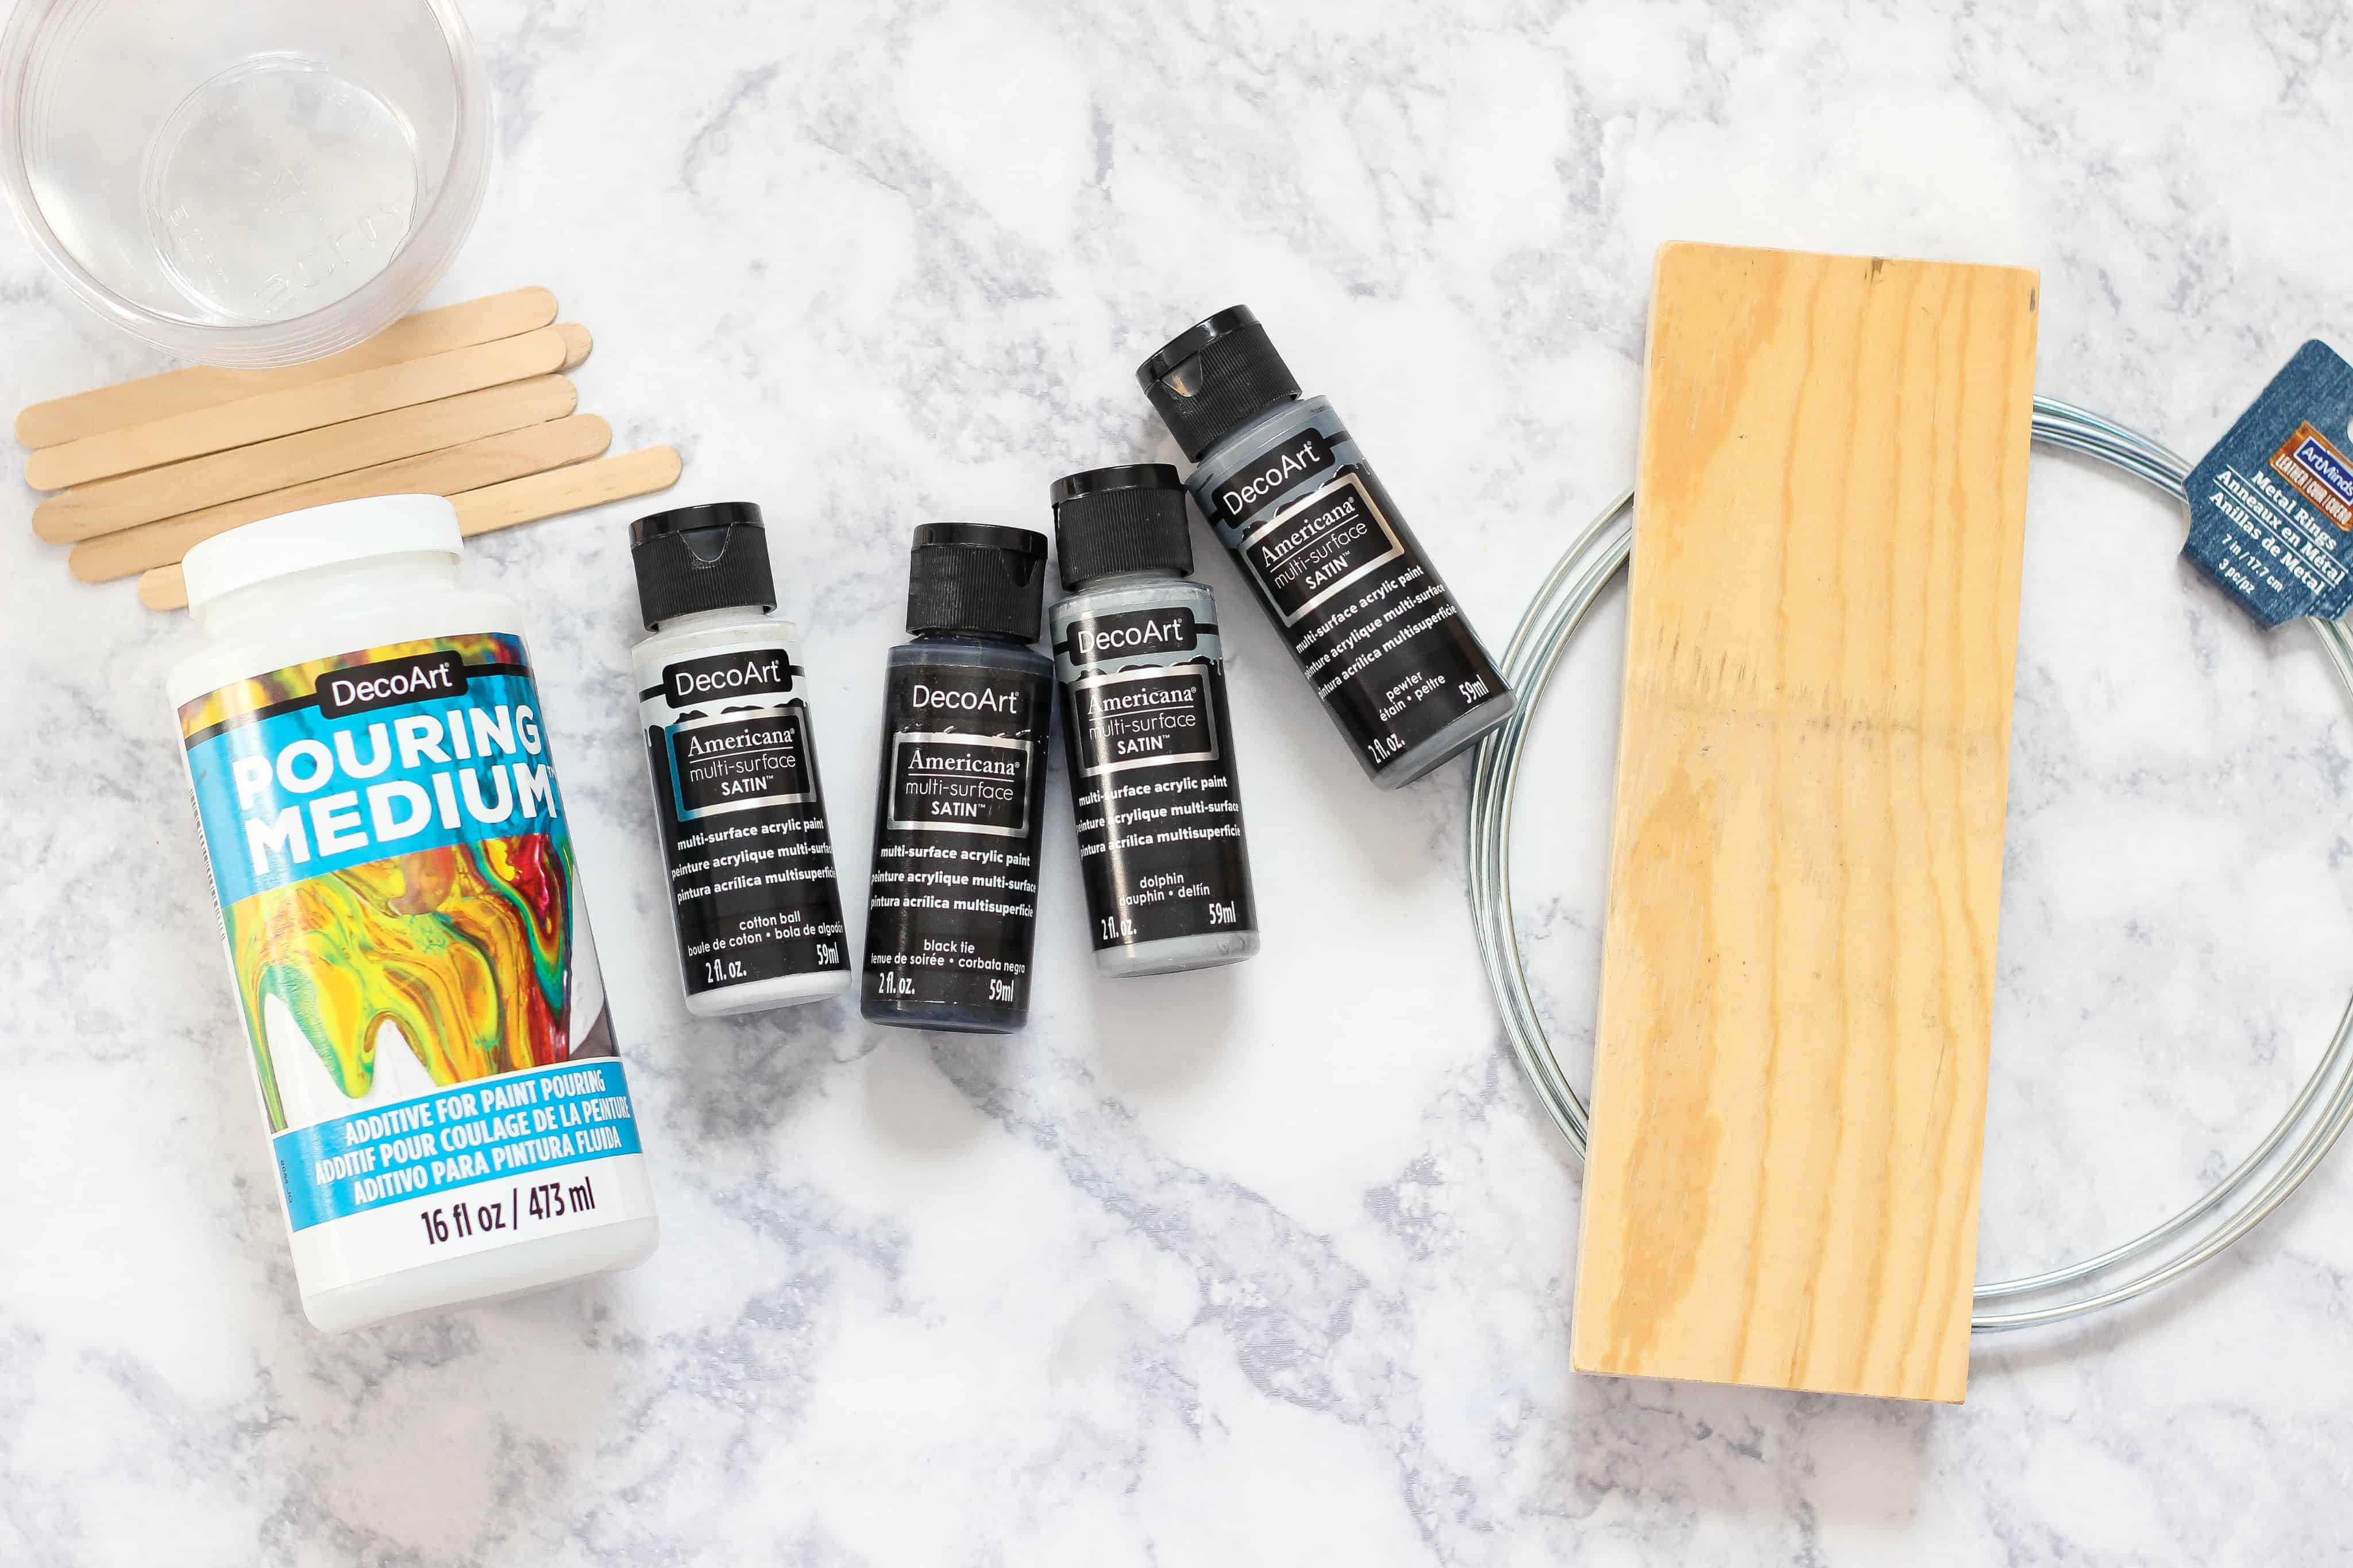
DIY Paper Organizer Supplies:
- Americana Multi-Surface Paint 2 oz – Cotton Ball, Black Tie, Pewter, Dolphin
- DecoArt Pouring Medium
- 3 inch by 9 inch piece of wood
- 7 inch Metal Hoops
- Pliers
- Power Drill with 1/8″ bit
- Plastic Cups
- Wooden Craft Sticks
Here is the cost breakdown for this project:
- wood – free (it was a scrap piece in our garage)
- metal hoops – $3 (found at a thrift store)
- paint – sponsored by DecoArt
All of the other supplies I had at my house. So, the total cost was a whopping $3. That is a good price for a DIY office project.
How To Make A Cute And Affordable Office Letter Holder
You can alter the width and length of the letter holder according to the size of your desk or space. And paint your wooden base to fit your style.
Step 1: Start by gather your supplies. This desktop mail sorter is a great project for using any scrap wood you have at home. We cut a piece of pine 9 inches in length and 3 inches in width. The board was 3/4″ thick.
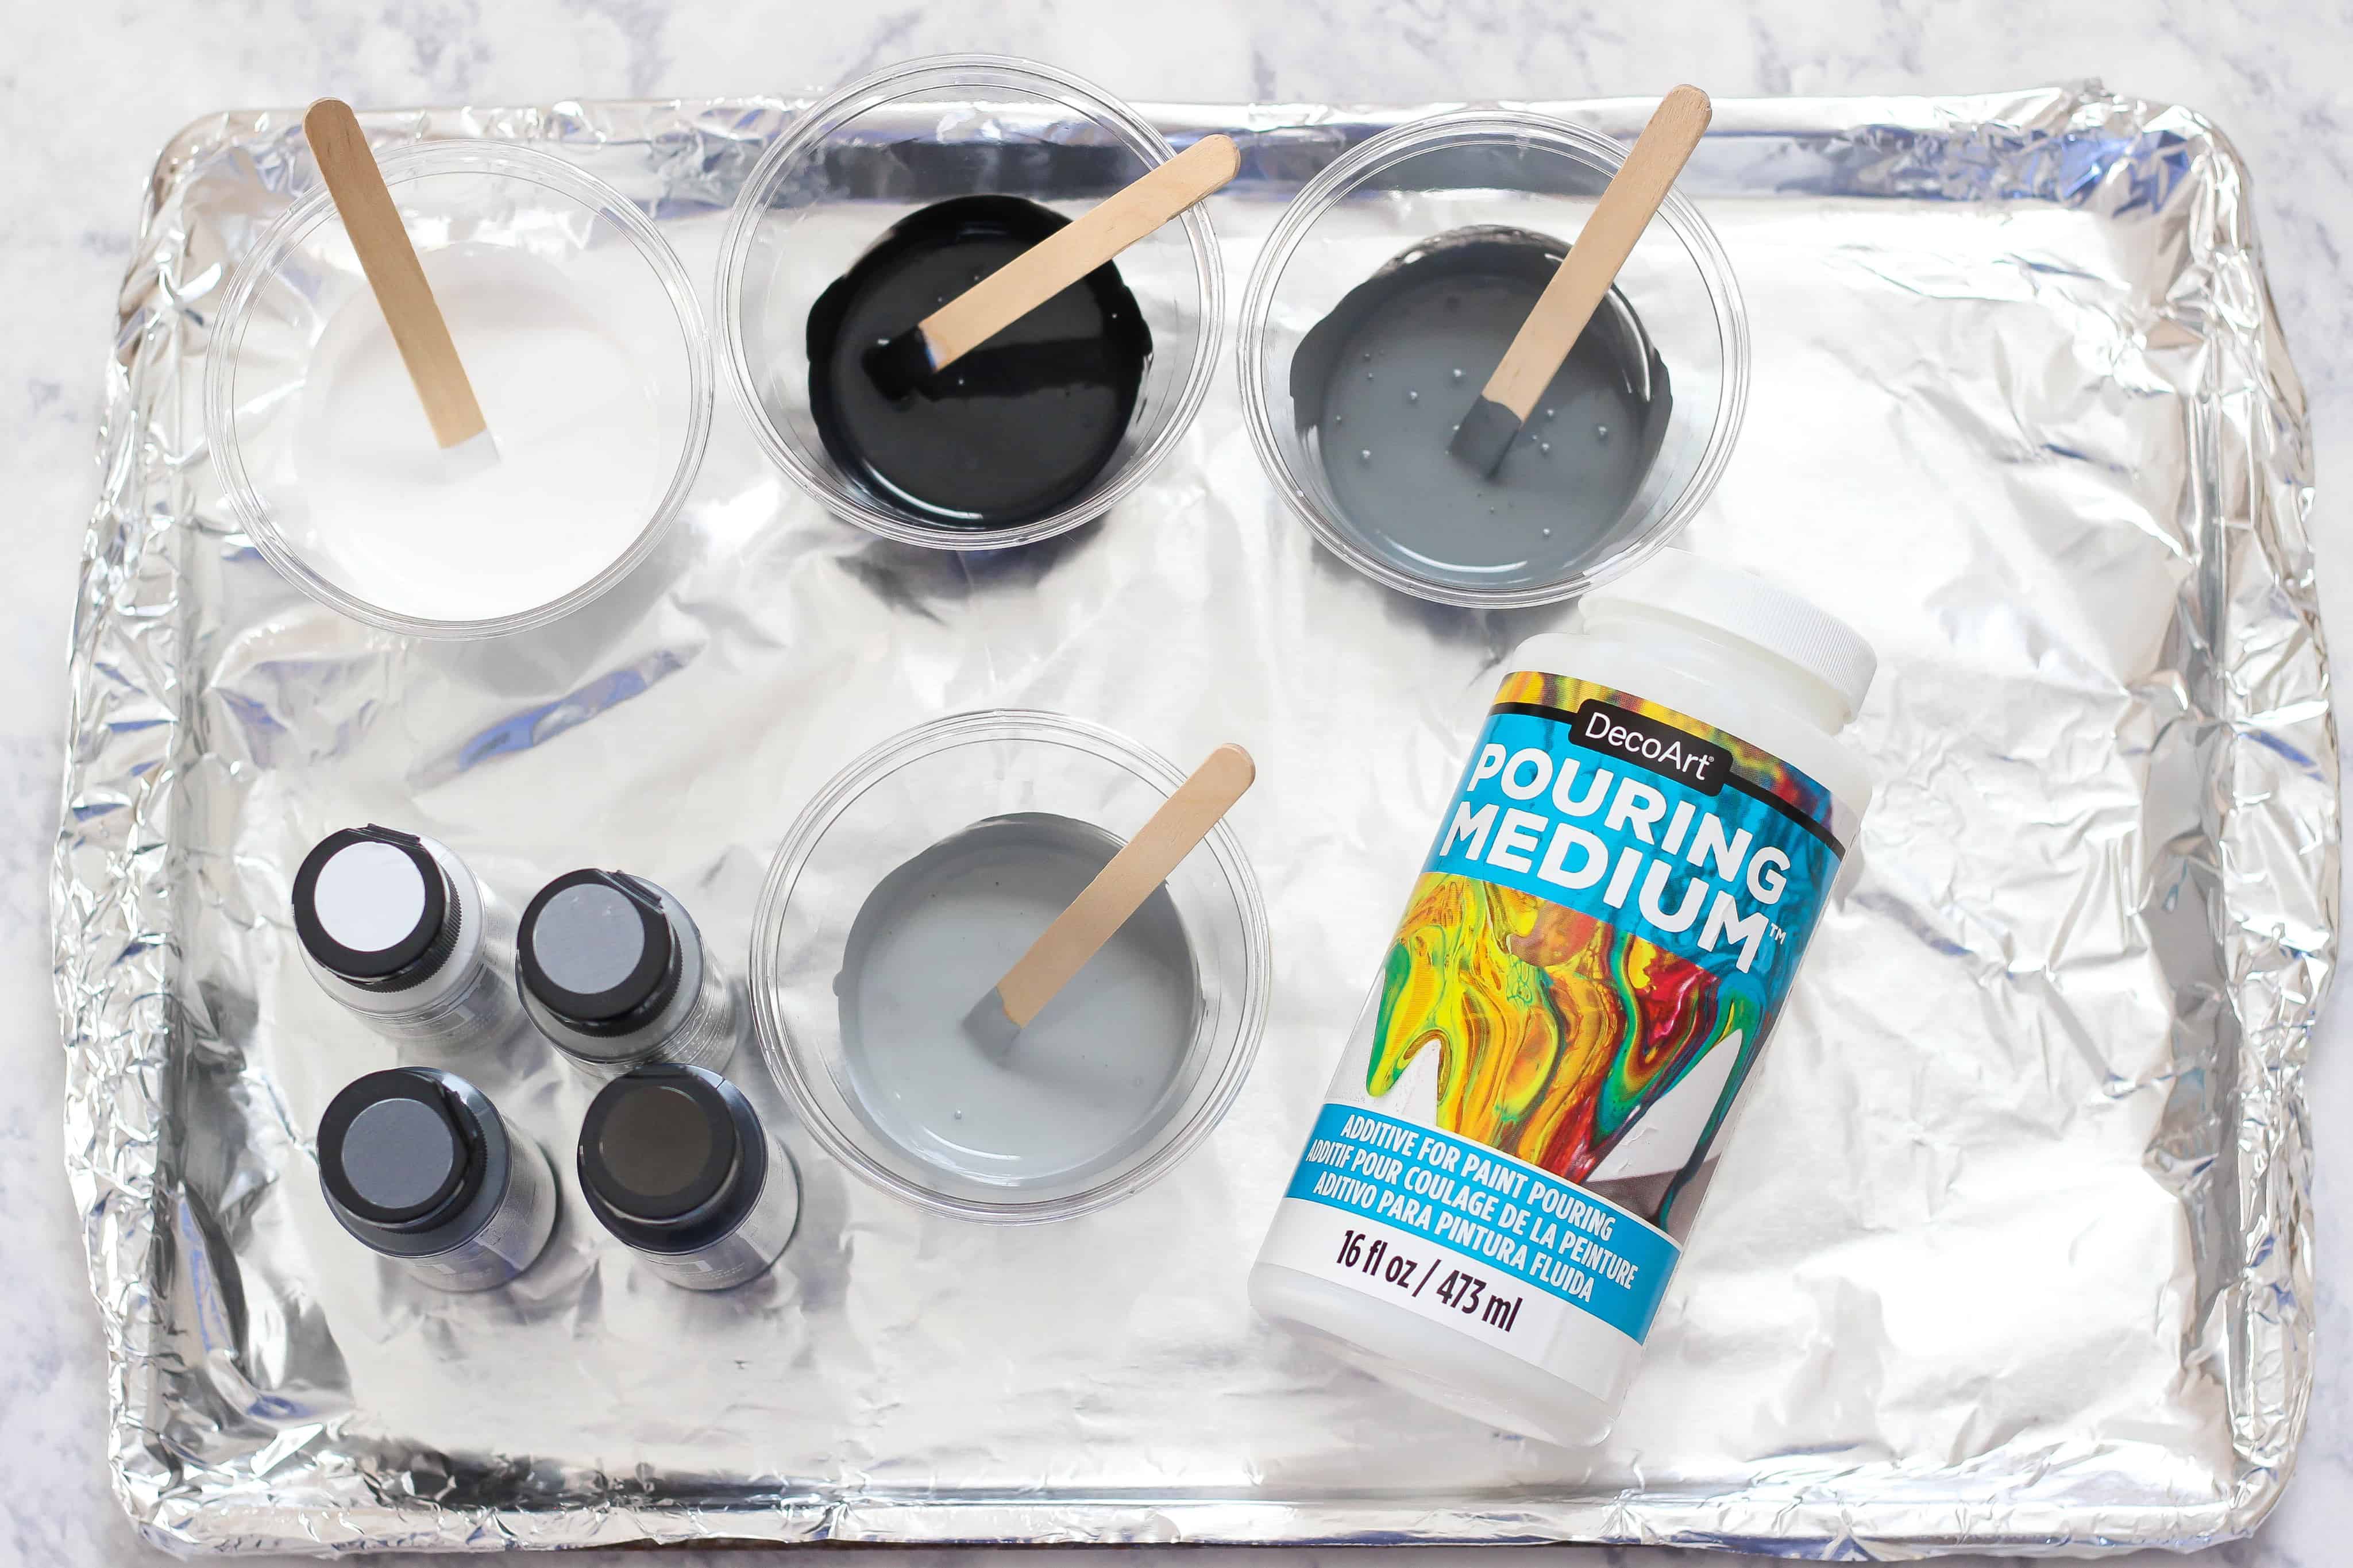
Step 2: Prepare a work space for protection and easy clean up. I am using a baking sheet line with foil but you can also use a disposable aluminum baking pan to catch the paint. You will also need paper towels and gloves.
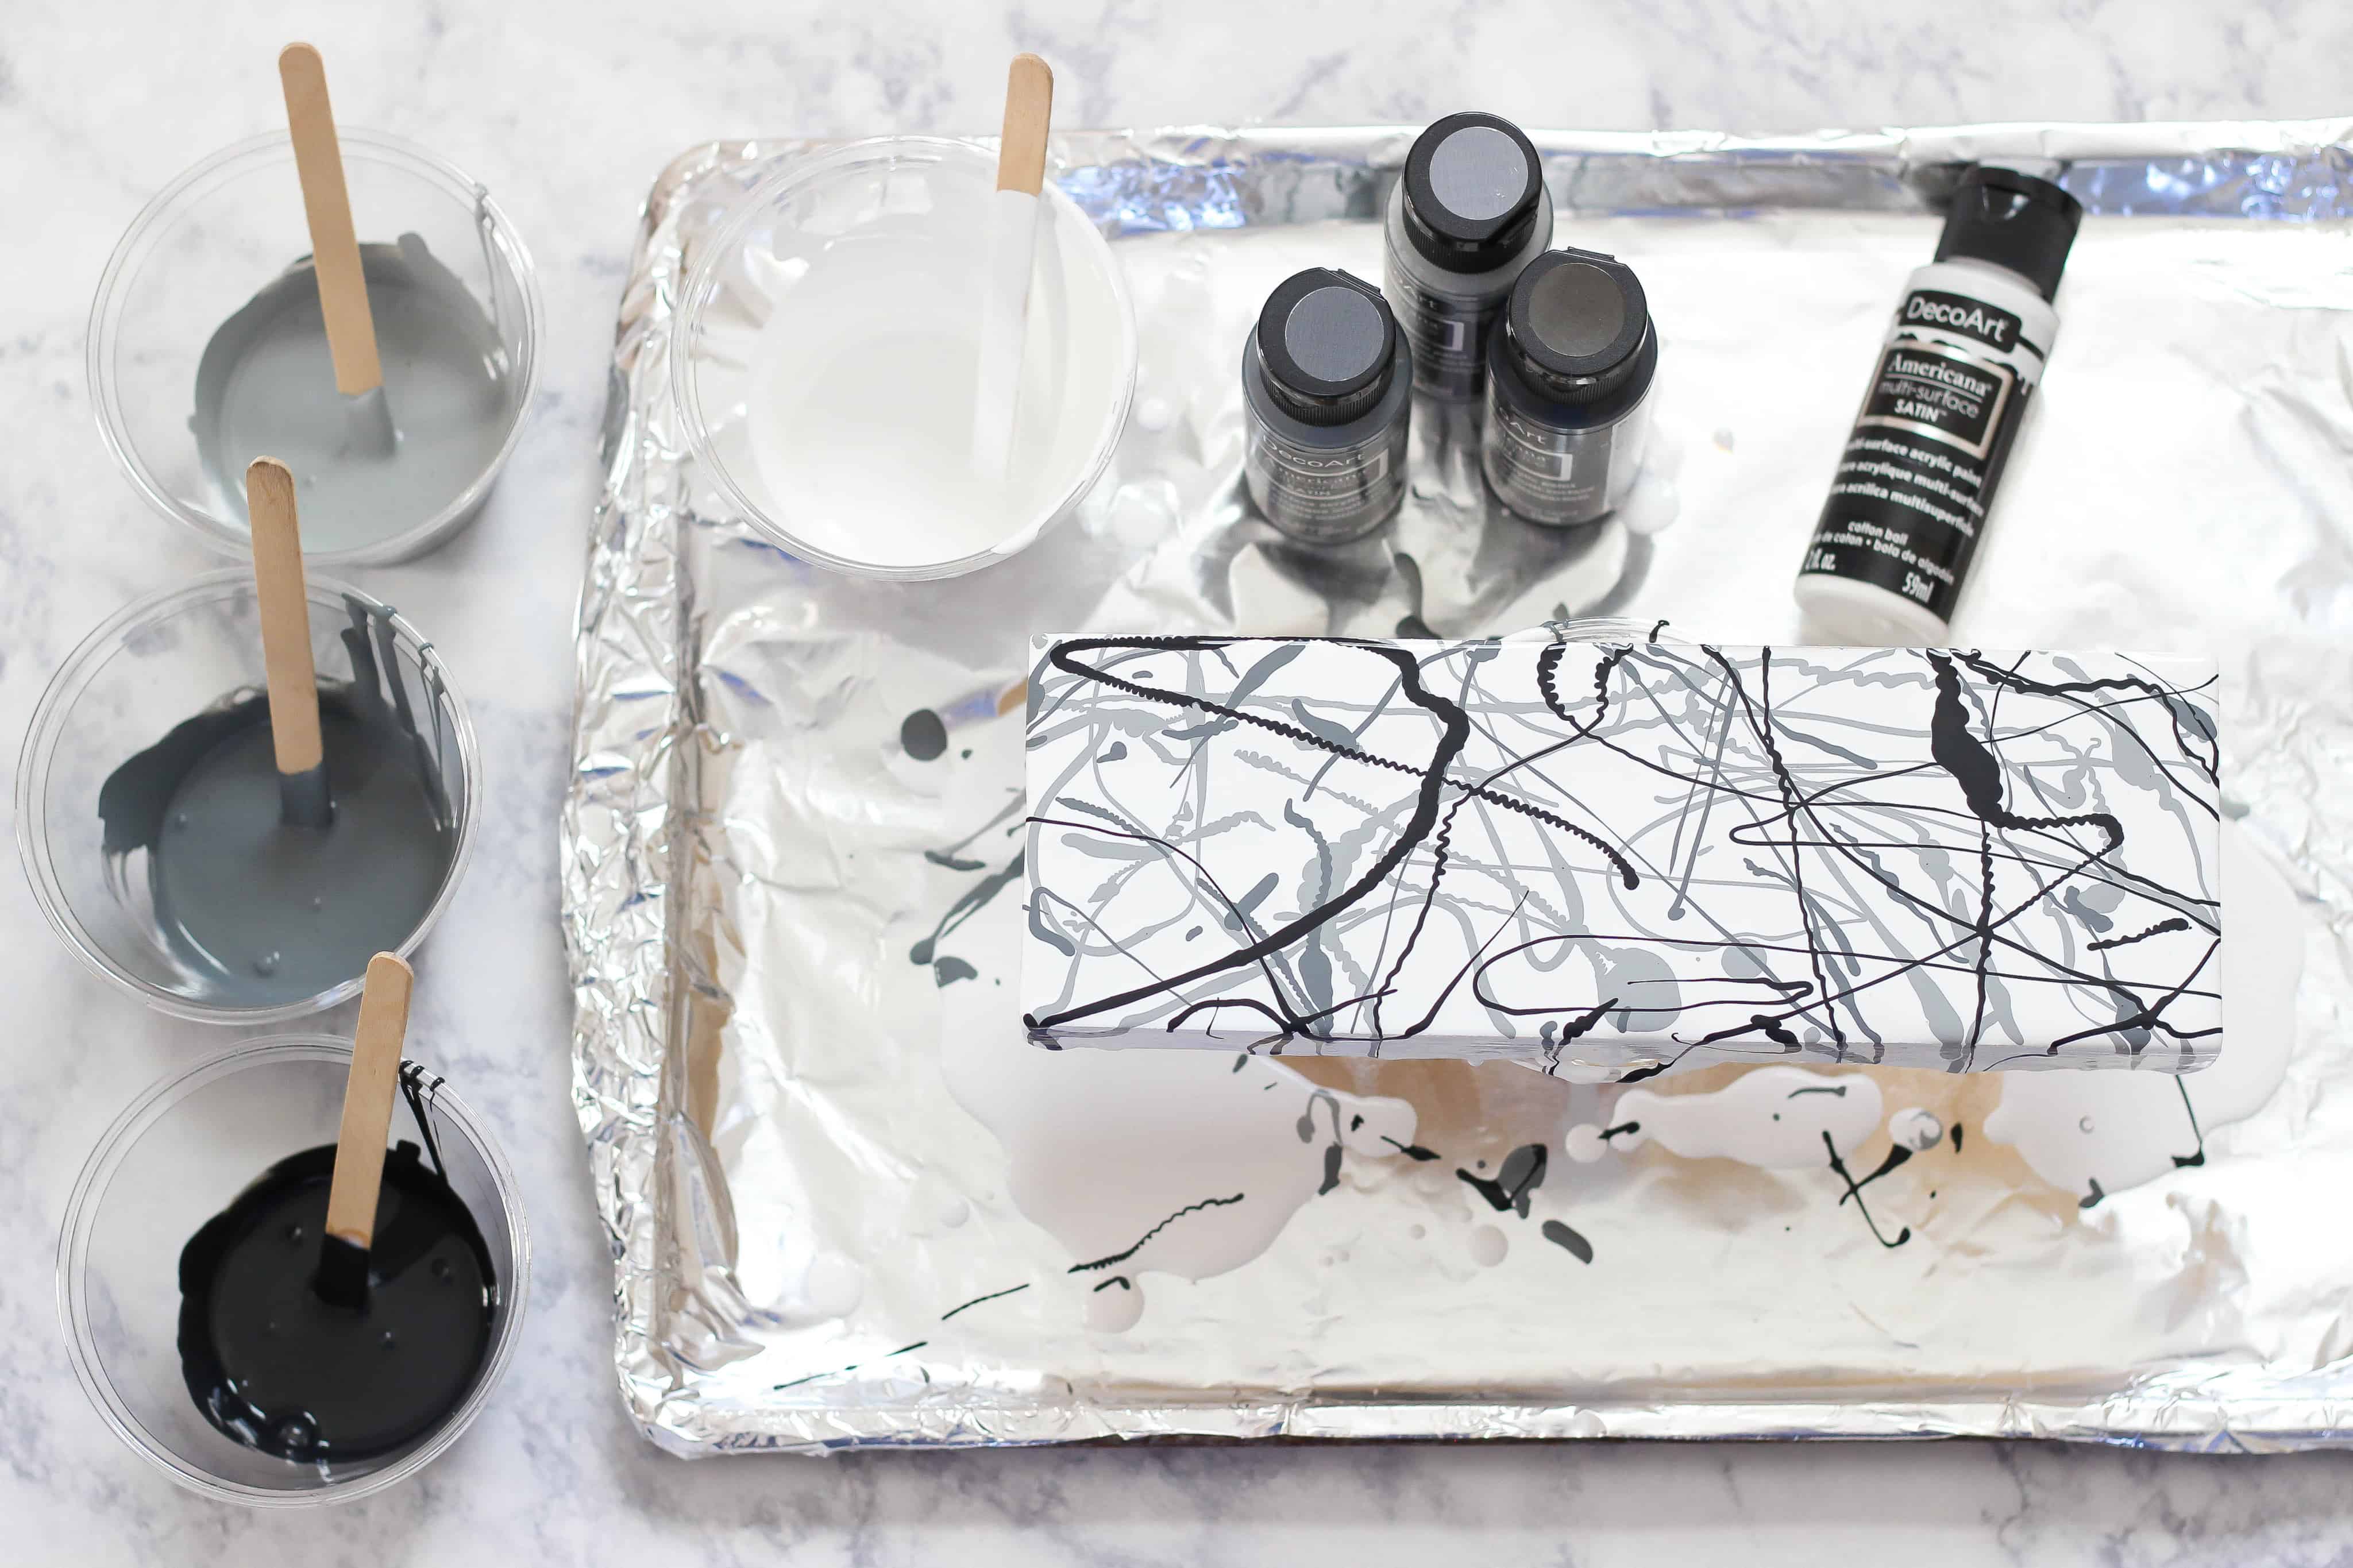
Use at least 3 complementary Americana Multi-Surface Satin Paint colors for a nice craft. Pour a good amount of each acrylic paint into a separate disposable cups. Next, add the pouring medium to each cup. The ratio is 2:1 paint to pouring medium. DecoArt Pouring Medium is a fluid additive specially formulated to enable paint to flow easily across a surface. The pouring medium is very thin and watery. Use a stir stick to mix the paint and medium together.
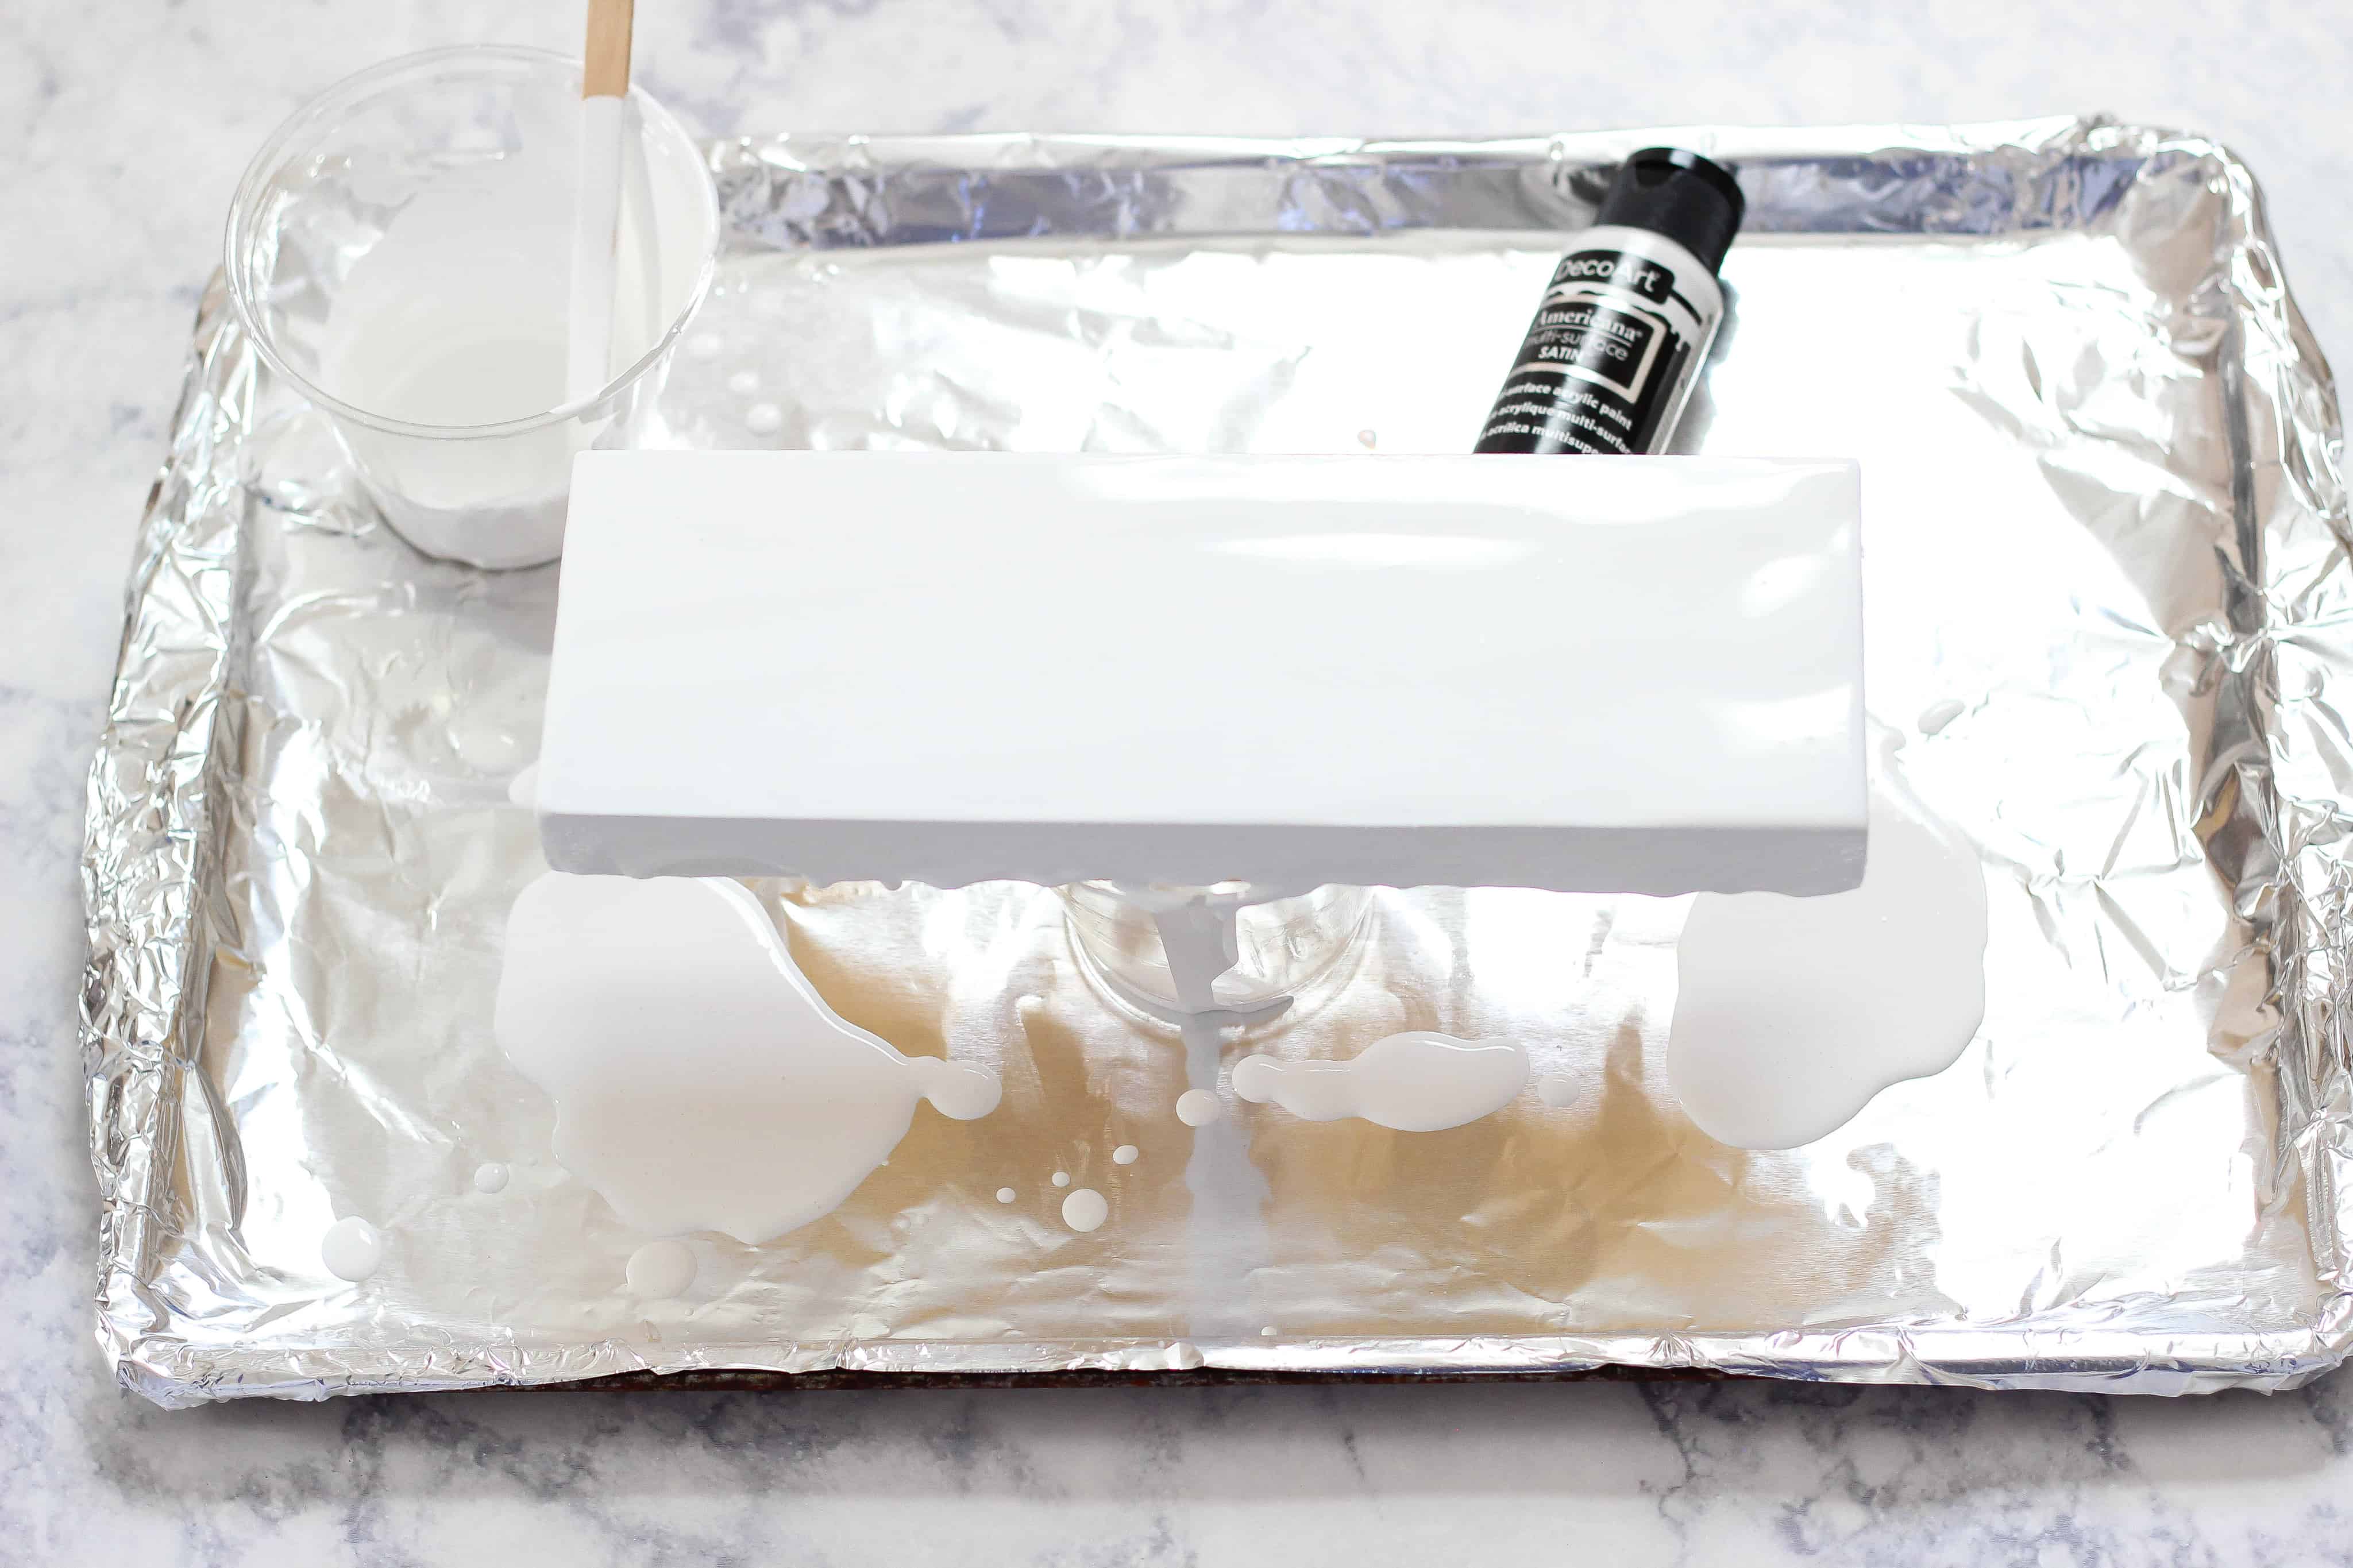
Step 3: Place the wood piece on top of a clean cup so the paint can drip off. The paint pour technique I am using is a single cup pour or dirty pour. Use the white, cotton ball paint to pour over the entire surface of the wood piece for full coverage.
Step 4: Use the wood craft sticks to drizzle the remaining multi-surface paints over the white paint for a spattered/marble look. Allow the paint to drip and dry completely.
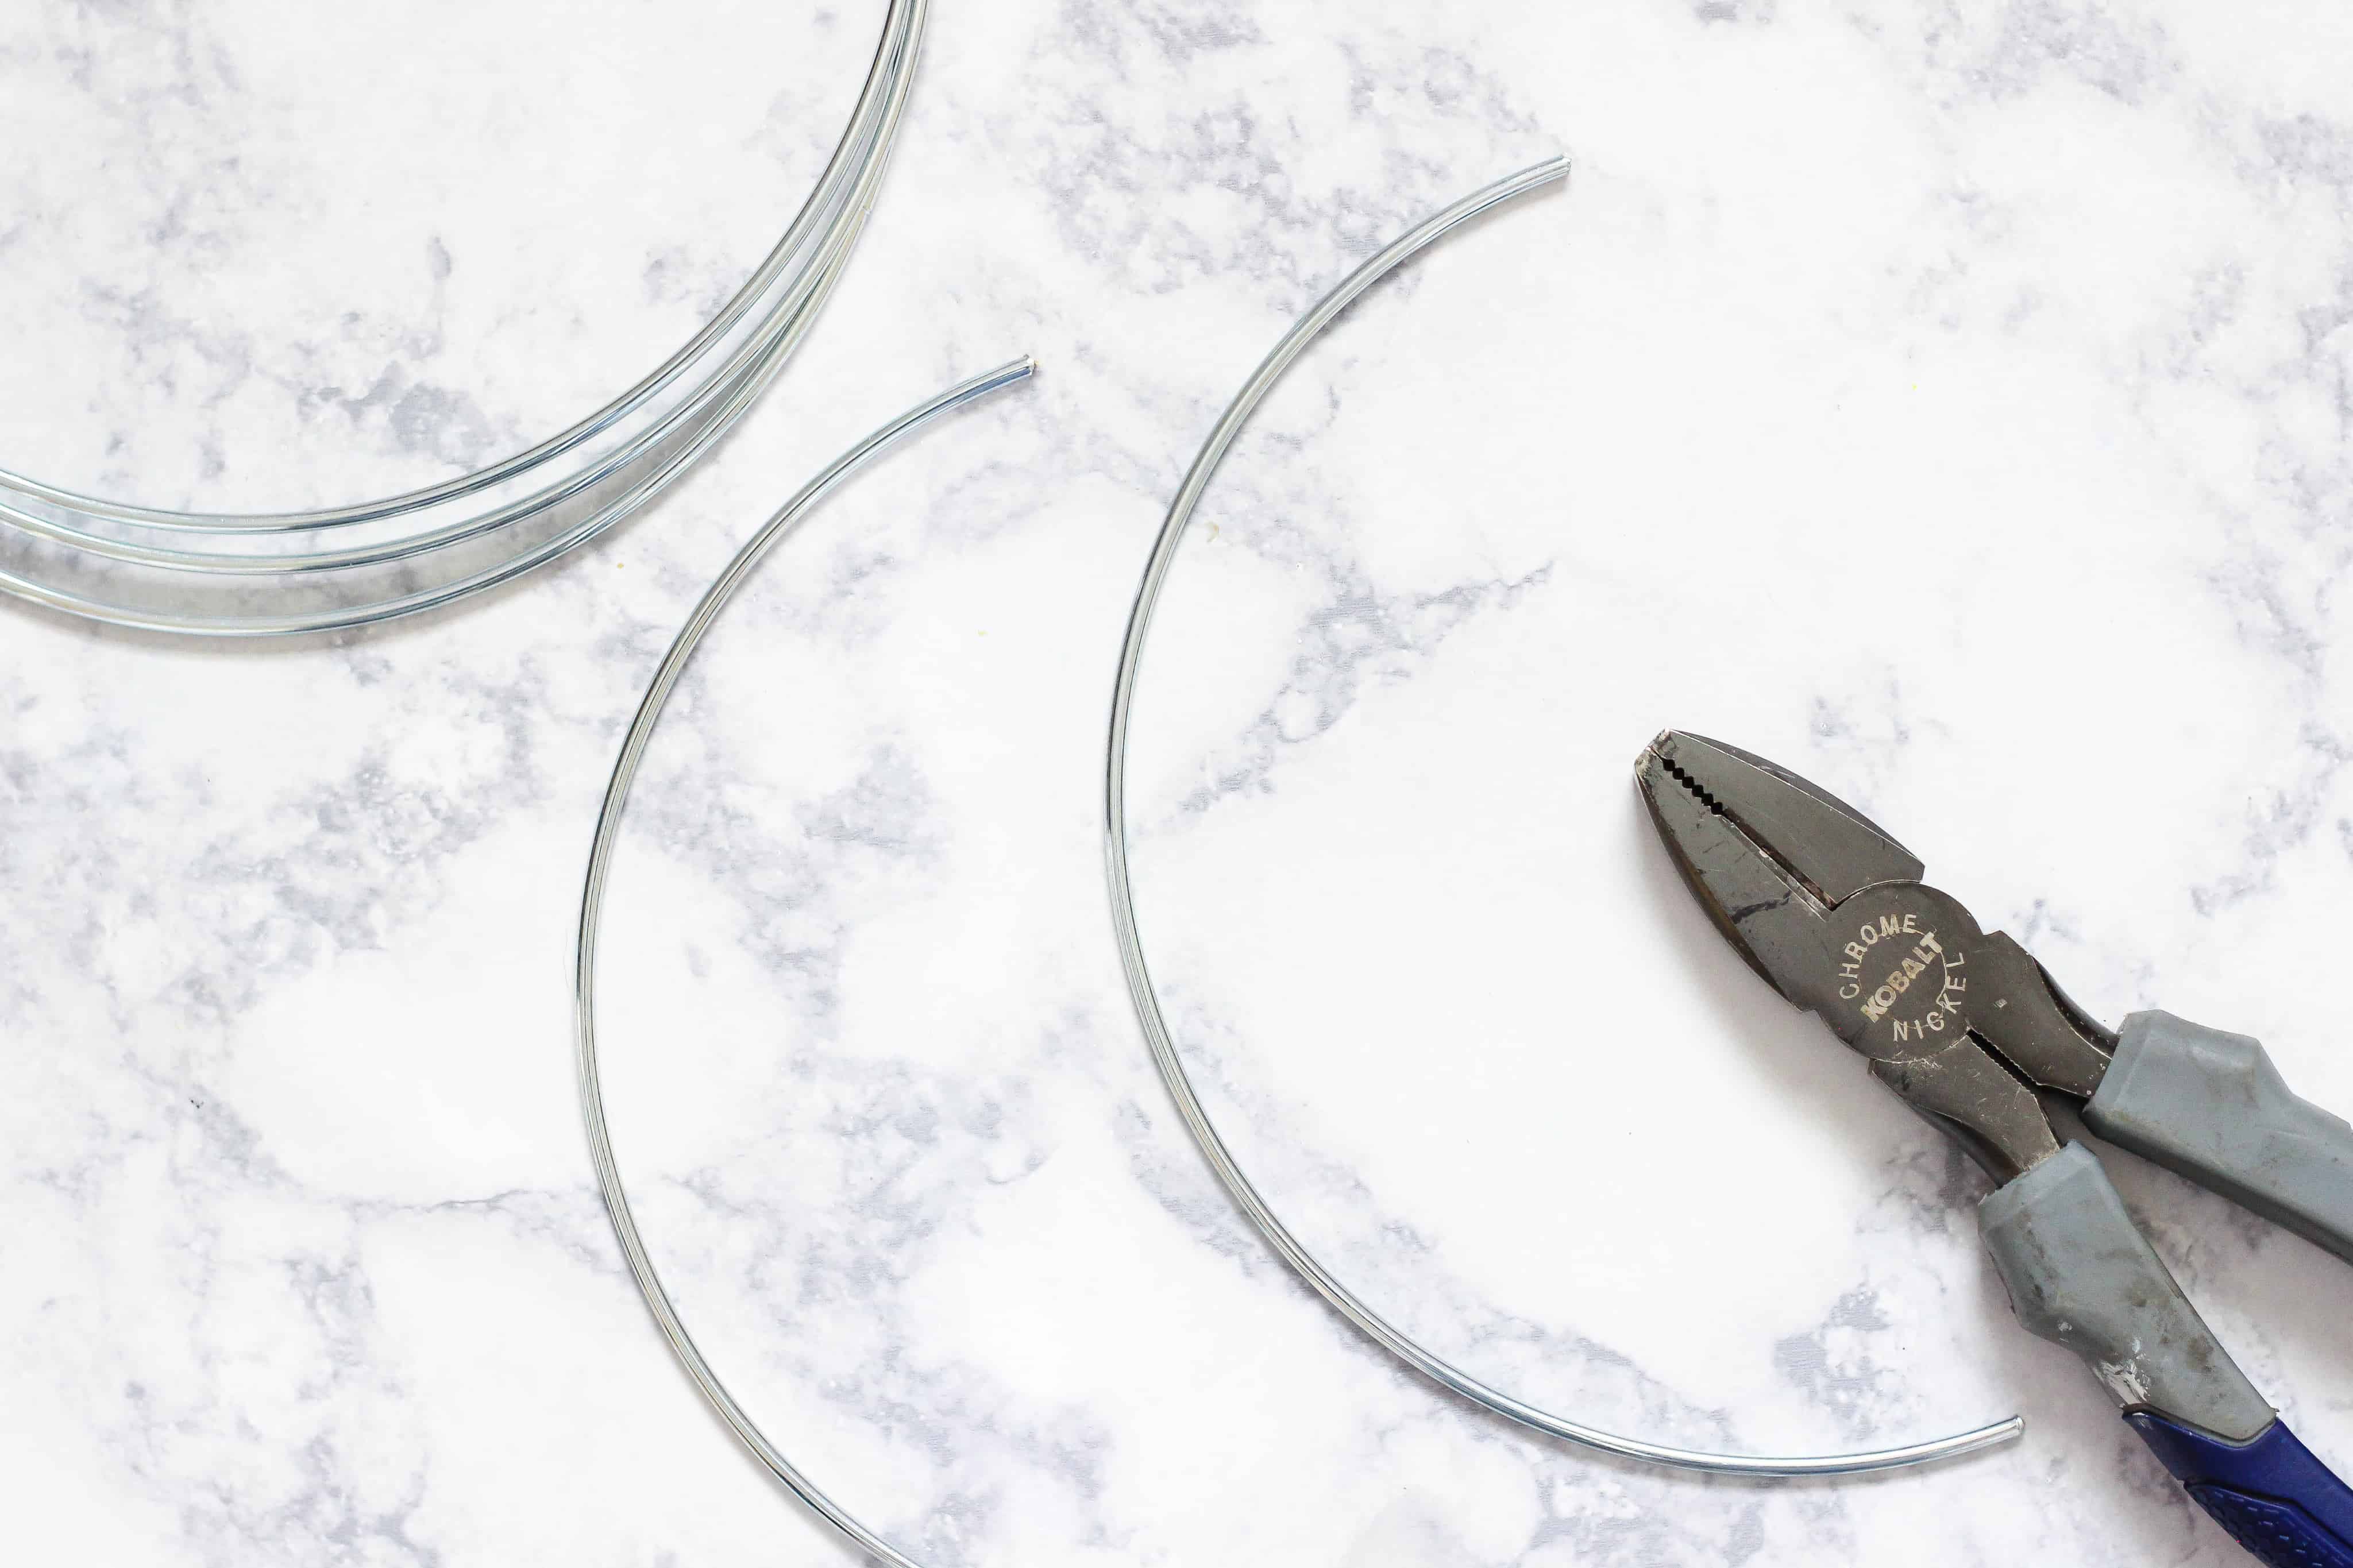
Step 5: Find the center of the metal hoops and then use a pair of heavy duty pliers to cut as close to the middle as you can. Repeat until you have the amount of hoops that you need.
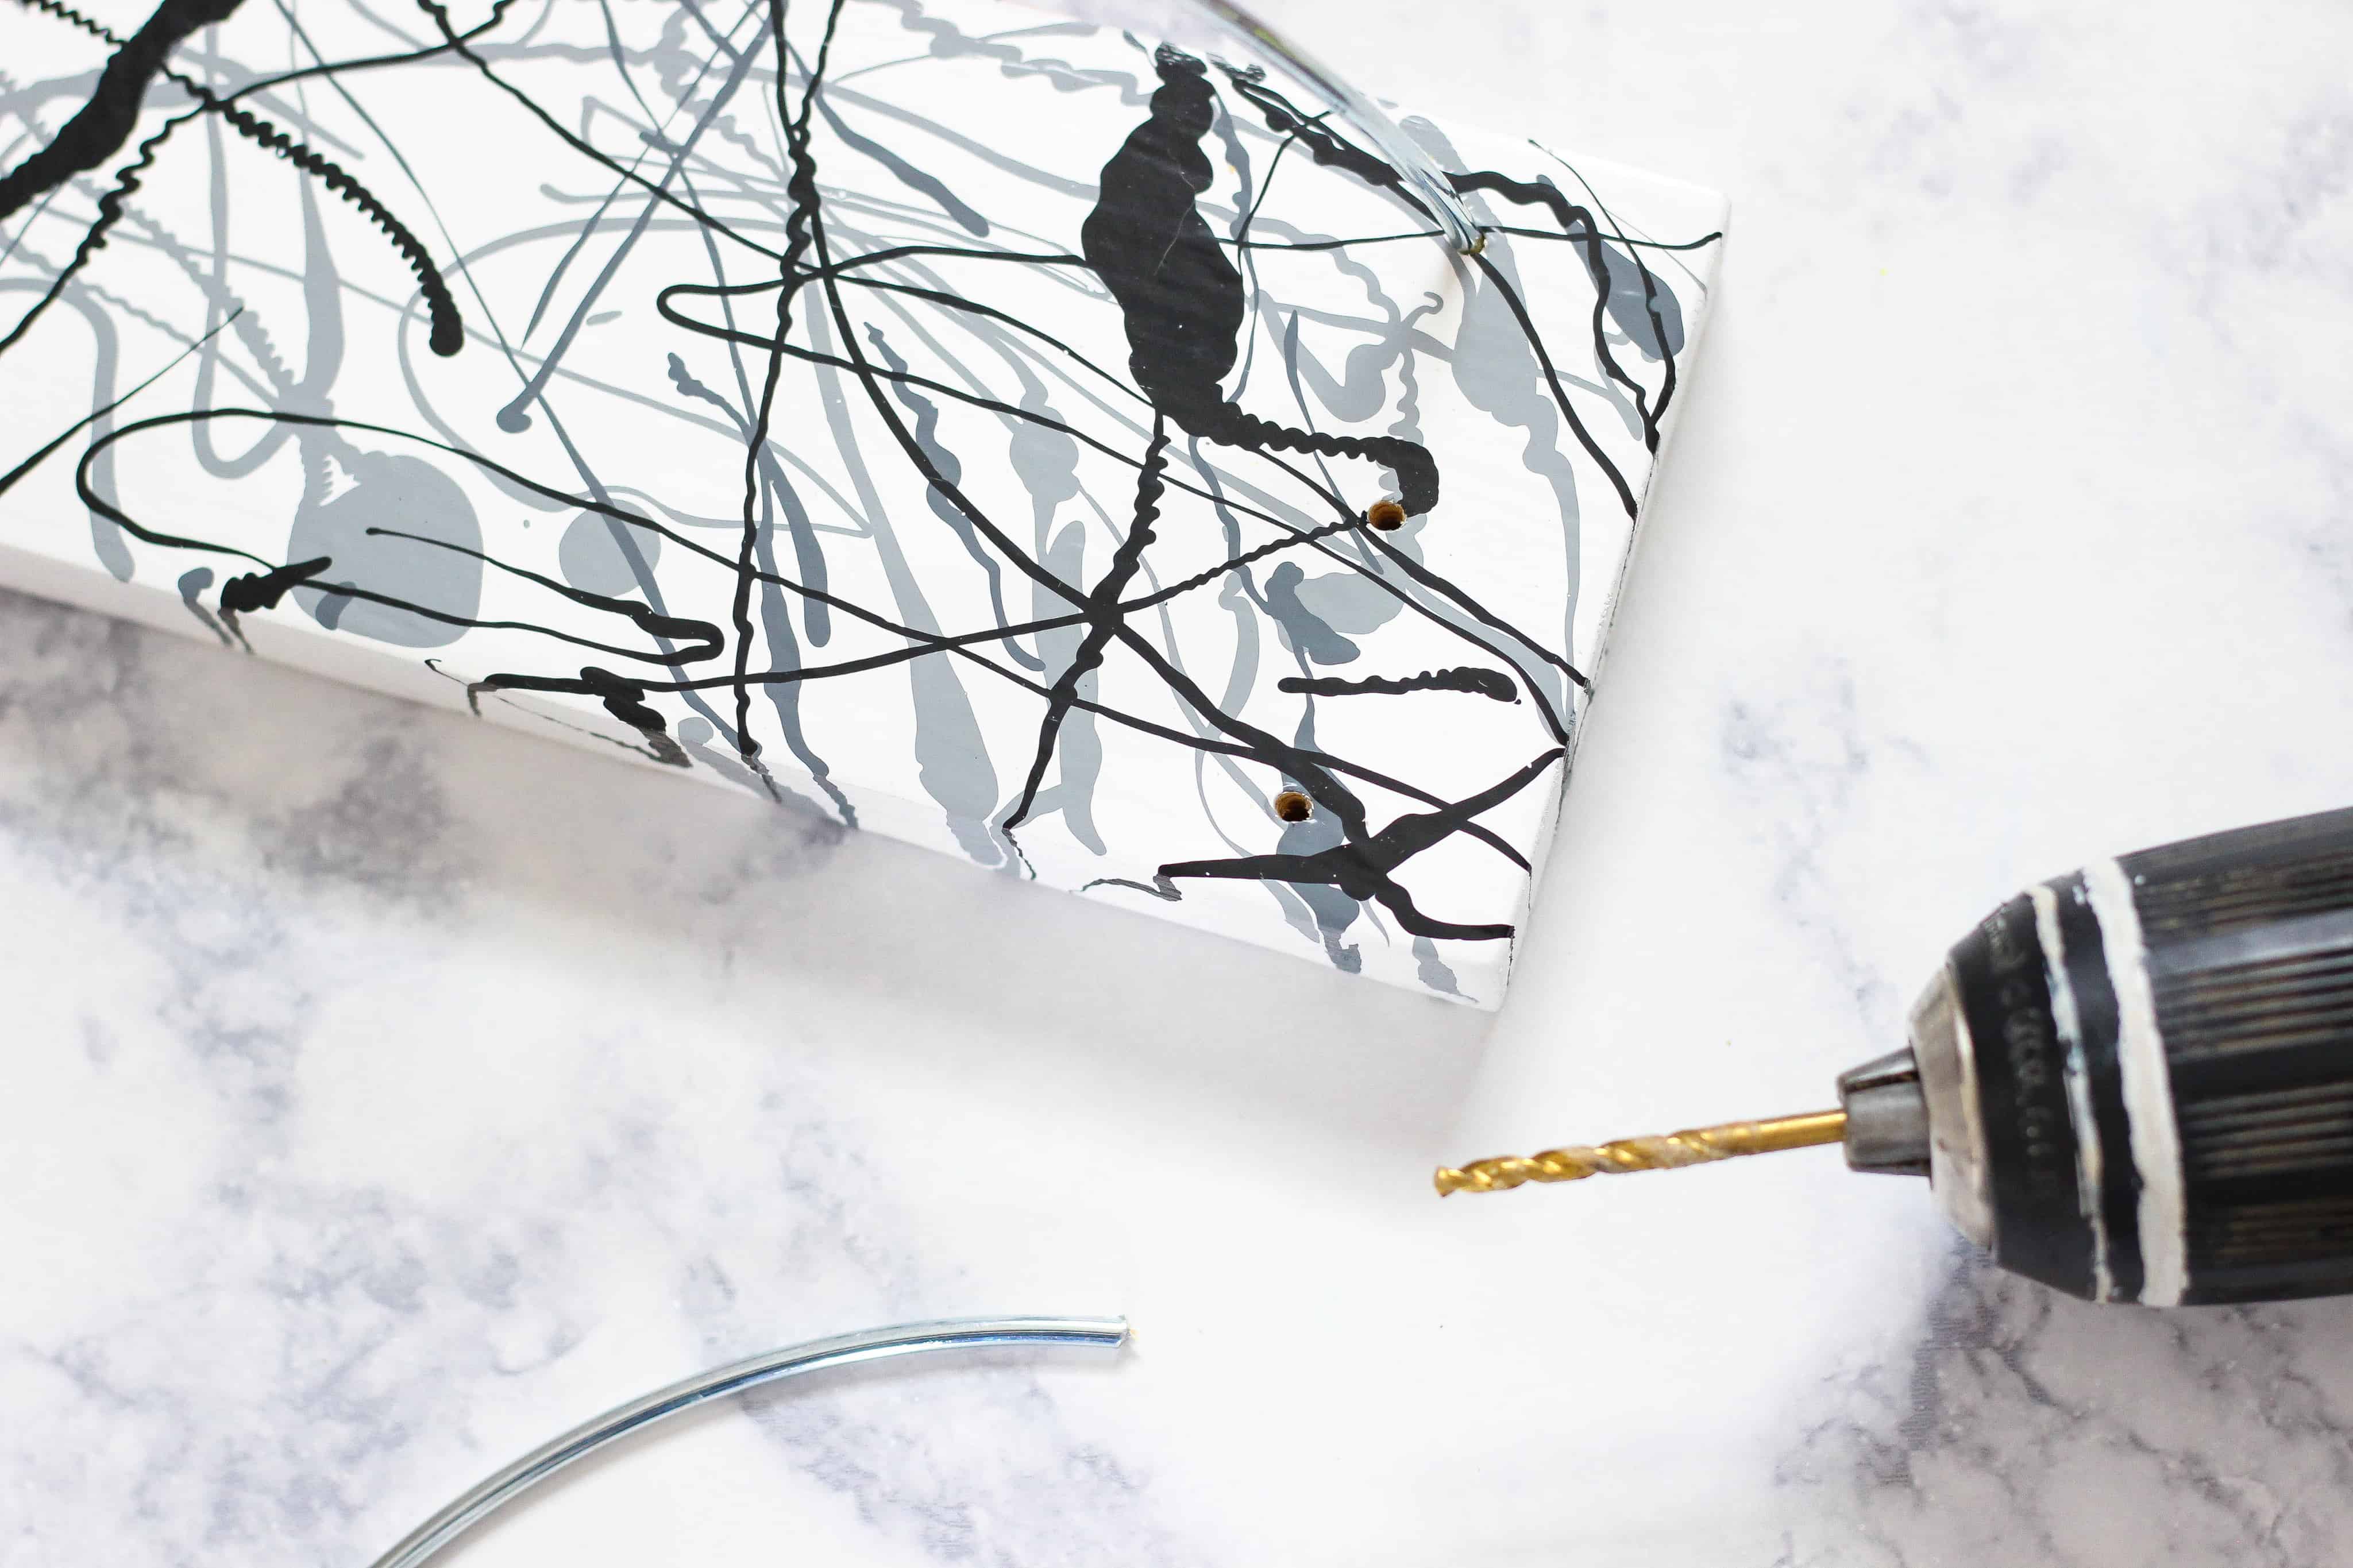
Step 6: Center the three hoops side to side and front to back. Push the end of each hoop into the wood to make a mark for the drill once you have spaced them where you want. You can also use a pencil and tape measure. A 1/8″ drill bit best matched the diameter of the hoops. Drill about half way through the board and press the ends of the hoops into the board. The hoops fit tightly so I didn’t use any glue.
Fill your letter holder with mail that needs attention, greeting cards, and those holiday sale ads that are about to expire…yikes!
More DIY Home Office Decor Ideas to match your cute letter holder:
This project was inspired by A Beautiful Mess’ tutorial here.
