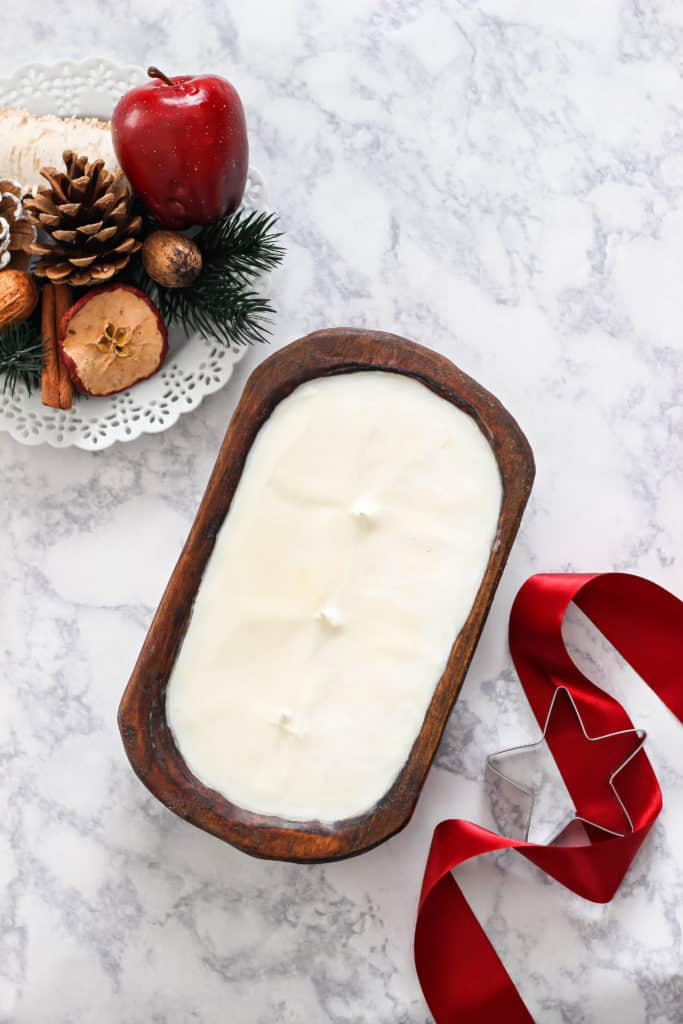
One of the best handmade gifts you can make is a candle. They are fairly inexpensive, can be infused with any scent you desire, and everyone loves candles!
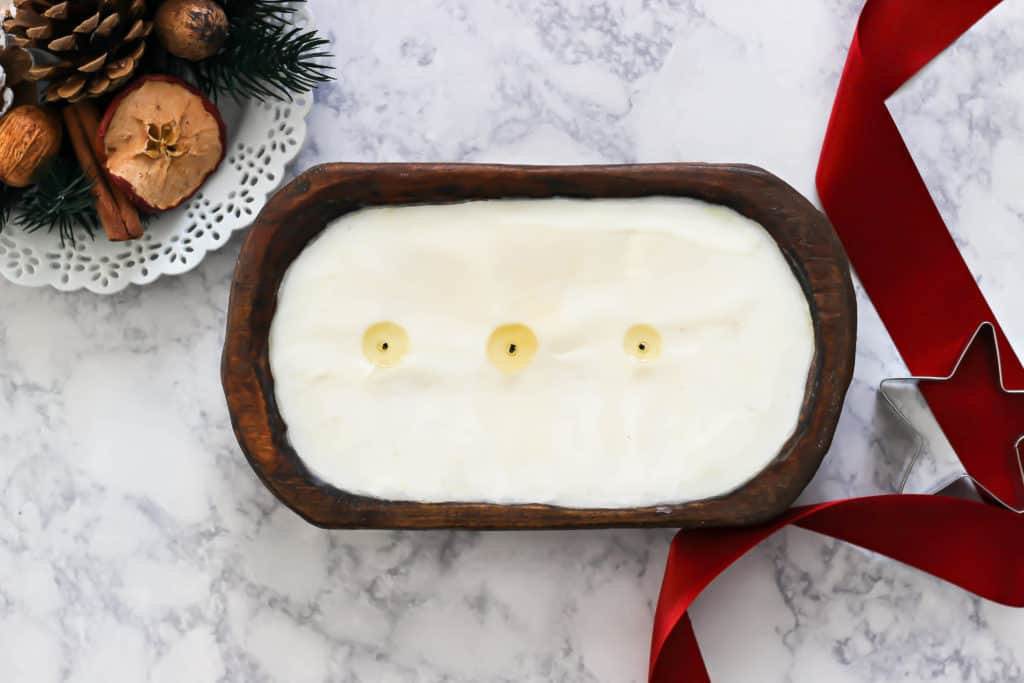
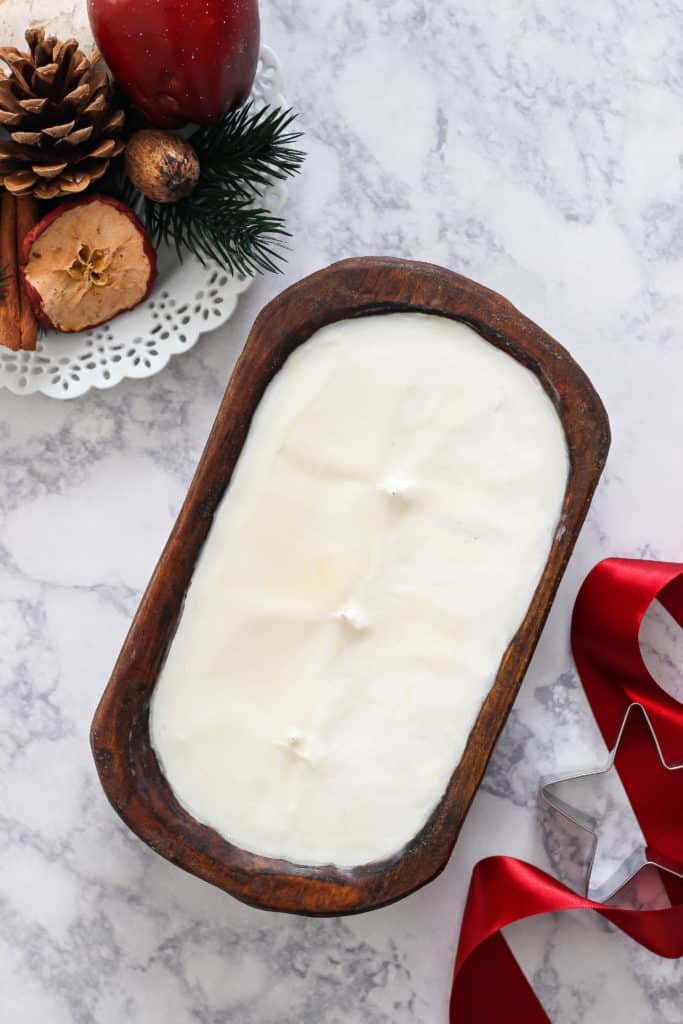
This hand-poured soy candle was inspired by a vintage dough bowl that I picked up at a local flea market. A dough bowl is made of wood and provided a snug, warm place in which bread could rise prior to baking in colonial America. Today they are used for home decor. The bowls can be hung on the wall, displayed on a table filled with seasonal touches, or used as a vessel to make a candle.
WHY I MAKE MY OWN CANDLES
- Buying supplies in bulk helps me to save money on raw materials like wax and wicks for future projects.
- I can buy my own fragrance and essential oils to infuse candles. This allows me to choose scents that I like and use natural oils that burn cleaner and are better for the environment.
- Candle making is so fun! There is something satisfying about making a project with your own hands. Sometimes I keep the candles for myself but most of the time I give them away as gifts.
LEARN HOW TO MAKE YOUR OWN SEASONAL CANDLE WITH THIS EASY TUTORIAL
Candle Making Supplies
- Wooden Dough Bowl
- Wicks
- 4 TO 5 cups Natural Soy Wax
- Fragrance Oil (this is the one I used)
- Glue Dots
- Scissors
- Double Boiler or Pouring Pot
I mentioned that I bought the wooden dough bowl about a flea market for around $12. I did find some options on Amazon HERE but they are a bit more.
After the candle is burned down completely, you can clean out the candle wax and use the bowl for decoration. So, this candle is a two for one gift.
How To Make A Lovely Candle In A Dough Bowl
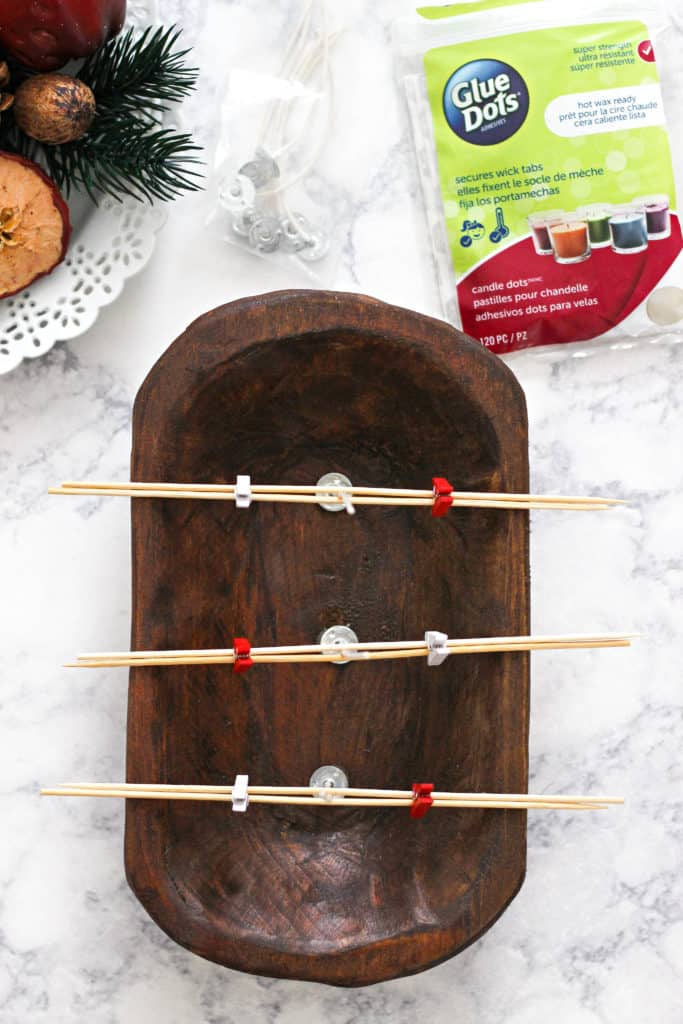
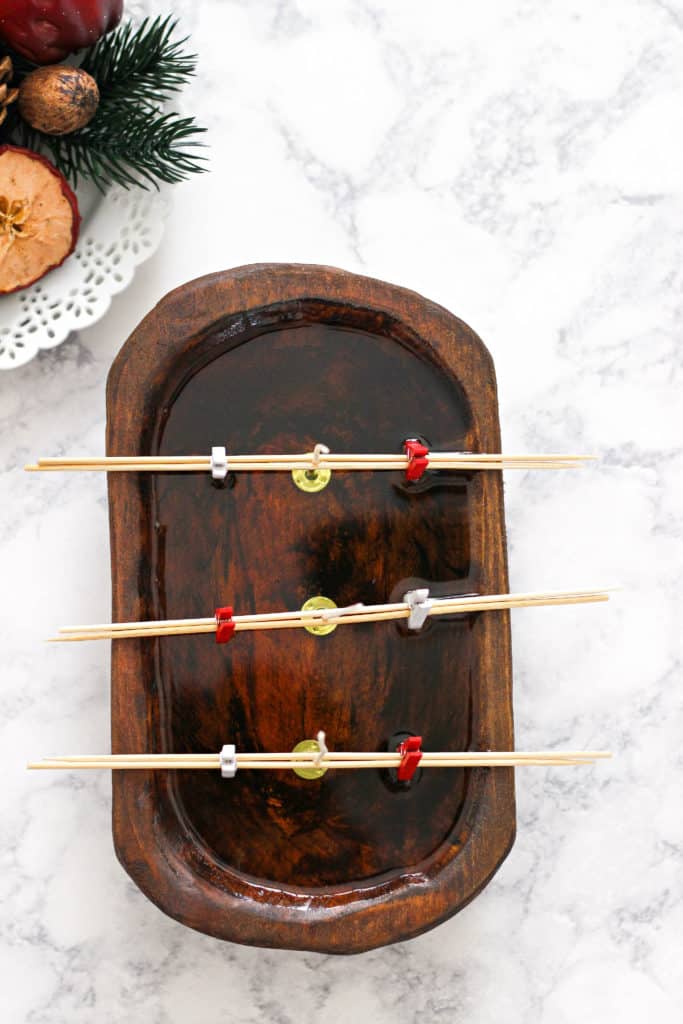
Step 1: Start by applying glue dots to the metal bases of three wicks and place them on the bottom center of the dough bowl. I used a clamping method with two wooden skewers and a clothespin. This is the best way I have found to hold the wick in place. Set aside.
Step 2: Place 4 to 5 cups (depending on how full you want the candle to fill the bowl) of natural soy wax flakes into a heat resistant bowl. Using the double boiler method, melt the wax until completely dissolved into a liquid.
General Double Boiler Set Up:
- Select an old pot that is large enough to place your pouring pot into.
- Add an inch or two of water to the old pot.
- Bring to a boil.
- Place your pouring pot directly into this boiling water. You may wish to place a metal cookie cutter, or similarly shaped item in the bottom of your old pot to elevate the pouring pot.
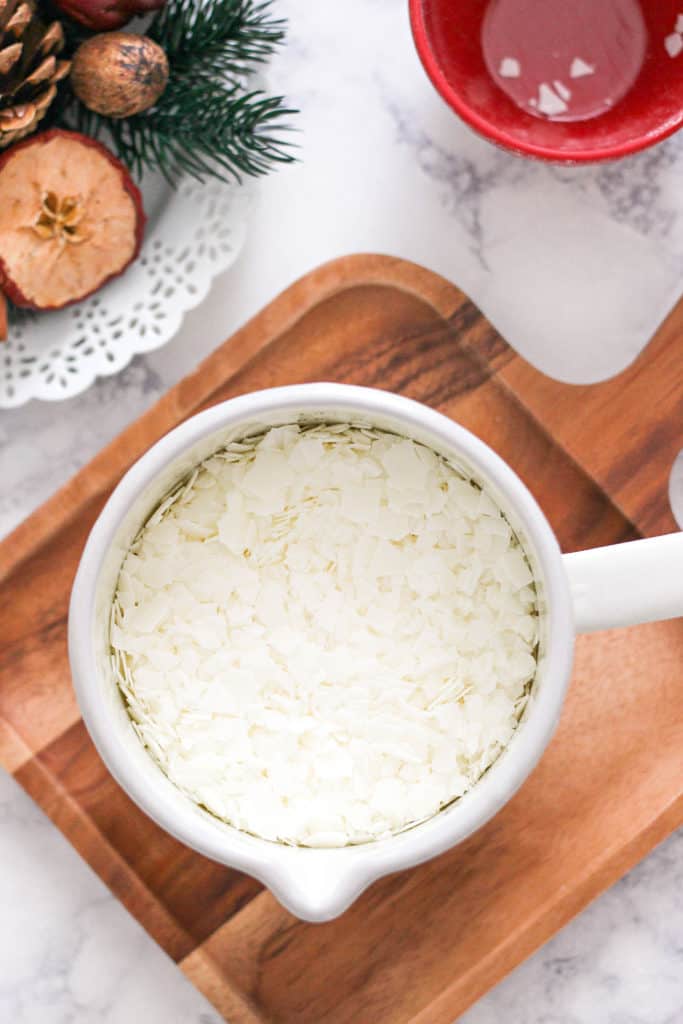
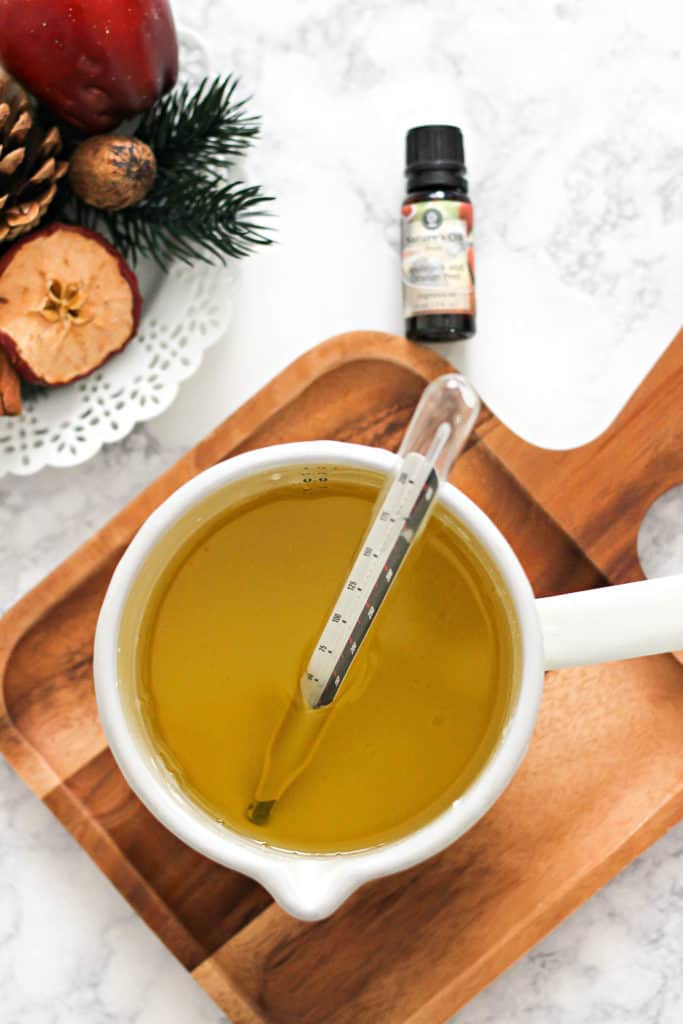
Step 3: Heat the wax to between 165 and 185 degrees F by using a candy thermometer. Add fragrance oil and stir gently and thoroughly with the melted wax. This is the optimal temperature for the wax and fragrance to bind in order to provide the best scent throughout. Add 2 fl. ounces of fragrance or essential oils to the melted wax. Pour the melted wax into the bowl.
Step 4: Set the candle aside and let harden. Once the wax has cooled and solidified, trim the wicks. The candle wax will change to a white color once it is completely set and hardened.
CANDLE CARE
- When you burn your candle for the first time, make sure you let it burn long enough so that the top layer of wax melts to the edges. This levels the wax in your candle for a better burn for the next time you light it.
- Always keep the wicks trimmed to ⅛ of an inch. If you don’t have a wick clipper, nail clippers or scissors will work.
Make your own seasonal candles with these easy tutorials and each one includes a printable label:
- Eucalyptus & Thyme Soy Candle with printable label
- Pumpkin Chai Soy Candle
- Lavender and Bergamot Candle
MAKE SURE TO PIN THE IMAGE BELOW TO SAVE THE INSTRUCTIONS
