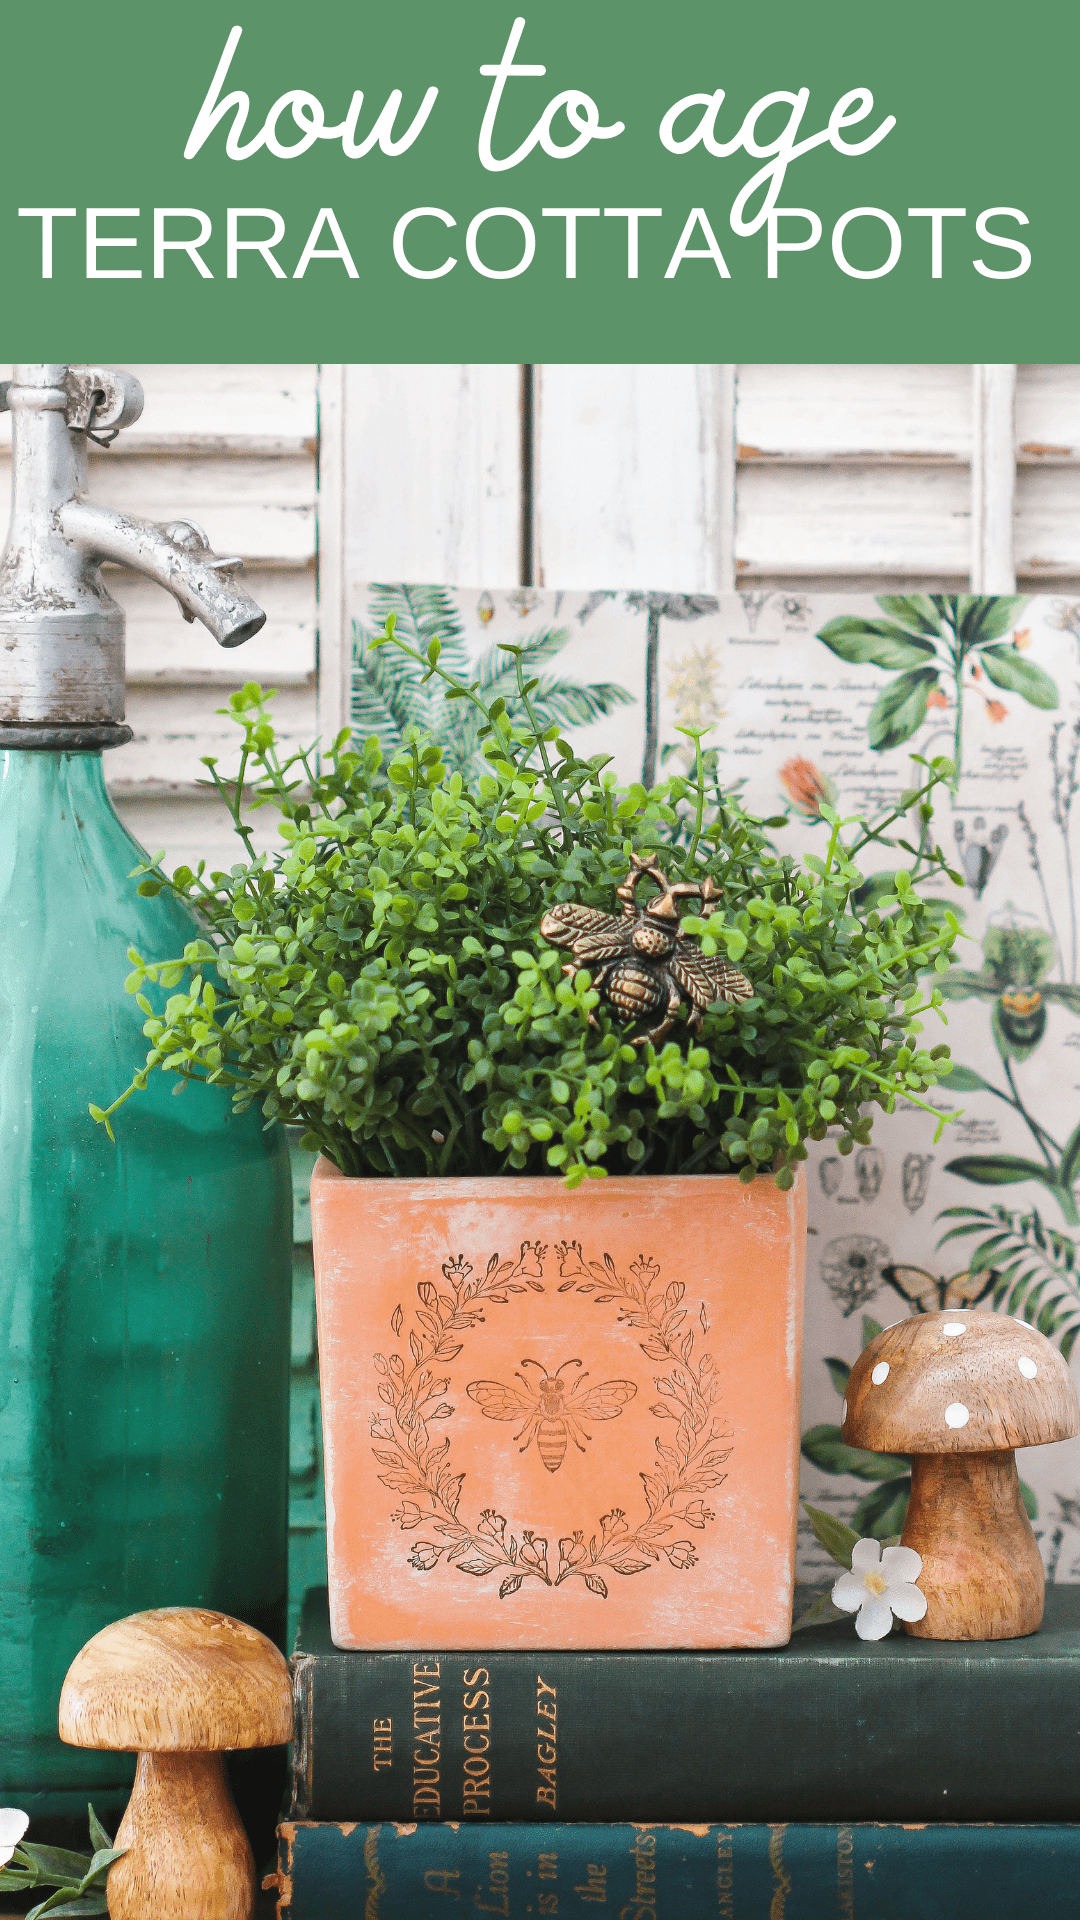
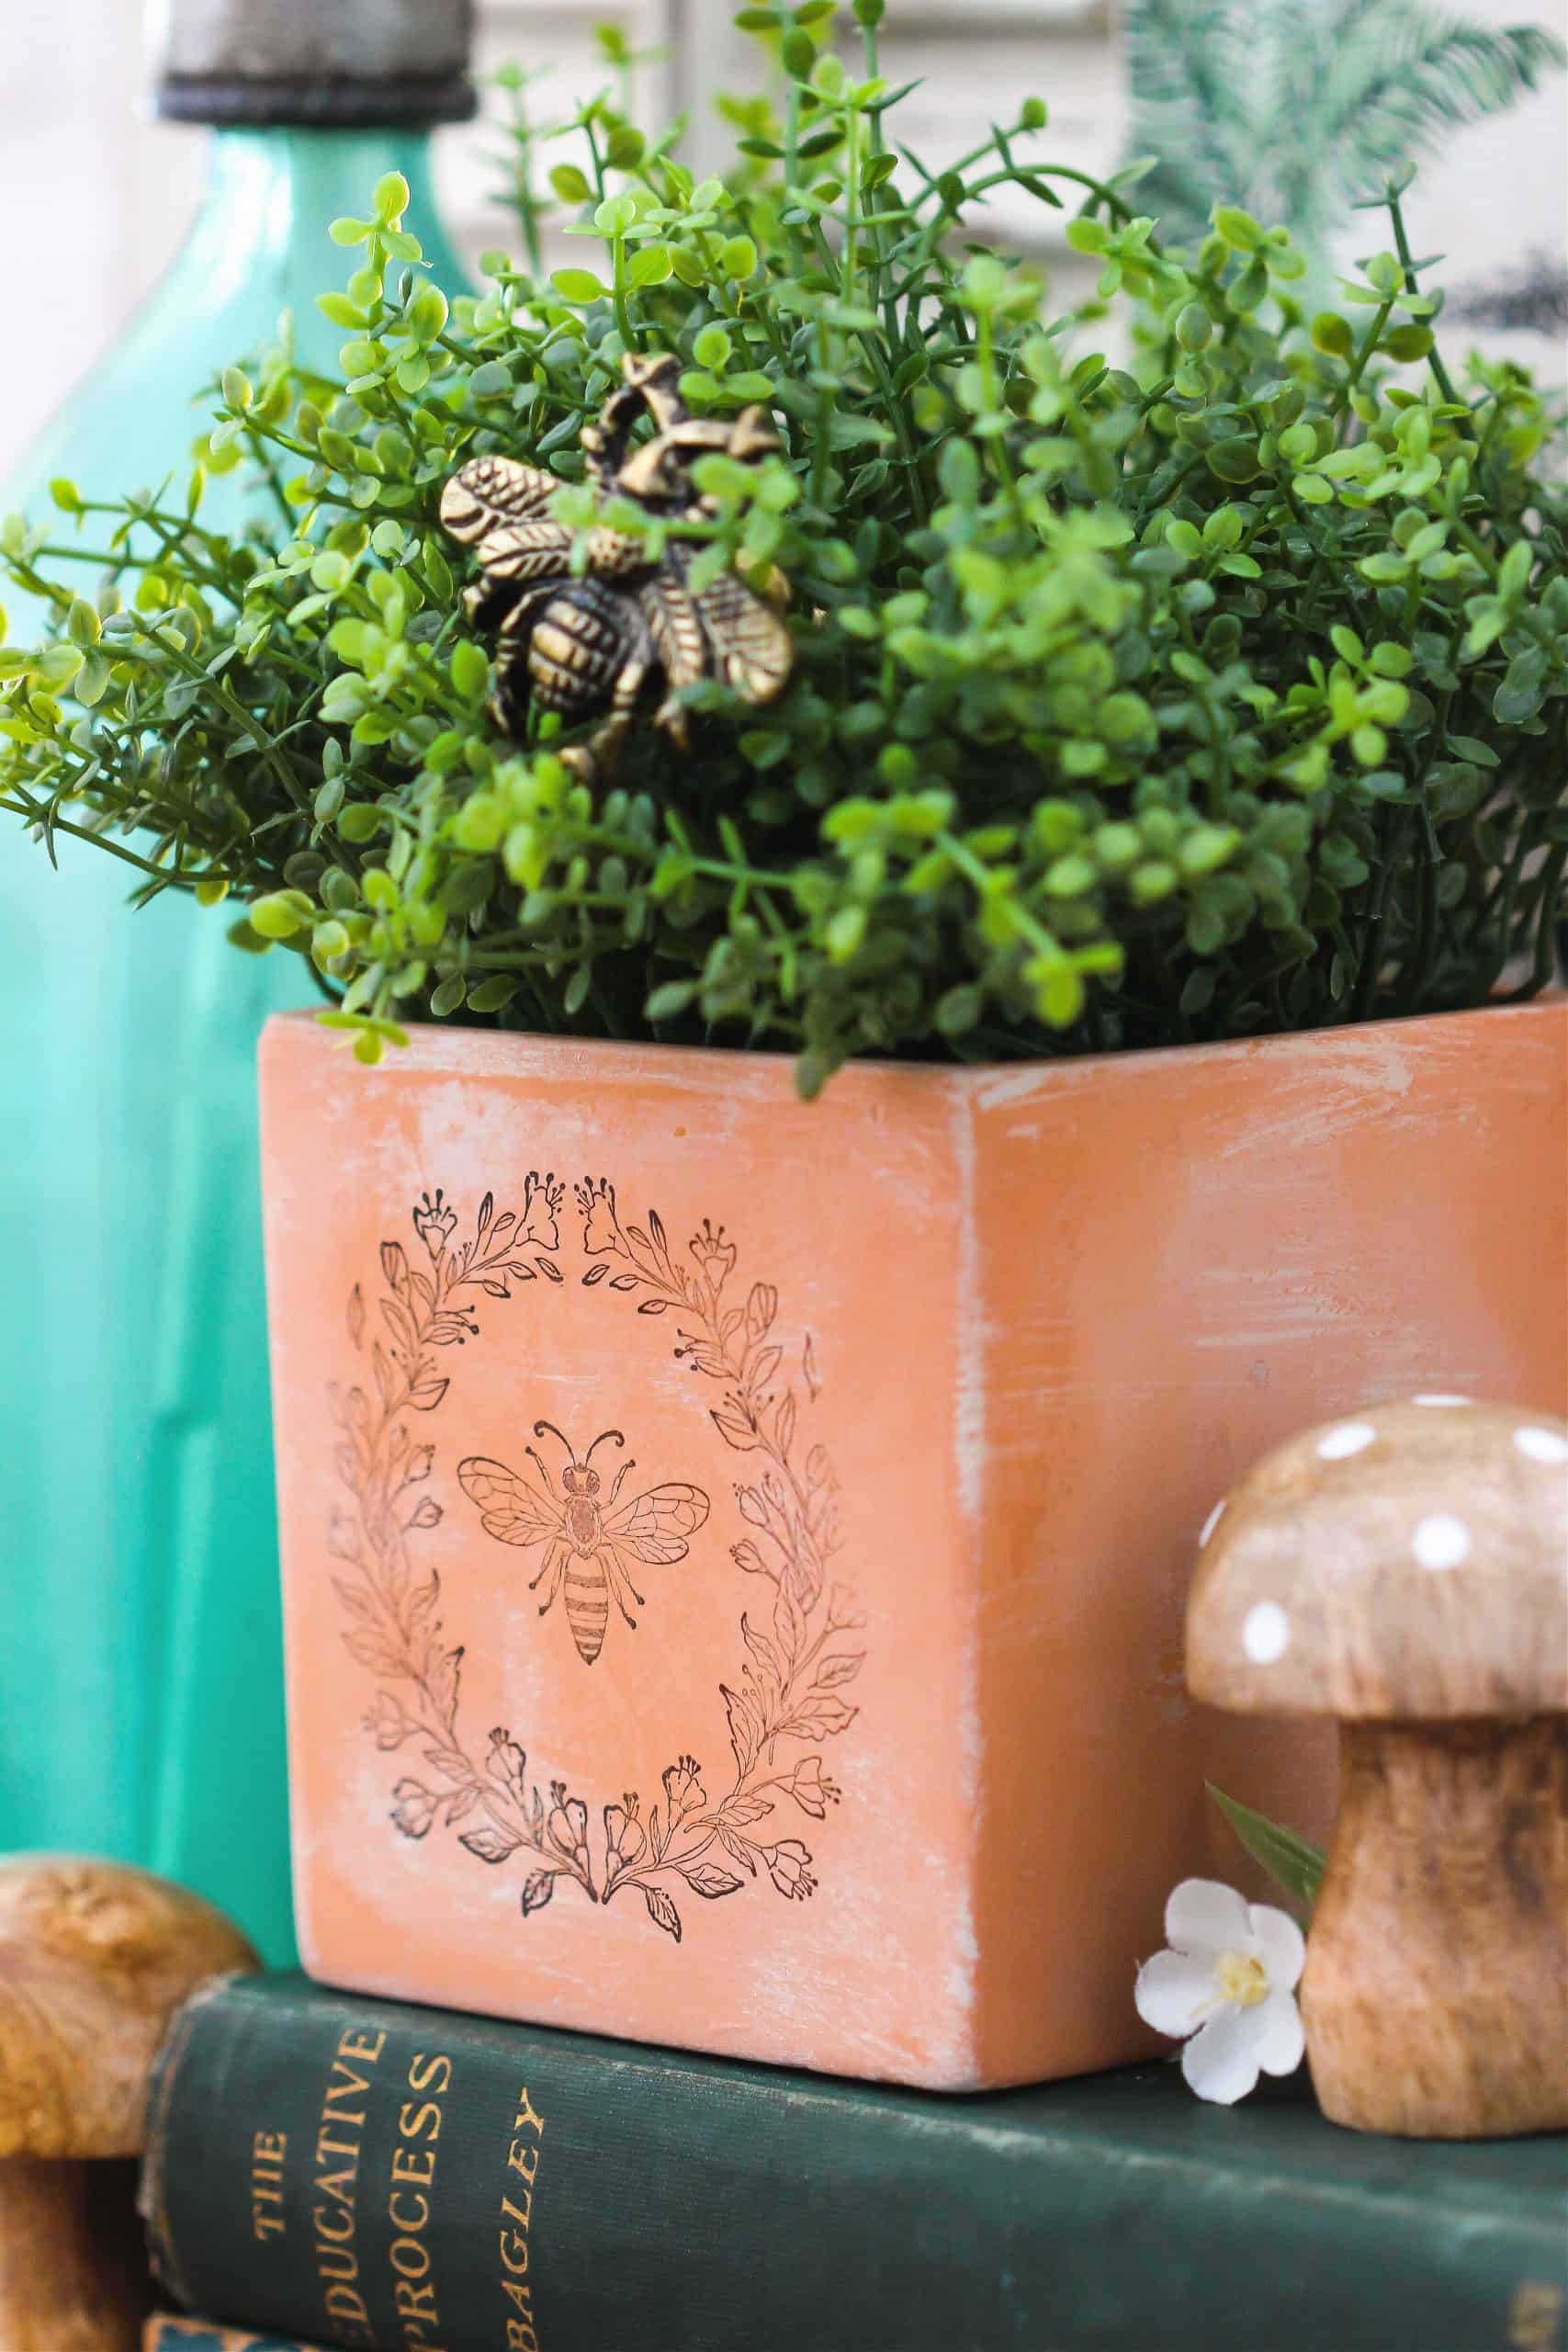
Do you love the look of aged terra cotta and wonder how they got that way? Today, I am sharing a simple tutorial on how to make a pretty aged terra cotta pot using paint and stamps.
Spring is approaching and one way to decorate is with terra cotta pots. They are inexpensive and you can make them to look modern, farmhouse style, or rustic. These pots are versatile and can fit into any decorating style. Just add some plants for a pop of green or flowers for color.
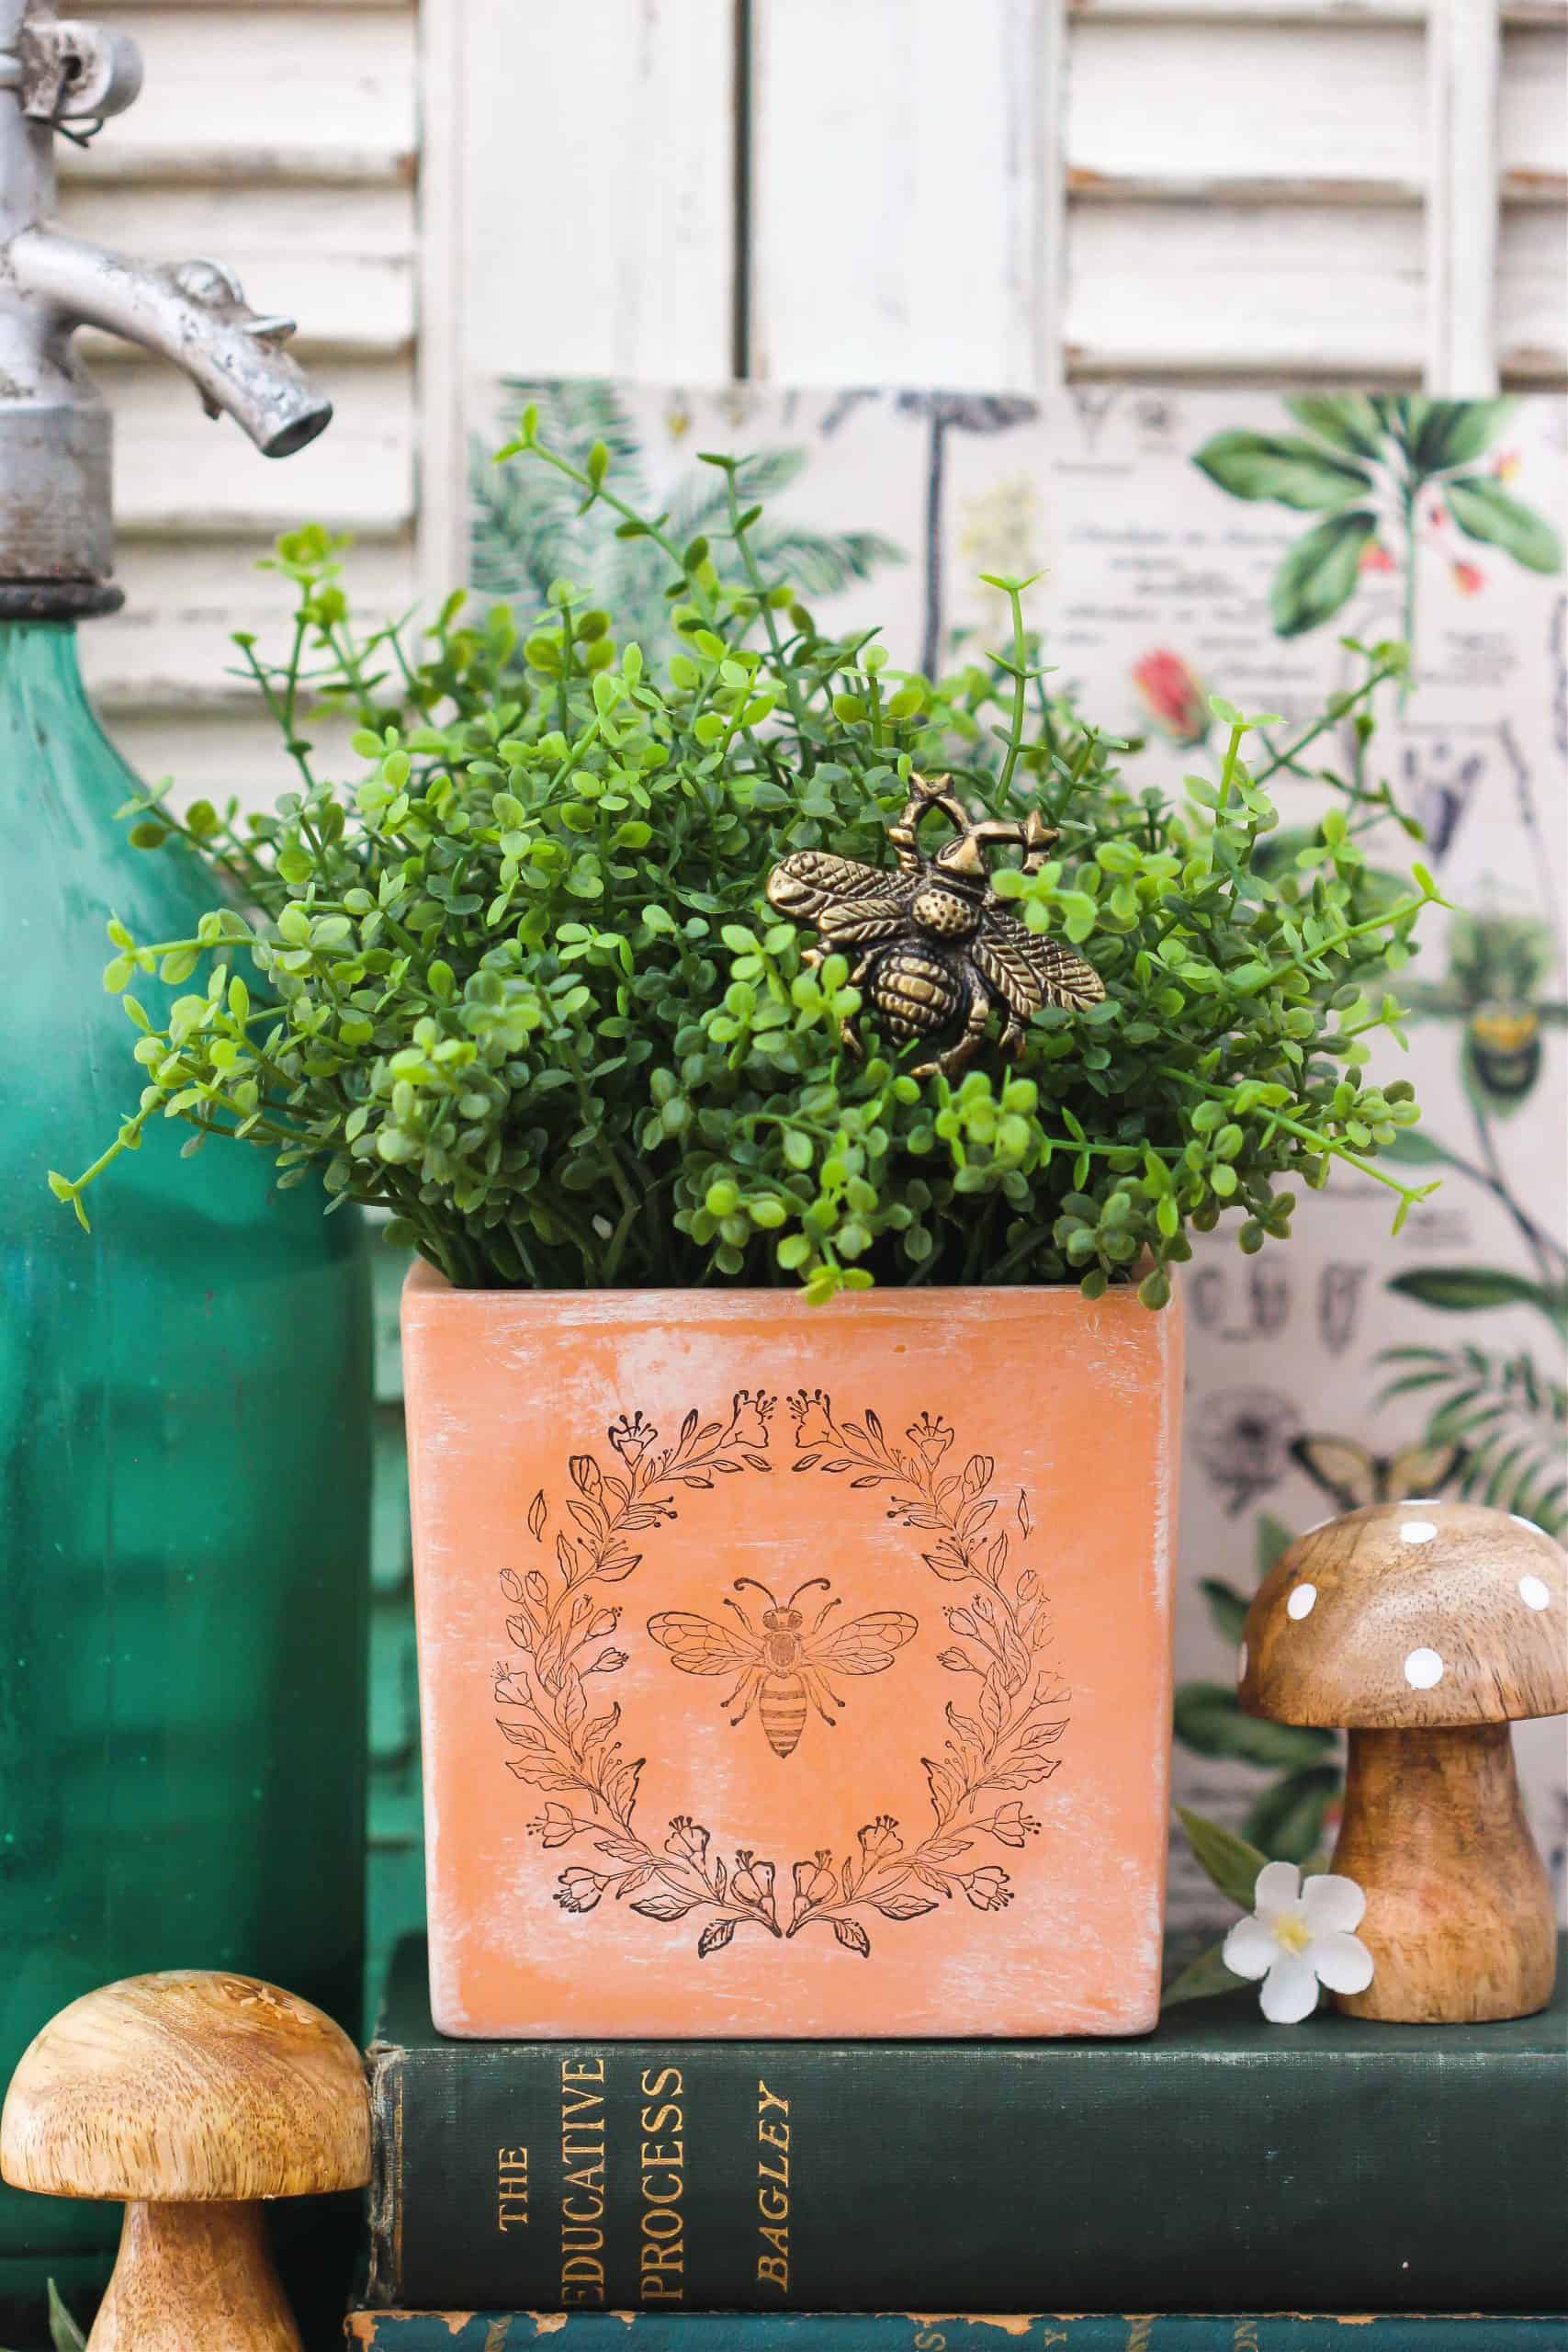
I love terra cotta pots but sometimes the orange color can be a bit much. By using acrylic paint, you can give the pots an aged look to calm down the bright orange.
This square pot brings a earth tone to any interior or exterior space. You can use real or faux plants and flowers to decorate your house for spring.
Easy DIY on How to Age Terra Cotta Pots
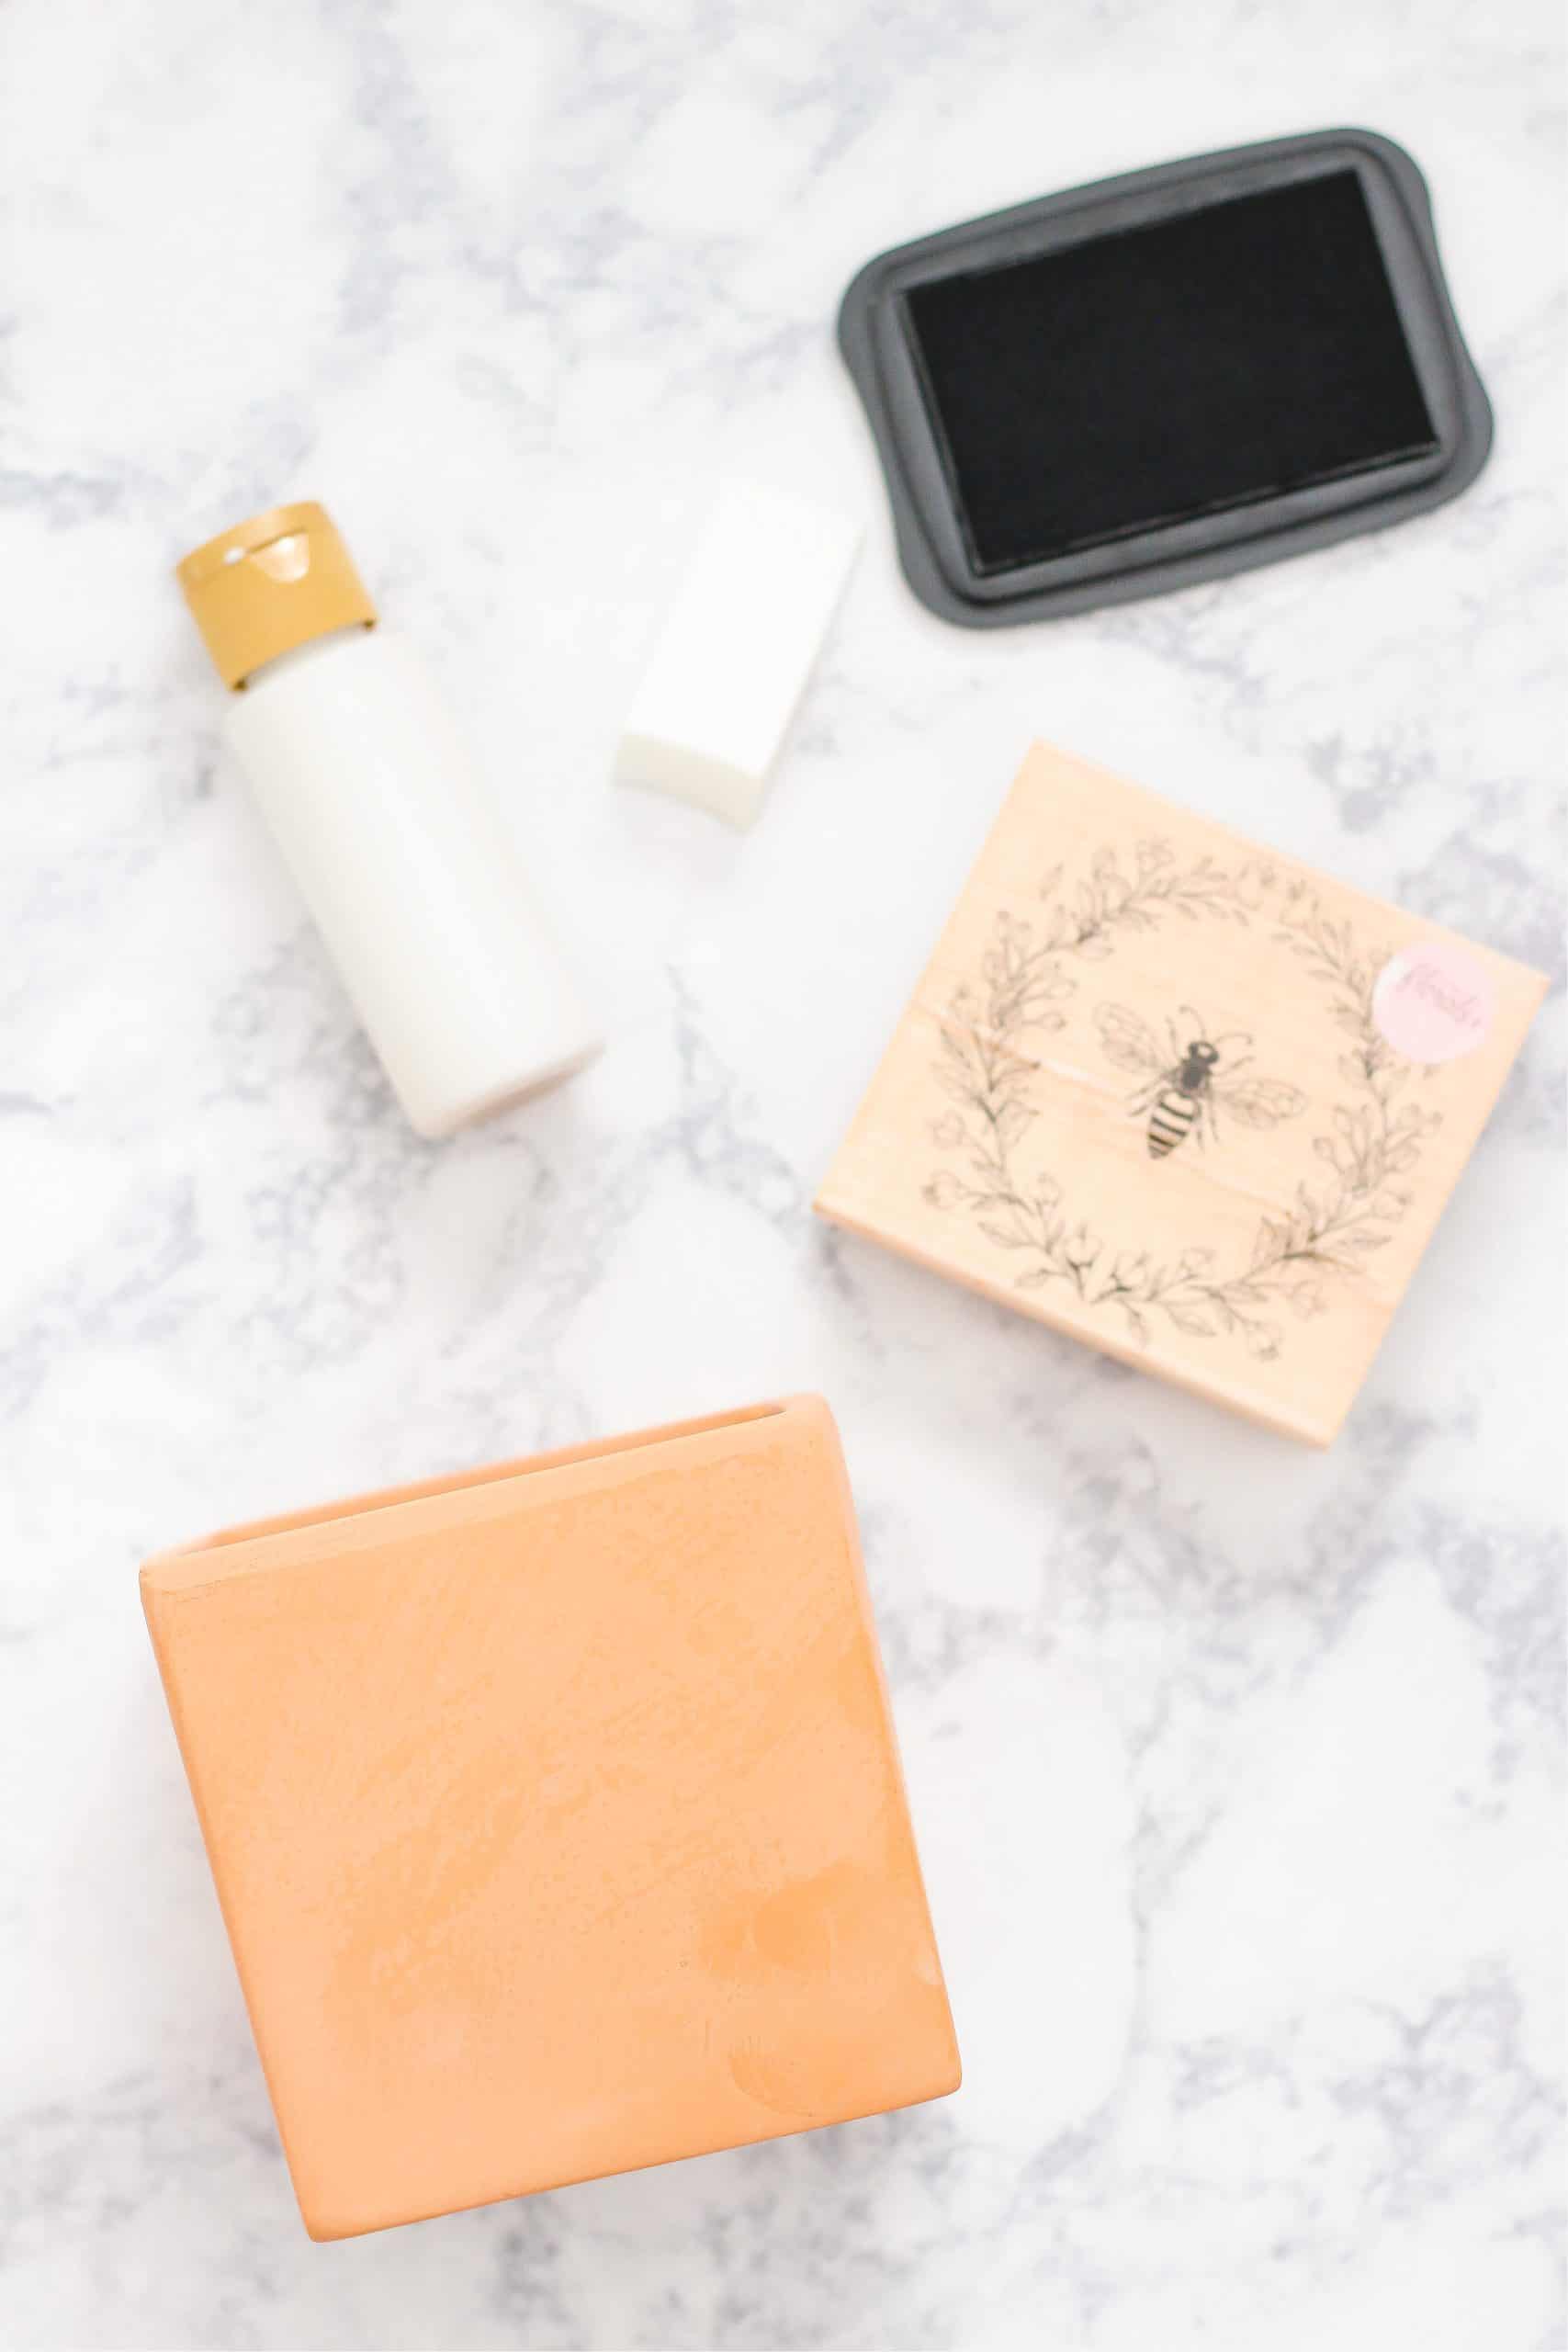
Supplies (affiliate links included):
- Terra cotta pot (I bought my square pot at Hobby Lobby but Amazon has one HERE)
- Paint (I used this acrylic paint color)
- Brush or sponge
- Towel or cloth
- Stamp (I used this bee stamp)
- Black ink pad
- Sanding block
HOW TO AGE TERRA COTTA POTS USING PAINT
Step1: You can use a sponge or paint brush to get the look of aging. Pour out your paint onto a palette or you can use a paper plate. Next, dip your tool into the paint. I use a towel to wipe off excess paint. The secret to dry brush painting is to apply the paint with the very tip of your brush.
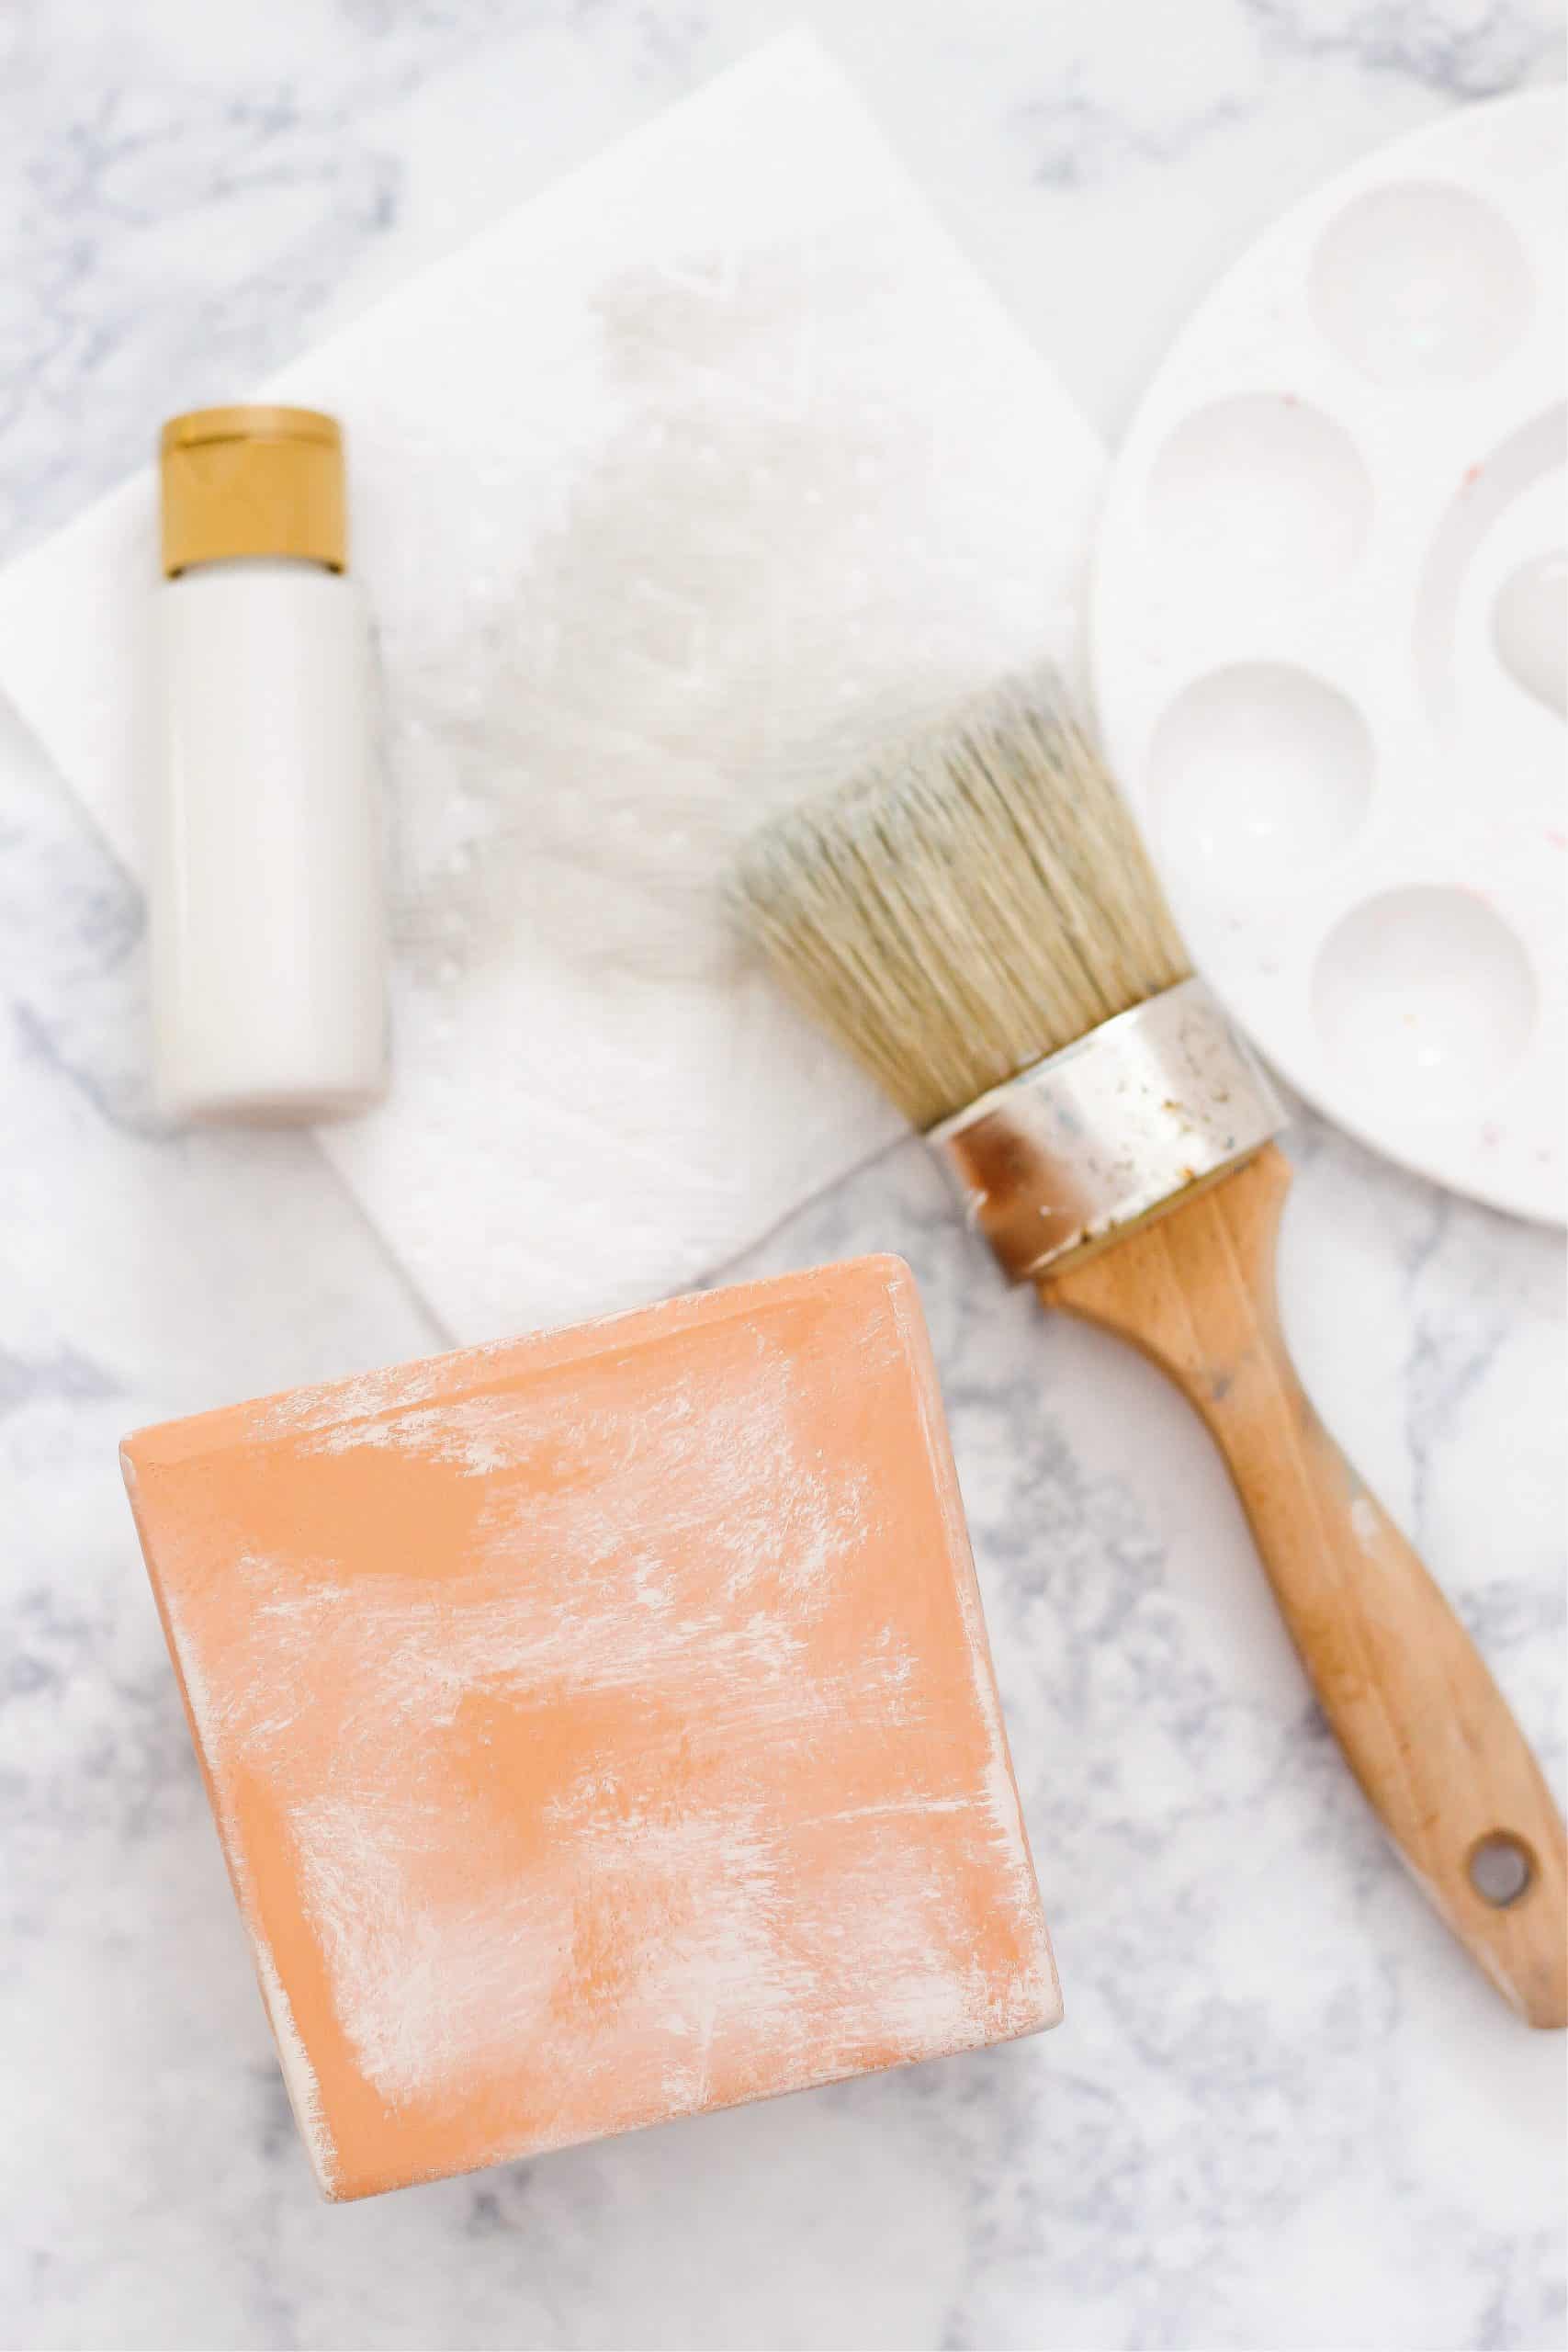
Step 2: Work your paint brush across one section of the pot. You can use different back and forth strokes along with dabbing motions to get random spots of paint. Next, I like to use a dry cloth to wipe over the paint. This will smear the paint giving it that aged look.
I really like the painted color I used. Sand Grey has hues of gray, yellow and taupe. All colors that can be found in dirt. I wanted the weathered look that a pot would get if it was crusted with dirt over the years.
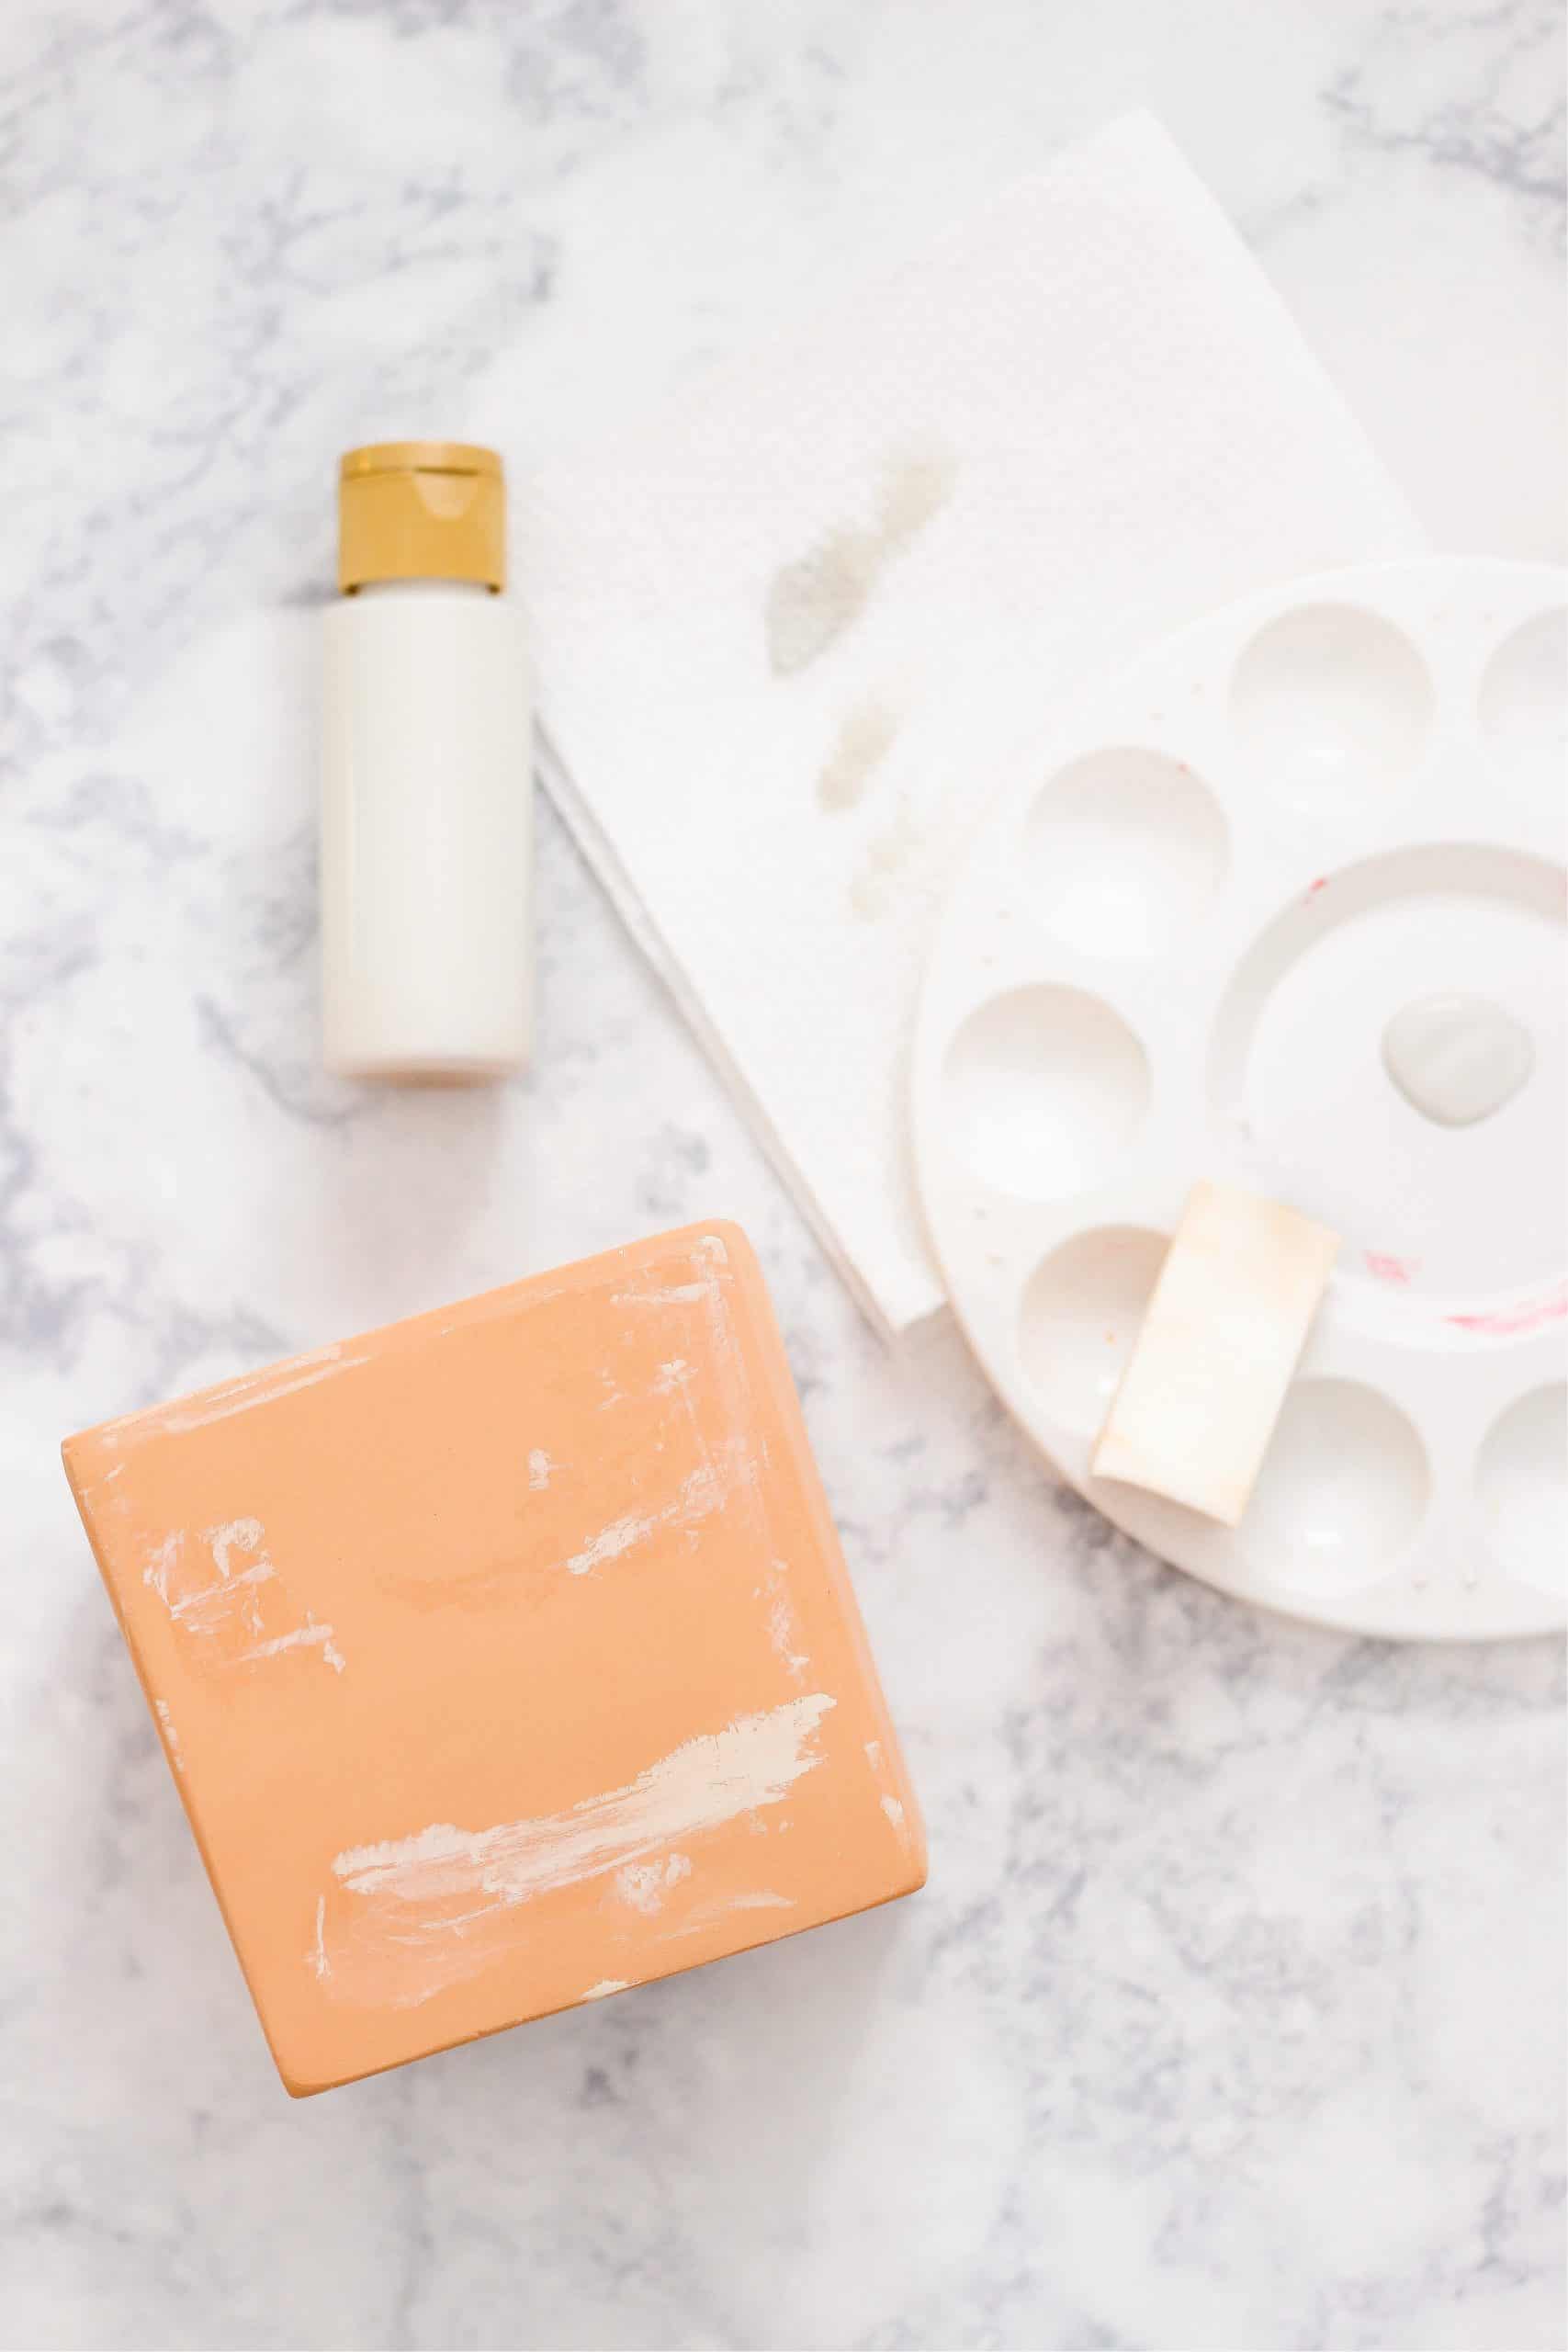
If you use a sponge you will get a completely different look. The sponge applies the paint in a wide, thicker process. This gives the look of mud that has been caked onto the pot.
There is no right or wrong when it comes to painting the pot. If you mess up you can use a damp cloth to wipe the paint. It really all depends on the look you are going for.
After you have painted all the sides, set the pot aside to allow the paint to completely dry.
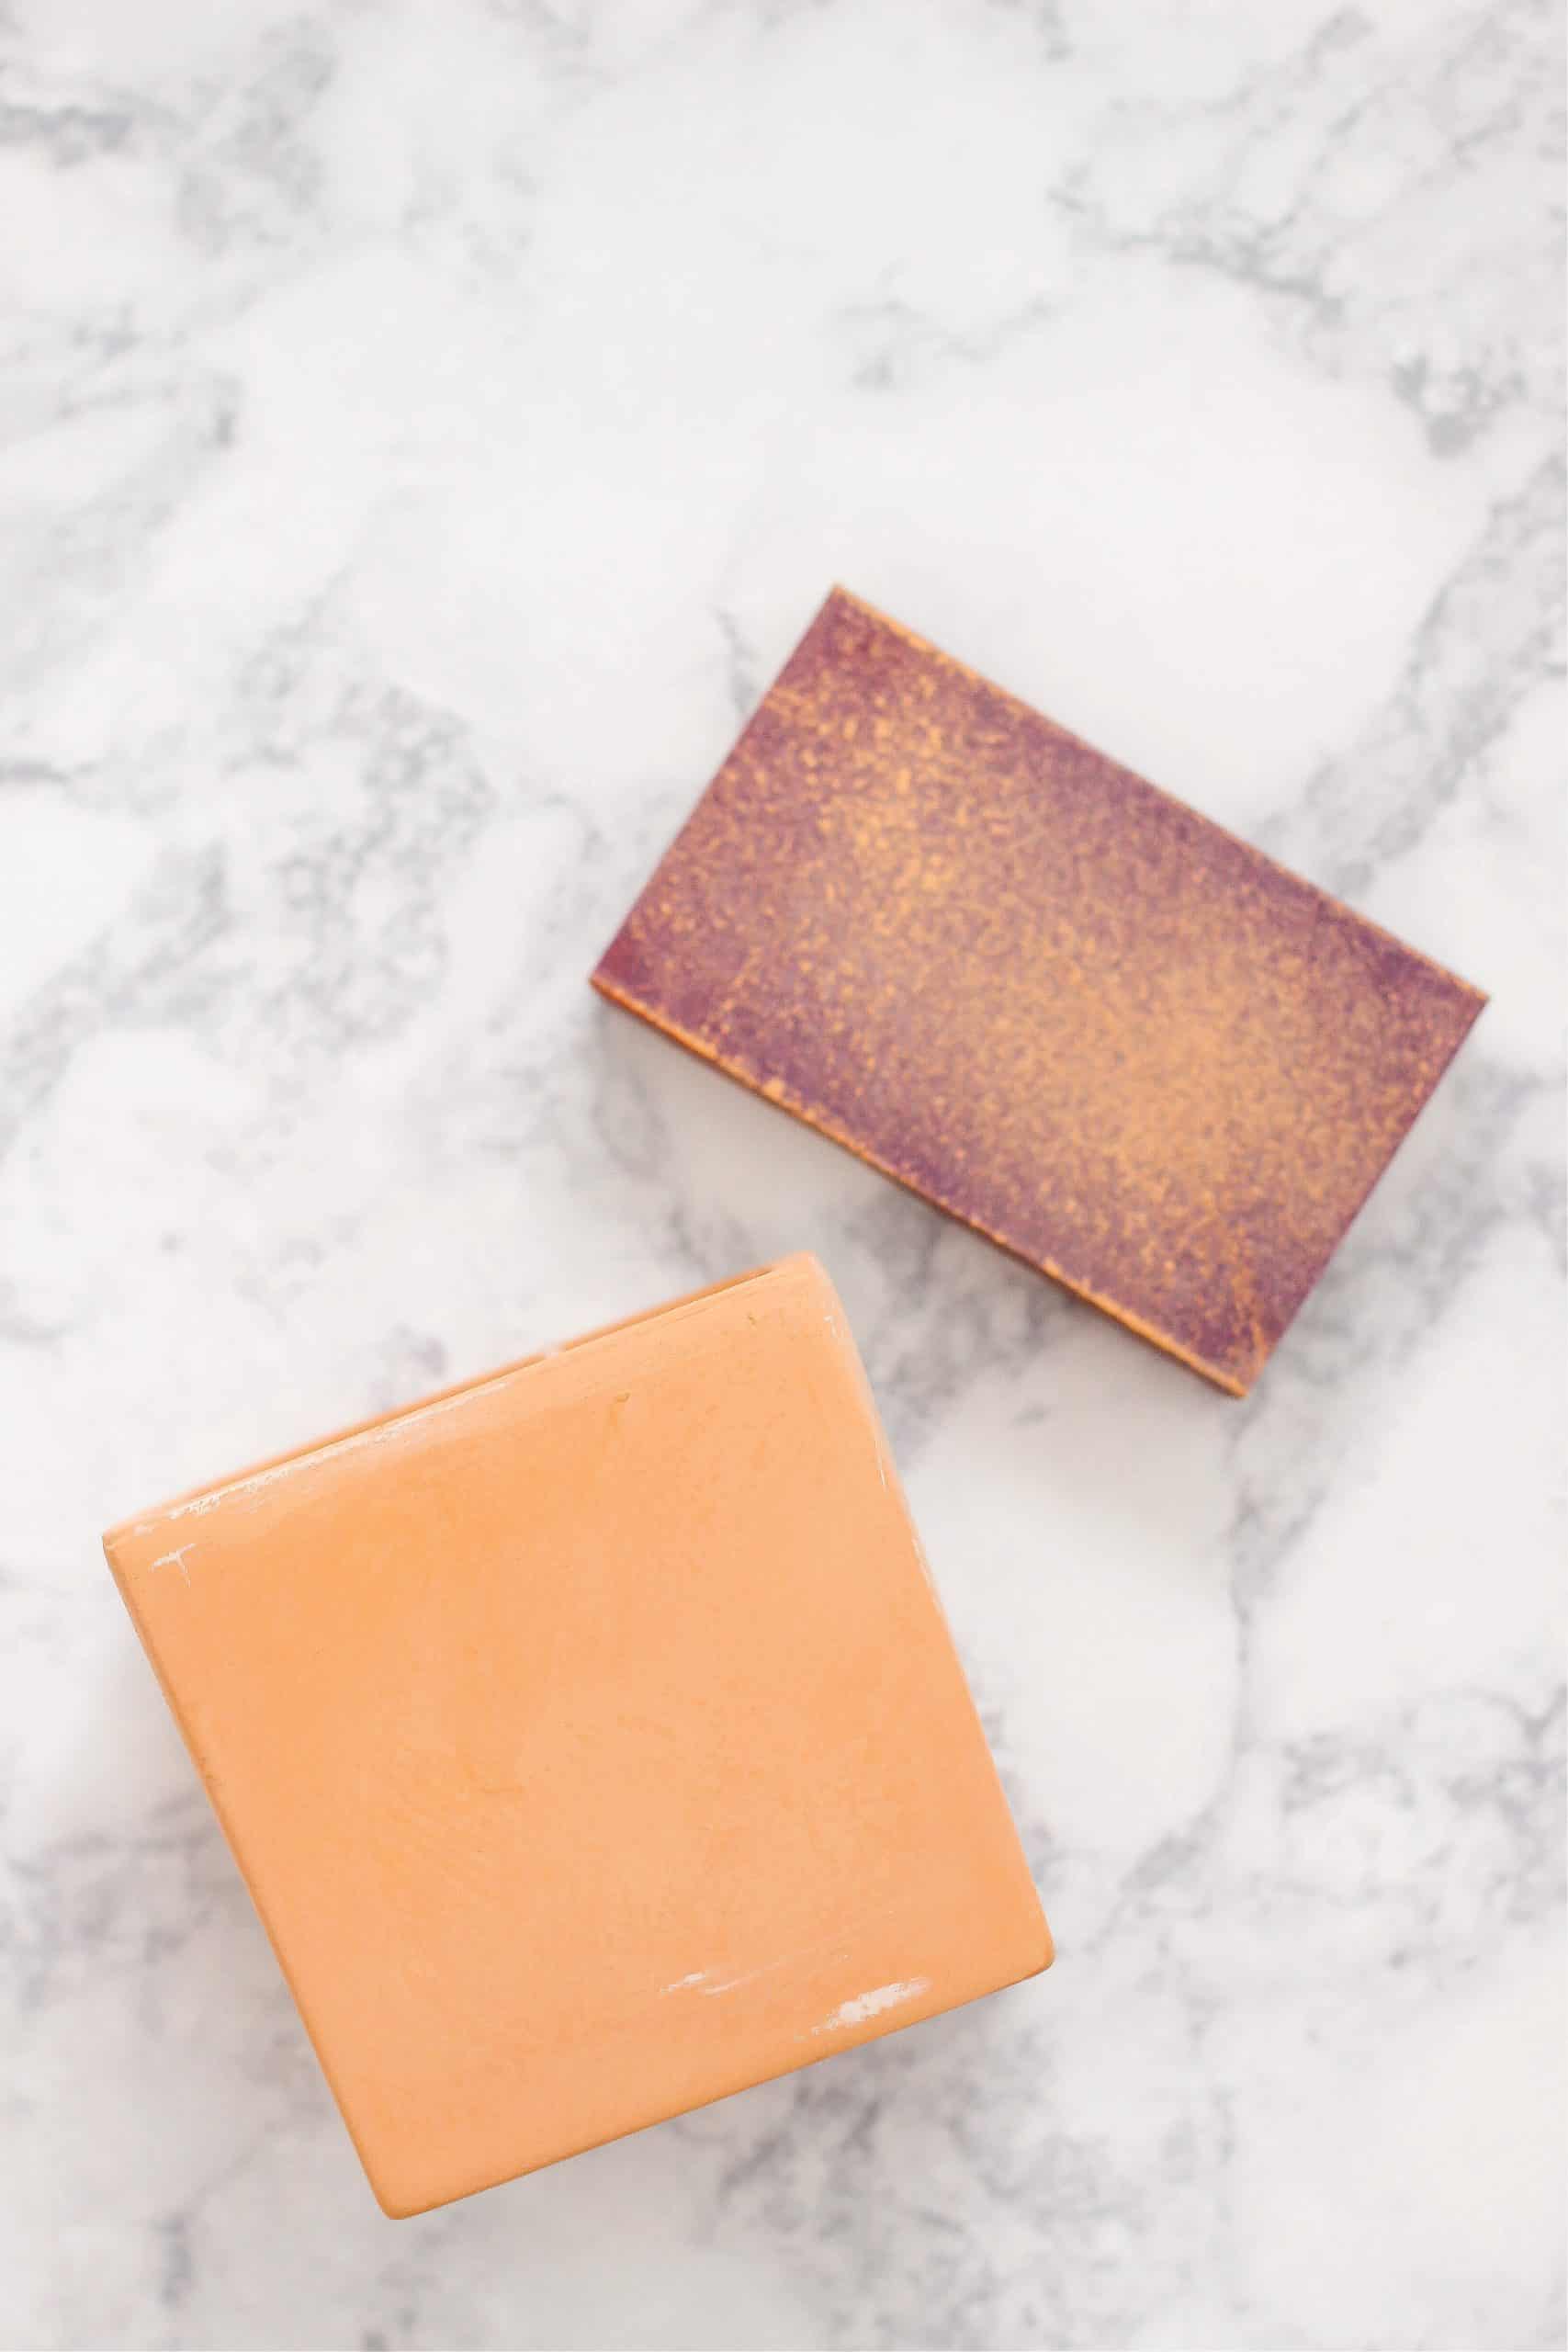
Step 3: You can use a sanding block to sand over the painted areas of the pot. This will distress the pot even more and give it that aged look.
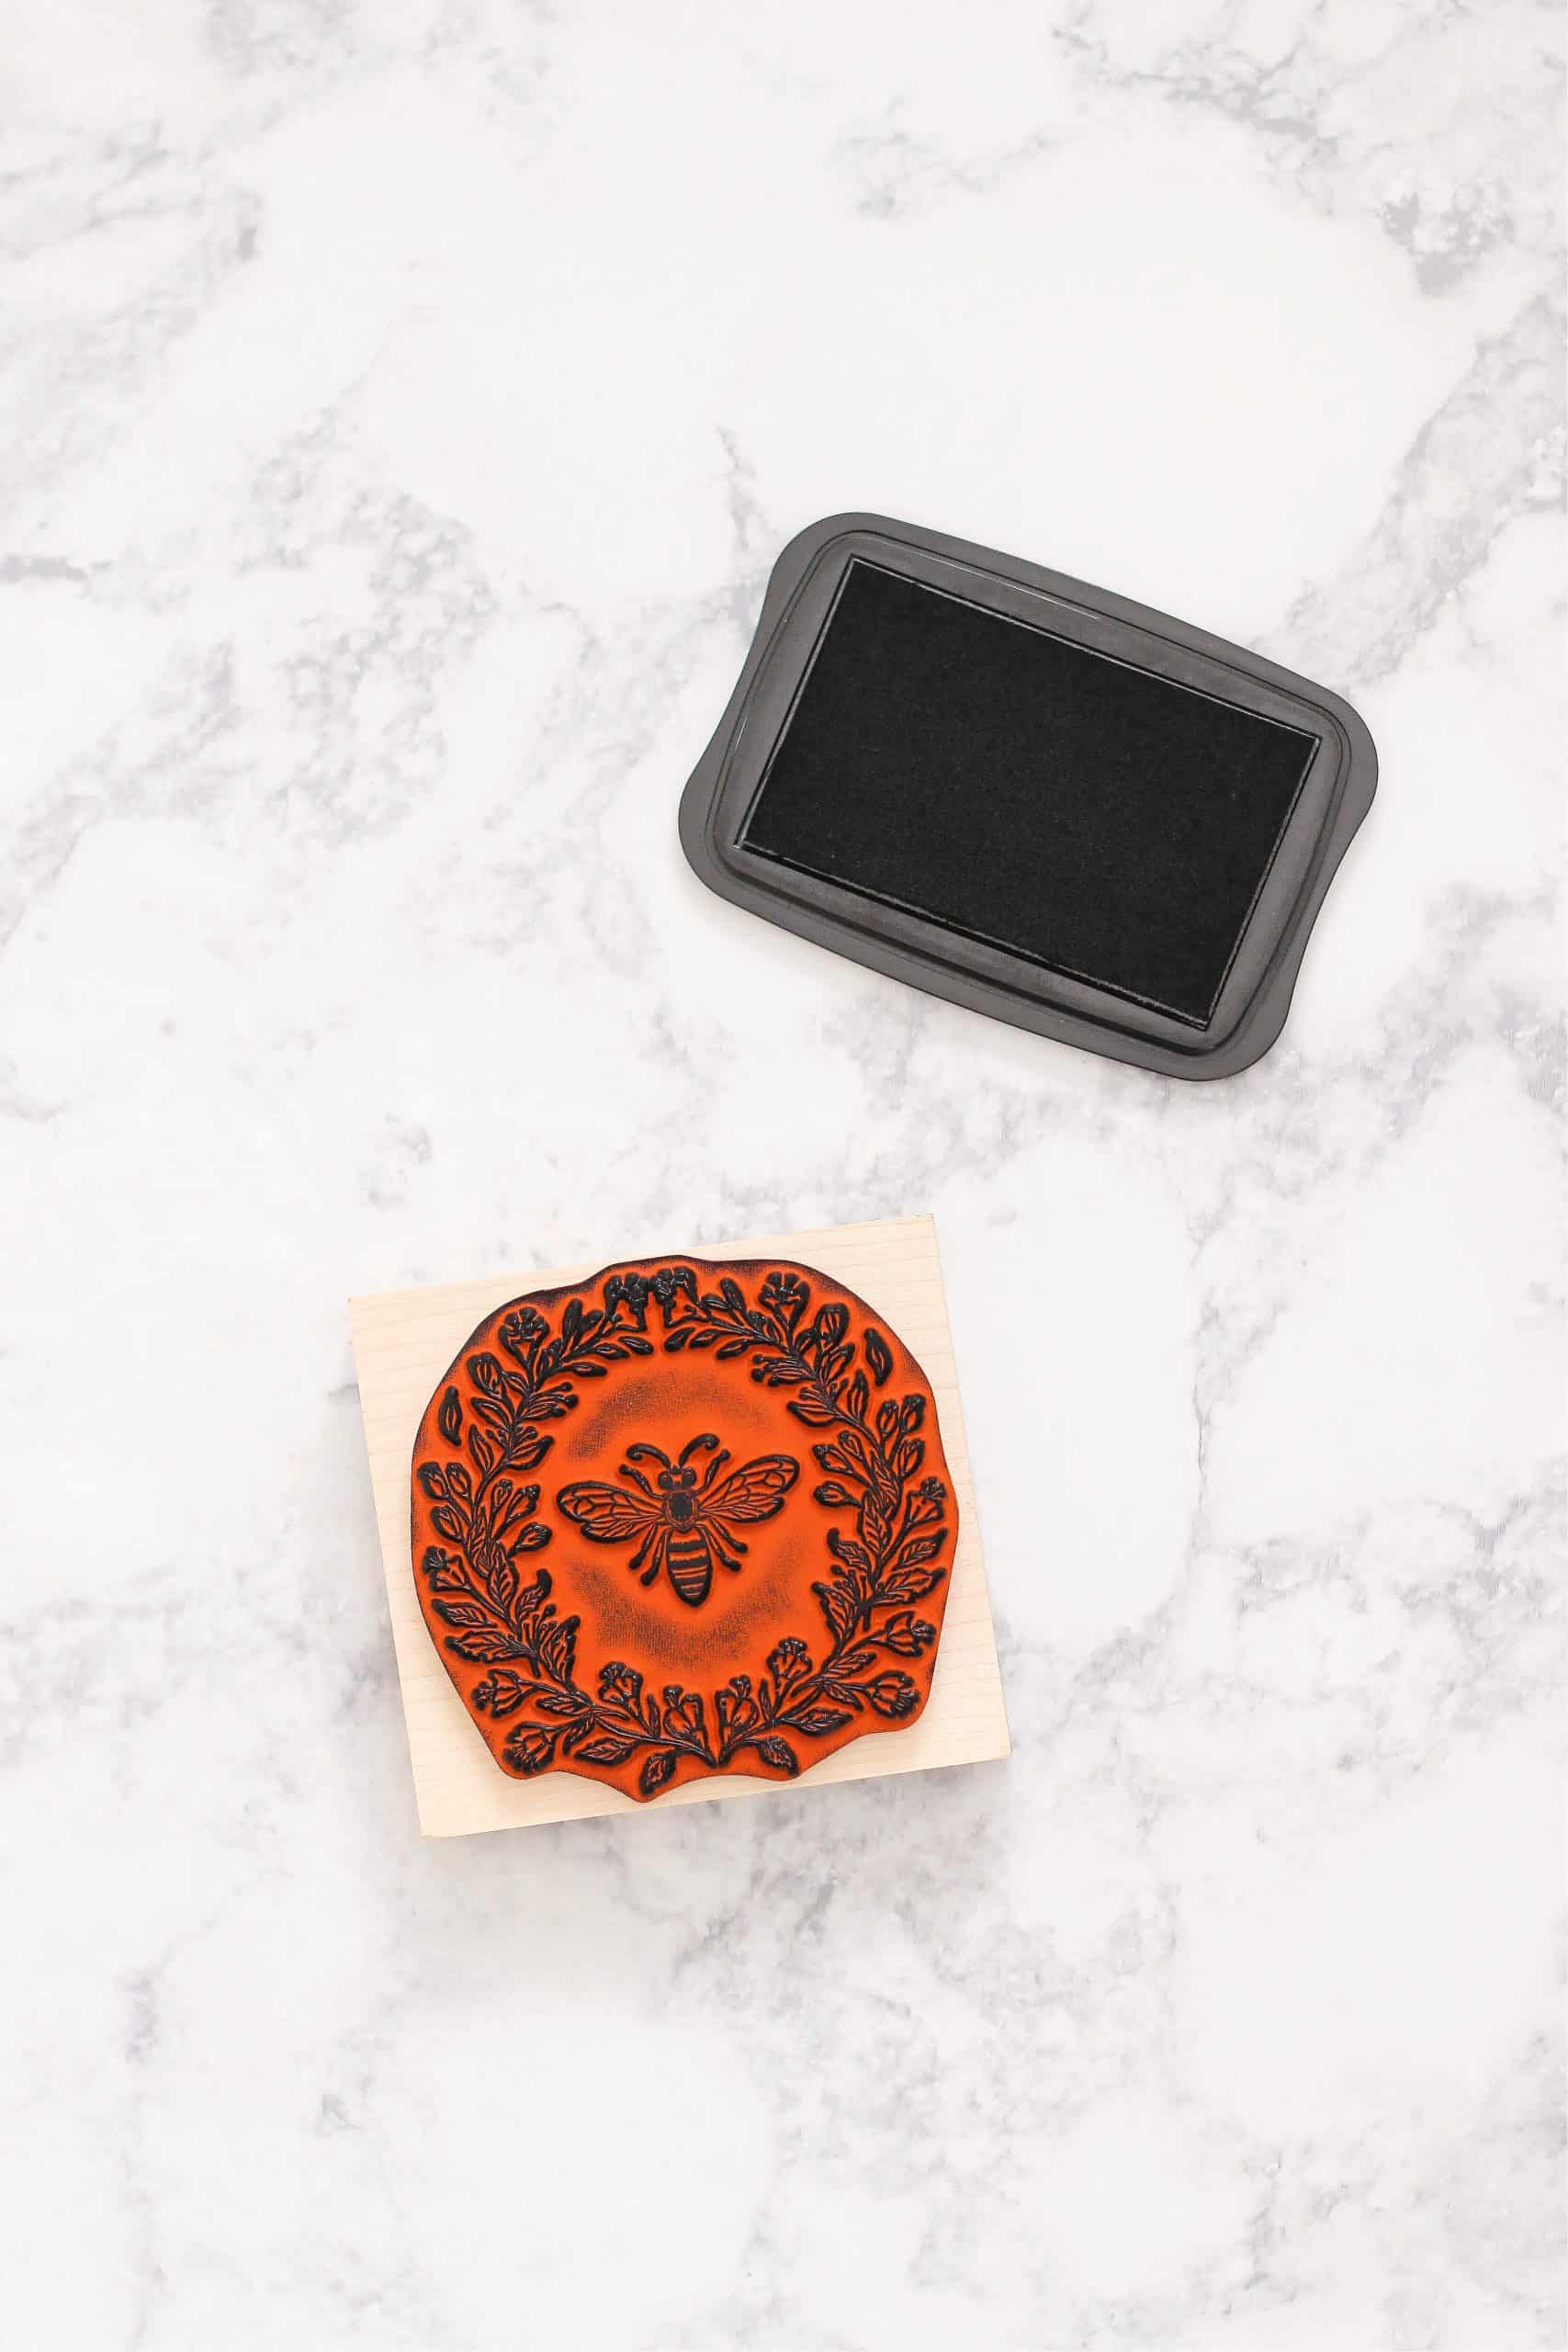
Step 4: Take your stamp and lay it with the rubber stamp side facing up. Use a black ink pad to press down on the stamp. This technique will help to prevent smudges.
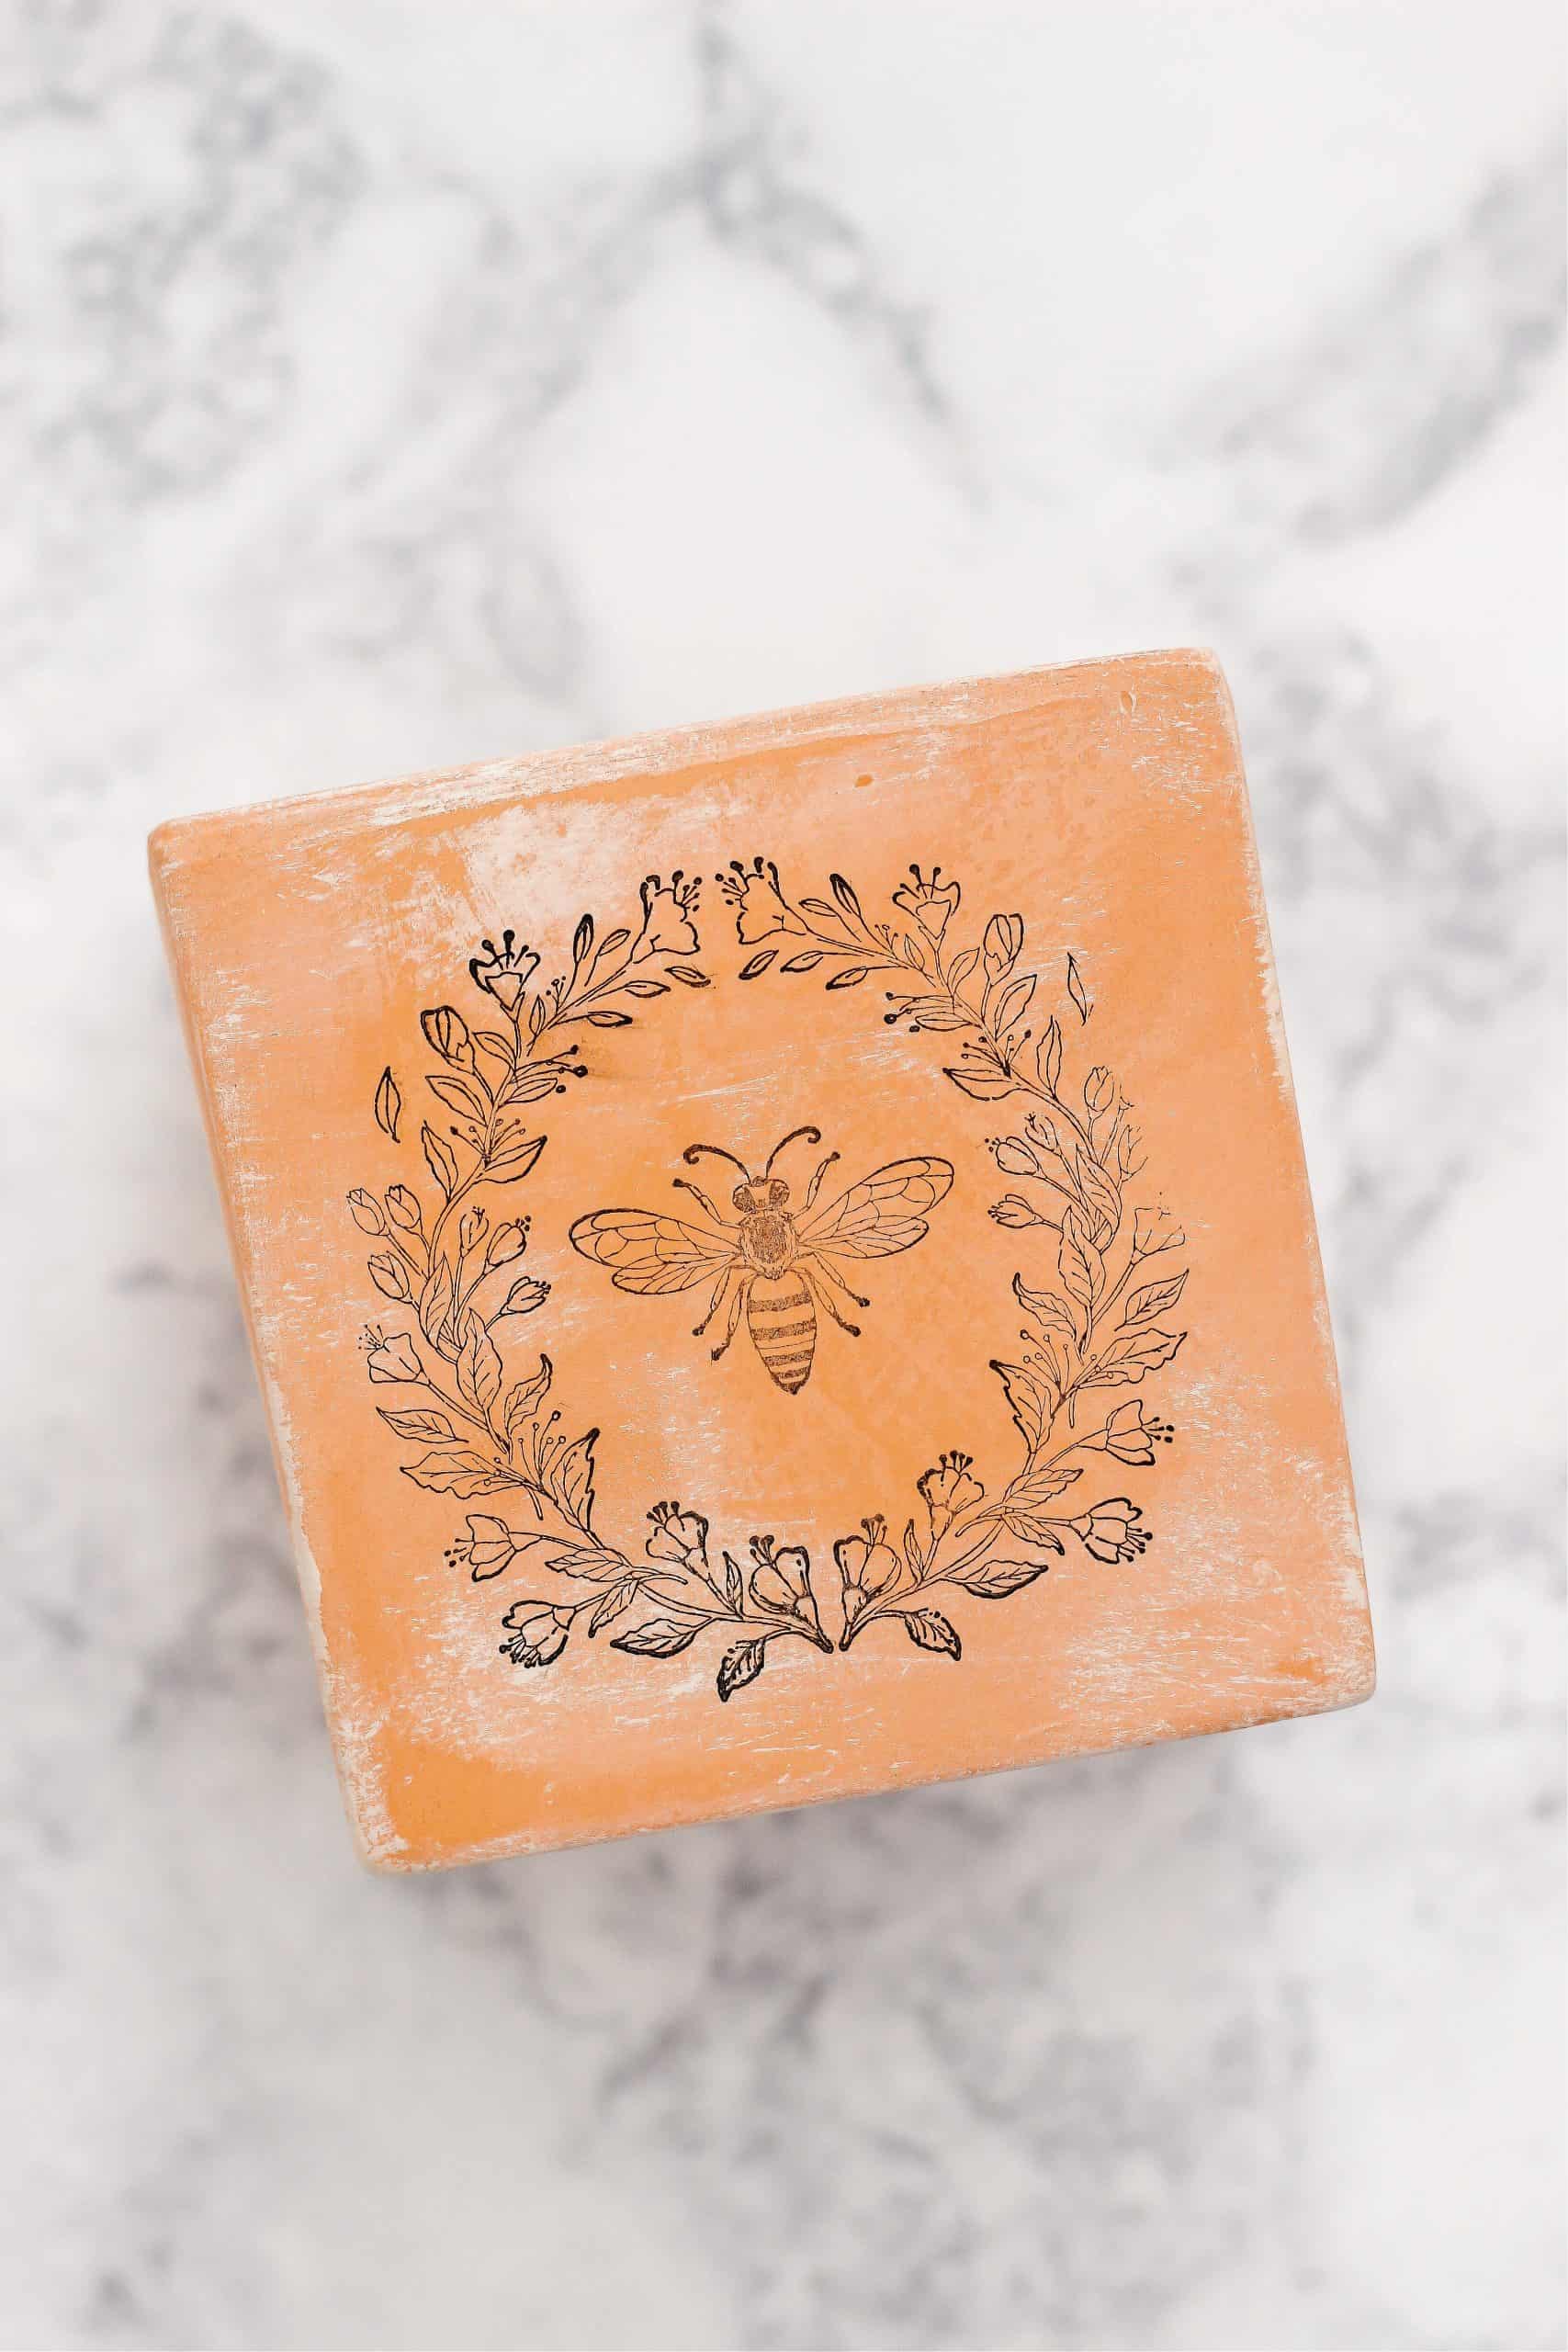
Step 5: Carefully place the stamp on the terra cotta pot and press down making sure not to smudge the ink. Gently remove the stamp and set the pot aside to dry.
Quick tips when using stamps and ink pads:
- Use baby wipes to clean the ink off of your rubber stamps.
- Store your ink pads upside down. This will increase the life of the ink.
That’s it! So simple and stylish, right?! I love the aged look because it can go with any home decor style… farmhouse, rustic, boho, traditional, you name it.
Where can you display terra cotta pots?
- Outdoor patio
- Coffee table
- Bookshelves
- In a window sill
- Anywhere indoors or outdoors!
Here are a few diy planter pieces that I love:
- Painted Geometric Wood Planter
- Poured Paint Planter
- Faux Concrete Planter
- Wood Herb Planter
- DIY Caned Vase
Make sure you pin the image below so you can save this terra cotta pot tutorial to try later.
