If you love the spring but aren’t a fan of dying eggs for Easter, then this blog post is for you. Today, I am sharing how to make, cute, easy and mess free Easter eggs using temporary tattoos. Sounds pretty cool, right?!
I love decorating eggs every year but just not with the dye you buy at the store. That process is a huge mess and not to mention the awful smell of vinegar. So, this year I decided to make a temporary tattoo printable and share with you all. All you need is a couple of supplies and your eggs will be ready in minutes.

I’ve been obsessed with all things mushroom lately. I have the cutest felt mushrooms I bought last year and this year I painted some ceramic shrooms I found at Dollar Tree. They inspired me to create these magical forest temporary tattoos and thought they would be perfect for decorating eggs.
Here are a few other DIY Easter eggs project I love:
- Blue and White Paper Napkin Eggs
- Paint Speckled Eggs
- Decoupage Easter Garland
- Easter Floral Arrangement
- How To Make A Pretty Candle In A Eggshell
Make sure you check out these 6 Easter Egg Craft Ideas that are easy to make!

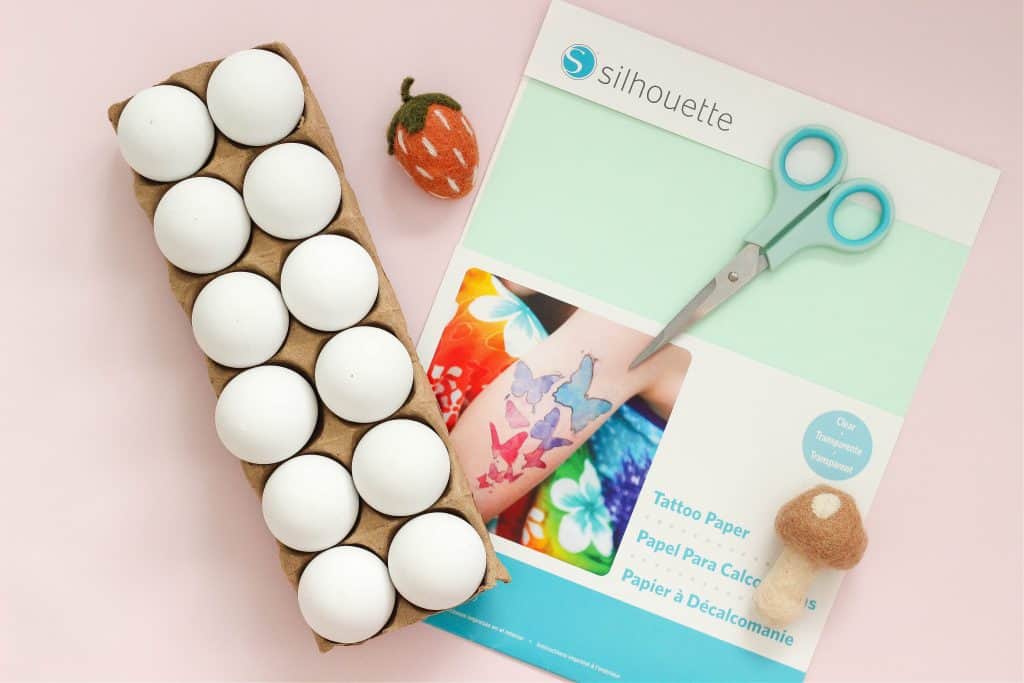
Supplies for DIY temporary tattoo eggs:
- Craft eggs
- Temporary tattoo paper
- Inkjet Printer or Print Store Business
- Scissors
- Sponge or rag
- Printable (which you can download below in the post)
How to make temporary tattoo eggs:
Step 1: You can use any kind of temporary tattoos for this project. Keep in mind the smaller the design, the better it will fit on an egg. I have made a printable with 15 designs that you can DOWNLOAD HERE.
Each printable is 8.5 x 11 inches. Therefore it will fit on one sheet of tattoo paper.
Please Note: All printables and downloads designed by Purely Katie are for PERSONAL USE ONLY. Please do not alter the file or claim it as your own. This file is not intended for resale, nor are the printed versions of this file.

Step 2: Follow the instructions on the tattoo paper packet. In the packet you will find a piece of shiny white paper and an adhesive sheet with a green backing. To make the temporary tattoos, you just need to print the designs onto the shiny side of the white paper. Once you download and print the images, let them set for 15 to 30 minutes to dry.

Step 3:
- Peel off the top strip of the green backing on one end and apply the adhesive sheet to the printed image.
- Slowly peel off the backing and press the adhesive onto the printed image.
- Use your scraper tool or a credit card to firmly apply the adhesive to the printed image.
- Use scissors to cut around each image.

Step 4:
- Peel away the clear plastic layer exposing the adhesive.
- Apply the tattoo’s adhesive side face down on your egg and cover with a wet sponge or cloth on top of the paper.
- After 10-15 seconds, the paper backing should peel off easily leaving the tattoo on your egg.

You can save these eggs and use them for many years to come.

Make sure you pin the image below so you can save the instructions to try later.
