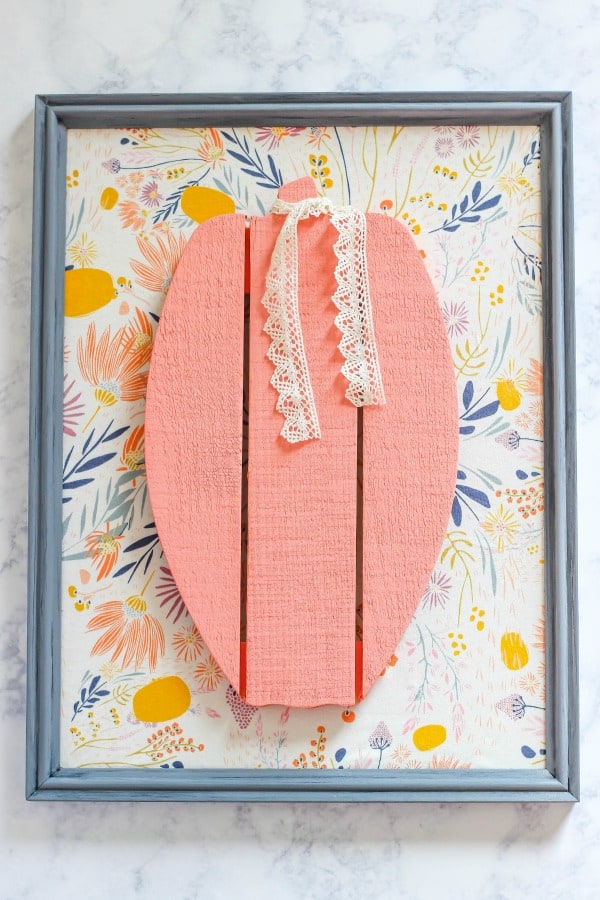
Create a beautiful Wood and Fabric Pumpkin Fall Art to display in your home this season. This is perfect for keeping up all fall long through Thanksgiving.
Disclosure: I am a member of the core blogger program with DecoArt. I received compensation and product for this post. All ideas and opinions are 100% my own. A special thanks to Walnut Hollow for providing the wood pallet pumpkin.
Hello there! Oh my goodness…I am so excited to share this adorable Wood and Fabric Pumpkin Fall Art with you today. I just loved how this craft project turned out and it was super easy too. You can hang this art on your wall, prop it on a mantel or shelf and so much more. The colors are gorgeous and I love the idea of displaying this art all fall long!
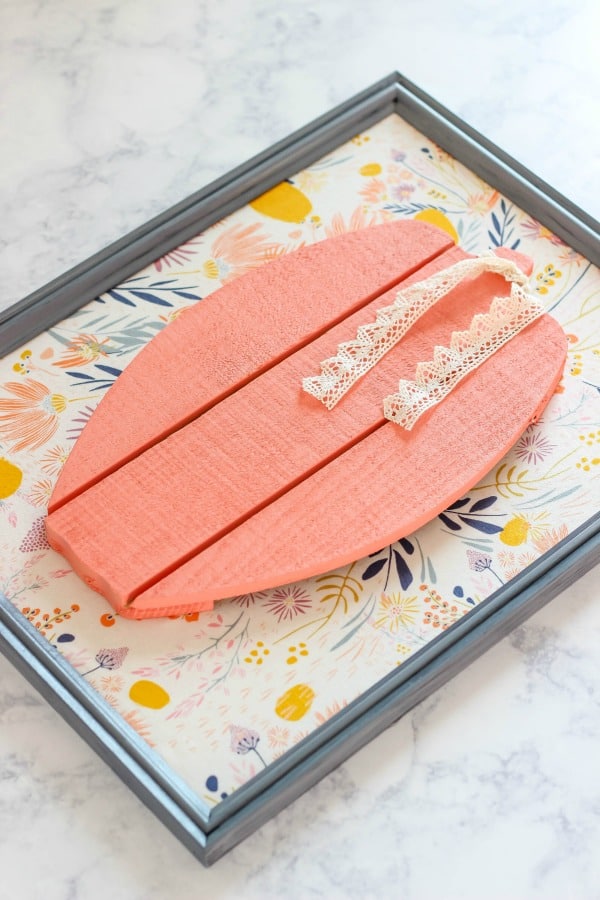
This Wood and Fabric Pumpkin Fall Art is a fun spin on the traditional fall colors. I choose a fun and colorful jersey knit fabric and painted the wood pallet pumpkin one of my favorite colors, coral.
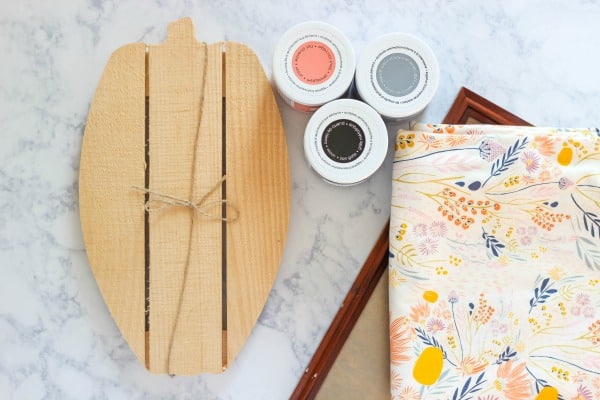
Supplies (affiliate links):
- Wood Pallet Pumpkin
- Americana Decor Outdoor Living Paint 8 oz – Wildflower
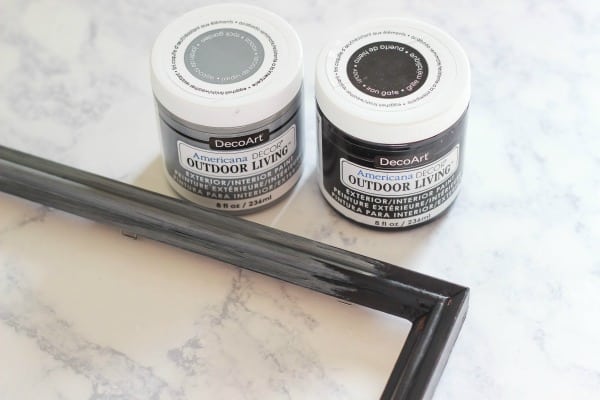
- Americana Decor Outdoor Living Paint 8 oz – Iron Gate
- Americana Decor Outdoor Living Paint 8 oz – Rock Garden
- Fabric
- Picture Frame
- Paint Brushes
- Stapler
- Ribbon *optional
Instructions:
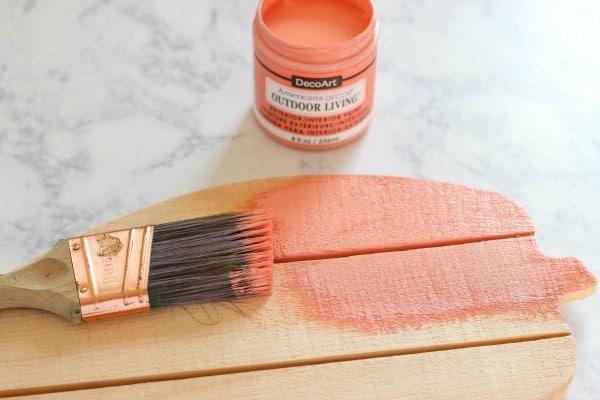
I started by painting the wood pallet pumpkin with one coat of Americana Decor Outdoor Living in Wildflower. This is my all time favorite color ever! It is such a fun and bright coral color. I love it.
Next, I painted a wood picture frame I got from an auction. I bought a box of frames for $4 so each frame came out to $0.25. Score! I started by painting the frame with one coat of Americana Decor Outdoor Living in Iron Gate. This is a super dark gray, almost black color. Before that coat of paint was completely dry, I painted a layer of Americana Decor Outdoor Living in Rock Garden. This is a lighter gray color and I like the two tone look.
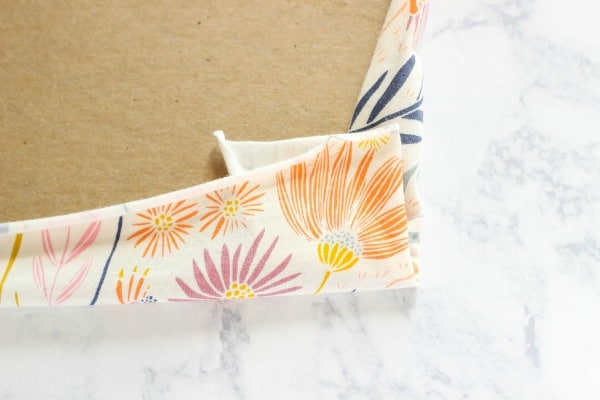
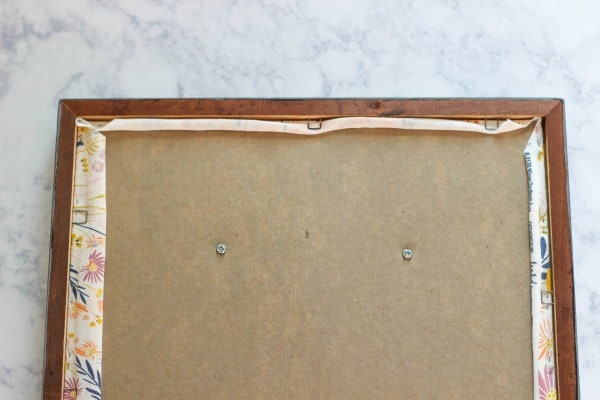
I cut a piece of the jersey knit fabric to fit over the cardboard from the picture frame. I used a stapler to staple the fabric all along the sides of the cardboard. I folded in the edges of each corner and stapled it.
Finally, to secure the pumpkin to the cardboard, I put four screws through the cardboard and fabric into the back of the pumpkin. Be sure to use screws that are short enough to only go through the cardboard and some of the pumpkin. If they are too long they will poke through the front of the pumpkin. I placed the pumpkin on the front of the frame the way I wanted it and marked the locations for the screws. I poked a hole through the cardboard at each screw location and then attached the pumpkin to the frame with the screws.
I am so thrilled at how this Wood and Fabric Pumpkin turned out. This was not my original plan for the wood pallet pumpkin but I love how it turned out.
YOU MIGHT ALSO LIKE:
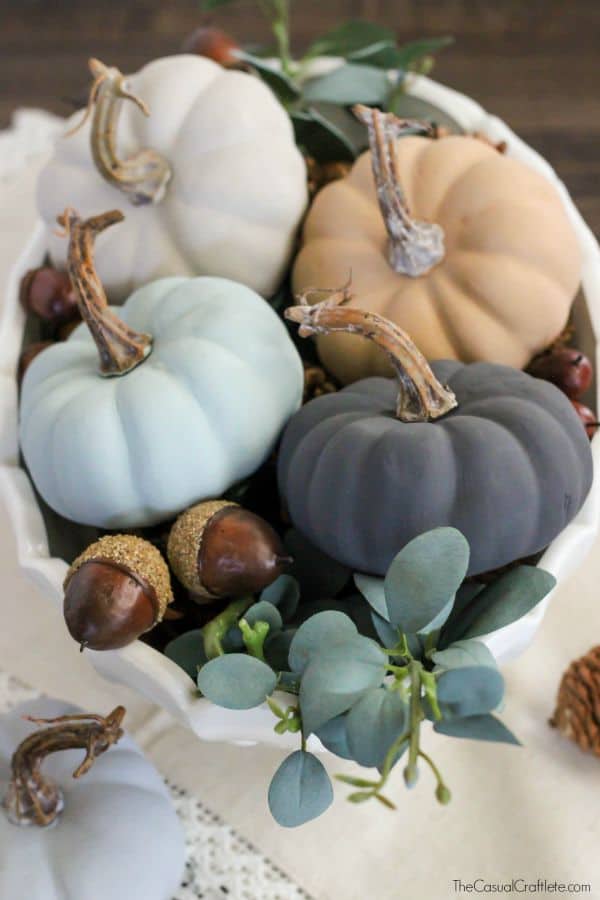 Vintage Chalky Finish Paint Pumpkins
So beautiful, I LOVE the fabric!! This looks like a fun little craft we will have to try soon!
What a wonderful color scheme! It’s beautiful!
This is too adorable for fall! I love the fabric you chose too. Pinned!